

Learn how to get started with product photography using the right camera, lighting, backgrounds, and editing techniques to create professional product images.
Table of Contents
Why Product Photography Matters And How To Get Started With Product Photography
In today’s visual-first digital world, compelling product images can make a significant difference in a brand’s success. Whether you’re launching an e-commerce store, starting a small business, or looking to improve your existing visuals, learning to get started with product photography is an essential skill. High-quality images don’t just showcase a product—they build trust, communicate value, and drive sales. This step-by-step guide will walk you through everything you need to know about product photography, from setting up your first shoot to creating stunning, professional images.
Why Trust The Candid Shoot?
At The Candid Shoot, we publish practical photography guides based on real-world shooting techniques, camera knowledge, lighting setups, and post-processing workflows. Our goal is to simplify photography concepts so beginners, hobbyists, creators, and professionals can capture better images with confidence.
Every guide is carefully reviewed and updated to reflect current photography trends, camera technology, AI-powered editing tools, and industry best practices. Whenever relevant, we reference trusted photography resources and official manufacturer documentation to ensure our recommendations remain accurate and reliable.
Whether you’re photographing products for an online store, social media, Amazon listings, or personal projects, our tutorials are designed to help you improve image quality while making informed equipment and workflow decisions.
Quick Answer
Product photography is the process of creating high-quality images that accurately showcase a product’s appearance, features, and details. Effective product photography combines proper lighting, composition, camera settings, backgrounds, and editing techniques to produce professional images that increase customer trust and improve online sales.
Learn More About Product Photography
If you’re looking to master product photography from beginner to advanced level, don’t miss our complete guide:
👉 Powerful Product Photography Secrets for Photos
Inside this comprehensive guide, you’ll learn:
- Camera settings for product photography
- Lighting techniques for every budget
- Background selection
- Composition tips
- Lens recommendations
- Editing workflow
- AI tools for product photography
- Studio setup ideas
- Photography mistakes to avoid
- Professional workflow from planning to final image
This pillar guide connects all of our product photography tutorials in one place, making it the perfect starting point for beginners and experienced photographers alike.
Step 1: Understanding the Basics of Product Photography
Before you begin, it’s important to grasp the fundamentals. Product photography involves capturing images that highlight a product’s details, features, and usability in a way that appeals to customers.
There are several types of product photography, including:
- White background shots (for e-commerce listings).
- Lifestyle photography (showcasing the product in real-world settings).
- Flat lays (aesthetic top-down arrangements).
- 360-degree images (interactive, multi-angle views).
Choosing the right style depends on your brand identity, audience, and platform.

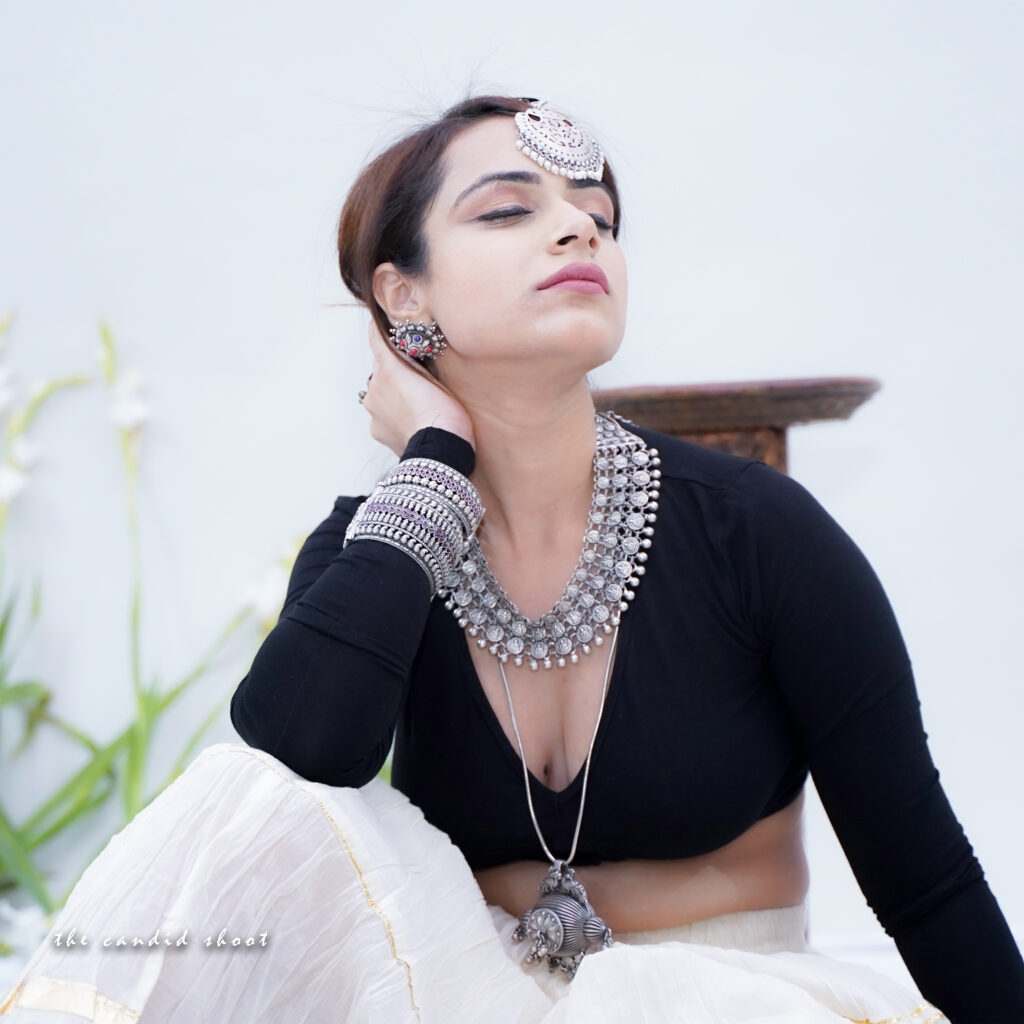

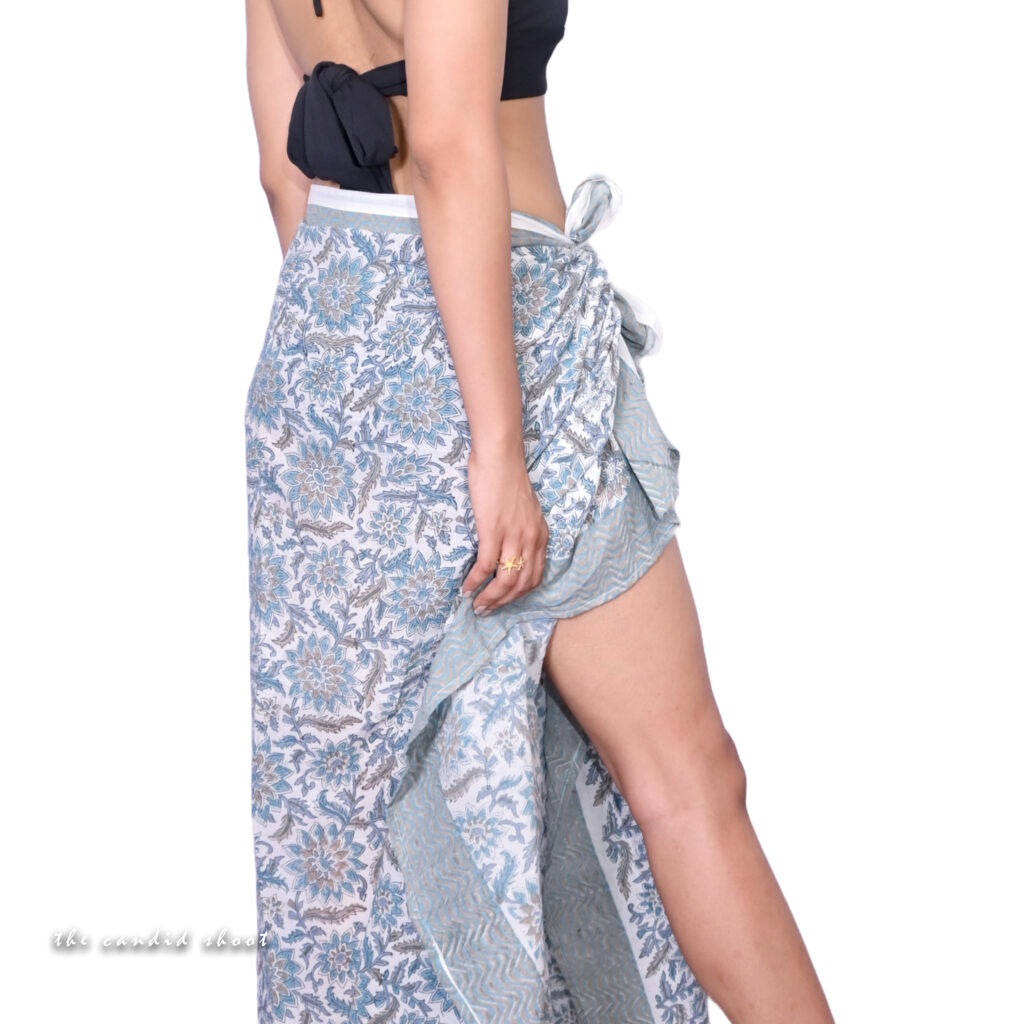




Step 2: Choosing the Right Camera and Gear
Many beginners assume that only expensive DSLR cameras can capture professional-quality images. However, you can start with what you have, whether it’s a smartphone or an entry-level camera.
Camera Options:
- Smartphones – Modern devices, like the iPhone 15 or Samsung Galaxy S23, have advanced camera systems capable of high-resolution product photography.
- DSLR/Mirrorless Cameras – If you prefer more control over settings, cameras like the Canon EOS R5 or Sony A7 IV provide excellent image quality and flexibility.
Lenses for Product Photography:
- 50mm prime lens – Great for capturing details without distortion.
- 100mm macro lens – Ideal for close-ups of small products like jewelry or watches.
- 24-70mm zoom lens – Versatile for different product sizes and angles.
Having the right gear helps you achieve sharpness, depth, and clarity, making your products look their best.
Step 3: Setting Up a Professional Lighting Environment
Lighting is the most crucial factor in achieving high-quality product images. Even with a good camera, poor lighting can lead to shadows, glare, or color inaccuracies.
Types of Lighting for Product Photography:
- Natural Light – Best for lifestyle shots, especially near large windows or outdoors.
- Studio Lighting – Softboxes, LED panels, and ring lights help maintain consistent and controlled lighting indoors.
- Reflectors and Diffusers – These help soften harsh shadows and distribute light evenly.
Using a three-point lighting setup (main light, fill light, and backlight) ensures your product is well-lit and visually appealing.
Step 4: Choosing the Right Background and Props
Your background plays a key role in how your product is perceived. A clean, distraction-free backdrop enhances focus, while styled setups add personality to your images.
Best Backgrounds for Product Photography:
- White or neutral backgrounds – Perfect for e-commerce product listings.
- Textured surfaces – Wood, marble, or fabric backgrounds add character to lifestyle shots.
- Colored backdrops – Help brand-specific photography stand out, especially for social media.
Props should complement the product, not overpower it. If you’re shooting a skincare product, including ingredients like aloe vera leaves or citrus slices can make the image more engaging.
Step 5: Mastering Product Composition and Angles
How you frame and position a product impacts how customers perceive it. Composition techniques like the rule of thirds, leading lines, and symmetry help create well-balanced, professional-looking images.
Essential Product Angles to Capture:
- Front-facing shot – Standard angle used for online stores.
- 45-degree angle – Adds depth while maintaining visibility.
- Close-up detail shot – Highlights textures, patterns, or labels.
- Top-down shot – Ideal for flat lay compositions.
- 360-degree sequence – Allows viewers to rotate and inspect the product from all sides.
Experimenting with multiple angles helps customers gain a better understanding of the product before making a purchase.
Step 6: Editing and Retouching Your Product Images
Post-processing enhances images by correcting colors, removing imperfections, and optimizing lighting. Even if you capture great shots, editing helps achieve a polished, market-ready look.
Best Editing Tools for Product Photography:
- Adobe Lightroom – Perfect for color correction and exposure adjustments.
- Adobe Photoshop – Ideal for background removal and detailed retouching.
- Canva – User-friendly for quick edits and social media graphics.
Key edits include:
- Adjusting brightness and contrast for a well-balanced look.
- Enhancing sharpness to highlight product details.
- Removing unwanted elements or dust spots.
- Maintaining color accuracy to ensure the product looks the same in real life.
Step 7: Optimizing Product Images for Web and Social Media
To make your images SEO-friendly, optimize them for faster loading speeds and better visibility.
How to Optimize Product Images:
- Resize images – Keep them under 200KB for faster webpage loading.
- Use descriptive file names – Example:
handmade-leather-wallet-brown.jpginstead ofIMG_1234.jpg. - Add alt text – Helps search engines understand the image content.
- Use WebP or JPEG format – Balances quality and compression.
Platforms like Instagram, Amazon, and Shopify prioritize well-optimized images, improving your chances of attracting more clicks and conversions.
Step 8: Building a Consistent Photography Style for Your Brand
A recognizable photography style helps in establishing a strong brand identity. Customers should be able to recognize your products just by looking at the images.
How to Develop a Cohesive Style:
- Use consistent lighting and color palettes across all images.
- Stick to the same background types for product collections.
- Ensure branding elements (such as logos or packaging) are subtly included.
- Edit images using the same presets to maintain uniformity.
A strong visual identity enhances brand recall and builds trust with customers.
Conclusion: Taking the First Step Toward Professional Product Photography
Now that you understand how to get started with product photography, it’s time to put these steps into action. Start with basic gear, experiment with lighting, master composition, and refine your editing skills to create compelling product images that sell.
Investing in product photography isn’t just about aesthetics—it’s about creating a powerful visual experience that boosts engagement and drives business growth. With practice and creativity, you can transform your product photos from ordinary to extraordinary.
Frequently Asked Questions:
What is product photography?
Product photography is the process of photographing products in a way that highlights their features, quality, and design. High-quality product photos help businesses increase customer trust, improve conversions, and reduce product returns.
What equipment is best for product photography?
For most products, you’ll need:
A camera or modern smartphone
A tripod
Softbox or LED lighting
White or colored background
Reflectors or diffusers
Basic photo editing software
Professional equipment can improve quality, but proper lighting is usually more important than an expensive camera.
What lighting is best for product photography?
Soft, diffused lighting is generally the best choice because it minimizes harsh shadows and accurately represents product colors. Softboxes, LED panels, and natural window light are commonly used depending on the shooting environment.
How can I improve product photography for eCommerce?
To improve eCommerce product photos:
Use consistent lighting
Keep backgrounds clean
Photograph multiple angles
Show product details and textures
Maintain accurate colors
Optimize image size for faster website loading
Edit images without making the product look unrealistic
Can I use a smartphone for product photography?
Yes. Modern smartphones can produce professional-looking product photos when paired with good lighting, a stable tripod, and proper editing. For many small businesses, a smartphone is an excellent starting point before investing in dedicated camera equipment.
Why is product photography important for online sales?
Customers cannot physically inspect products online. High-quality product images build trust, improve user experience, increase click-through rates, and often lead to higher conversion rates while reducing product returns.
Can AI improve product photography?
Yes. AI tools can remove backgrounds, enhance image quality, improve lighting, generate realistic backgrounds, resize images for different marketplaces, and automate editing workflows. AI should be used to enhance product photos while keeping them accurate and representative of the actual product.
What image size is best for product photography websites?
The ideal image size depends on the platform, but most websites perform well with:
JPEG or WebP format
1200–2000 pixels on the longest side
Compressed images under 300 KB when possible
Proper alt text for accessibility and SEO
Related Product Photography Guides
Continue improving your photography skills with these helpful resources:
- Product Photography Lighting Guide
- Best Cameras for Product Photography
- DIY Product Photography Setup at Home
- White Background Product Photography Tips
- Product Photography Camera Settings Explained
- Best Lenses for Product Photography
- AI Product Photography Tools
- Product AI Photo Editing Guide
- Photography Tutorials for Beginners
Recommended Resources
Improve Your Product Photography Skills
Photography is a skill that improves with practice. Try experimenting with different lighting setups, camera angles, and editing techniques to discover what works best for your products. Even small improvements in composition and lighting can make your images look significantly more professional.
If you enjoyed this guide, explore more tutorials on The Candid Shoot to continue improving your photography skills.





Leave a Reply