
Discover the best poses for sarong photography on the beach with creative ideas, natural angles, styling tips, and posing techniques for stunning photos.
Elevate Your Sarong Photography on the Beach
Sarongs are more than just versatile beachwear—they are dynamic, colorful, and captivating props that can transform your beach photography sessions. Whether you’re working with a professional model or shooting for personal projects, understanding the best poses for sarong photography is essential to capturing the elegance and movement that sarongs bring to life.
This guide explores inspiration, tips, and detailed pose explanations for creating mesmerizing sarong beach shots. From mastering natural poses to creating movement-focused compositions, this blog offers everything you need to elevate your sarong photography skills.
Why Trust The Candid Shoot?

At The Candid Shoot, we publish practical photography guides based on real-world shooting techniques, camera knowledge, lighting setups, and post-processing workflows. Our goal is to simplify photography concepts so beginners, hobbyists, creators, and professionals can capture better images with confidence.
Every guide is carefully reviewed and updated to reflect current photography trends, camera technology, AI-powered editing tools, and industry best practices. Whenever relevant, we reference trusted photography resources and official manufacturer documentation to ensure our recommendations remain accurate and reliable.
Whether you’re photographing products for an online store, social media, Amazon listings, or personal projects, our tutorials are designed to help you improve image quality while making informed equipment and workflow decisions.
Quick Answer
Product photography is the process of creating high-quality images that accurately showcase a product’s appearance, features, and details. Effective product photography combines proper lighting, composition, camera settings, backgrounds, and editing techniques to produce professional images that increase customer trust and improve online sales.
Learn More About Product Photography
If you’re looking to master product photography from beginner to advanced level, don’t miss our complete guide:
👉 Powerful Product Photography Secrets for Photos
Inside this comprehensive guide, you’ll learn:
- Camera settings for product photography
- Lighting techniques for every budget
- Background selection
- Composition tips
- Lens recommendations
- Editing workflow
- AI tools for product photography
- Studio setup ideas
- Photography mistakes to avoid
- Professional workflow from planning to final image
This pillar guide connects all of our product photography tutorials in one place, making it the perfect starting point for beginners and experienced photographers alike.
1. The Allure of Sarong Photography on the Beach
1.1 Why Sarongs Are Ideal for Beach Photography
- Lightweight and Flowing: Sarongs’ natural movement pairs perfectly with ocean breezes.
- Bright and Vibrant: Sarongs often feature bold patterns that stand out against sandy beaches and blue skies.
- Cultural and Stylish: Sarongs add depth and meaning to photos, reflecting diverse cultural roots.
1.2 How Beaches Enhance Sarong Photography
Beaches provide the ideal backdrop for sarong photography, offering:
- Natural lighting for vibrant colors.
- Open spaces for creative poses and wide-angle shots.
- Textures like sand and water that complement flowing fabrics.
2. Essential Gear for Sarong Beach Photography
2.1 Cameras and Lenses
- DSLR or Mirrorless Cameras: Capture high-quality details of the fabric’s texture and movement.
- Prime Lenses: Perfect for sharp portraits that emphasize the sarong.
- Telephoto Lenses: Ideal for creating depth and isolating the subject.
2.2 Accessories for Beach Shoots
- Reflectors: Direct sunlight to highlight fabric details.
- Tripods: Stabilize shots, especially during golden hour.
- Filters:
- Polarizing filters reduce glare from water.
- Neutral density filters help control exposure under harsh sunlight.
2.3 Sarong-Specific Props
- Wide-brimmed hats or woven baskets for a tropical aesthetic.
- Beach umbrellas to add layers and framing.





3. Preparing for a Sarong Beach Photoshoot
3.1 Choosing the Right Sarongs
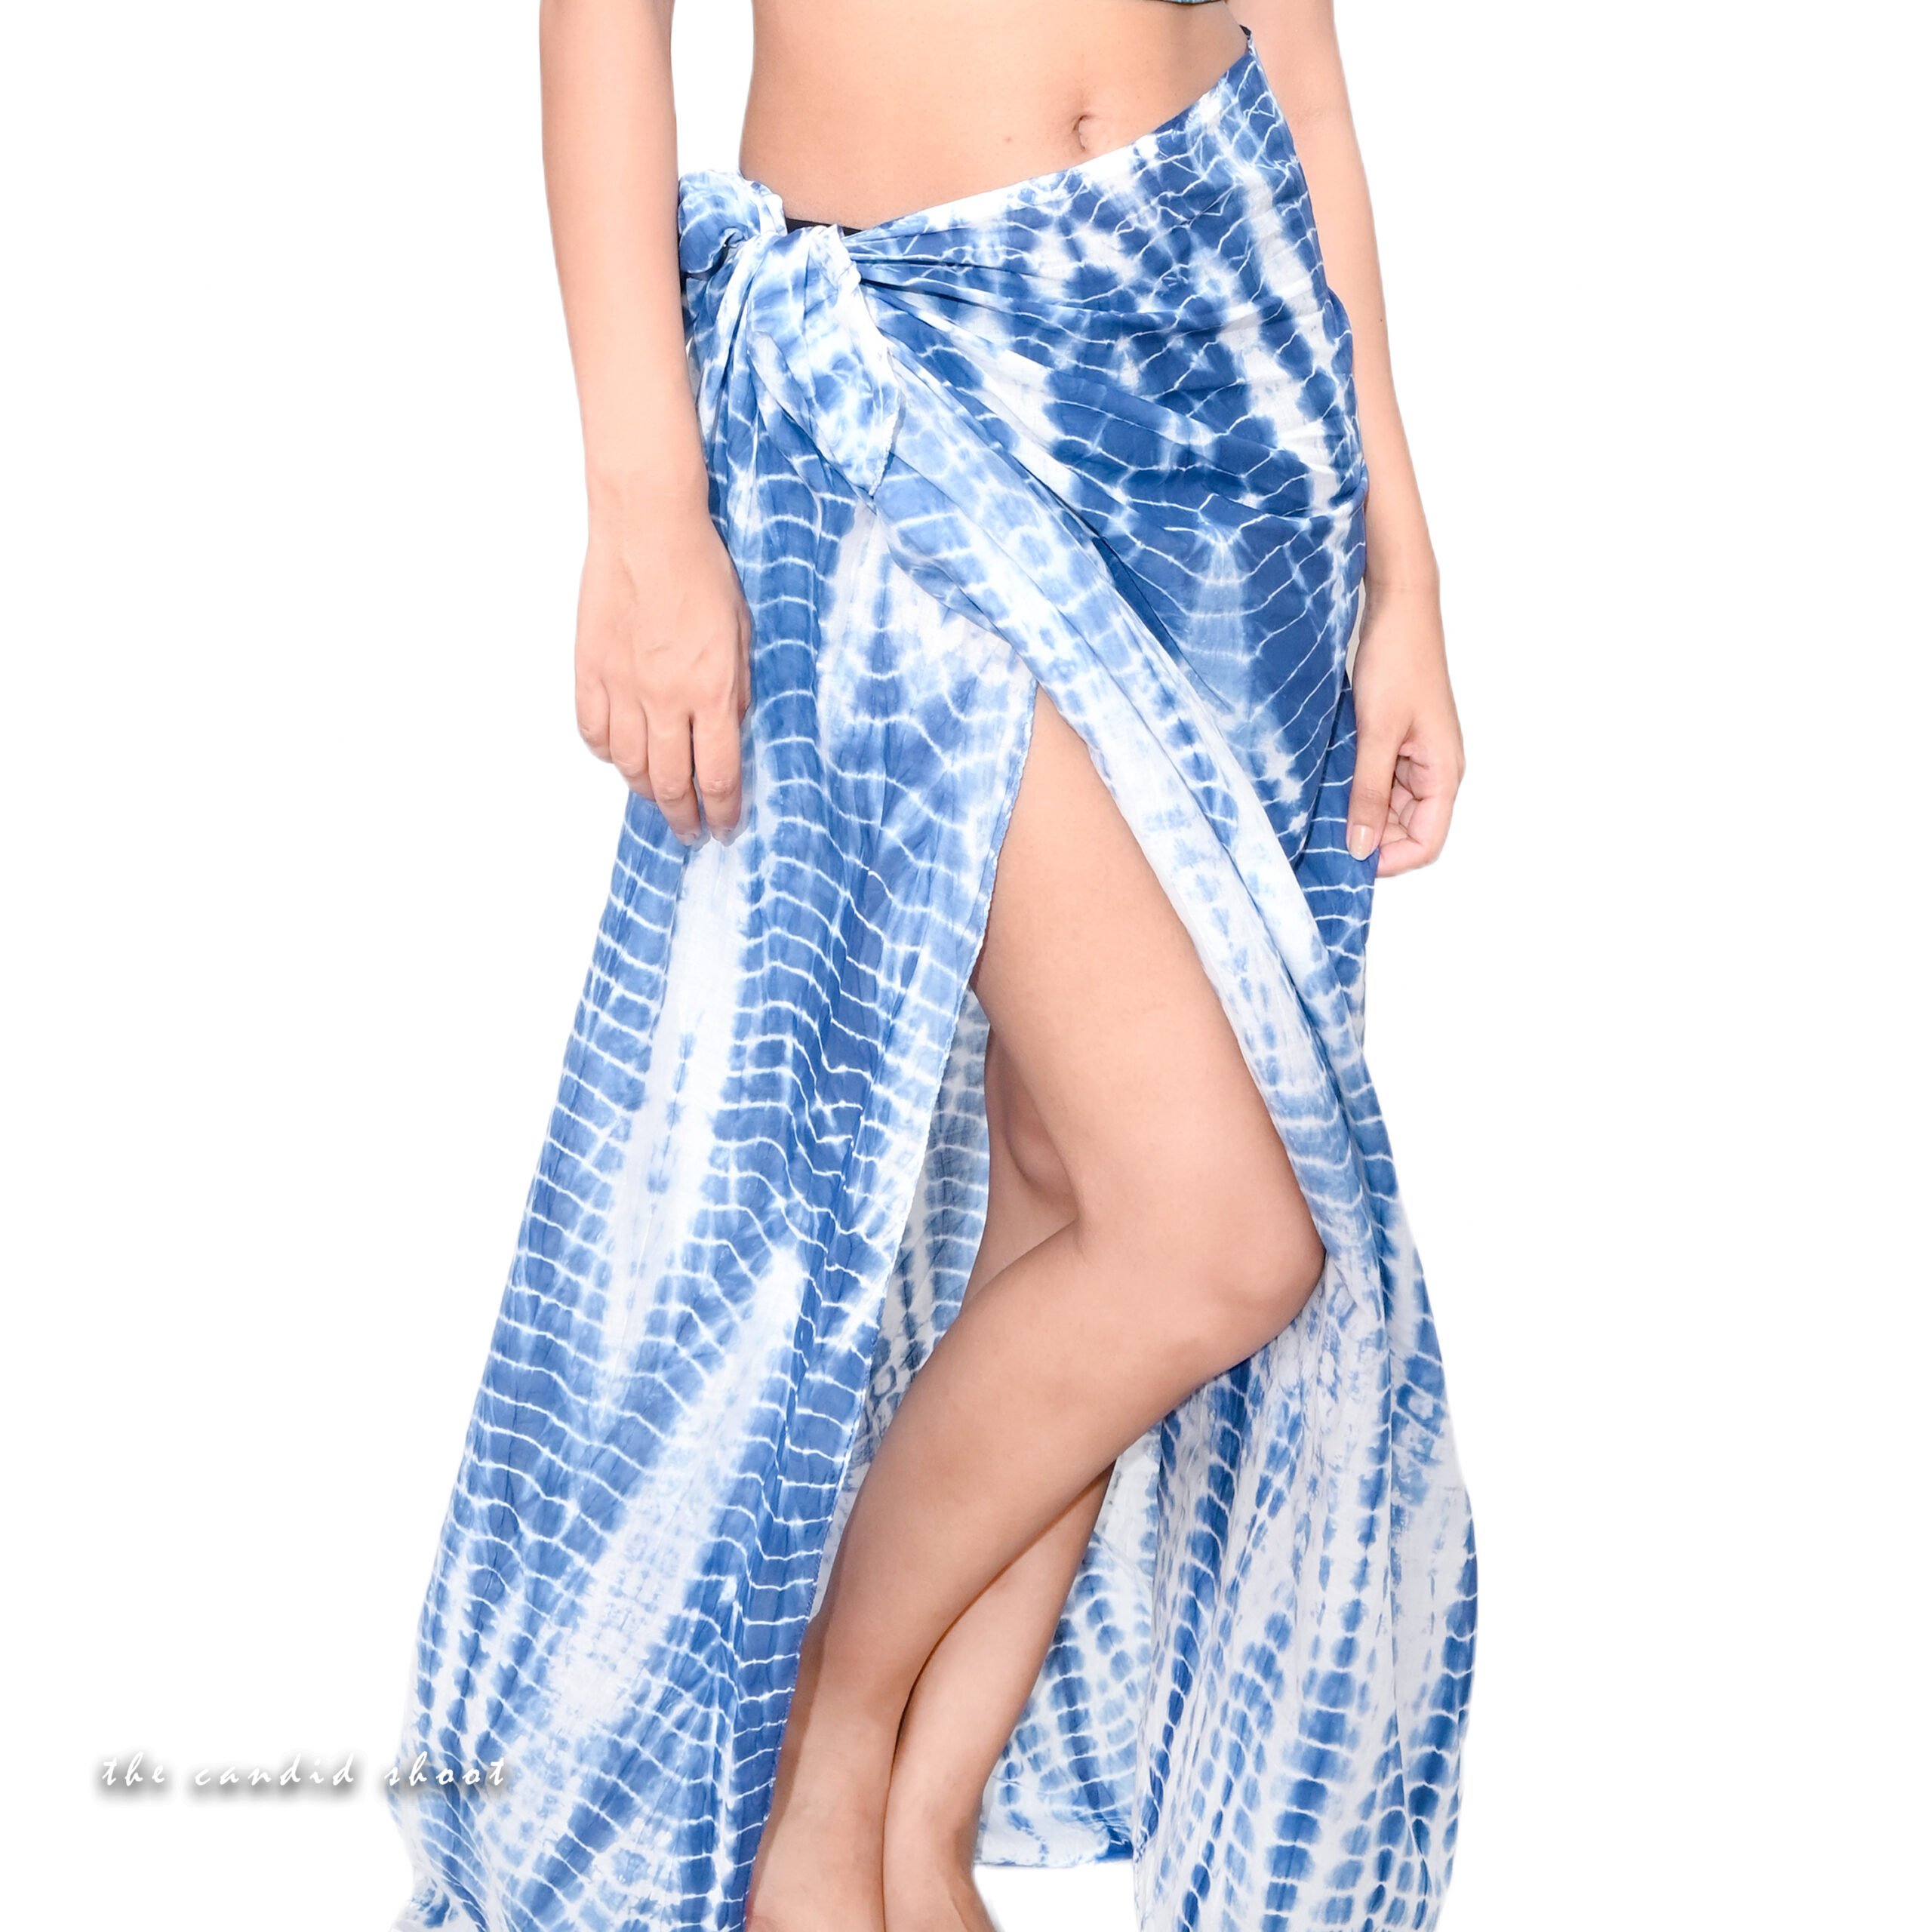
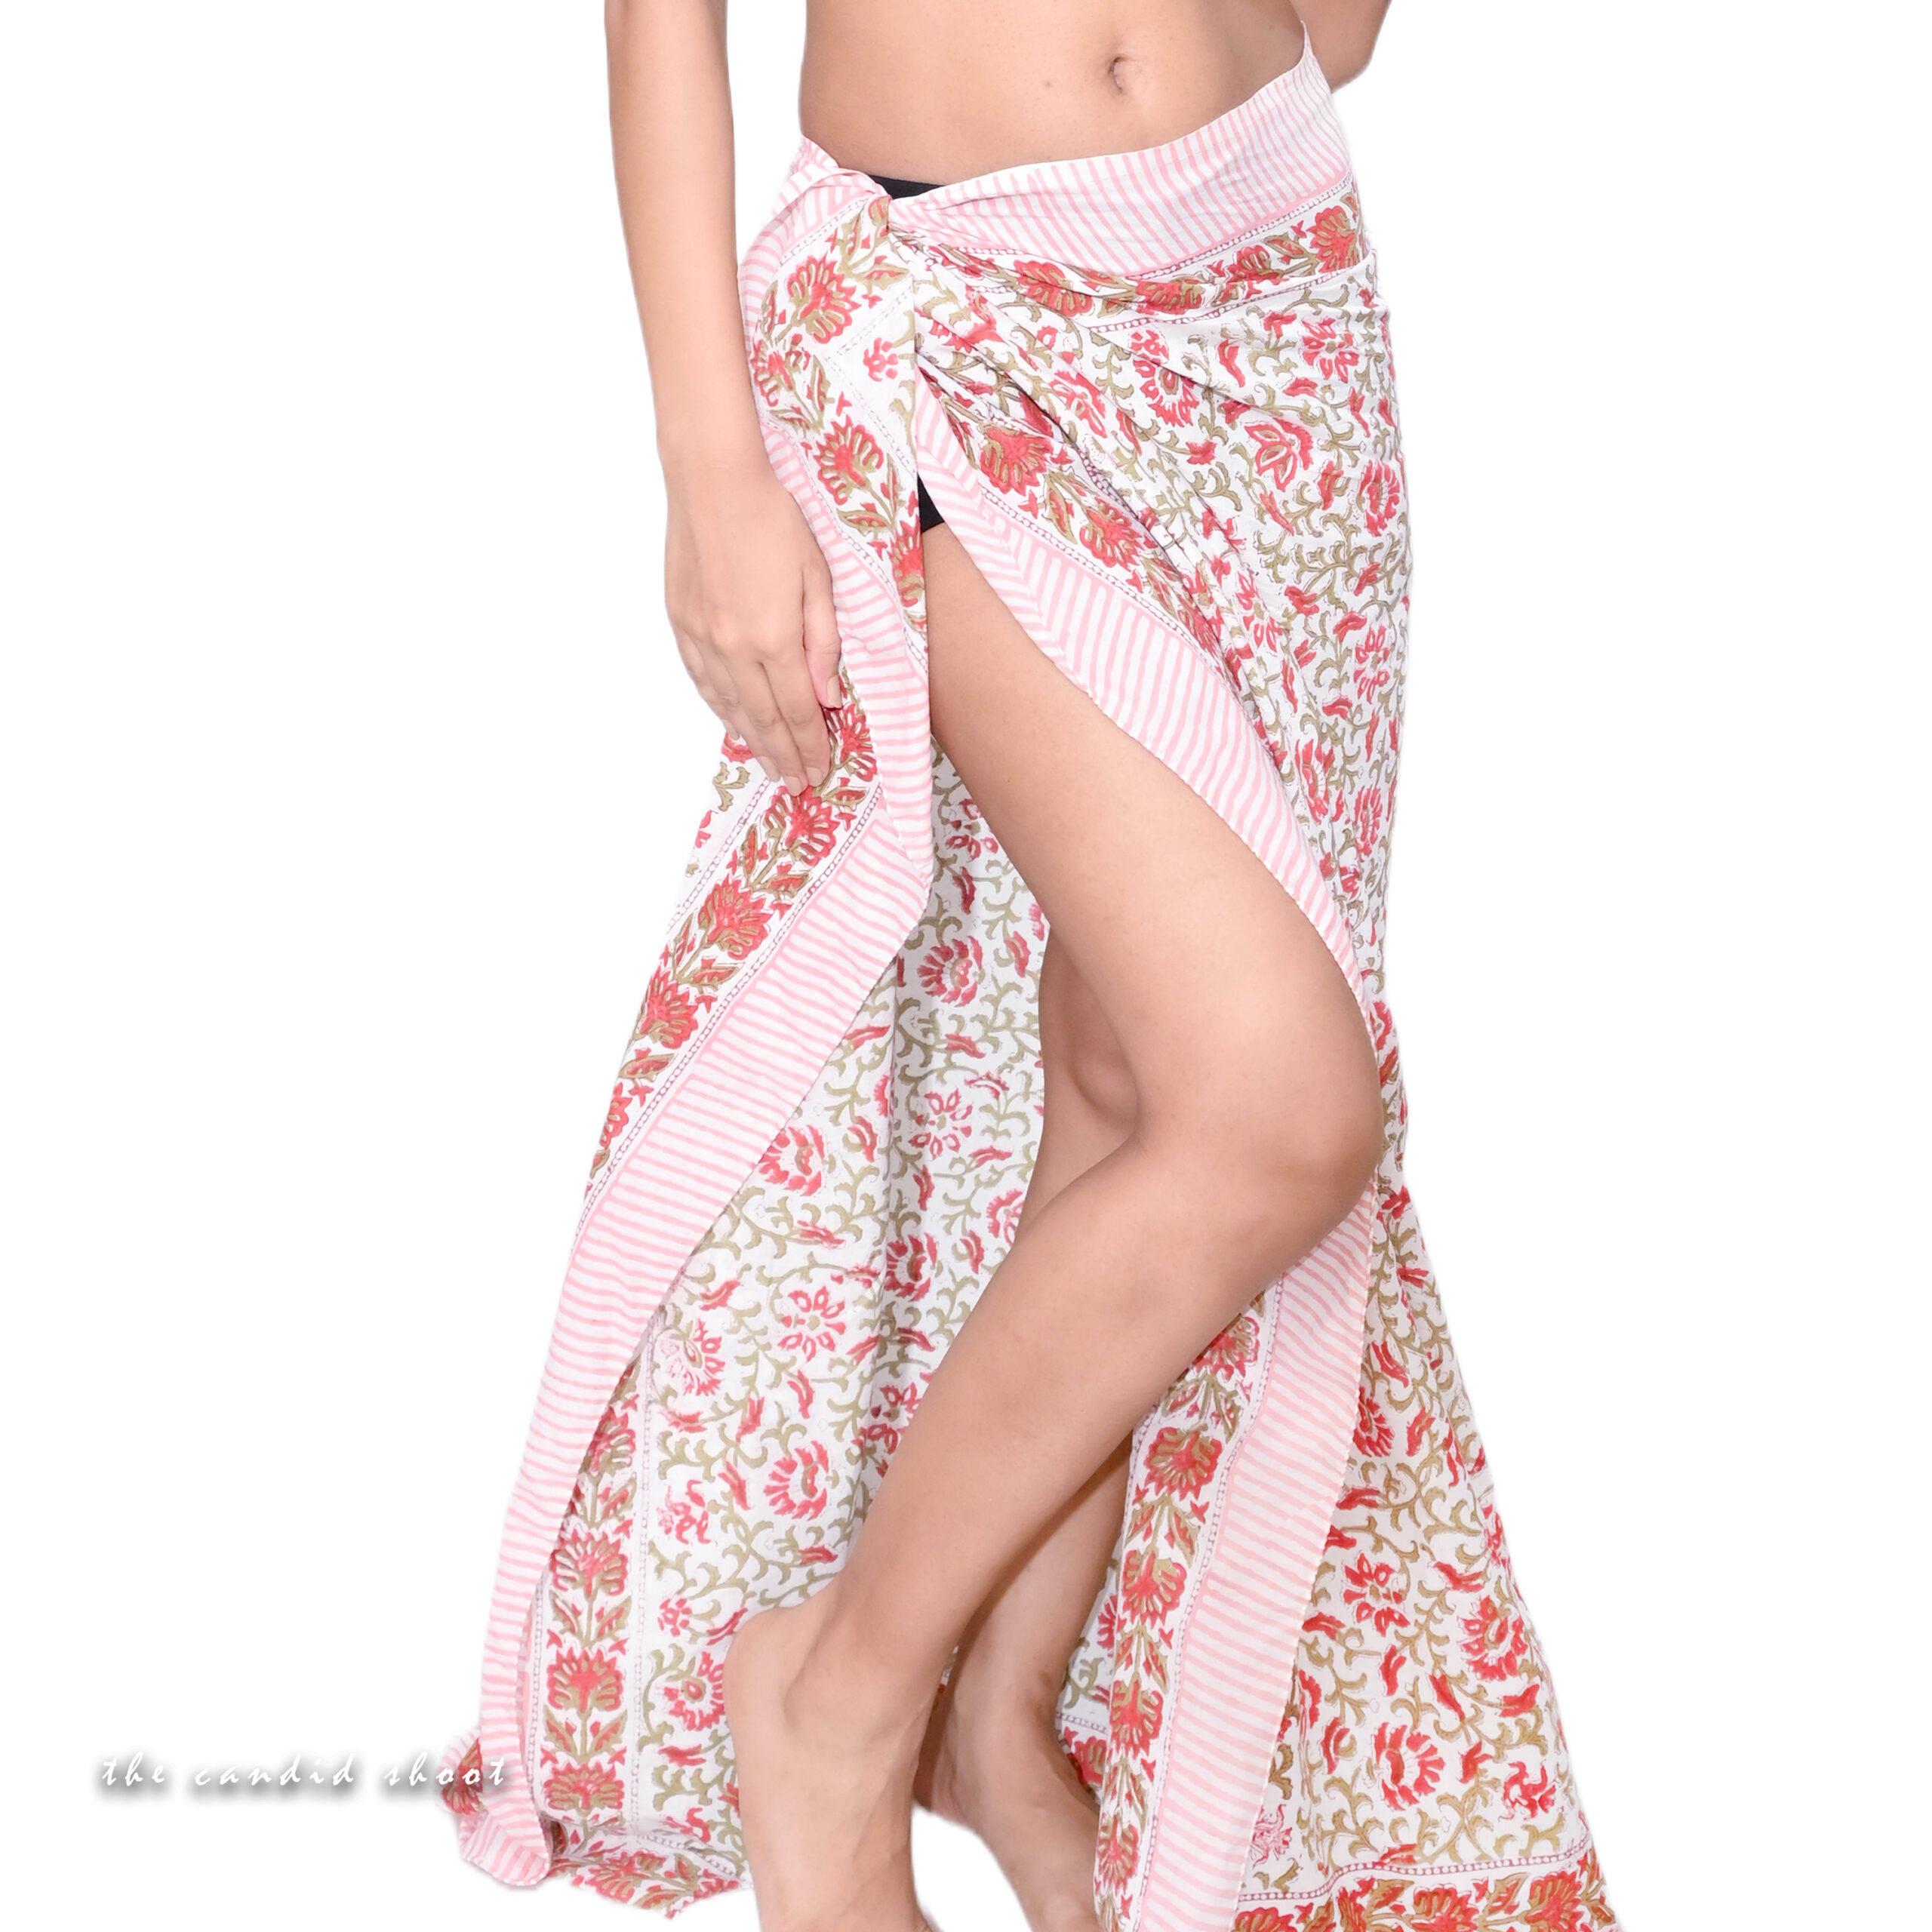
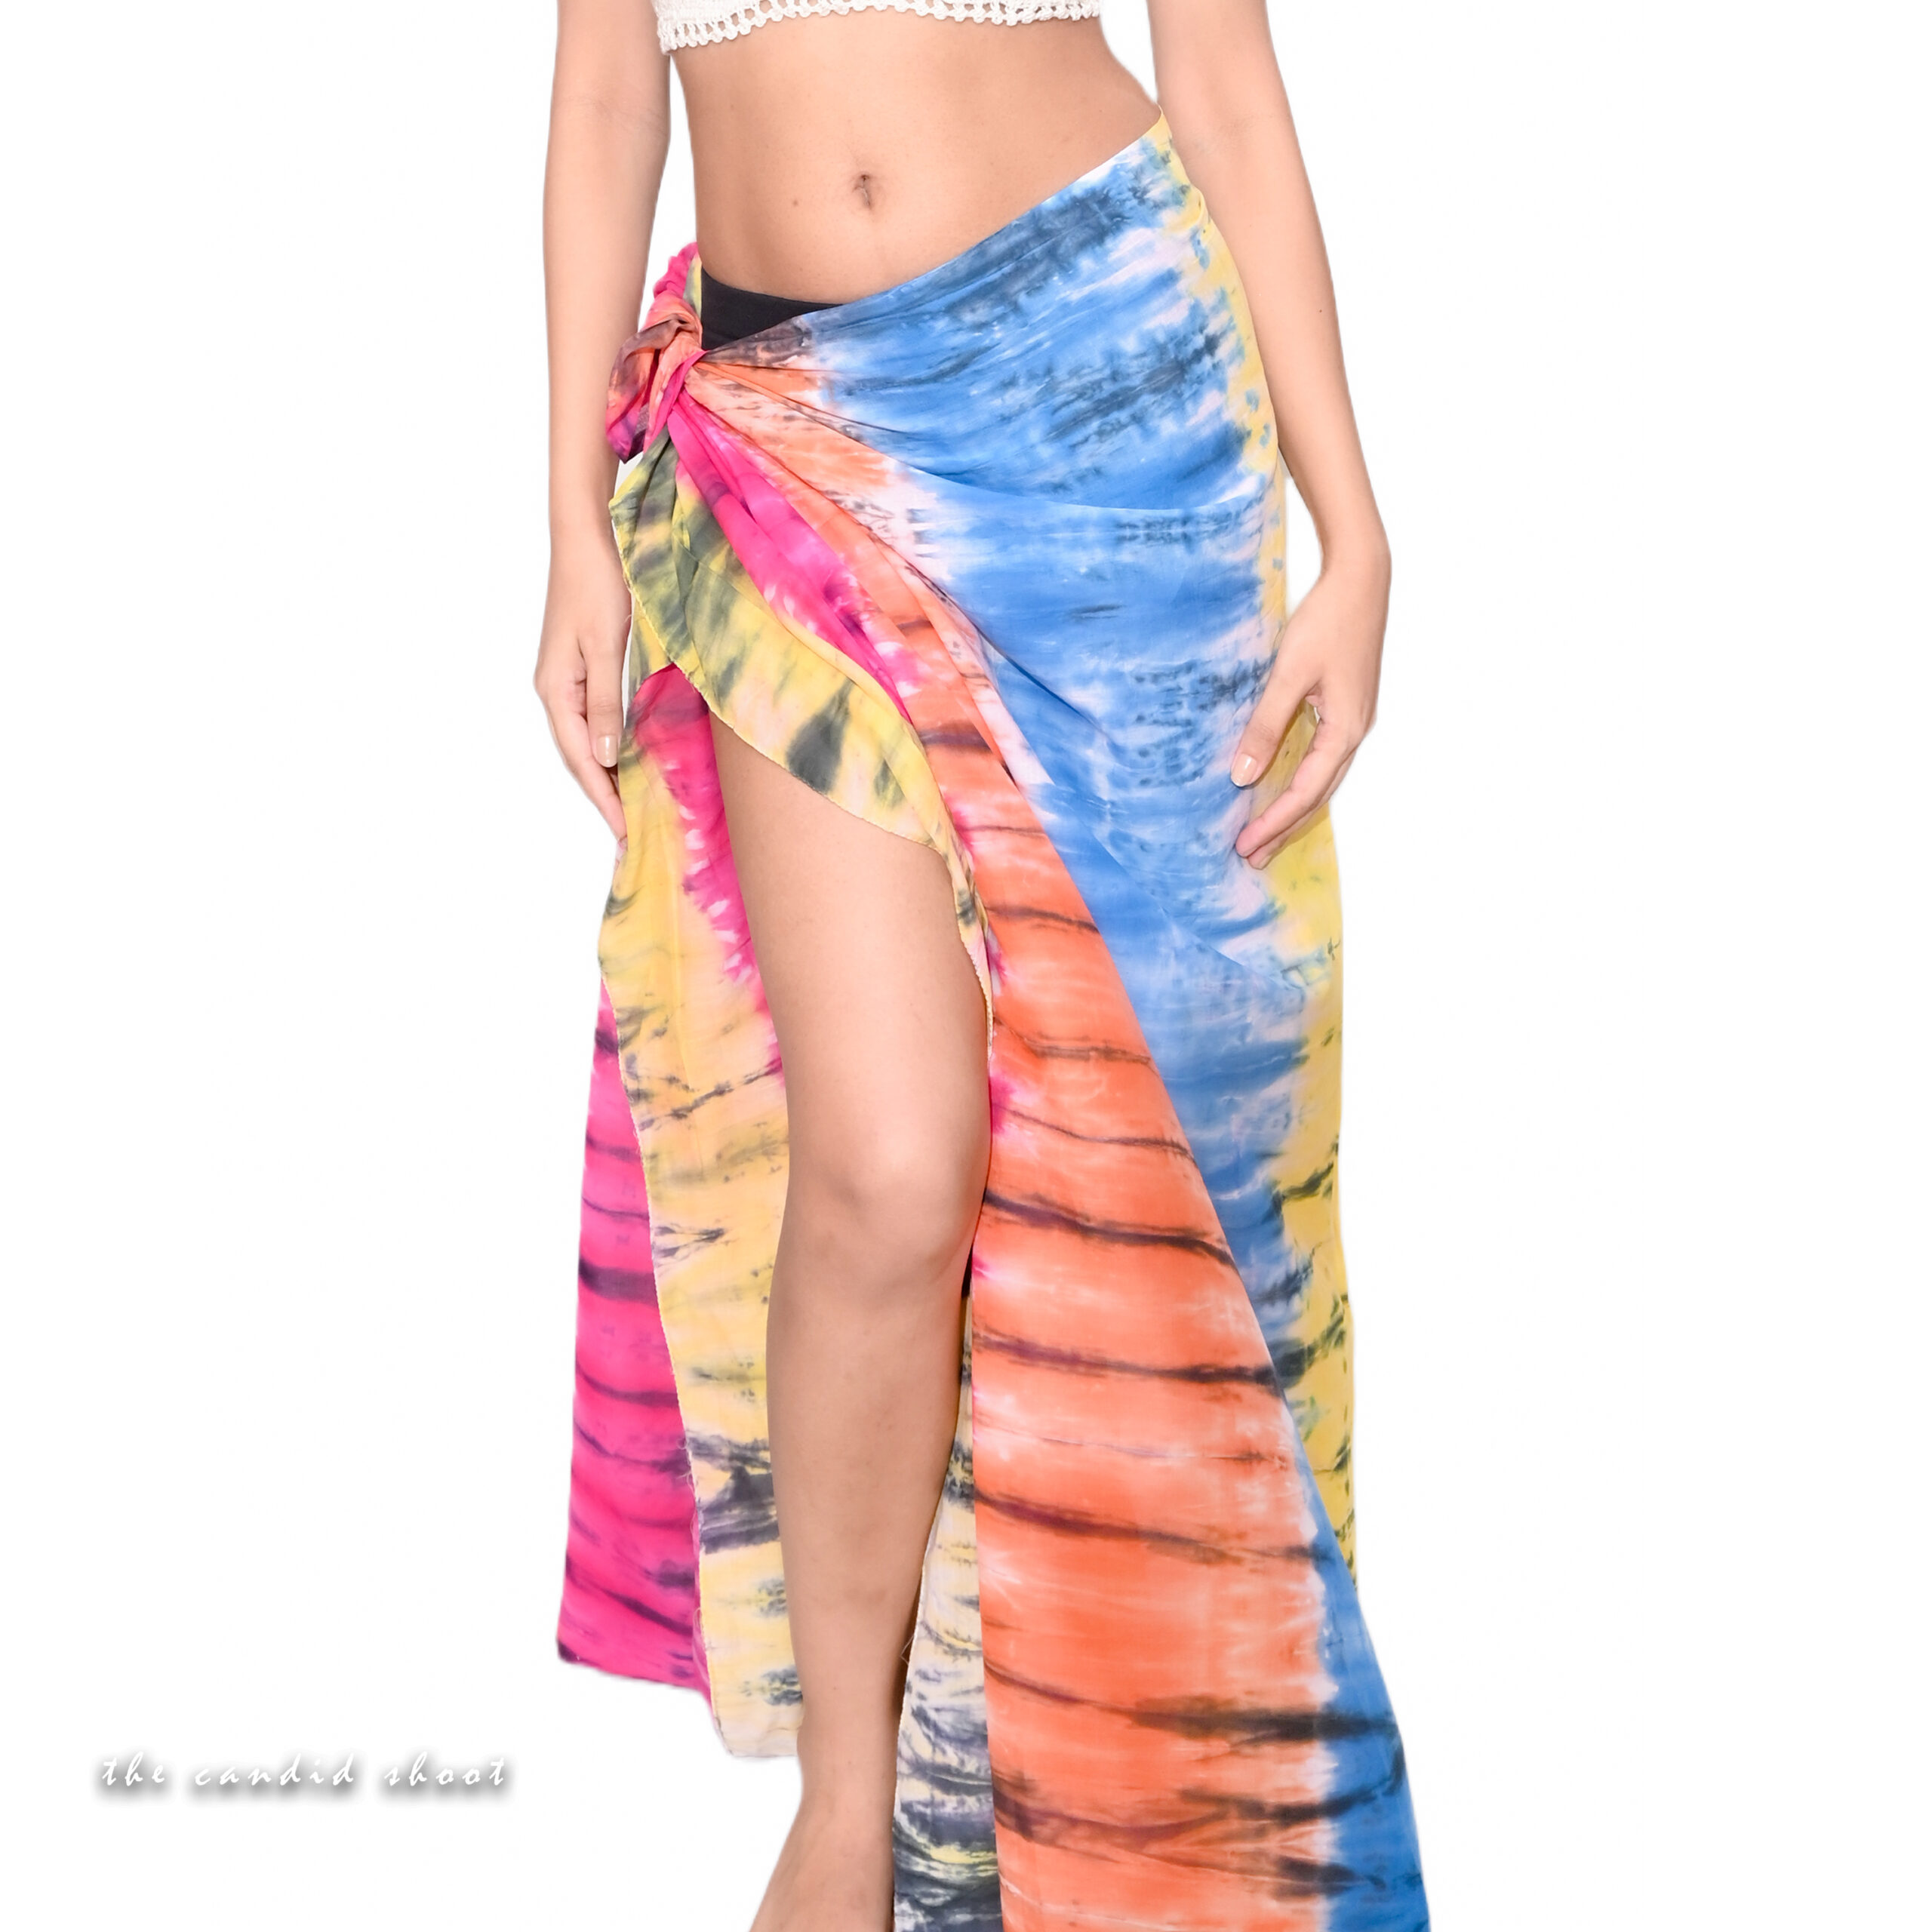
- Light Materials: Chiffon, silk, and cotton create natural movement.
- Bold Patterns: Tropical prints, stripes, and tie-dye designs are perfect for beach settings.
- Versatility: Opt for sarongs that can be styled in multiple ways.
3.2 Styling the Model
- Keep the look natural and beach-ready with minimal makeup.
- Use accessories that enhance the sarong’s aesthetic without overwhelming the frame.
3.3 Picking the Perfect Beach Location
- Look for clean, uncrowded beaches with dynamic elements like rock formations or tidal pools.
- Scout the beach during different times of day to assess lighting and tide levels.
4. Posing Techniques for Sarong Photography
4.1 Poses That Highlight Movement
- The Breeze Catcher: Position the model where the wind naturally flows, allowing the sarong to billow.
- The Twirl: Ask the model to spin slowly, letting the sarong create circular motion.
- Running Along the Shoreline: Capture candid moments of movement and fabric flow.
4.2 Classic Beach Poses
- The Sand Sit: Have the model sit cross-legged or reclining on the sand, draping the sarong naturally.
- Over-the-Shoulder Look: The model wraps the sarong around their shoulders, gazing back at the camera.
- Beach Walkaway: Capture the model walking away from the camera, sarong flowing in the wind.
4.3 Advanced Artistic Poses
- The Sarong Toss: The model tosses the sarong in the air while standing still, creating dramatic fabric arcs.
- Underwater Elegance: Use waterproof gear to capture the sarong’s movement below the surface.
- Silhouette Shot: Shoot during sunset, using the sarong to create dynamic shadows and shapes.
5. Lighting and Composition for Beach Sarong Shots
5.1 Natural Lighting Tips
- Shoot during golden hour for soft, warm tones.
- Use backlighting to emphasize the sarong’s transparency and texture.
- Avoid harsh midday sun; use shade for softer lighting if necessary.
5.2 Composition Tricks
- Rule of Thirds: Position the model and sarong off-center for a balanced frame.
- Leading Lines: Use shoreline curves or wave patterns to draw attention to the model.
- Foreground Elements: Include plants, rocks, or driftwood for added depth.
5.3 Playing with Colors
- Enhance sarong vibrancy by pairing it with complementary beach tones, like turquoise water and golden sand.
6. Styling Sarongs for Dynamic Poses
6.1 Creative Tying Techniques
- Wrap Dress: Use the sarong as a full-body wrap for elegant poses.
- Headscarf Style: Tie the sarong as a head wrap for unique framing.
- Layered Drapes: Combine two sarongs for dramatic, overlapping movement.
6.2 Incorporating Accessories
- Add anklets, bangles, or beach bags to enhance the sarong’s beach vibe.
- Use large hats or oversized sunglasses for a retro aesthetic.
7. Capturing Candid Moments
7.1 Encouraging Natural Movement
- Ask the model to interact with the environment, like dipping their toes in the water or picking up seashells.
- Use prompts instead of rigid directions to elicit genuine expressions.
7.2 Focusing on Emotion
- Look for laughter, joy, or introspection as the model interacts with the sarong.
- Capture close-up shots of hands gripping the fabric or toes in the sand for storytelling details.
8. Post-Processing Tips for Sarong Photography
8.1 Editing for Vibrancy
- Boost saturation to make sarong patterns pop.
- Use contrast adjustments to highlight fabric folds and textures.
8.2 Removing Distractions
- Edit out unwanted background elements like people or debris.
- Smooth out any wrinkles in the sarong using retouching tools.
8.3 Creating Consistent Themes
- Apply similar filters or presets to maintain a cohesive look throughout the shoot.
- Experiment with monochrome for artistic, minimalist beach shots.
9. Common Mistakes in Sarong Photography
9.1 Ignoring the Wind
- Always position the model to make the most of natural breezes.
9.2 Overcomplicating the Frame
- Keep the focus on the sarong by avoiding busy backgrounds.
9.3 Neglecting the Environment
- Use the beach’s natural elements to complement the sarong, not compete with it.
10. Inspiring Examples of Sarong Beach Poses
10.1 The Windswept Look
A model standing on a rock with the sarong dramatically flowing behind them.
10.2 The Sunset Silhouette
A model holding the sarong above their head, creating a striking silhouette against the orange sky.
10.3 Water Play
The model wading into the ocean, with the sarong trailing behind in the water.
Conclusion: Transform Your Sarong Photography on the Beach
Sarong photography is an art that combines elegance, culture, and creativity. By mastering the tips and poses shared in this guide, you can capture stunning beach shots that showcase the unique beauty of sarongs. From choosing the right lighting to directing dynamic poses, every detail contributes to the final masterpiece.
Embrace the natural beauty of the beach and the flowing charm of sarongs to create unforgettable images.
Frequently Asked Questions:
Related Product Photography Guides
Continue improving your photography skills with these helpful resources:
- Product Photography Lighting Guide
- Best Cameras for Product Photography
- DIY Product Photography Setup at Home
- White Background Product Photography Tips
- Product Photography Camera Settings Explained
- Best Lenses for Product Photography
- AI Product Photography Tools
- Product AI Photo Editing Guide
- Photography Tutorials for Beginners
Recommended Resources
Improve Your Product Photography Skills
Photography is a skill that improves with practice. Try experimenting with different lighting setups, camera angles, and editing techniques to discover what works best for your products. Even small improvements in composition and lighting can make your images look significantly more professional.
If you enjoyed this guide, explore more tutorials on The Candid Shoot to continue improving your photography skills.







Leave a Reply