


Elevating Lifestyle Photography with Sarongs
Sarongs, with their fluid designs, vibrant patterns, and cultural richness, are a photographer’s dream when it comes to showcasing elegance and movement. Their versatility offers endless opportunities for experimentation in lifestyle photography. Capturing sarongs requires a unique approach that combines creativity, technique, and a keen eye for detail.
In this comprehensive guide, we delve into the best sarong photography tips to help you master this art form. From choosing the right sarong to perfecting poses and post-processing, this blog provides actionable insights to bring your vision to life.
1. Understanding the Essence of Sarong Photography
1.1 The Cultural Significance of Sarongs
Sarongs carry deep cultural roots, originating from Southeast Asia, Africa, and the Pacific Islands. Incorporating them into photography not only highlights their elegance but also pays homage to their cultural heritage.
1.2 Why Sarongs Are Perfect for Capturing Movement
- Lightweight fabrics create dramatic effects in windy or dynamic environments.
- The flowing nature of sarongs adds grace and fluidity to lifestyle shots.
1.3 The Emotional Impact of Sarongs in Photography
Sarongs evoke a sense of freedom, relaxation, and adventure, making them ideal for lifestyle and travel-themed shoots.
2. Essential Gear for Sarong Photography
2.1 Cameras and Lenses
- DSLR or Mirrorless Cameras: Ensure high resolution for capturing fabric details.
- Lenses:
- Prime Lenses: Perfect for portraits and focusing on fabric textures.
- Wide-Angle Lenses: Capture sarongs in motion, along with their surroundings.
2.2 Lighting Equipment
- Natural Light: Best for showcasing the sarong’s colors and patterns.
- Reflectors: To enhance lighting and reduce shadows on the fabric.
- Diffusers: Soften harsh sunlight for a more natural look.
2.3 Tripods and Stabilizers
- Use a tripod for long exposure shots, especially when capturing movement.
- Stabilizers are helpful for smooth video captures of sarongs in action.
2.4 Props and Accessories
- Fans to create controlled fabric movement indoors.
- Natural elements like sand, leaves, or water for added texture.
3. Preparing for a Sarong Photoshoot
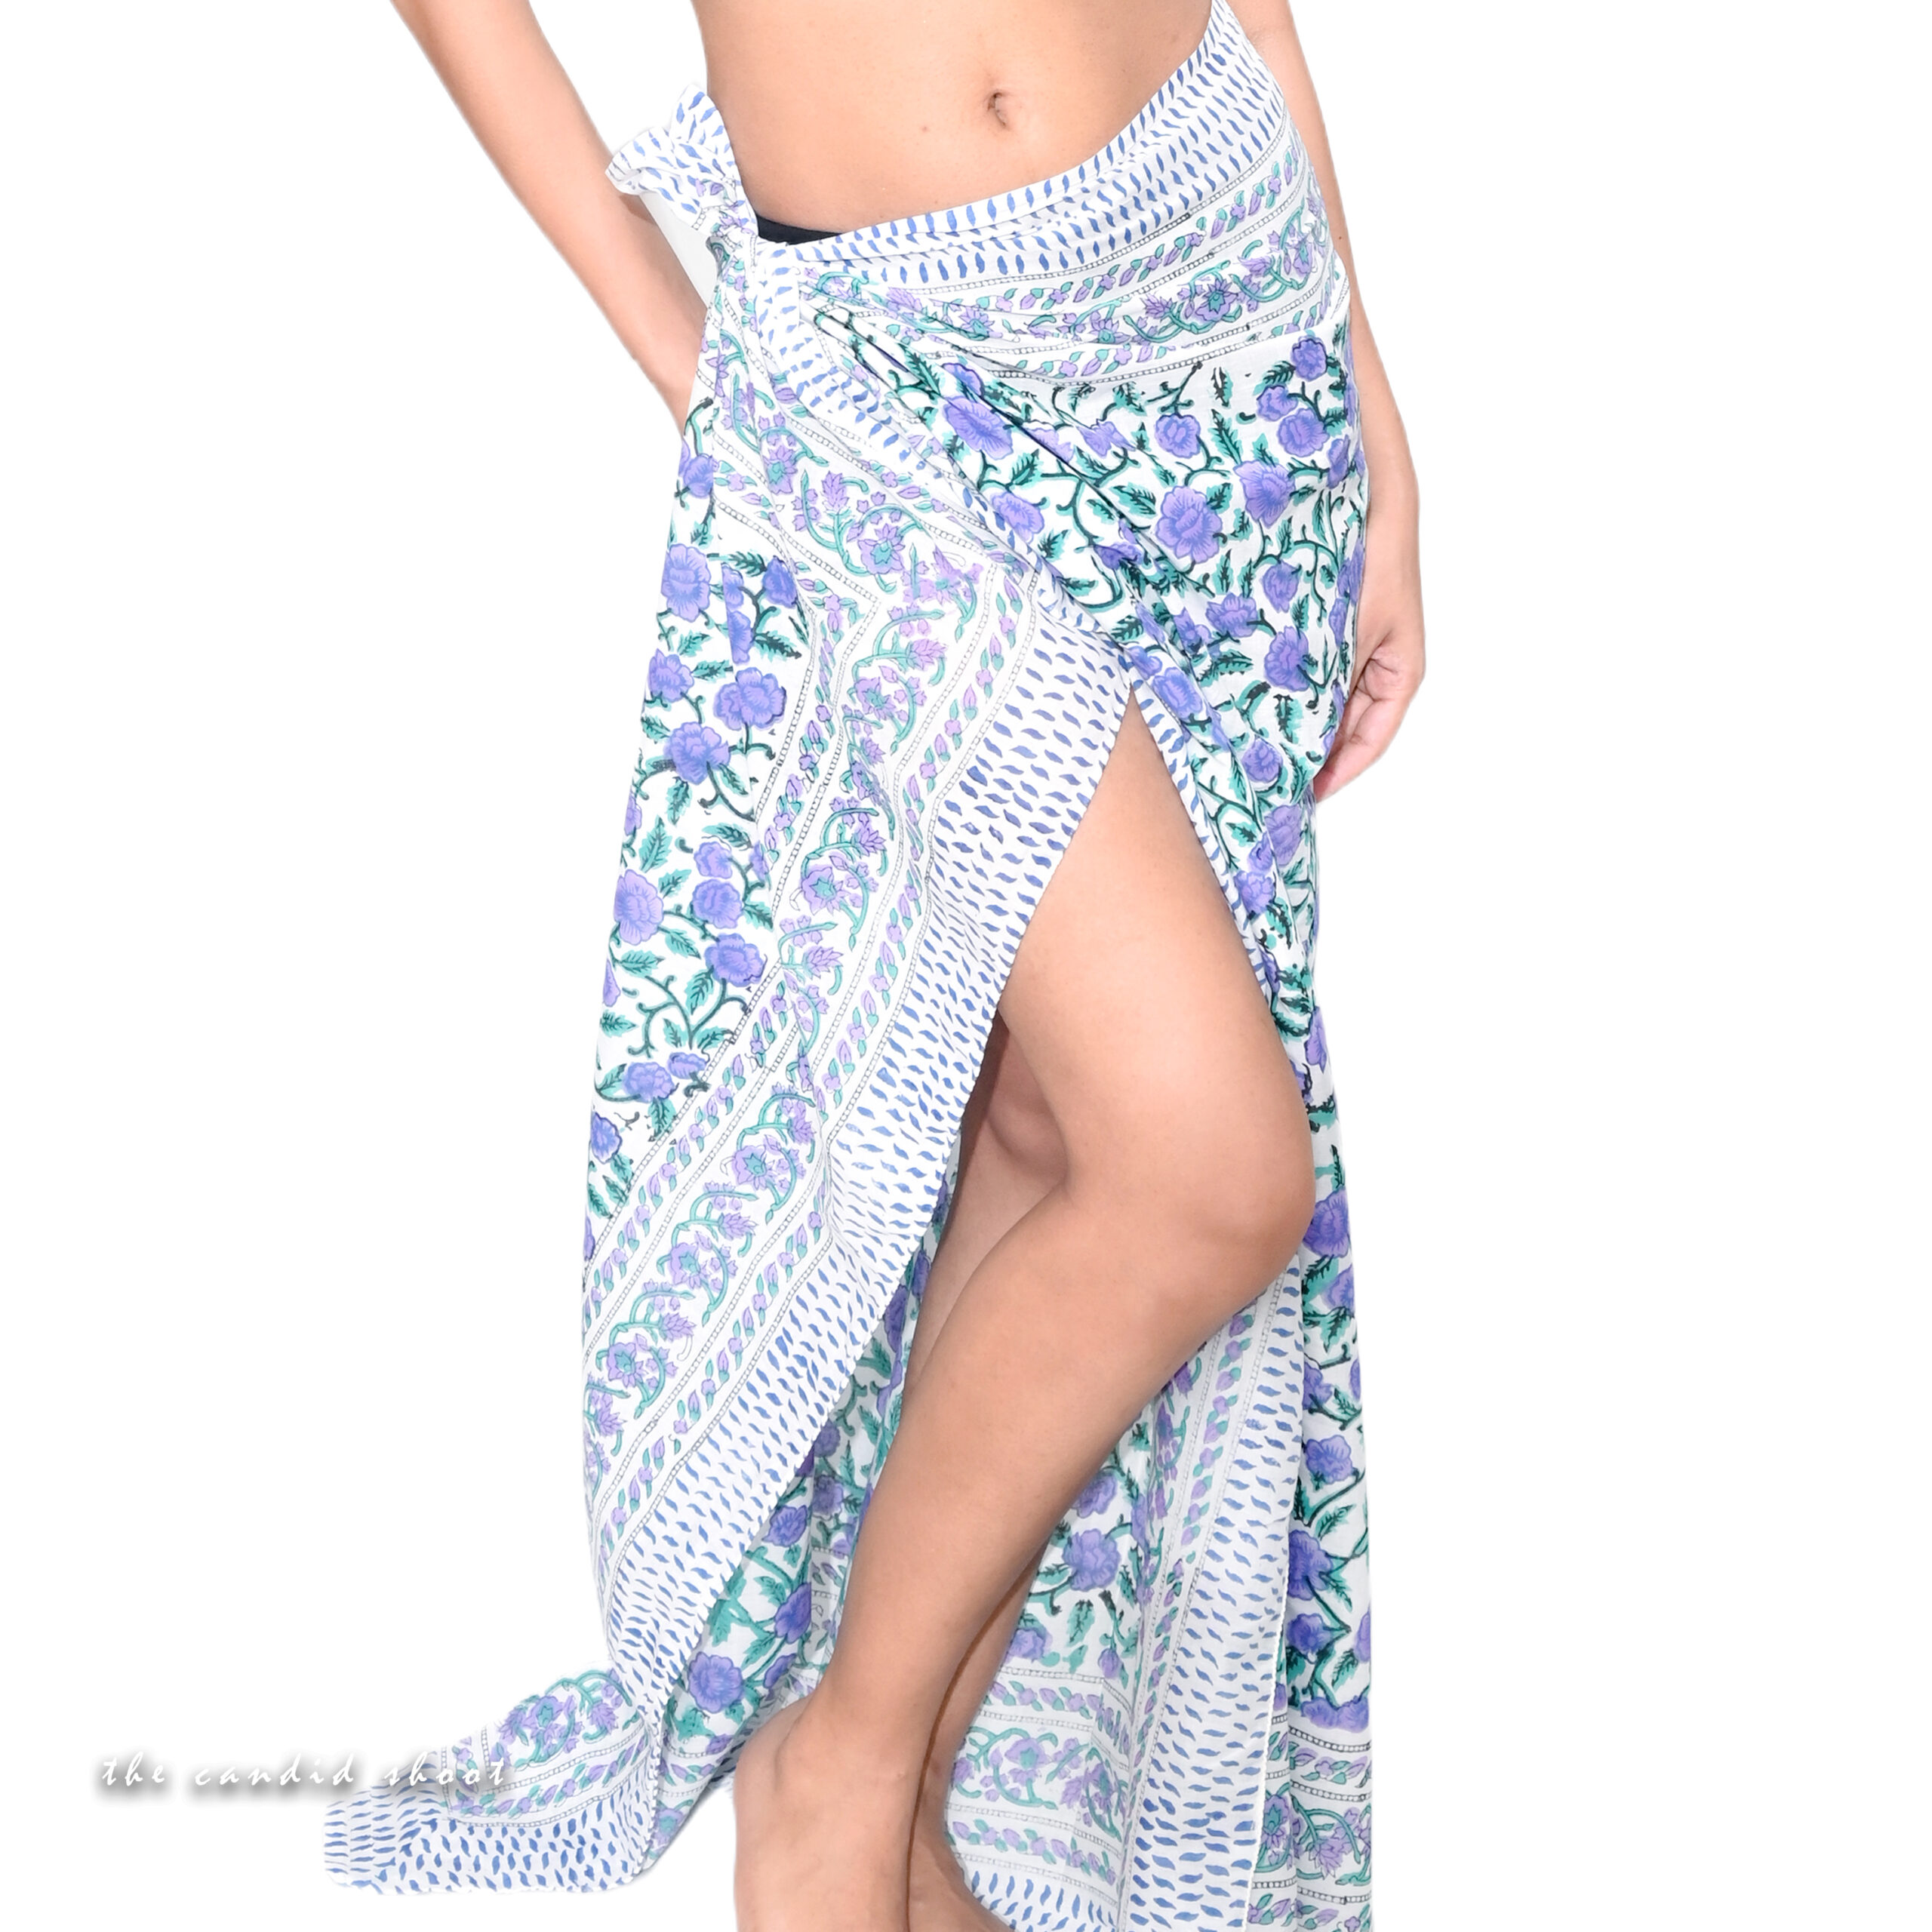
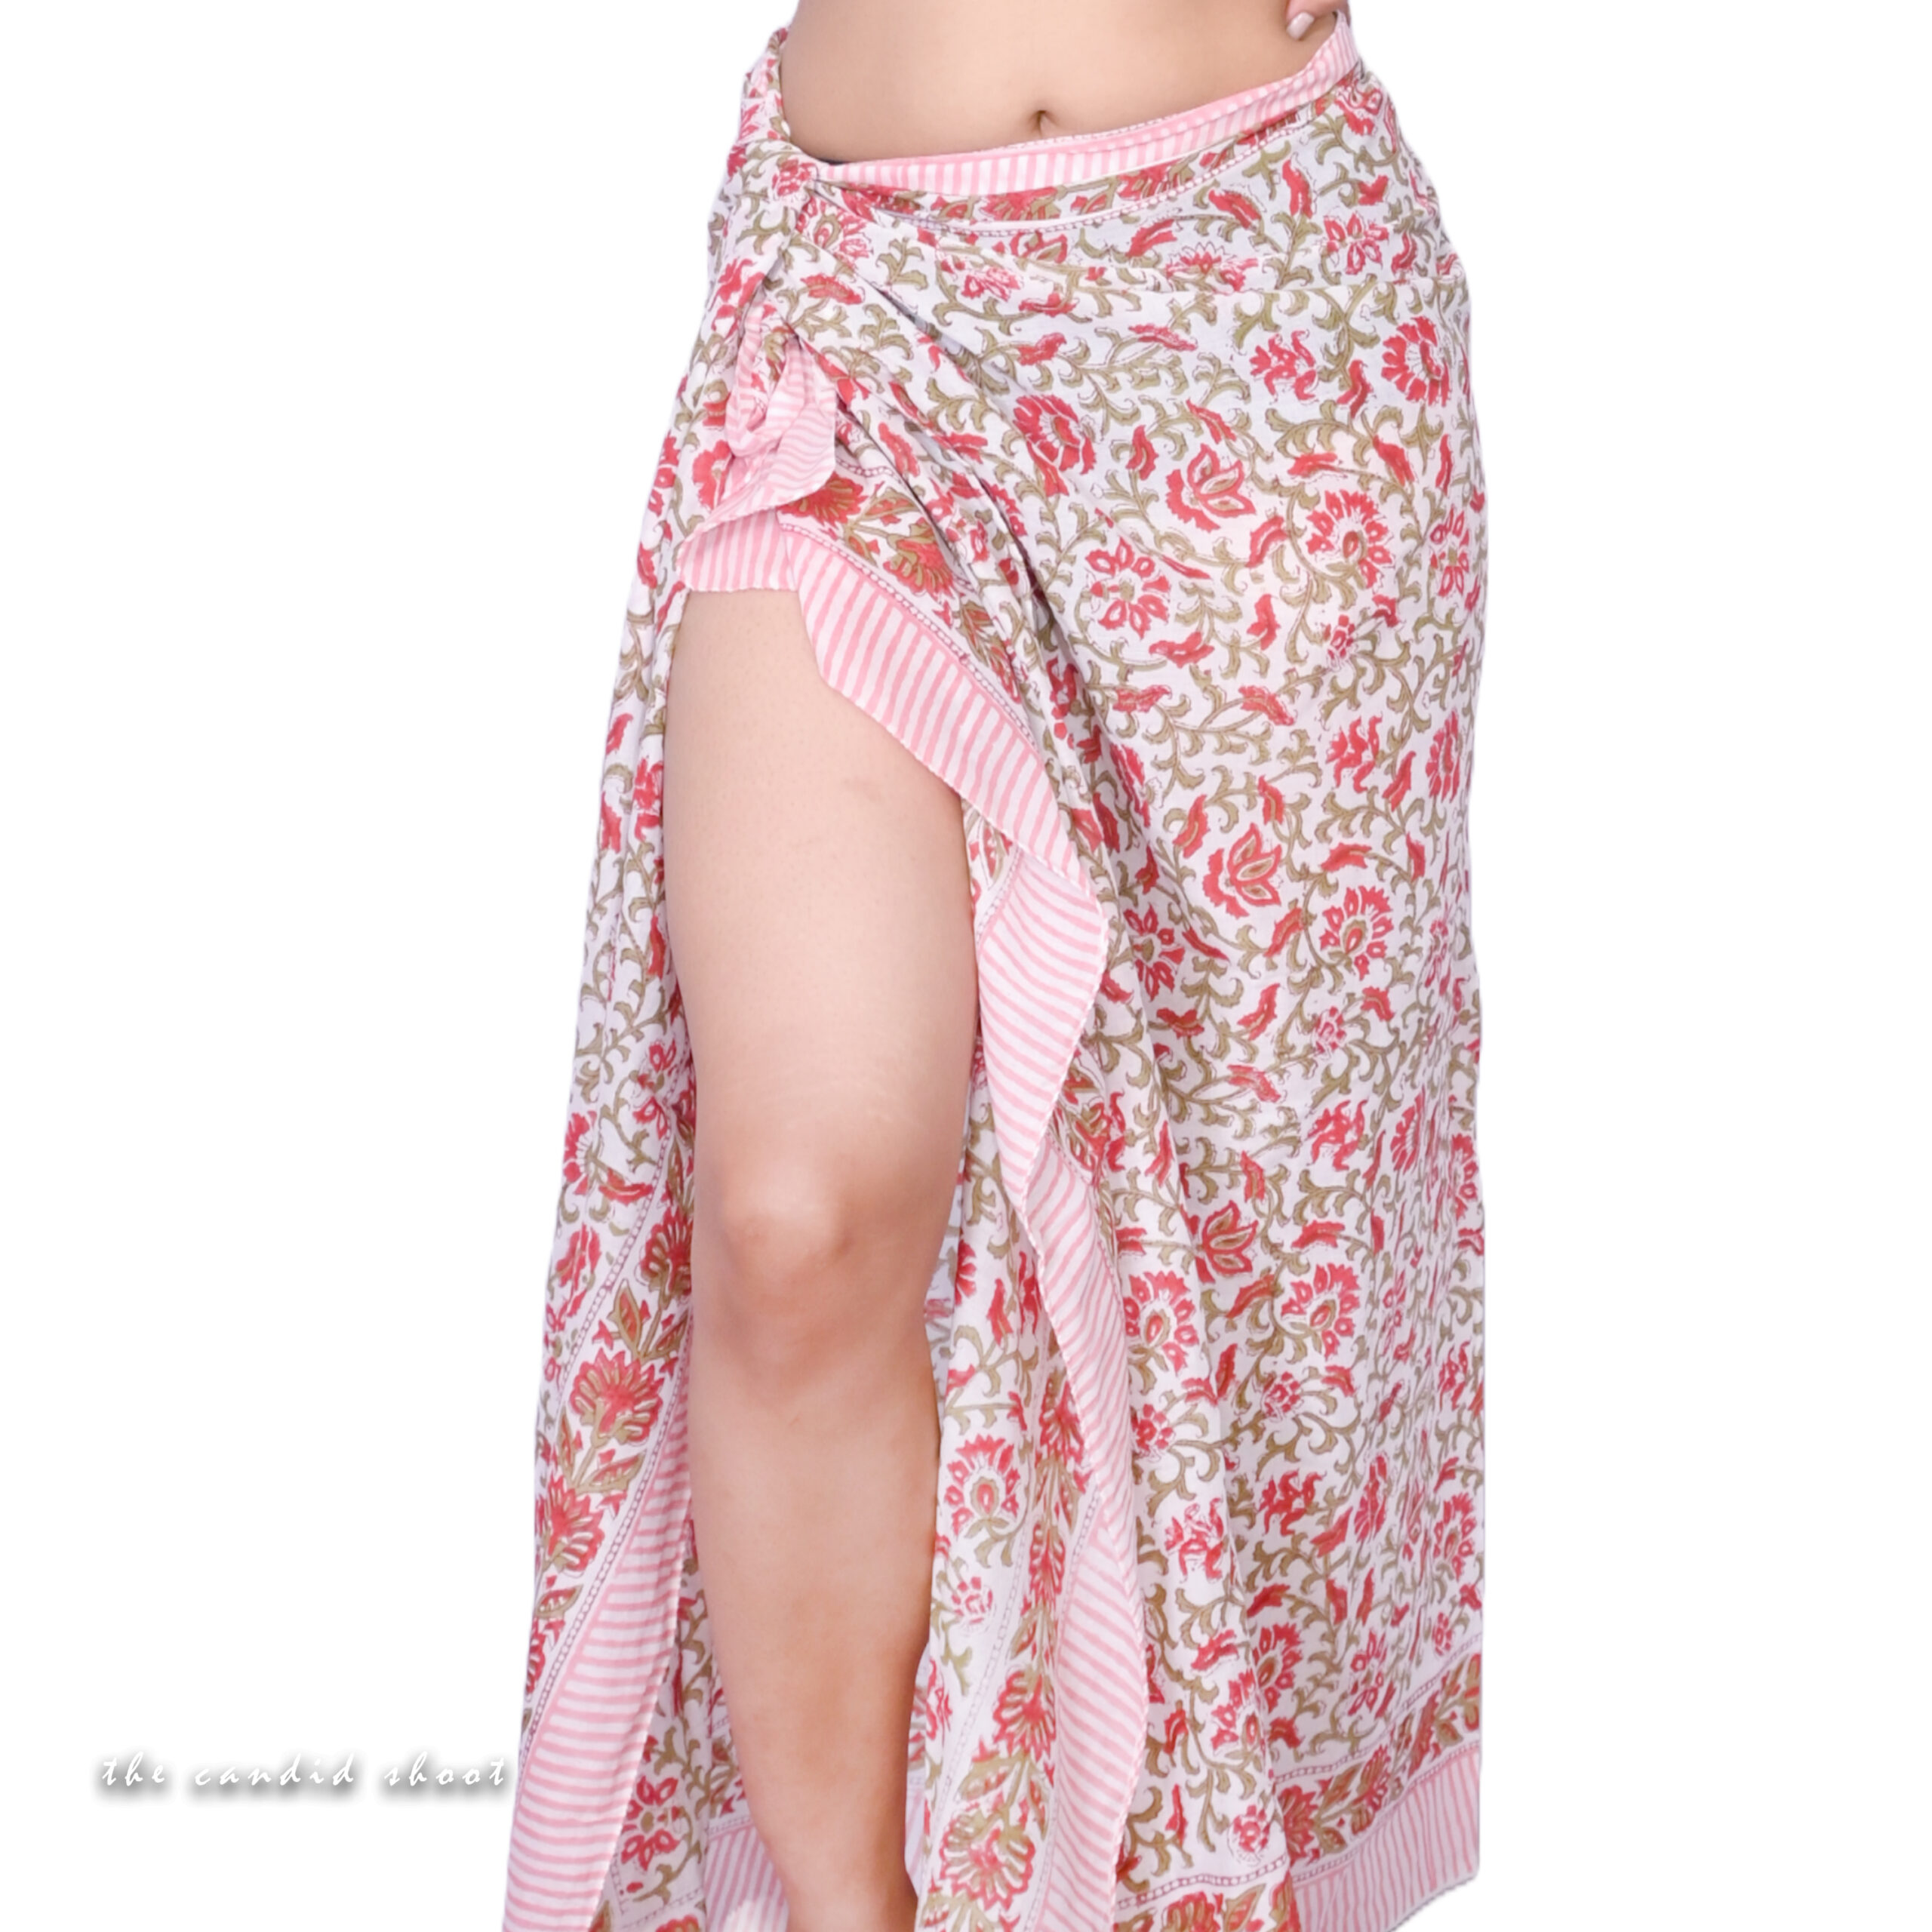
3.1 Choosing the Right Sarong
- Fabric Types:
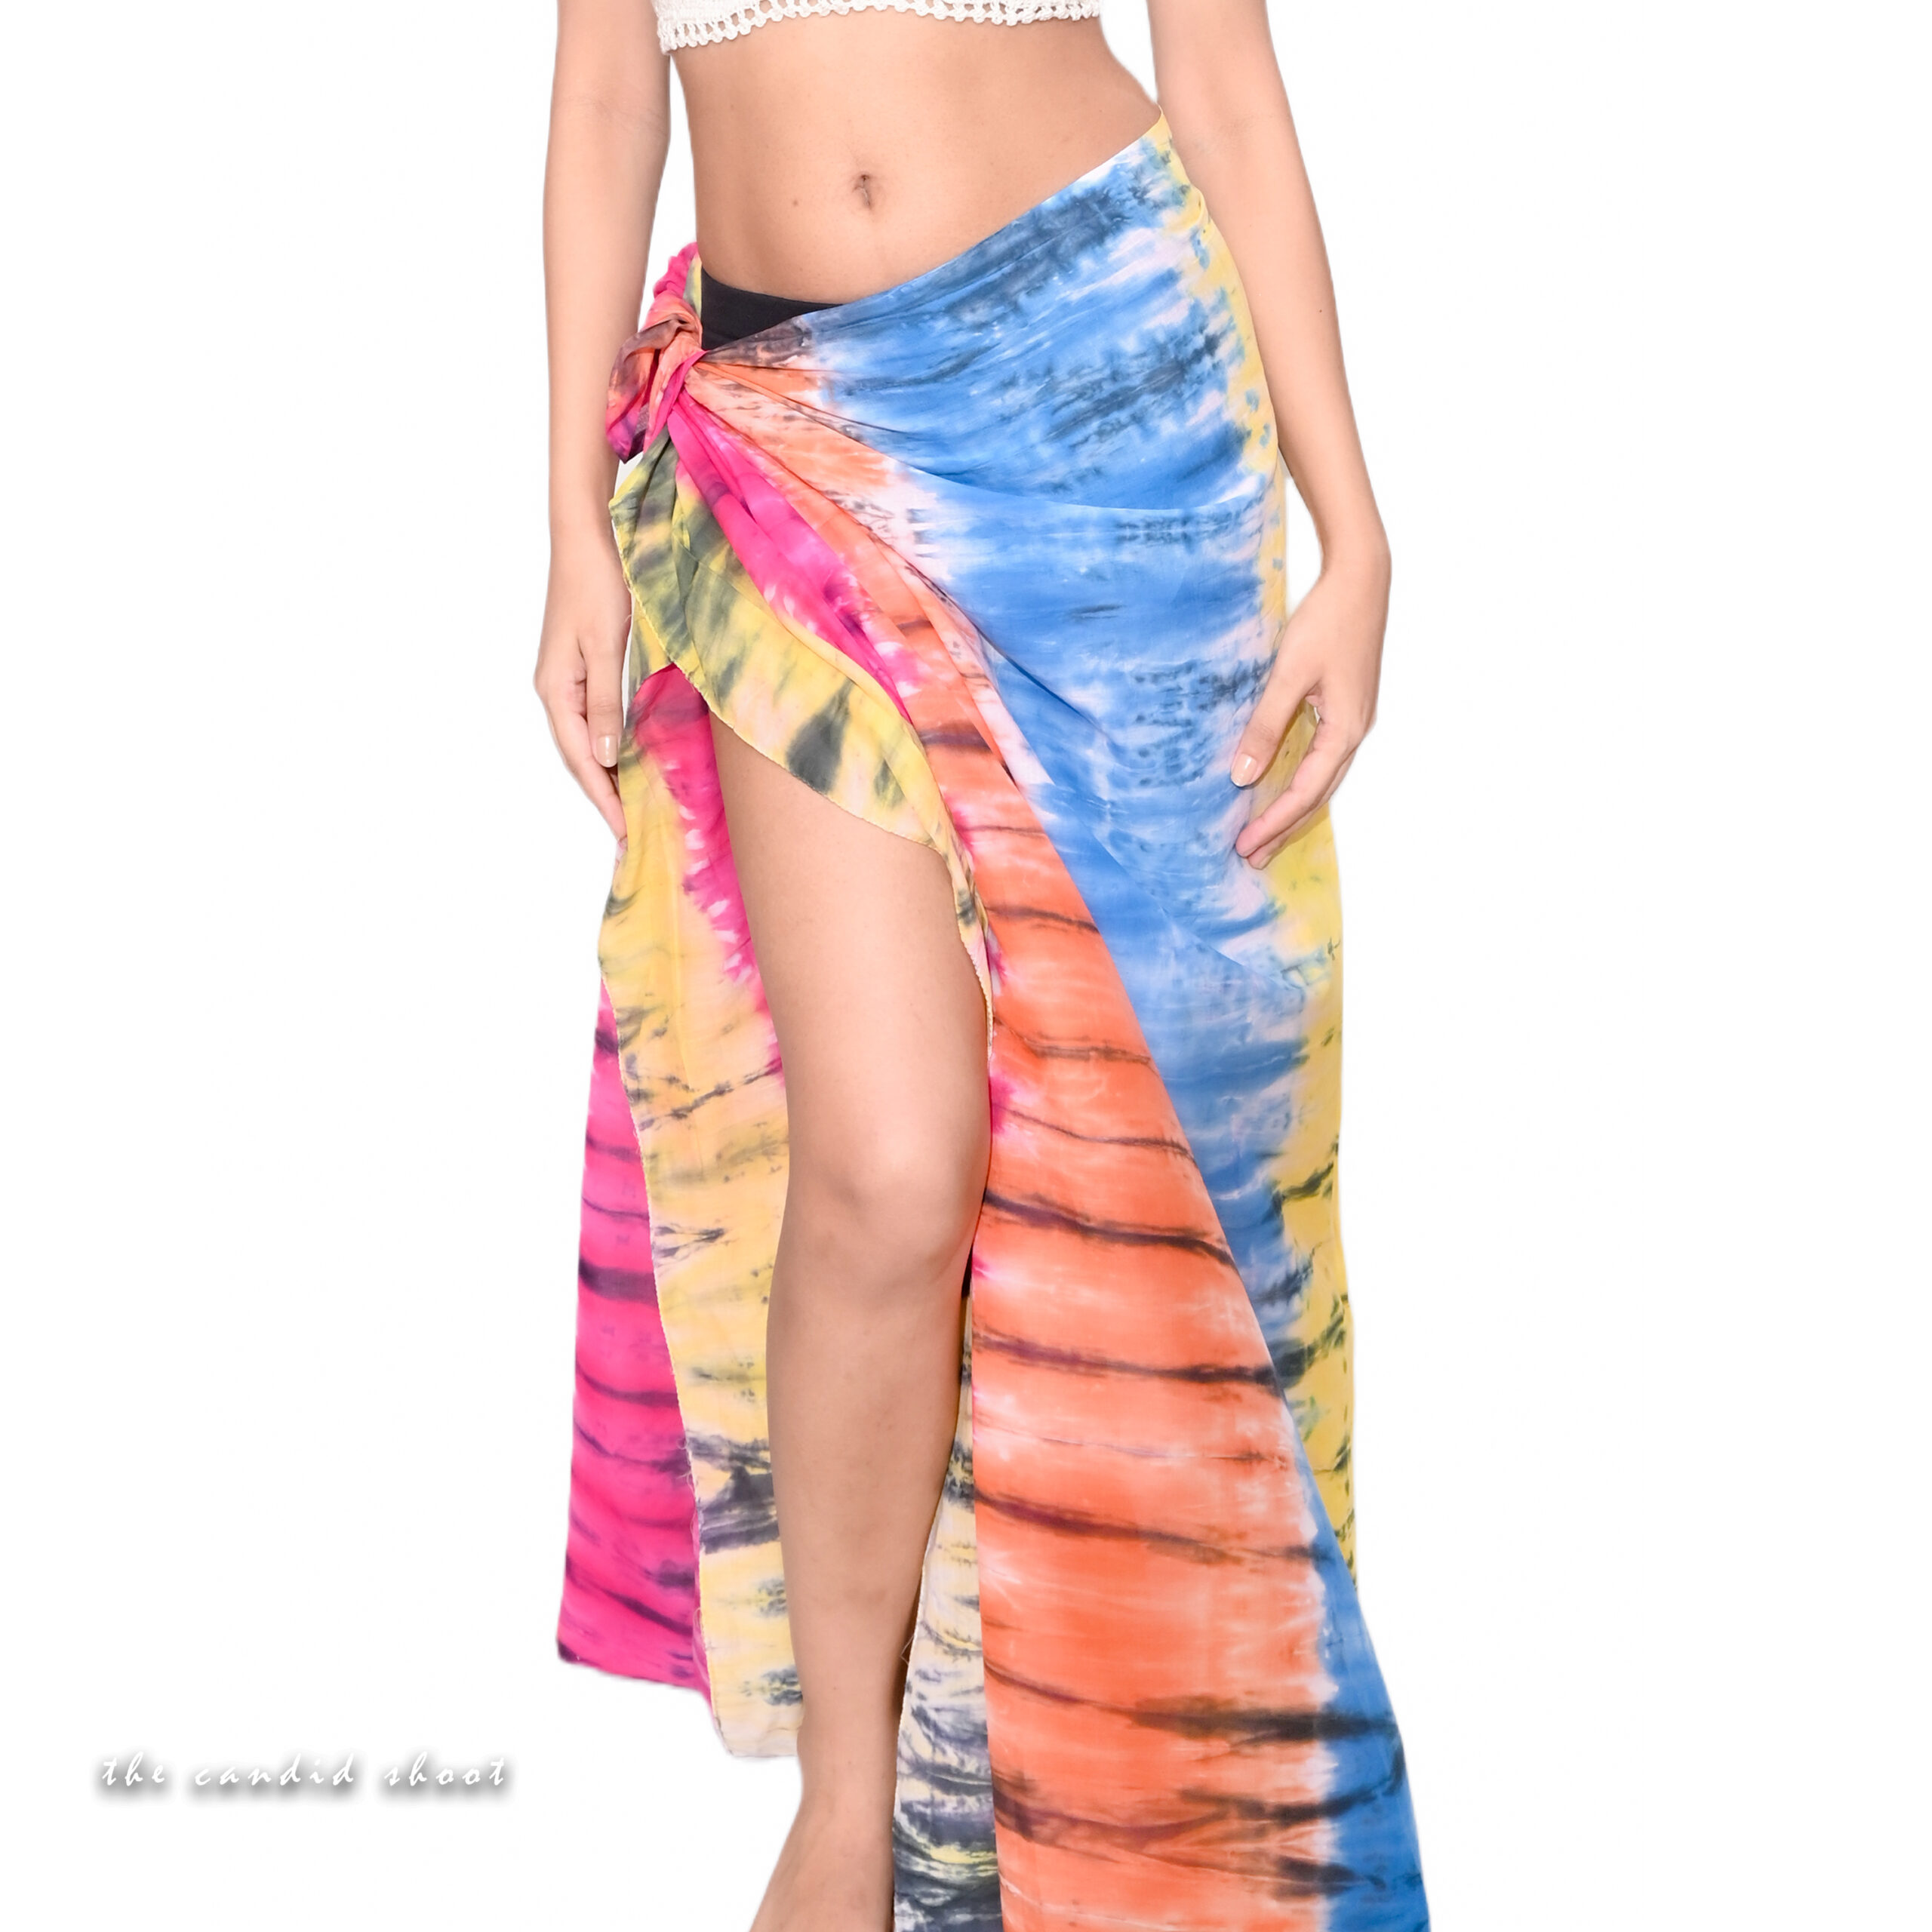
- Lightweight materials like chiffon or silk work best for motion.
- Cotton sarongs add a rustic and earthy vibe.
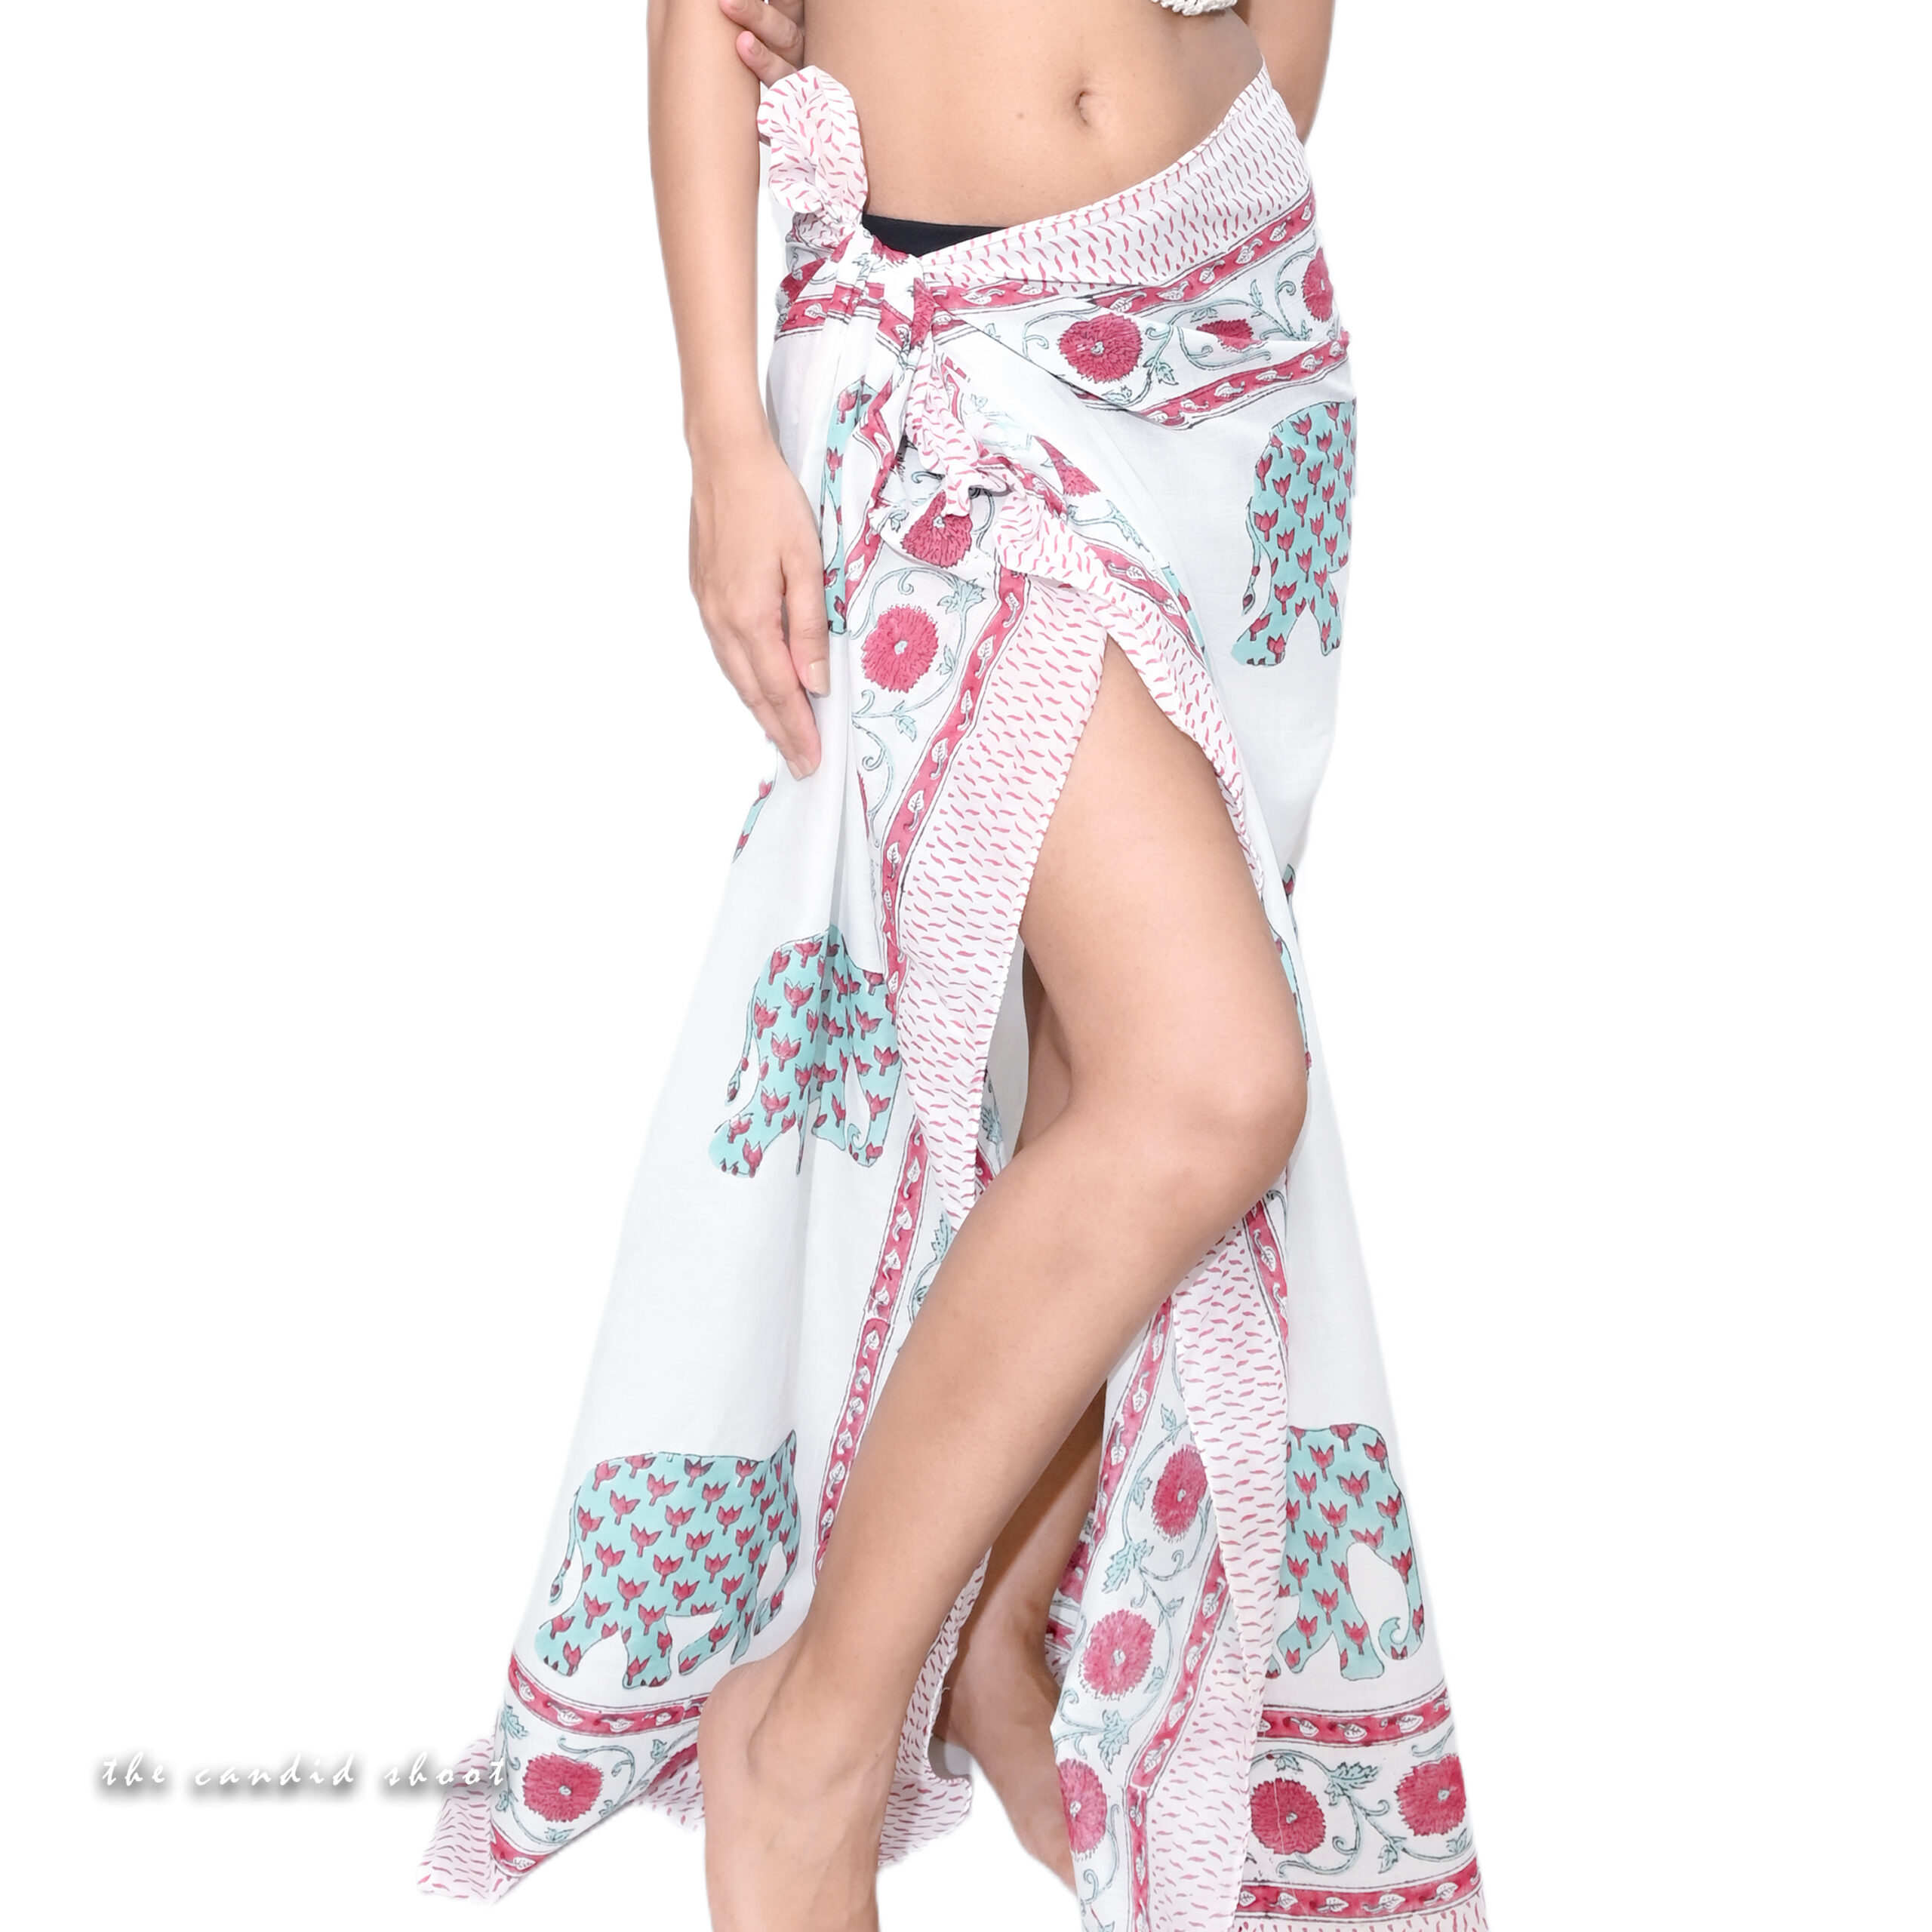
- Patterns and Colors:
- Bright, bold designs for tropical themes.
- Neutral tones for minimalist aesthetics.
3.2 Planning the Location
- Beach Shoots: Ideal for capturing flowing movements in the wind.
- Urban Settings: Pair sarongs with modern backdrops for a chic look.
- Forest or Nature: Use sarongs to add a pop of color in lush environments.
3.3 Preparing the Model
- Encourage comfortable movements that showcase the sarong’s flow.
- Discuss poses that highlight the fabric’s texture and patterns.
3.4 Assembling Your Team
- Work with stylists for unique tying techniques.
- Collaborate with makeup artists to match the sarong’s theme.
4. Techniques for Capturing Sarongs in Motion
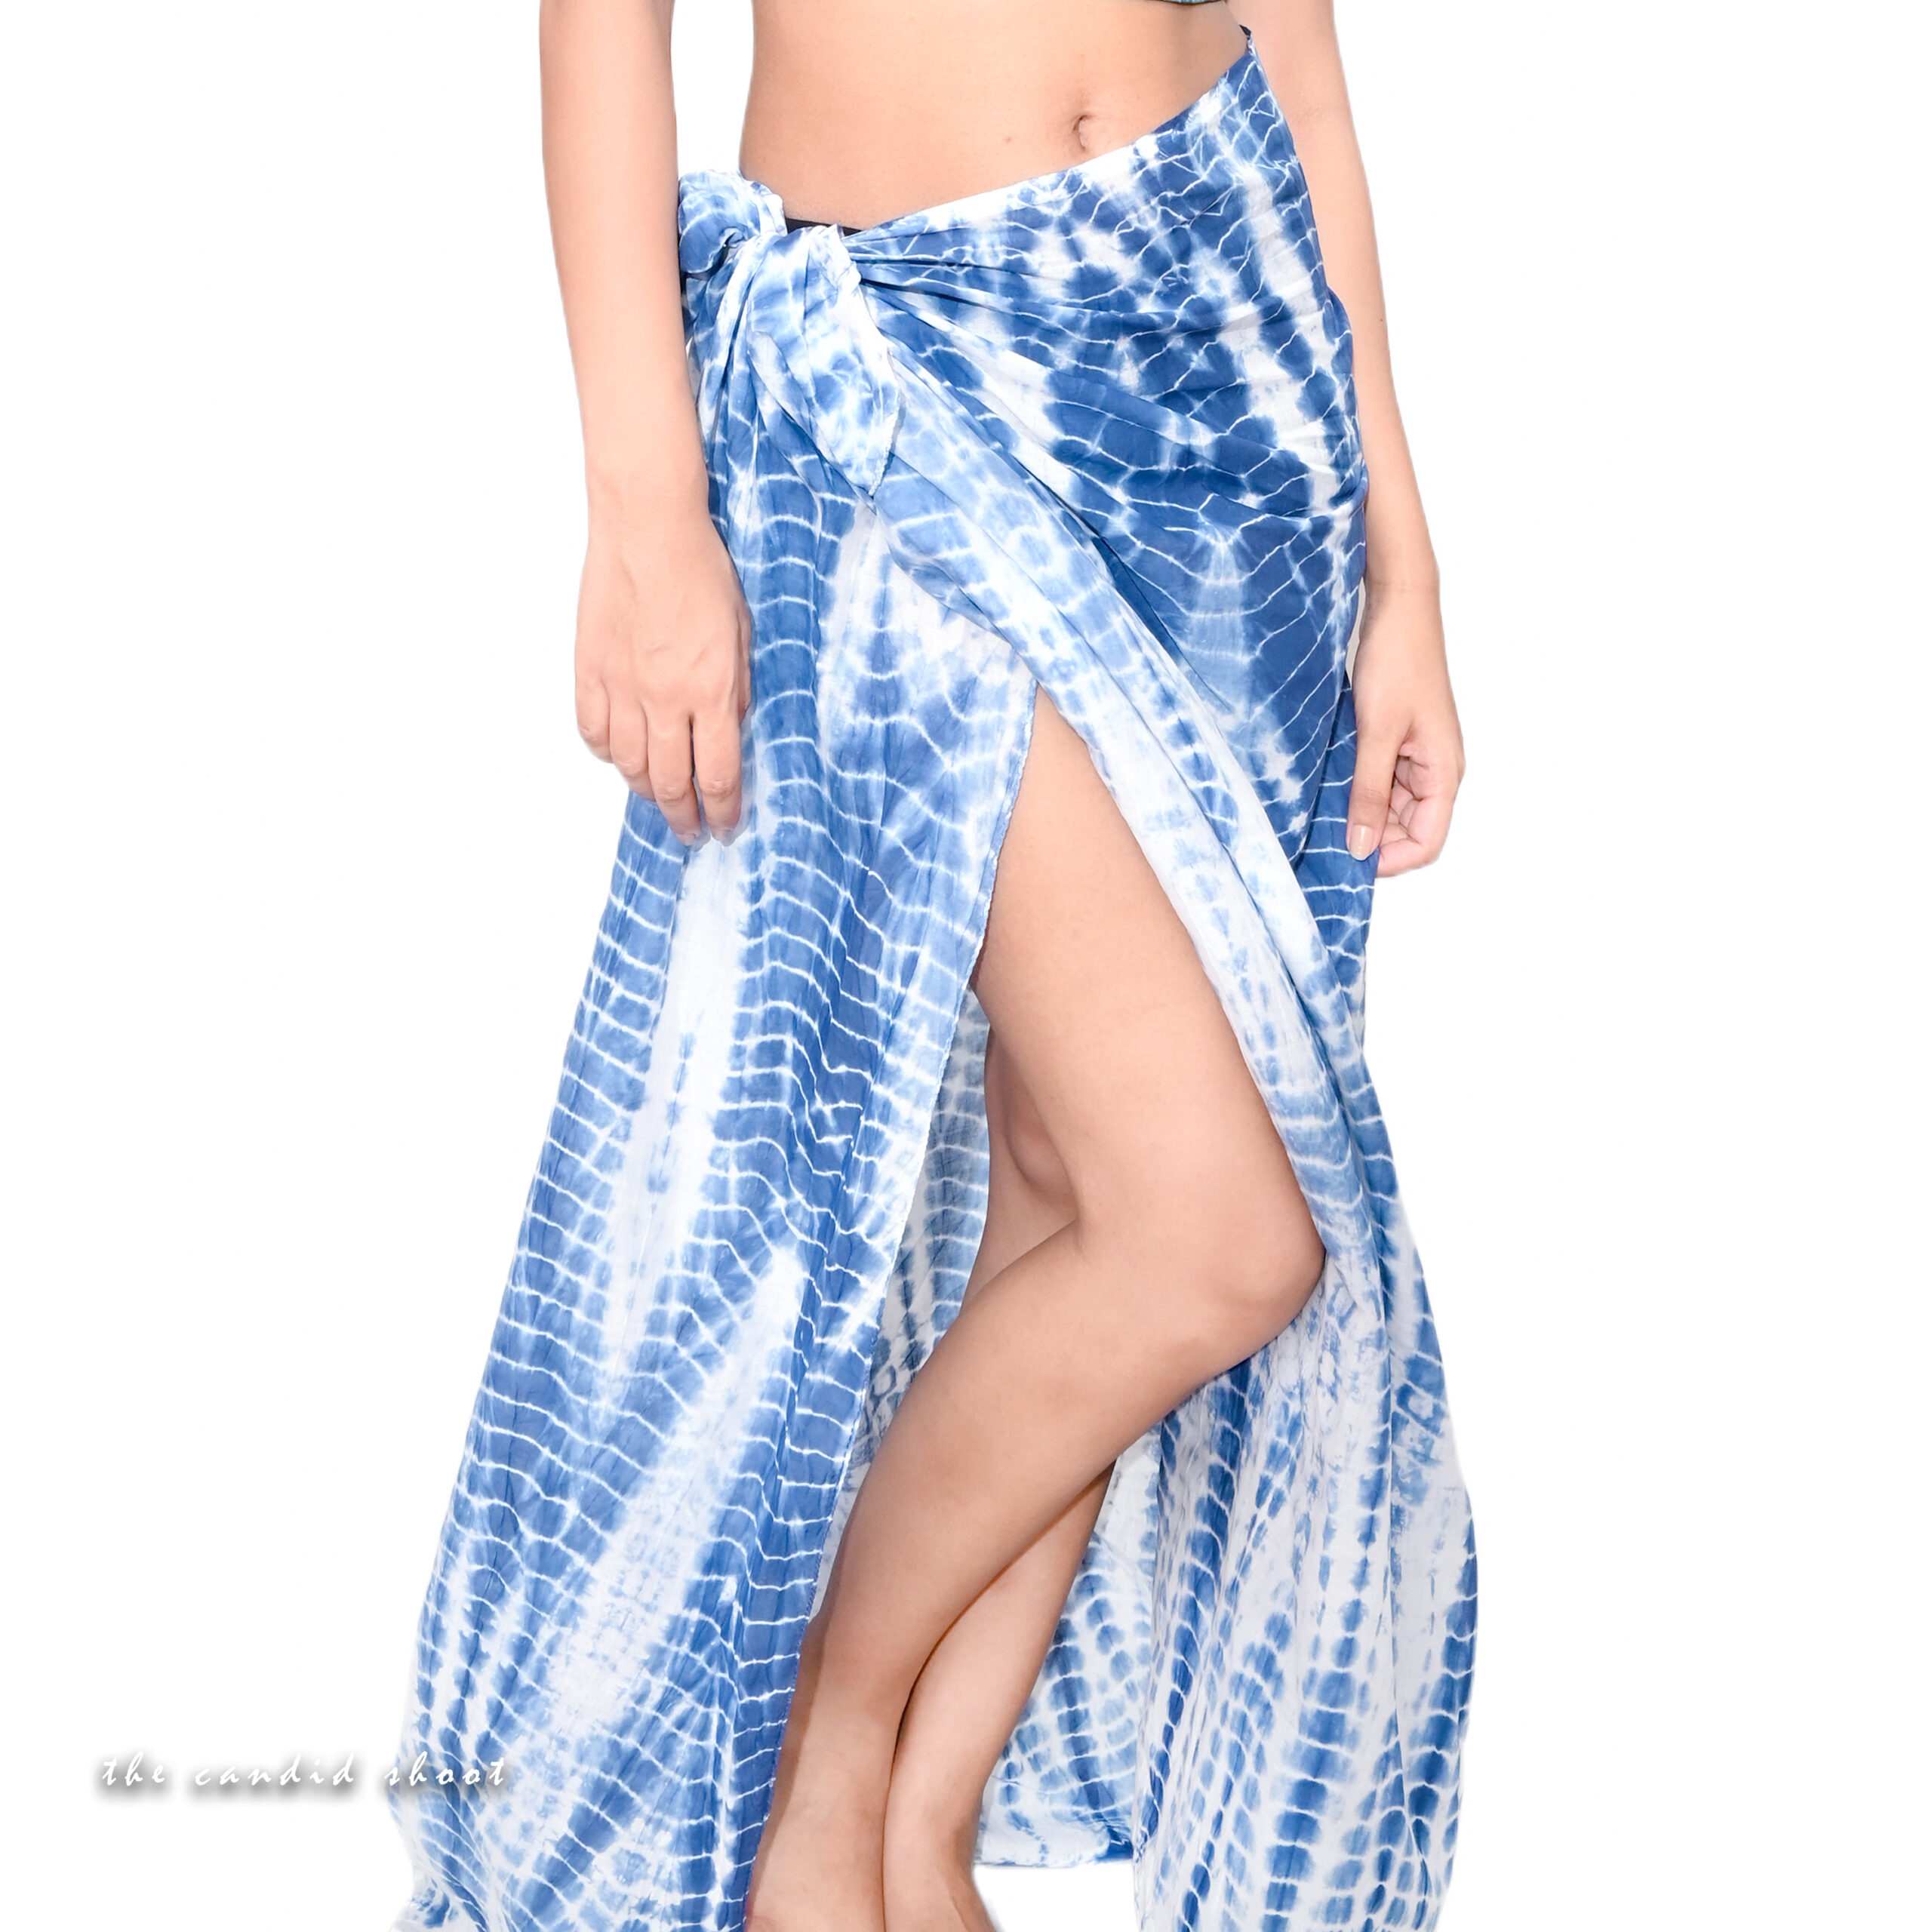
4.1 Utilizing Wind and Natural Movement
- Position the model where the wind naturally flows.
- Use slow shutter speeds to capture the fabric’s motion.
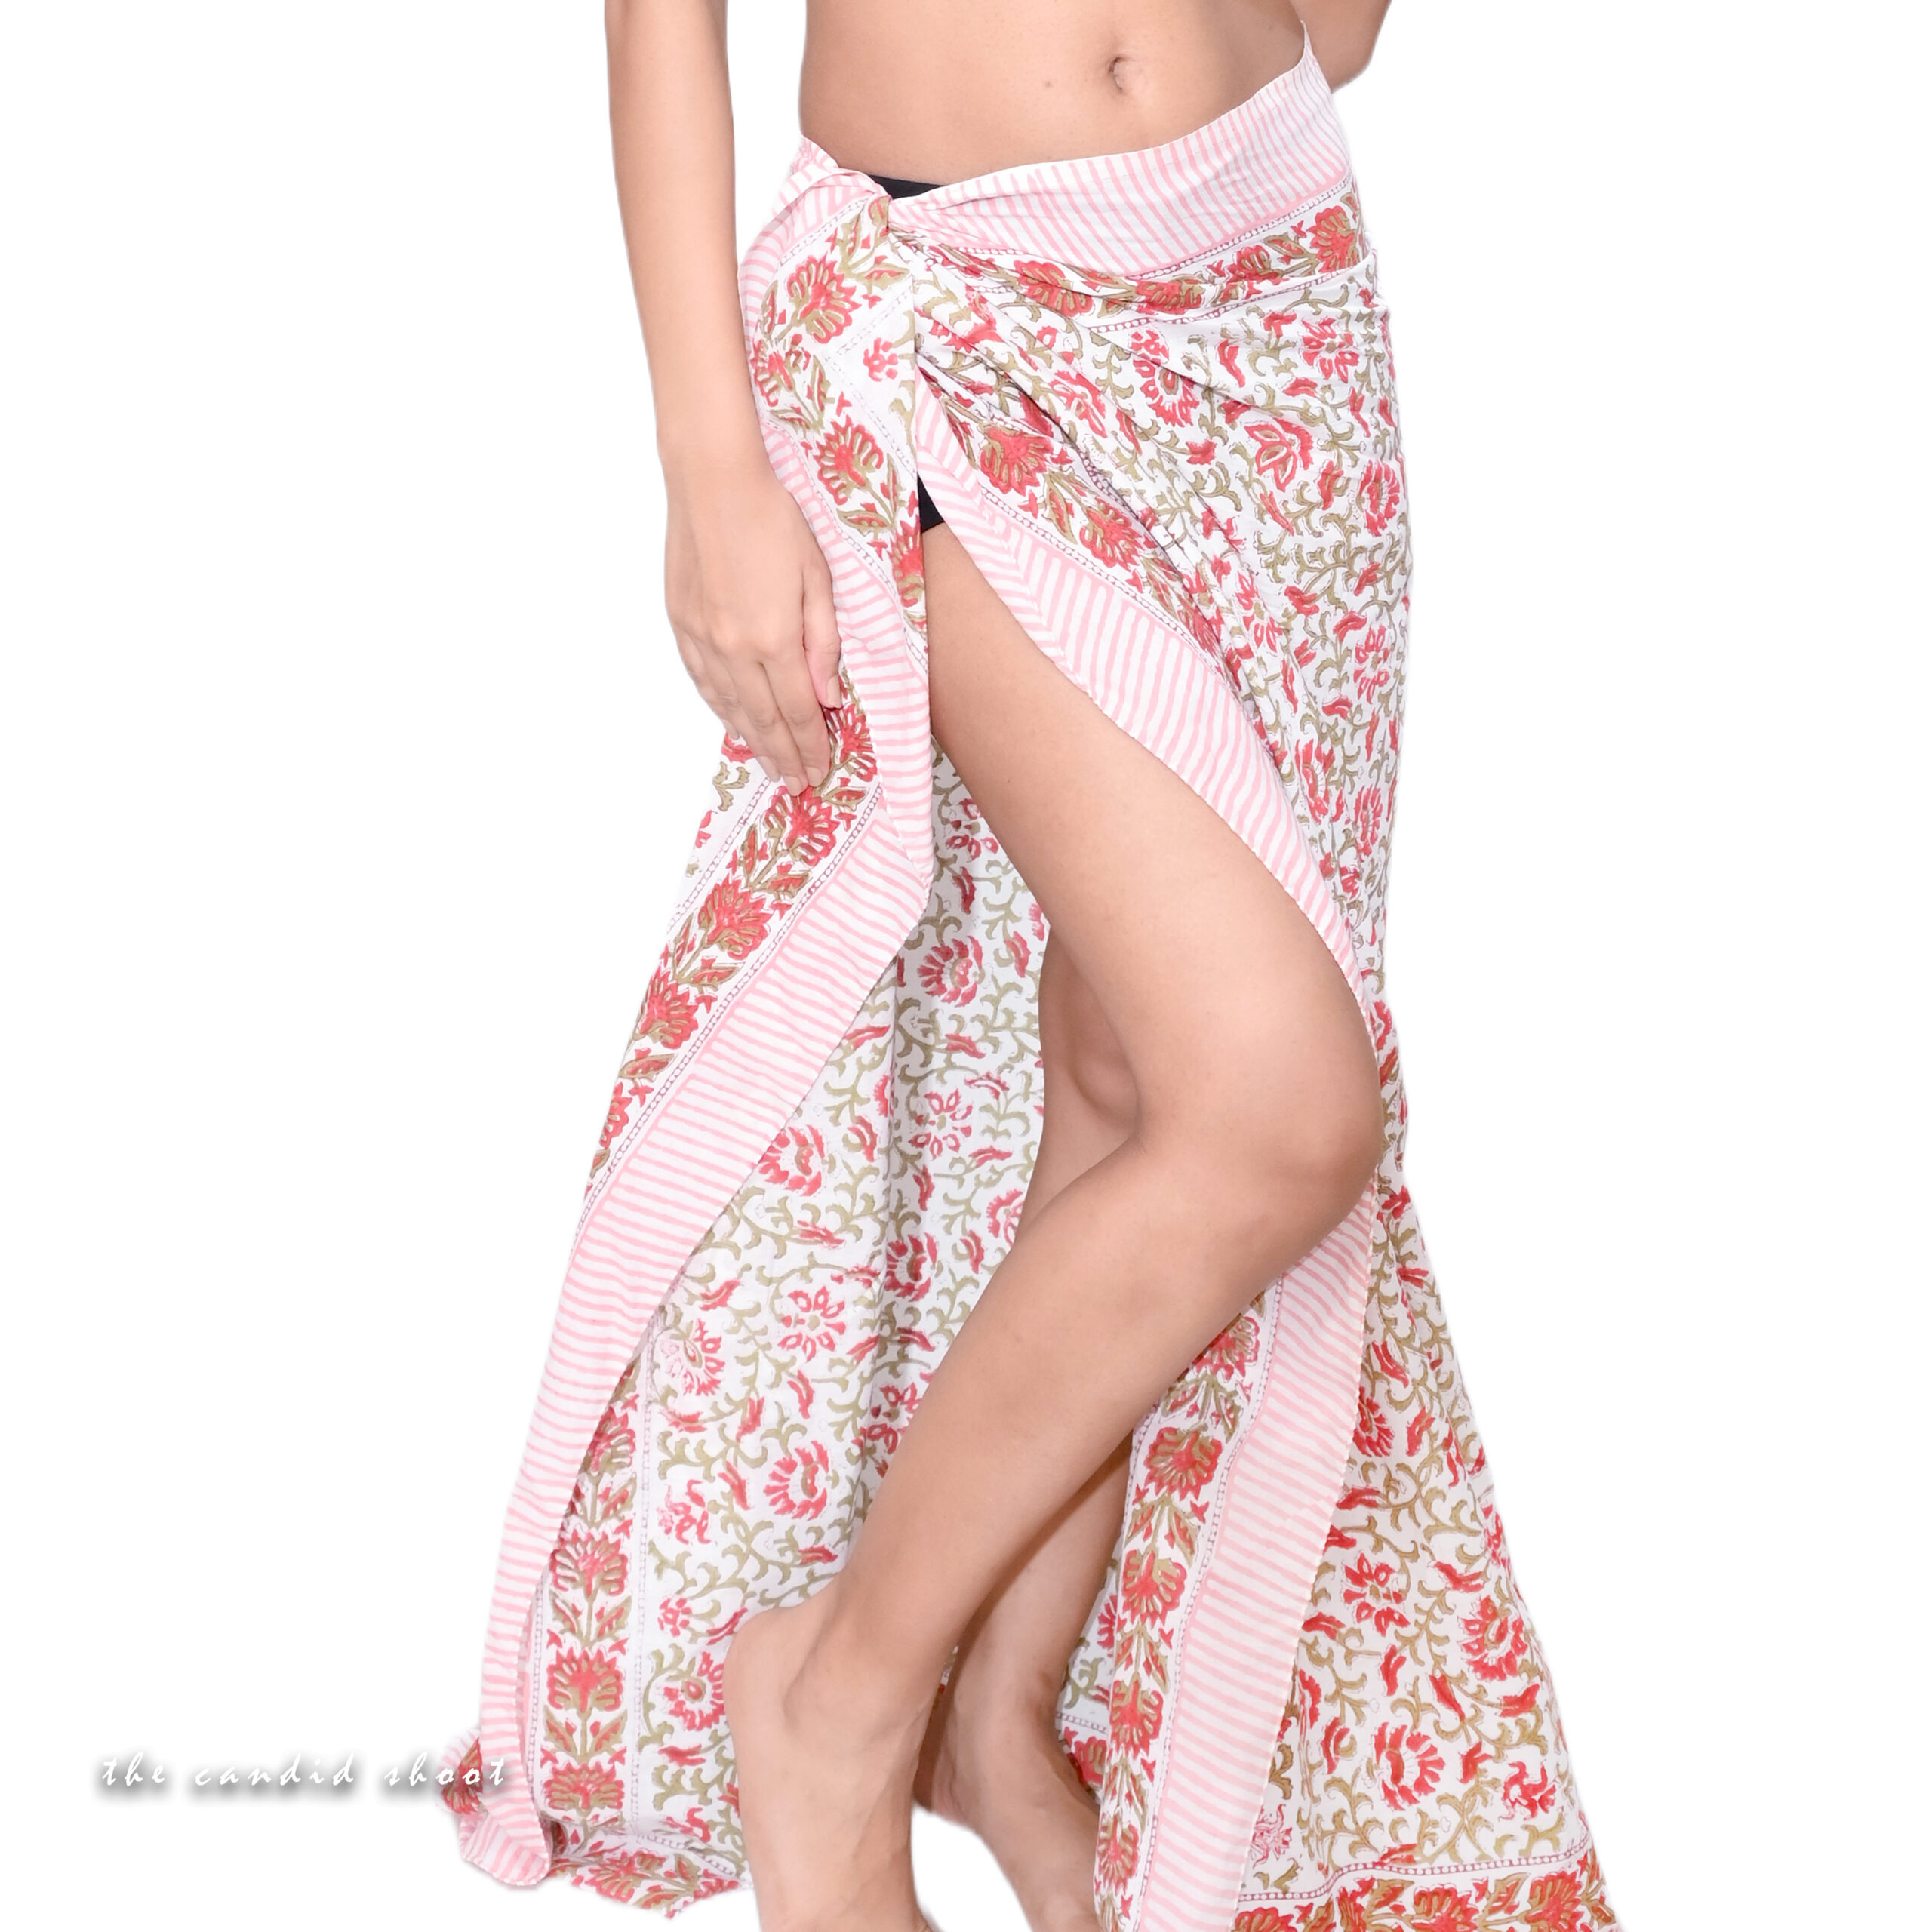
4.2 Posing Tips for Models
- Twirling movements create a sense of dynamism.
- Simple gestures like lifting or tossing the sarong add drama.
4.3 Advanced Techniques
- Use burst mode to capture continuous motion.
- Incorporate water or sand for added texture and movement.
5. Tying and Styling Sarongs for Photography
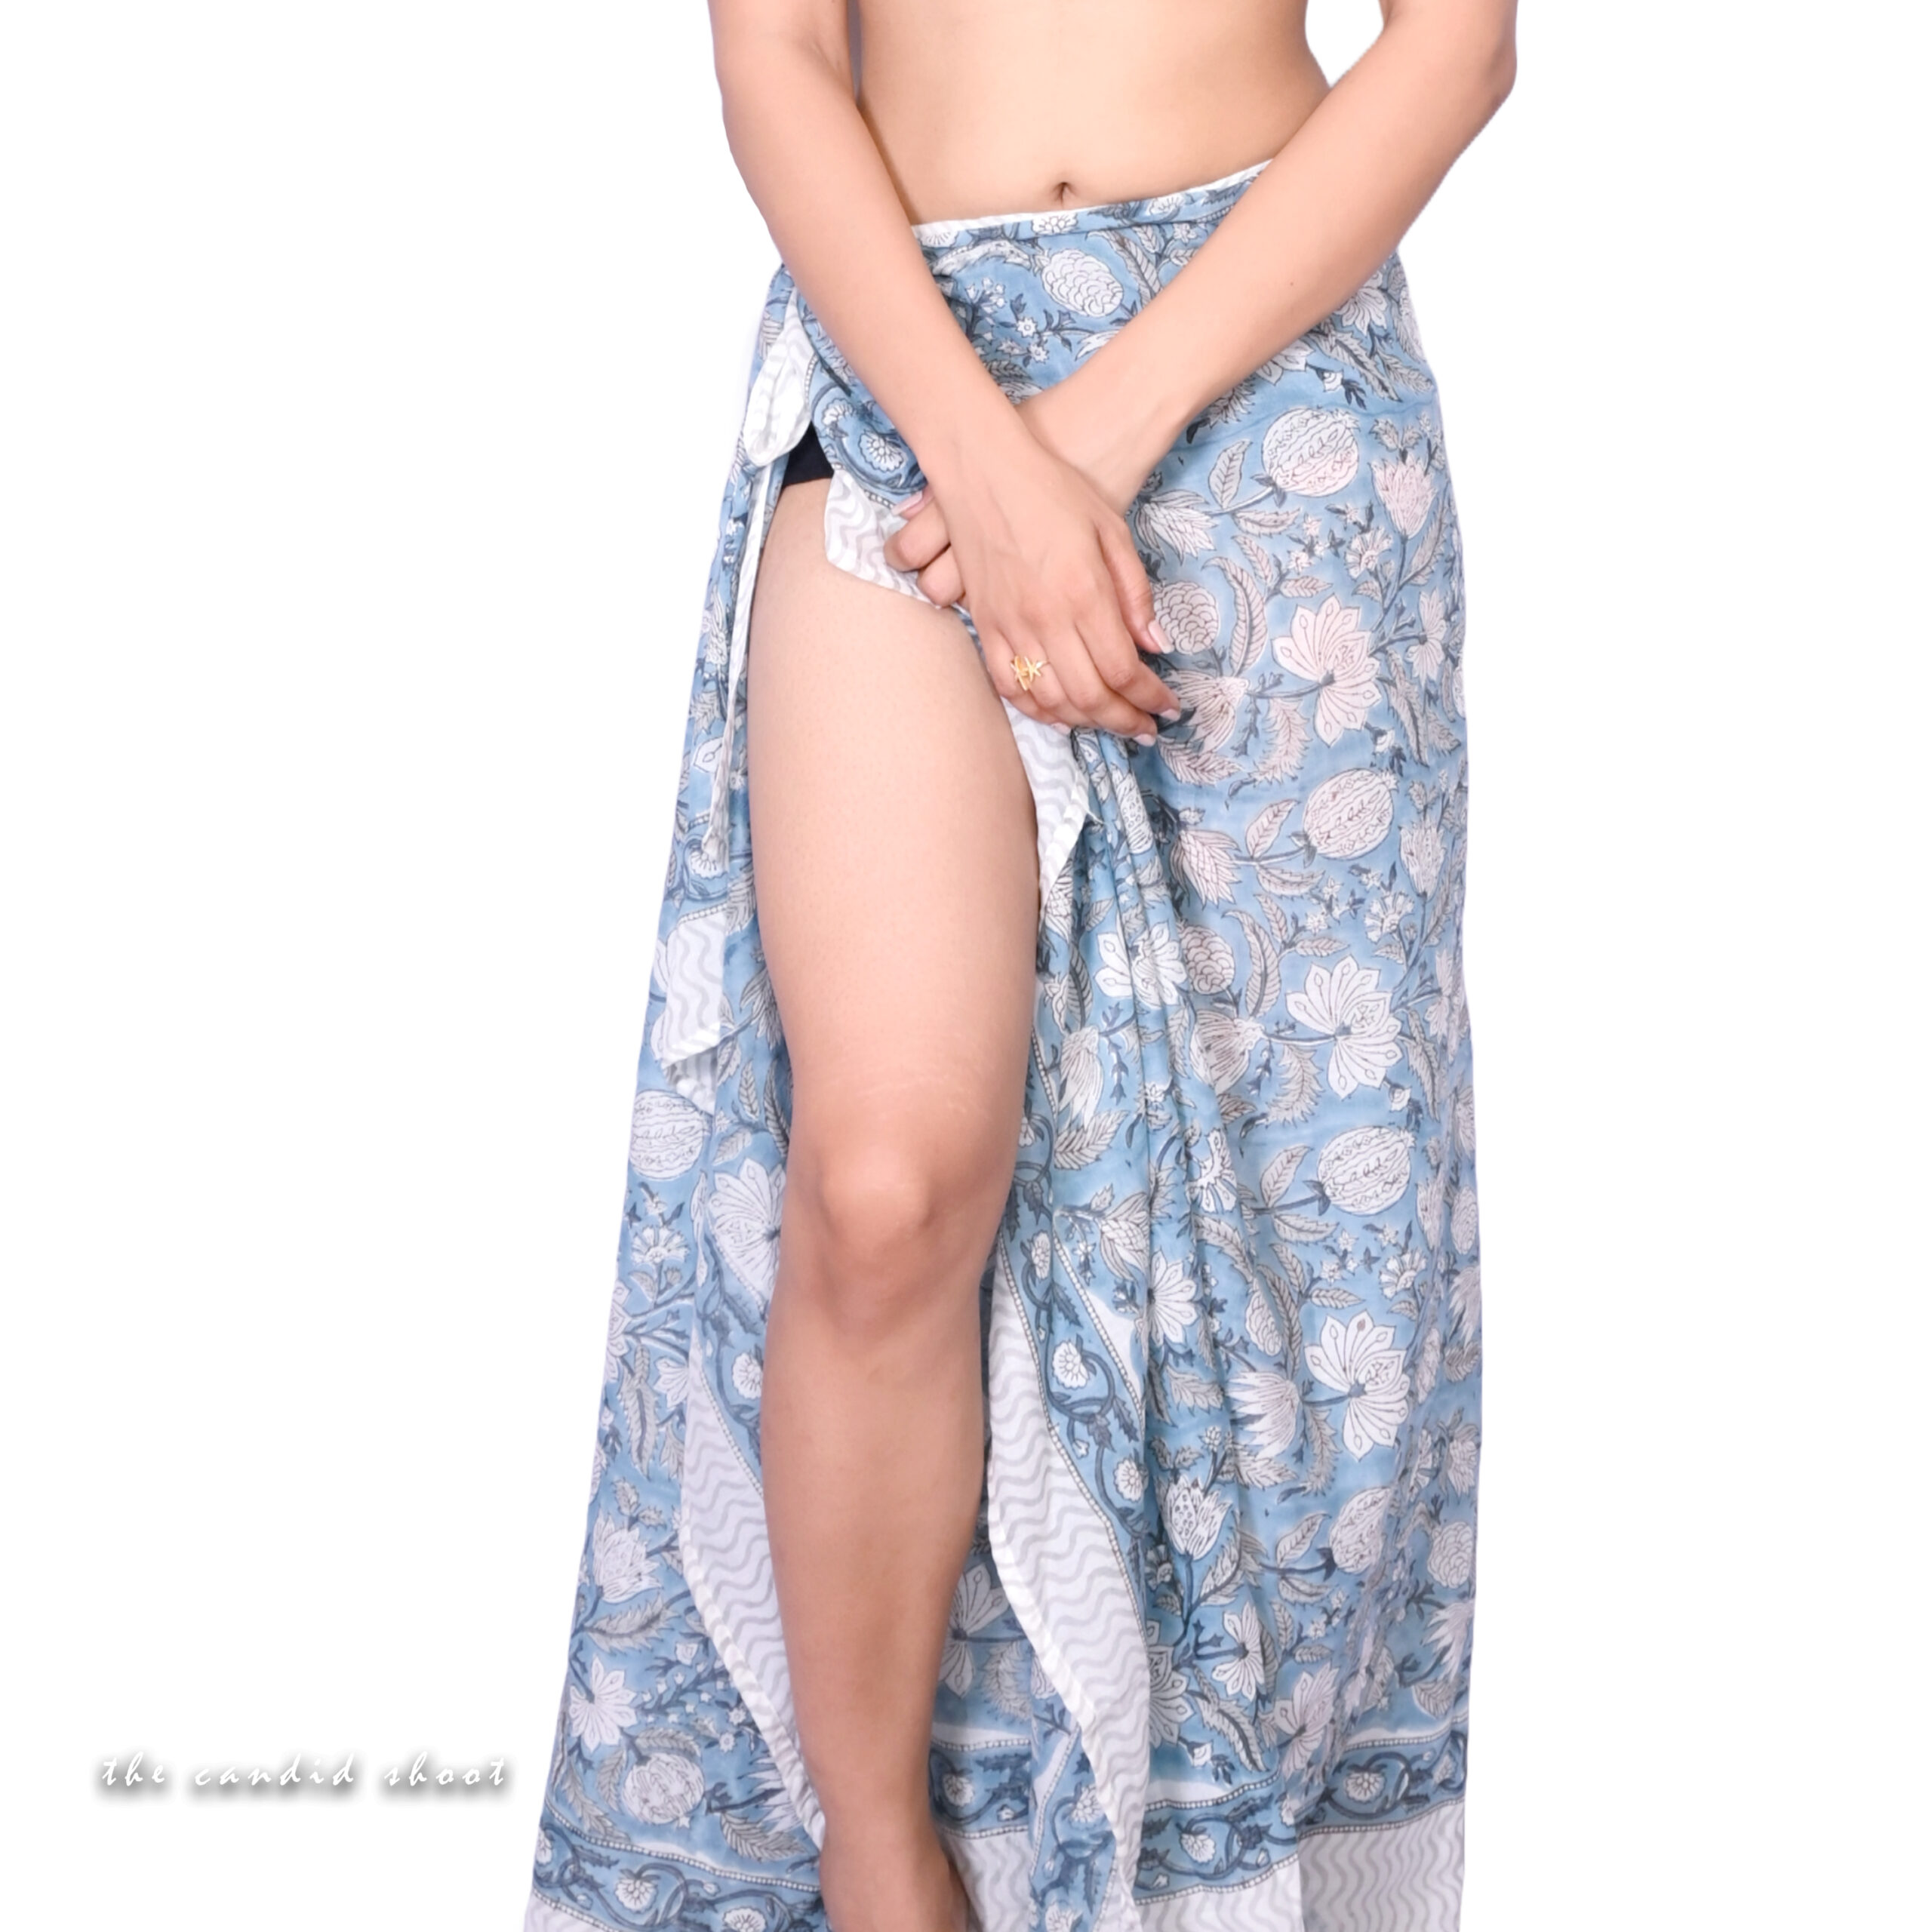
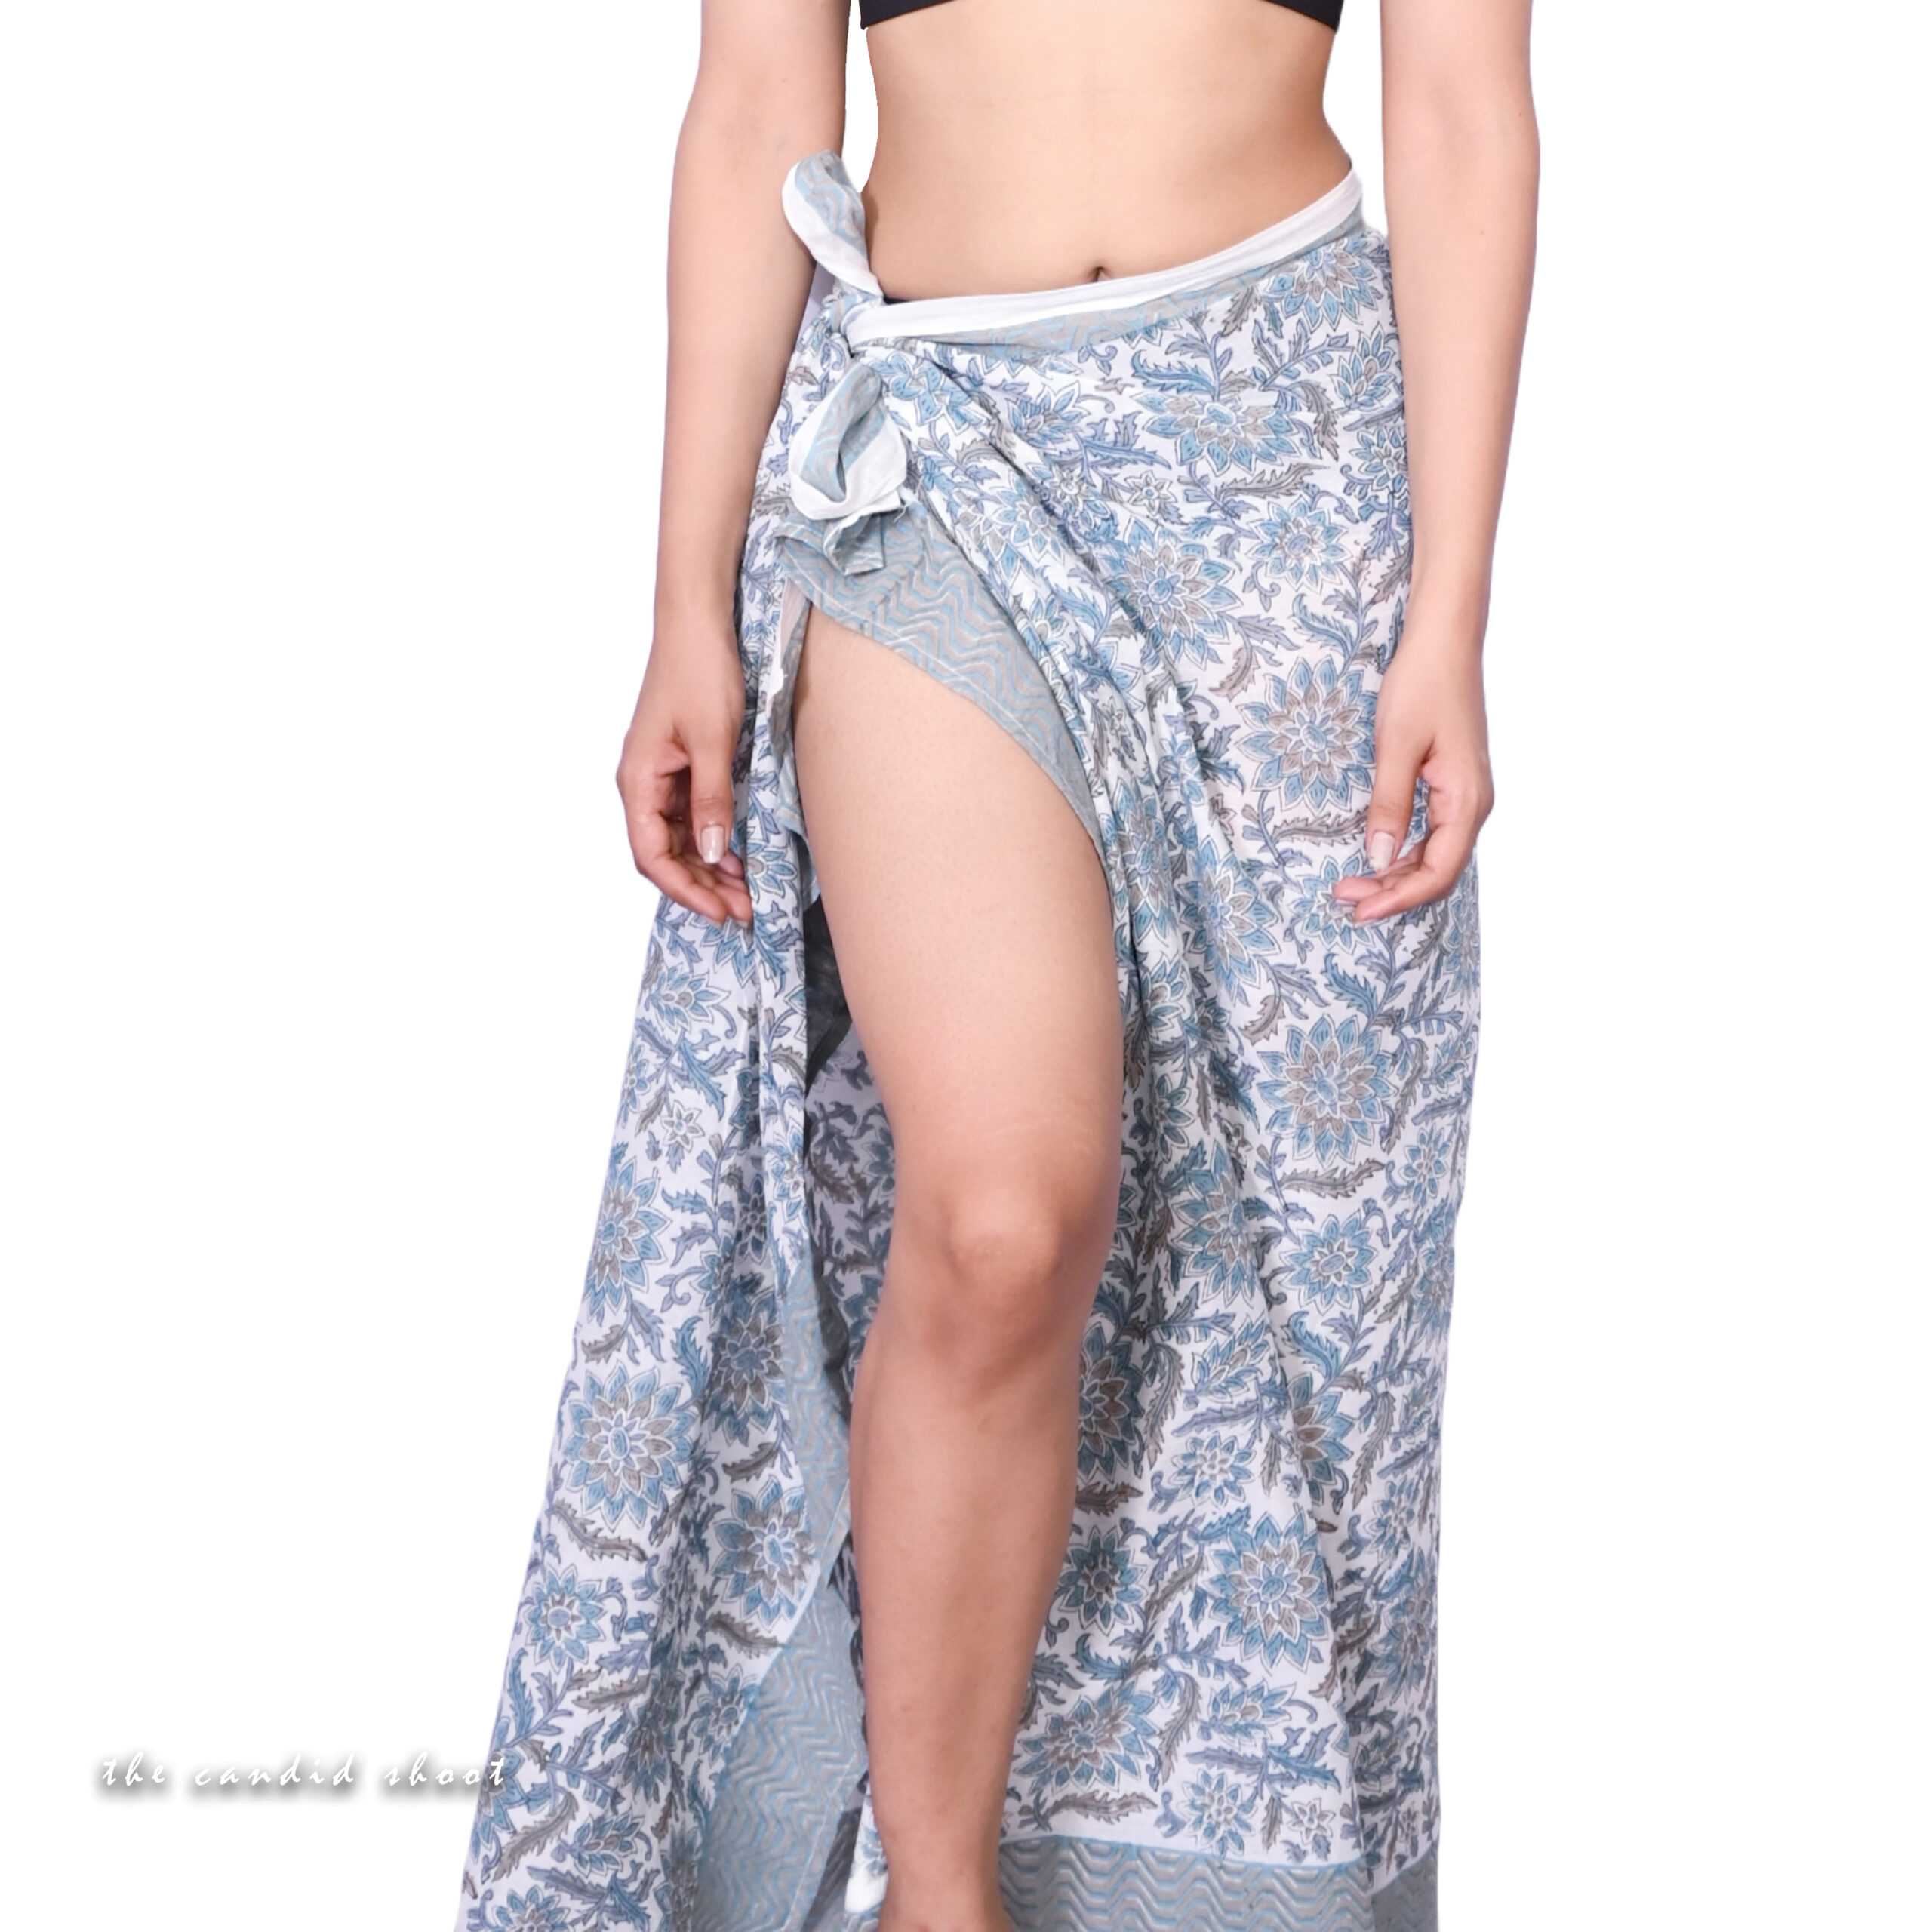
5.1 Basic Tying Styles
- Wrap Skirt: Classic and versatile.
- Halter Dress: Elegant and flowy for full-length shots.
5.2 Creative Draping Techniques
- Use two sarongs for layered effects.
- Create asymmetrical designs for an avant-garde vibe.
5.3 Highlighting the Sarong’s Details
- Focus on intricate patterns by adjusting angles and lighting.
6. Lighting and Composition Tips for Sarong Photography
6.1 Playing with Natural Light
- Golden hour enhances the sarong’s texture and color vibrancy.
- Use backlighting to create a silhouette effect.
6.2 Framing and Angles
- Low angles emphasize the fabric’s movement and grandeur.
- Close-up shots capture texture and pattern details.
6.3 Incorporating Negative Space
- Use minimalist backdrops to draw attention to the sarong.
- Balance the frame by positioning the sarong dynamically.
7. Editing and Post-Processing for Sarong Photography
7.1 Enhancing Colors and Textures
- Adjust saturation to make colors pop.
- Use clarity tools to highlight intricate designs.
7.2 Removing Distractions
- Edit out unwanted elements in the background.
- Smoothen any wrinkles in the fabric for a polished look.
7.3 Creating Cohesive Themes
- Apply consistent filters or presets.
- Experiment with monochrome for dramatic effects.
8. Common Mistakes to Avoid in Sarong Photography
8.1 Ignoring Fabric Movement
- Always factor in how the fabric flows with the environment.
8.2 Overloading the Frame
- Avoid clutter to keep the focus on the sarong.
8.3 Neglecting Comfort
- Ensure the model feels comfortable in the sarong for natural poses.
9. Case Studies: Successful Sarong Photoshoots
- Beachside Bliss: How flowing sarongs created a sense of freedom.
- Urban Elegance: Pairing sarongs with cityscapes for a modern twist.
- Cultural Homage: Highlighting traditional sarong styles in vibrant settings.
Conclusion: Elevate Your Lifestyle Photography with Sarong Styling
Sarongs offer endless possibilities for capturing elegance and movement in lifestyle photography. By mastering the techniques shared in this guide, you can transform simple photoshoots into captivating visual stories. Whether you’re experimenting with dynamic poses, vibrant fabrics, or creative lighting, sarongs bring a unique flair to your portfolio.
Now, it’s your turn to take these sarong photography tips and create breathtaking images that resonate with authenticity and artistry.

Sony Alpha a7 IV: The Ultimate Camera for Photography
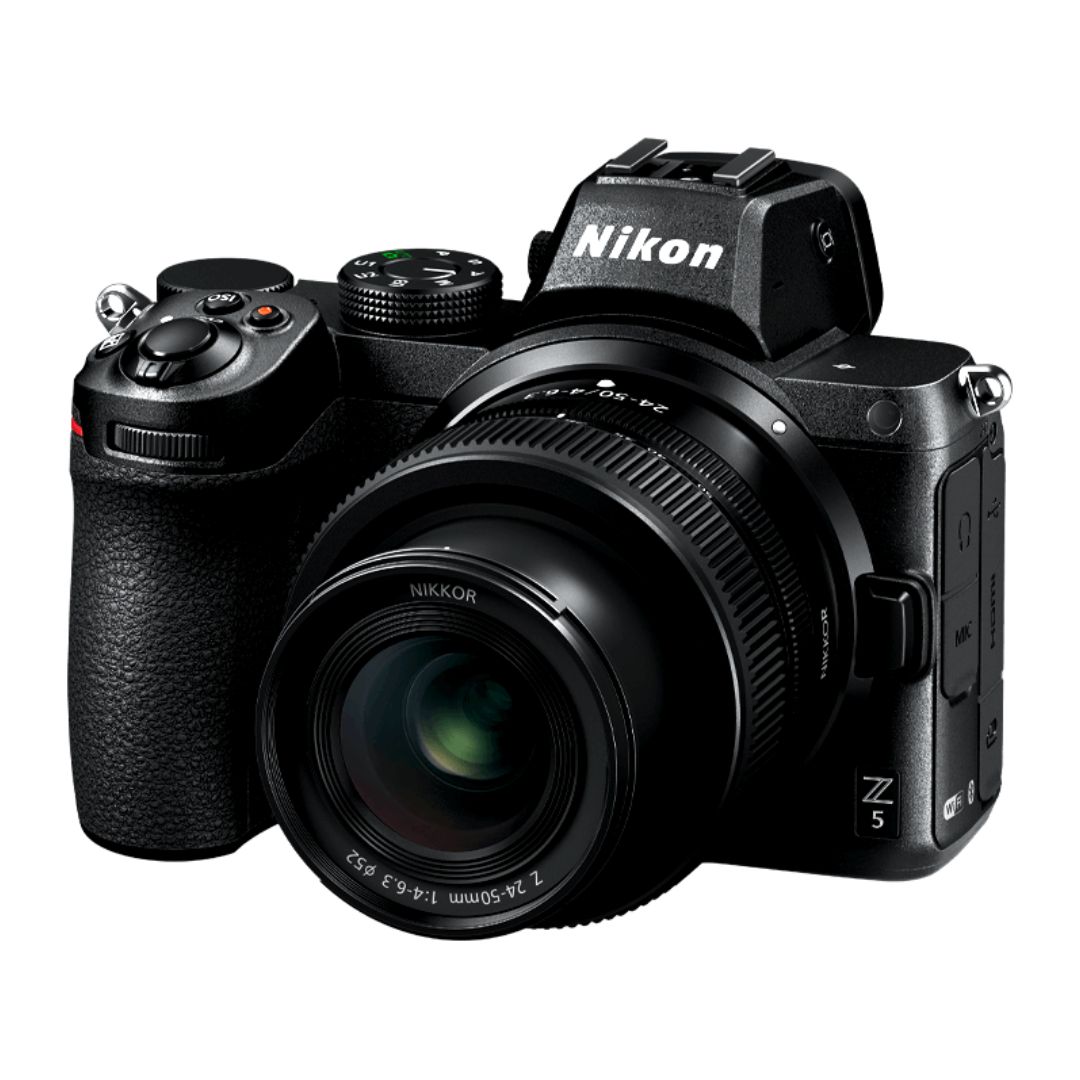
Nikon Z5 Review: Is It Worth It?
-
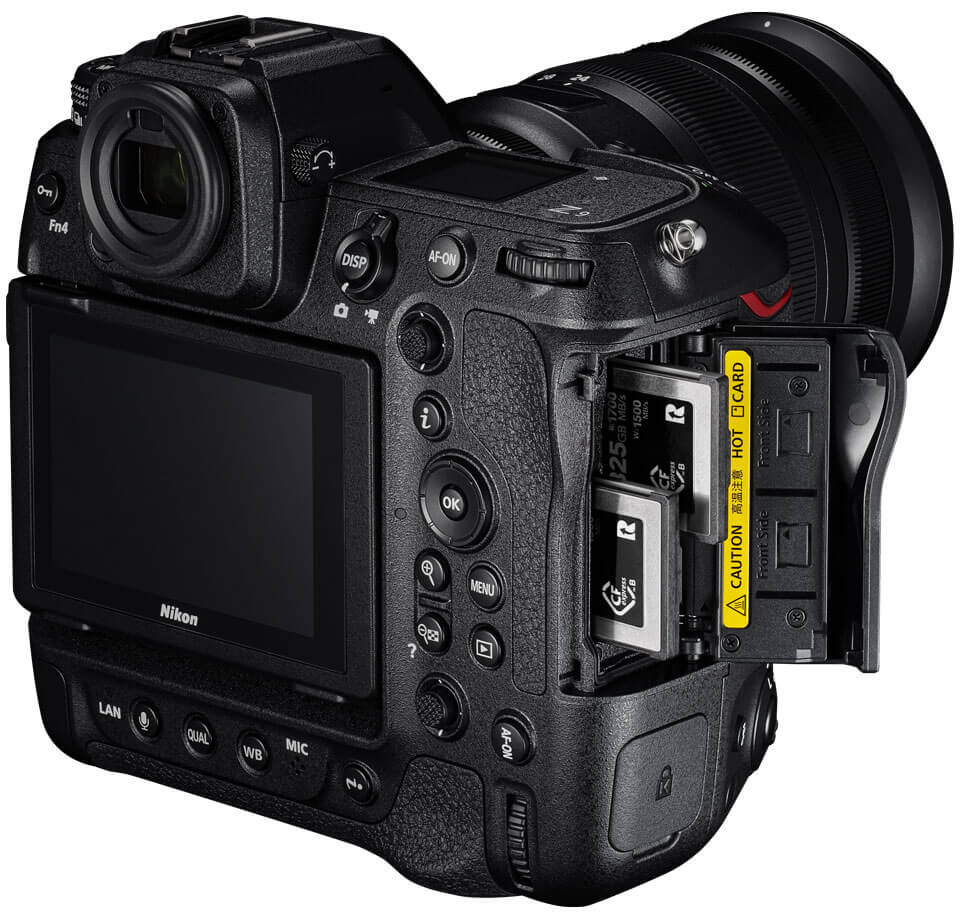
Nikon Z9 : Game-Changer for Photography
-
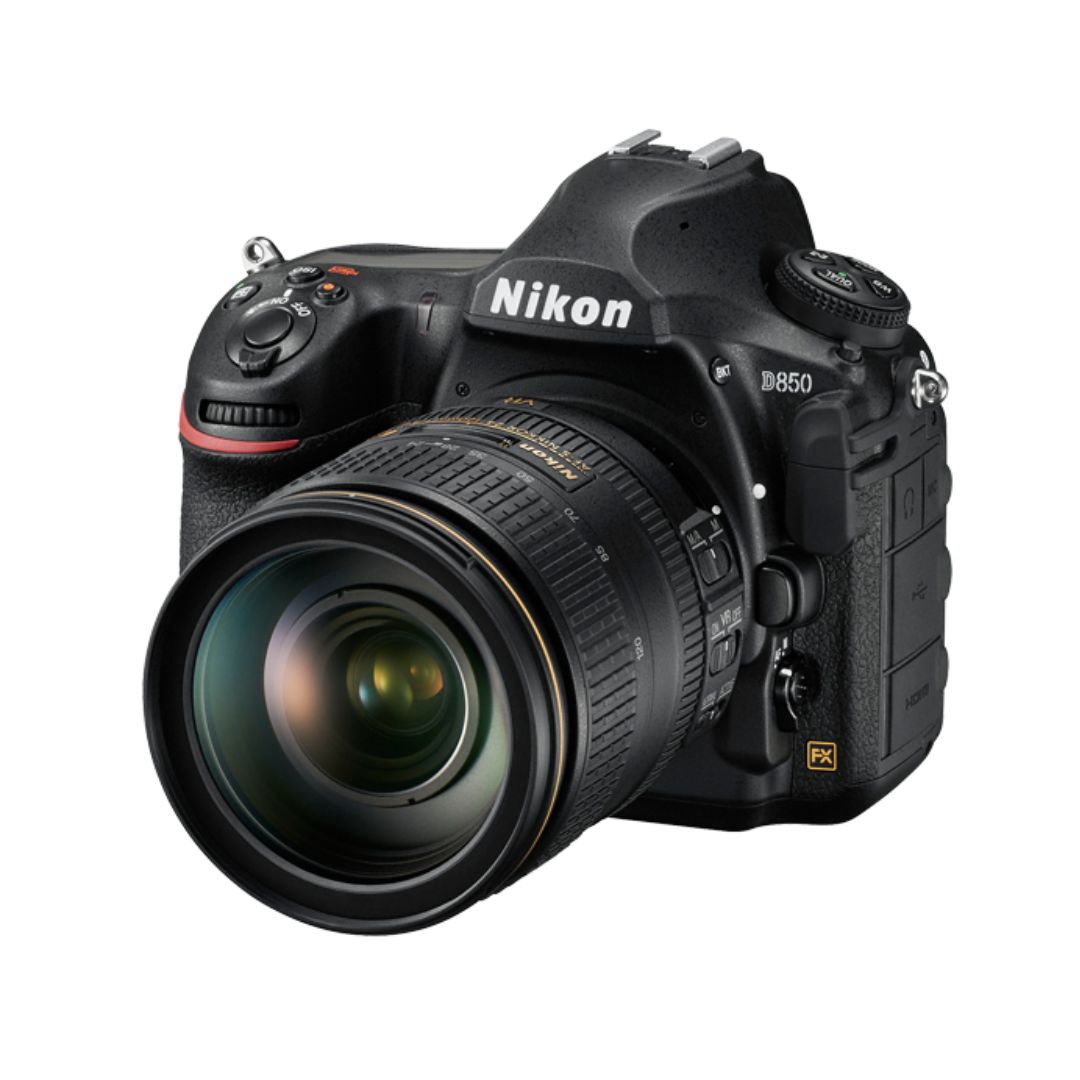
Top Features of Nikon D850 That Make It Ideal for Portfolio Shoots
Sony Alpha a7 IV: The Ultimate Camera for Photography
Explore the Sony Alpha a7 IV in this complete 2025 review. Learn how its pro-level features, real-world performance, and hybrid flexibility make it the ultimate camera for photography across genres like portraits, weddings, travel, and commercial work. Table of Contents Section 1: Introduction – Why the Sony Alpha a7 IV Stands Out The Sony Alpha…
Nikon Z5 Review: Is It Worth It?
In 2025, photographers—whether hobbyists, content creators, or professionals—seek equipment that blends value, performance, and future-readiness. Enter the Nikon Z5, a full-frame mirrorless camera marketed as a gateway to high-end imaging without a flagship price tag. But how well does it hold up under real-world demands like studio shoots, weddings, landscape adventures, and lifestyle photography? In…
Nikon Z9 : Game-Changer for Photography
Discover why the Nikon Z9 is considered a true game-changer for photography. This in-depth Nikon Z9 review explores key features, real-world performance, and how it excels in professional photo shoots in 2025. Table of Contents 1. Introduction The photography world witnessed a significant shift with the launch of the Nikon Z9, a flagship mirrorless camera…
Top Features of Nikon D850 That Make It Ideal for Portfolio Shoots
Discover why the Nikon D850 is the ultimate DSLR for portfolio shoots. Explore its top features—from resolution and dynamic range to autofocus precision and workflow speed—that help photographers create stunning, high-impact images for professional portfolios. Whether you’re a portrait artist, fashion photographer, or visual storyteller, a portfolio shoot demands technical excellence, creative flexibility, and uncompromised…
Candid Moments with Canon EOS R10: Lightweight & Reliable
In the evolving world of mirrorless photography, the Canon EOS R10 stands out as a lightweight yet powerful camera tailored for real-life storytelling. Whether you’re photographing street scenes, family gatherings, weddings, or spontaneous portraits, capturing genuine emotion requires a responsive and discreet tool. This article dives deep into how the Canon EOS R10 excels in…
Bold Portraits with Canon EOS R5: Is It the Best for Work?
Studio photography has always demanded precision, artistry, and impeccable gear. As the expectations for commercial portraits, fashion campaigns, and editorial work continue to rise, the tools we use must evolve. Enter the Canon EOS R5, a camera that has stirred the professional waters with its impressive technical specs and forward-thinking design. In this comprehensive Canon…
1 comment