

Learn the best sarong product photography editing techniques to improve colors, fabric details, backgrounds, and image quality for ecommerce success.
Table of Contents
Introduction – Editing Techniques
Sarongs are not merely garments—they are expressive canvases that speak of heritage, craftsmanship, and style. Whether used for casual wear, ceremonial purposes, or fashion-forward photo shoots, the visual representation of sarongs must capture their essence. Editing plays a vital role in ensuring every pleat, pattern, and pigment is showcased in its full splendor. This detailed guide dives deep into the best editing techniques for sarong product photography. From preparing your RAW files to exporting optimized imagery for different platforms, every step is covered to help you achieve flawless, high-impact visuals that resonate with global and inclusive audiences.
Before choosing lightroom presets, you can also explore our complete camera equipment buying guide to understand which photography gear, lighting tools, and accessories are actually worth buying.
Mastering jewellery photo editing requires both technical skills and an efficient workflow. Learning from Adobe Lightroom Editing Tutorials and exploring Professional Product Photography Techniques can help photographers create sharper, more detailed, and visually appealing jewellery images.
Why Trust The Candid Shoot?
At The Candid Shoot, we publish practical photography guides based on real-world shooting techniques, camera knowledge, lighting setups, and post-processing workflows. Our goal is to simplify photography concepts so beginners, hobbyists, creators, and professionals can capture better images with confidence.
Every guide is carefully reviewed and updated to reflect current photography trends, camera technology, AI-powered editing tools, and industry best practices. Whenever relevant, we reference trusted photography resources and official manufacturer documentation to ensure our recommendations remain accurate and reliable.
Whether you’re photographing products for an online store, social media, Amazon listings, or personal projects, our tutorials are designed to help you improve image quality while making informed equipment and workflow decisions.
Quick Answer
Product photography is the process of creating high-quality images that accurately showcase a product’s appearance, features, and details. Effective product photography combines proper lighting, composition, camera settings, backgrounds, and editing techniques to produce professional images that increase customer trust and improve online sales.
Learn More About Product Photography
If you’re looking to master product photography from beginner to advanced level, don’t miss our complete guide:
👉 Powerful Product Photography Secrets for Photos
Inside this comprehensive guide, you’ll learn:
- Camera settings for product photography
- Lighting techniques for every budget
- Background selection
- Composition tips
- Lens recommendations
- Editing workflow
- AI tools for product photography
- Studio setup ideas
- Photography mistakes to avoid
- Professional workflow from planning to final image
This pillar guide connects all of our product photography tutorials in one place, making it the perfect starting point for beginners and experienced photographers alike.
1. Visual Strategy: Defining the Purpose of the Shoot
Before the first edit, ask yourself: What is this photo meant to convey? This single question guides your editing direction.
- Catalogue and eCommerce: Highlight the sarong’s material quality, accurate color representation, and clean lines. Emphasize utility and detail.
- Editorial Fashion Shoots: Prioritize storytelling, drama, and creative enhancements. You may use higher contrast and artistic filters.
- Cultural Campaigns: Focus on authenticity. Avoid over-editing that may diminish the integrity of traditional designs or the natural setting.
Develop a visual roadmap that aligns with your brand identity or your client’s creative brief. Consistency begins with clarity.
2. Selecting Your Editing Tools – Editing Techniques
Each software offers unique strengths. Here’s a breakdown of essential tools:
- Adobe Lightroom Classic: Ideal for bulk color correction, non-destructive adjustments, and preset application.
- Adobe Photoshop: Offers pixel-level editing. Use it for complex retouching, background manipulation, and masking.
- Capture One Pro: Known for its precise color control, excellent RAW processing, and tethering capability.
- Affinity Photo and GIMP: Excellent free/affordable alternatives for professionals on a budget. Supports layer-based editing and RAW files.
Enhance your editing workflow by integrating plugins like Portraiture, Luminar, or VSCO profiles if appropriate for your style.
3. Organizing Your RAW Files for Efficiency
Workflow organization is crucial for maintaining quality and consistency:
- Import in RAW format to preserve tonal range and color data.
- Use Smart Collections or folders based on sarong styles, color groups, or model variations.
- Apply keywords and metadata for efficient archiving and retrieval.
- Tag priority images to quickly identify hero shots or those needing extensive edits.
4. Cropping for Intentional Composition
Every crop communicates intent:
- Maintain aspect ratios relevant to end-use (e.g., 4:5 for Instagram, 3:2 for banners, 1:1 for product tiles).
- Avoid cutting off important details such as tassels or embroidered edges.
- Align patterns symmetrically or purposefully asymmetrically, depending on the narrative.
- Use grid overlays (rule of thirds or golden spiral) to guide focal point placement.
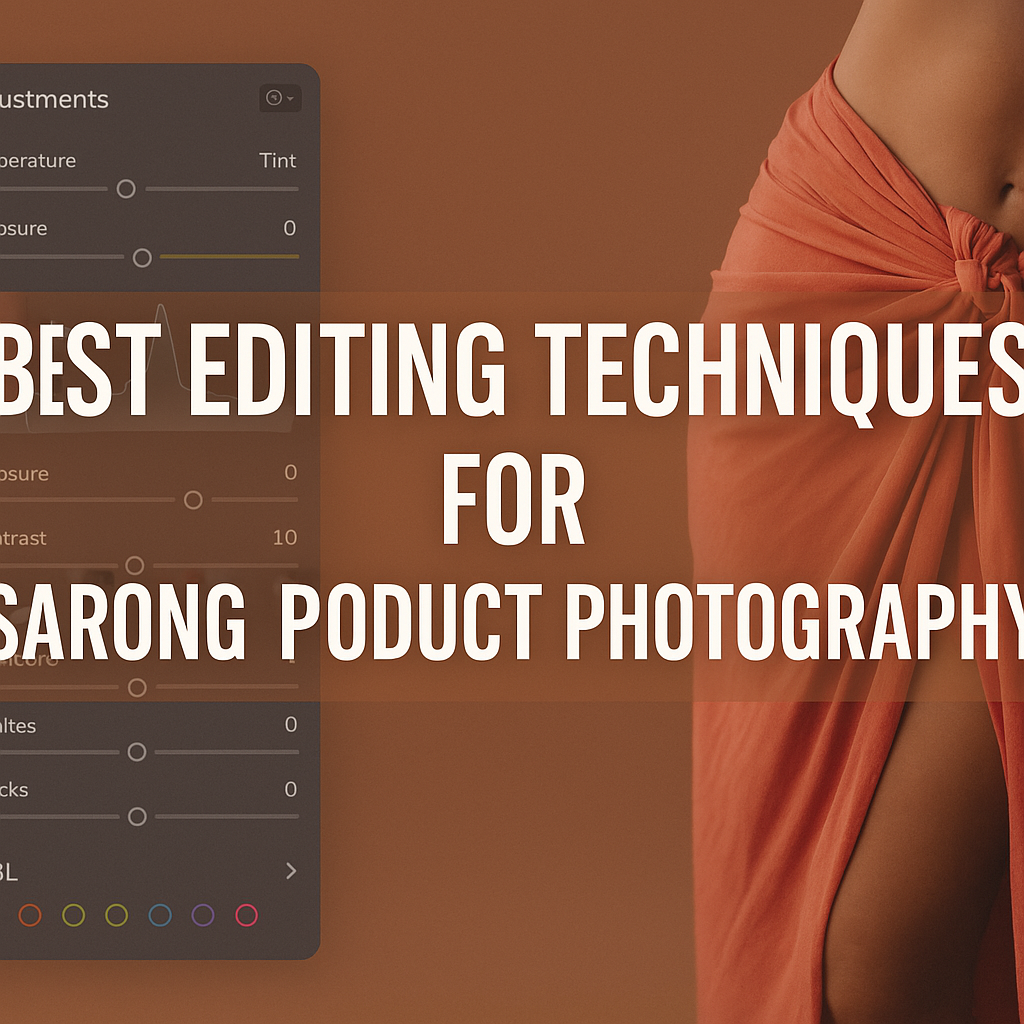
5. Color Correction and Tone Fidelity
Sarongs are known for their vibrant and dynamic color palettes. Here’s how to preserve them:
- Reference a grey card or color checker chart from your shoot for accurate white balance.
- Correct tint and temperature manually, especially under mixed lighting conditions.
- Use the HSL panel to isolate and enhance individual fabric tones without affecting skin.
- Preserve dye gradients in hand-dyed sarongs by using subtle masking techniques.
Pro Tip: Use Lightroom’s Calibration panel to adjust camera profile for deeper primaries and truer reds, blues, and greens.
6. Skin Tone and Fabric Cohesion
Inclusive representation means editing with sensitivity:
- Avoid over-smoothing or color homogenizing. Retain individuality and natural features.
- Use separate layers for fabric and skin corrections to avoid cross-influence.
- Adjust shadows and highlights with care to avoid unnatural tonal disparities between model and garment.
- Blend transitions between sarong and body using Dodge & Burn or Gradient Masks.
7. Exposure Correction – Editing Techniques
Proper exposure ensures the sarong’s textures and colors are both seen and appreciated:
- Recover clipped highlights using the Highlights slider.
- Lift shadow areas to reveal embroidery or pleats hidden in dark zones.
- Use Luminosity Masks in Photoshop for targeted tonal corrections.
- Apply Radial Filters to subtly draw attention to key design areas.
8. Contrast, Clarity, and Detail Enhancement
Details matter—especially for fabrics. Here’s how to enhance them thoughtfully:
- Add Clarity and Texture to the sarong area only. Avoid skin zones to prevent harshness.
- Use High Pass Sharpening for emphasizing thread and weave without introducing noise.
- Avoid global contrast adjustments—opt for localized contrast using Curves and Masks.
- Apply Dehaze sparingly to remove softness caused by lighting fog or lens haze.
9. Precision Retouching for Authenticity
Your goal is to enhance—not alter—reality:
- Use Frequency Separation to even out skin without losing texture.
- Heal distractions like flyaway threads or lint with the Spot Healing Brush.
- Clean up backgrounds by cloning or content-aware filling empty areas.
- Respect cultural motifs; never erase or modify traditional patterns.
10. Color Grading for Mood and Branding
Set the tone of your brand or campaign with intentional color grading:
- Use split toning to add warmth to shadows and cooler tones to highlights.
- Create LUTs (Look Up Tables) for consistent color palettes across shoots.
- Avoid uniform filters—adjust according to model’s skin tone and sarong hue.
- Test grades in black & white to ensure tonal balance before finalizing.
11. Masking Techniques for Focused Adjustments
Precision editing relies on masks:
- Auto-Select Subject or manually refine with Select & Mask in Photoshop.
- Feather edges to blend adjustments seamlessly into the background.
- Invert masks to adjust either background or subject exclusively.
- Use Selective Color Masks for sarong-only enhancement.
12. Handling Reflective and Shiny Fabrics
Metallic prints, satin, or silk require nuance:
- Use soft brushes to reduce highlight glare.
- Retain some reflection to preserve visual texture and realism.
- Dodge and Burn along folds to enhance natural depth and richness.
13. Batch Editing for Large Catalogues
Consistency is key for eCommerce stores and catalog publishers:
- Create and test presets across diverse images before bulk application.
- Review each photo post-preset for lighting anomalies or color shifts.
- Use sync settings in Lightroom to maintain uniformity.
- Export using batch scripts categorized by product ID, campaign, or visual theme.
14. Optimizing for Output Platforms
Ensure your edited images meet platform-specific standards:
- Instagram: 1080px width, sRGB color, JPEG format, minimal compression.
- Amazon/Etsy: 2000px+ on the longest side, white background, no text overlay.
- Website Banners: PNG or WebP format for transparency and faster loading.
- Lookbooks: Export in CMYK, high-resolution TIFFs for print.
15. Ethics and Inclusivity in Photo Editing – Editing Techniques
Authenticity builds trust:
- Represent diversity truthfully. Don’t digitally alter body shapes, skin tones, or traditional attire.
- Avoid applying eurocentric beauty norms. Showcase real beauty and cultural pride.
- Celebrate texture and age. Let natural features shine through.
- Always get consent when editing culturally sensitive visuals.
16. Staying Innovative and Up-to-Date
The digital landscape evolves quickly:
- Join professional communities (Behance, 500px, photography forums).
- Take refresher courses on editing trends and AI tools.
- Study global fashion magazines to understand new visual styles.
- Test emerging software for new retouching workflows.
17. Final Editing Checklist -Editing Techniques
Before you export and publish:
✅ White balance matches the lighting setup and fabric tone
✅ Skin tones look natural across all models
✅ No oversaturation or unnatural contrast
✅ Background clean, consistent, and clutter-free
✅ Textures enhanced but not exaggerated
✅ Exported formats optimized for target platforms
Conclusion – Editing Techniques
Editing sarong product photography is more than a technical process—it’s a creative commitment. Each image is an opportunity to celebrate color, heritage, artistry, and human connection. With the right tools, techniques, and thoughtful intent, you can turn a simple garment photograph into a visual story that resonates globally.
Apply the detailed techniques from this guide to refine your editing workflow. Let your imagery shine with clarity, depth, and cultural inclusiveness. In doing so, you uplift not only the product but also the story it represents.
Collaborate with The Candid Shoot
At The Candid Shoot, we specialize in fashion and textile photography that reflects elegance, inclusivity, and attention to detail. Whether you need post-production support or full-service shoots, we’re here to elevate your brand visuals.
📩 Contact us today for custom editing services and visual storytelling that aligns with your creative vision. [Insert your contact form/email/social link here]
FAQs: Editing Techniques for Sarong Product Photography
What is sarong product photography editing?
Sarong product photography editing is the process of enhancing product images through color correction, retouching, background cleanup, and detail refinement to create professional-looking photographs.
Why is editing important for sarong product photography?
Editing improves color accuracy, fabric texture visibility, lighting balance, and overall image quality, helping customers better understand the product before purchasing.
Which software is best for editing sarong product photos?
Adobe Lightroom and Adobe Photoshop are among the most popular tools for editing clothing and fashion product photography due to their powerful adjustment and retouching features.
How do I make fabric details stand out in product photos?
Increasing texture, clarity, and sharpening while maintaining natural colors can help highlight fabric patterns, folds, and material quality.
What is the best background for sarong product photography?
White backgrounds are commonly used for ecommerce stores, while lifestyle backgrounds can help showcase how the sarong looks in real-world settings.
How can I improve colors in sarong product photos?
Use white balance correction, selective color adjustments, and exposure balancing to ensure the product colors appear accurate and consistent.
Should sarong photos be edited in Lightroom or Photoshop?
Lightroom is excellent for batch editing and color correction, while Photoshop is better for advanced retouching, background removal, and detailed adjustments.
What image size is best for ecommerce product photography?
High-resolution images with fast-loading optimization provide the best balance between image quality and website performance.
How do I create consistent product photos for an online store?
Use the same lighting setup, camera settings, editing workflow, and color profile across all product images.
What are common mistakes when editing product photos?
Over-saturation, excessive sharpening, unrealistic colors, inconsistent backgrounds, and heavy retouching are common mistakes that can reduce product credibility.
Related Articles:
- Product Photography Lighting Guide
- How to Photograph Clothing Products
- Fashion Product Photography Tips
- White Background Product Photography
- Ecommerce Product Photography Guide
- Lightroom Presets for Jewellery Photography
- Product Photo Retouching Tips
Recommended Resources
Improve Your Product Photography Skills
Photography is a skill that improves with practice. Try experimenting with different lighting setups, camera angles, and editing techniques to discover what works best for your products. Even small improvements in composition and lighting can make your images look significantly more professional.
If you enjoyed this guide, explore more tutorials on The Candid Shoot to continue improving your photography skills.





Leave a Reply