

Table of Contents
Introduction
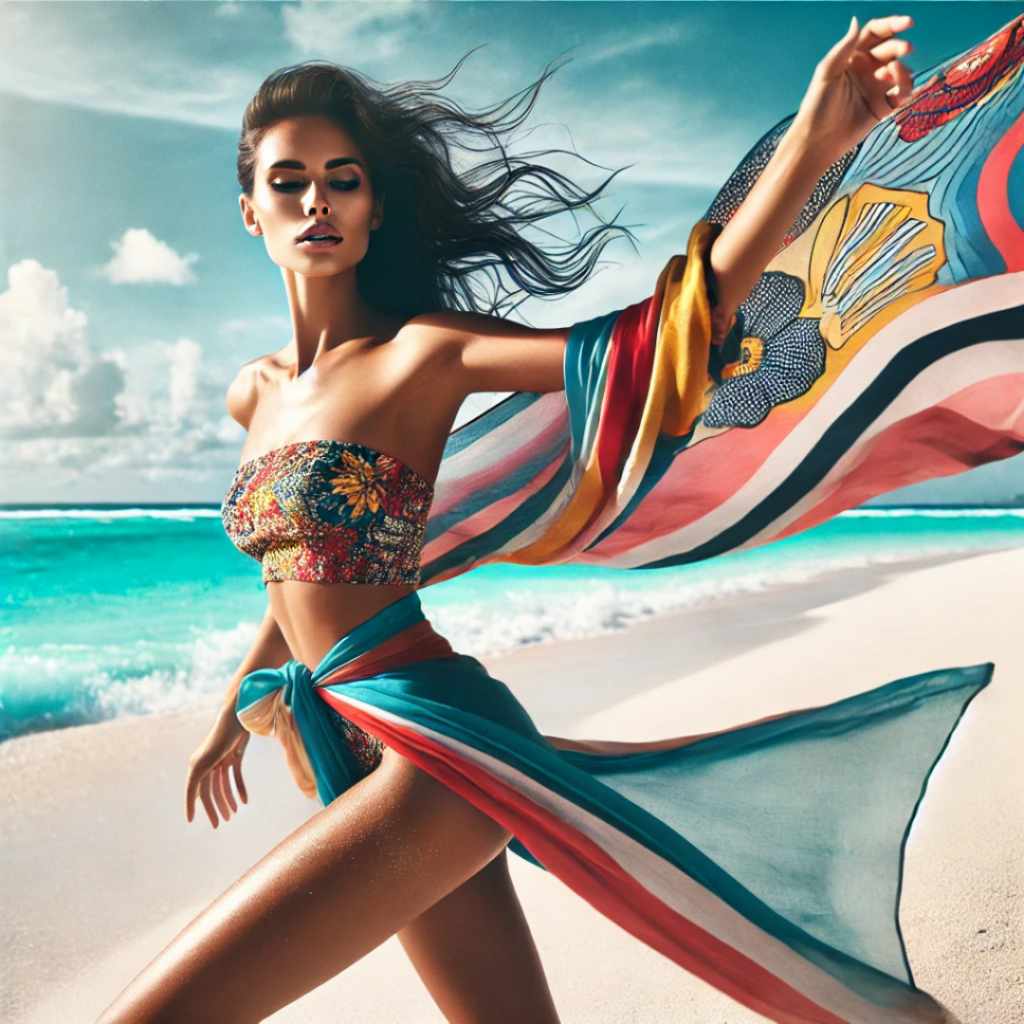
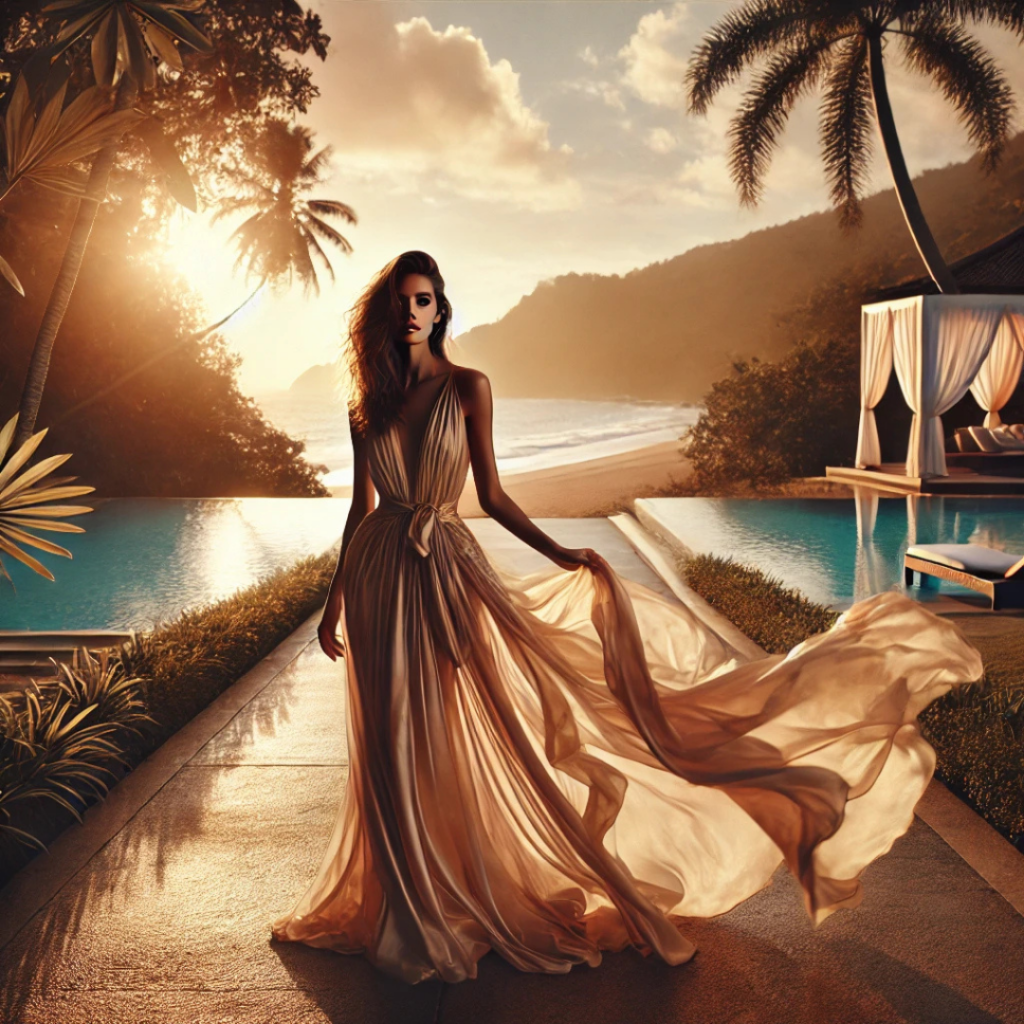
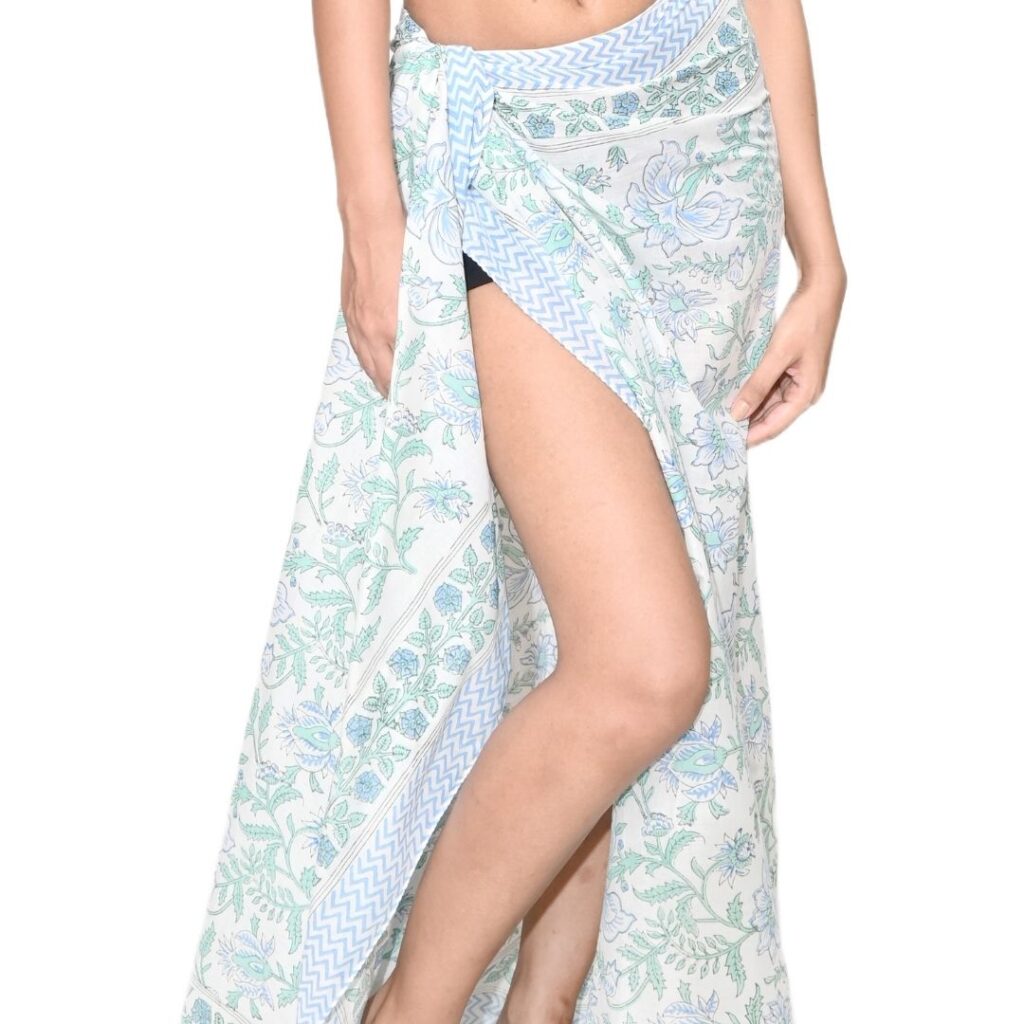
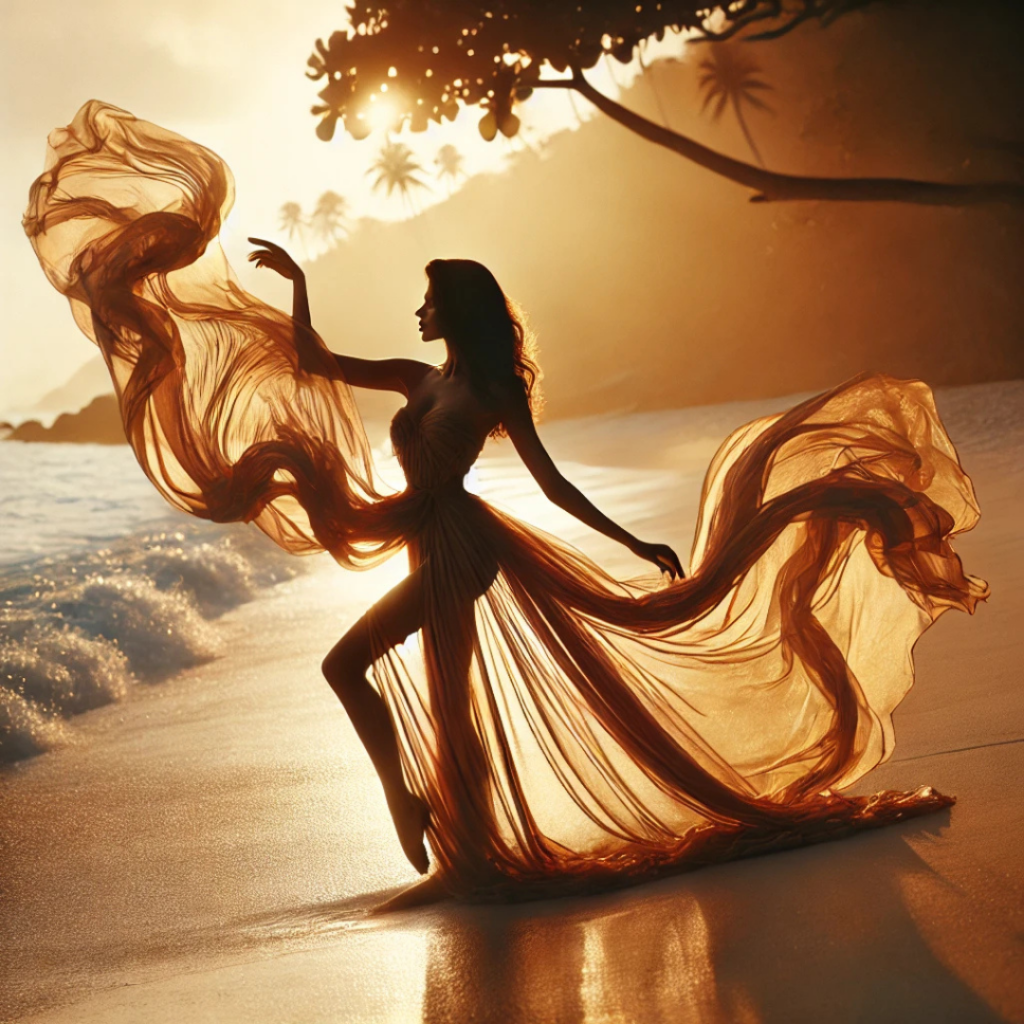
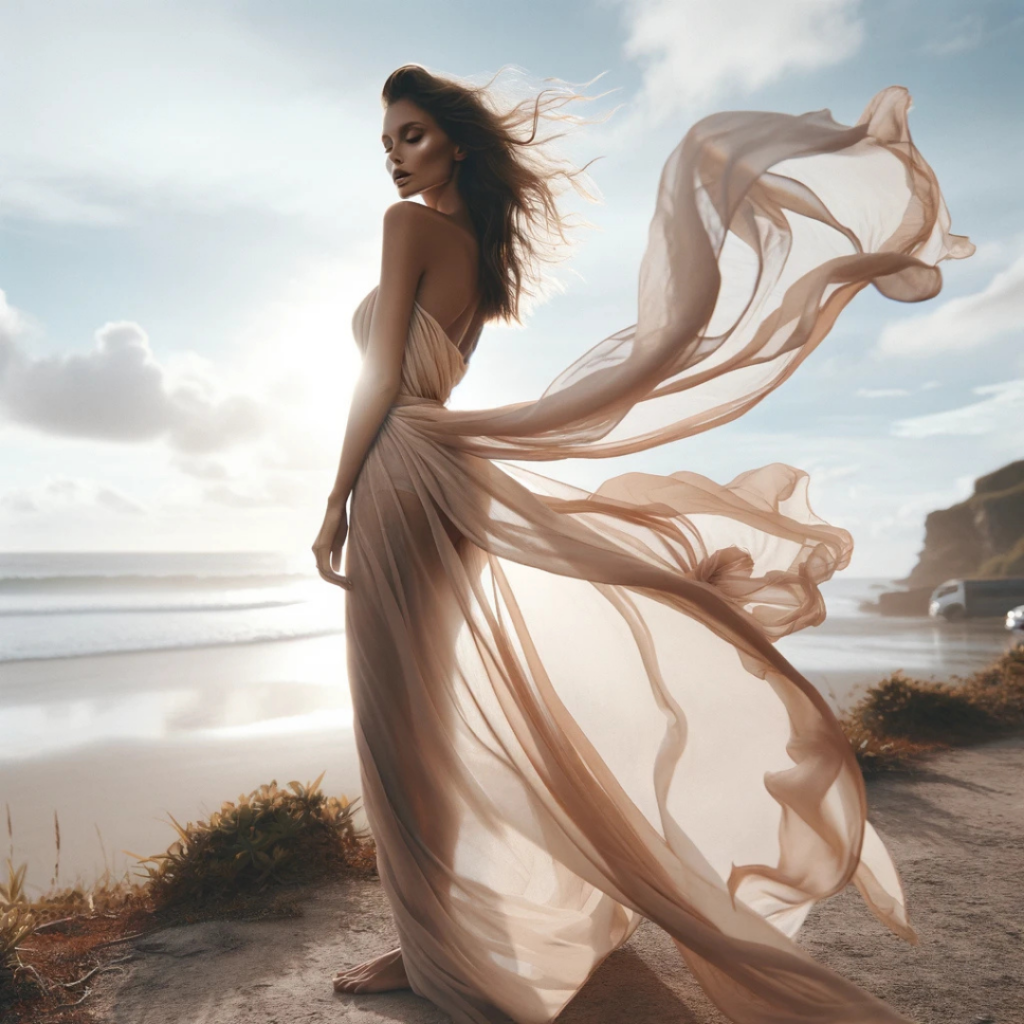
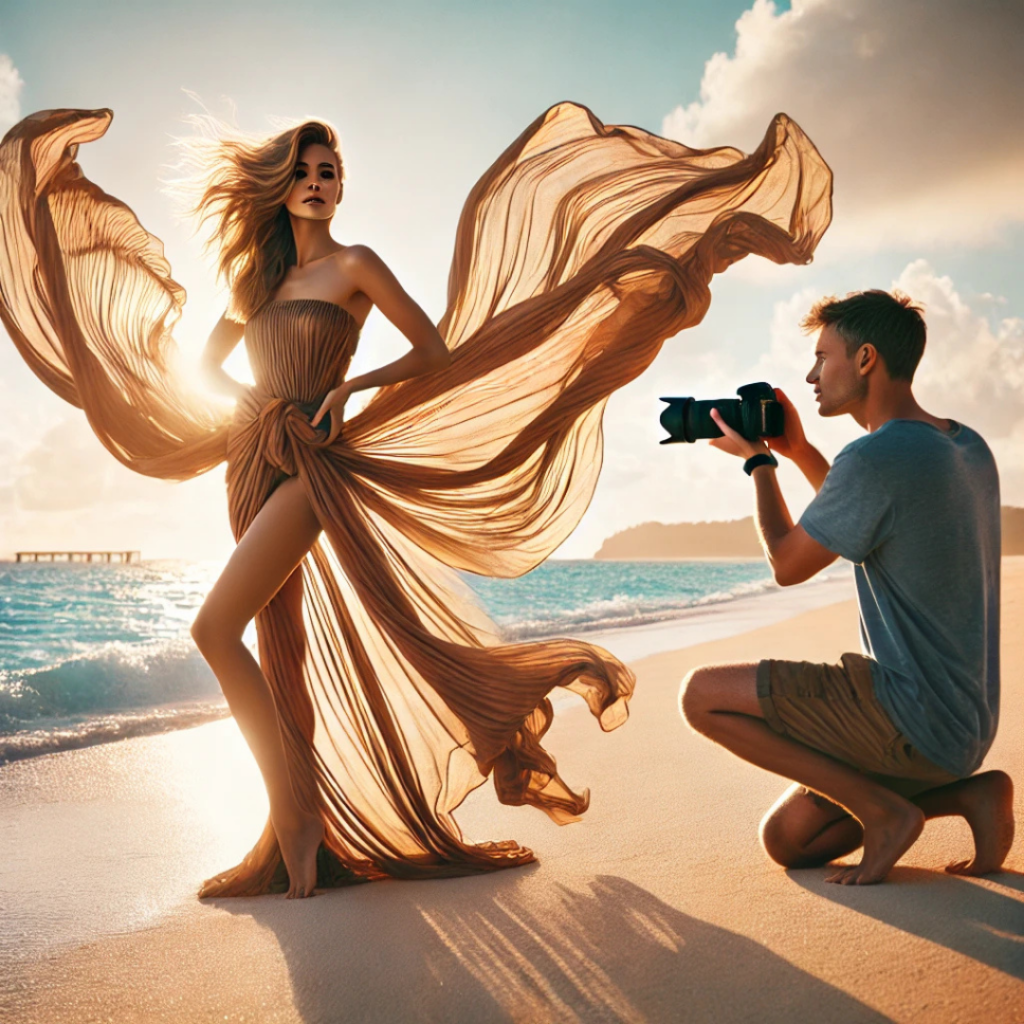
In sarong product photography, shadows play a crucial role in defining the fabric’s texture, shape, and visual appeal. Soft, well-controlled shadows can enhance the depth and realism of the sarong, while harsh or misplaced shadows can distract the viewer and reduce image quality. Mastering shadows in sarong product shoots requires an understanding of lighting techniques, shadow diffusion methods, and post-processing tricks. In this guide, we’ll cover:
- The impact of shadows in product photography
- Techniques for creating soft and natural shadows
- Equipment recommendations for the best results
- Common mistakes and how to fix them
- Post-processing techniques for shadow refinement
- Expert tips for achieving flawless sarong product shots
By the end of this article, you’ll have a comprehensive understanding of how to control shadows effectively in sarong product photography to create high-end, professional images.
Why Trust The Candid Shoot?
At The Candid Shoot, we publish practical photography guides based on real-world shooting techniques, camera knowledge, lighting setups, and post-processing workflows. Our goal is to simplify photography concepts so beginners, hobbyists, creators, and professionals can capture better images with confidence.
Every guide is carefully reviewed and updated to reflect current photography trends, camera technology, AI-powered editing tools, and industry best practices. Whenever relevant, we reference trusted photography resources and official manufacturer documentation to ensure our recommendations remain accurate and reliable.
Whether you’re photographing products for an online store, social media, Amazon listings, or personal projects, our tutorials are designed to help you improve image quality while making informed equipment and workflow decisions.
Quick Answer
Product photography is the process of creating high-quality images that accurately showcase a product’s appearance, features, and details. Effective product photography combines proper lighting, composition, camera settings, backgrounds, and editing techniques to produce professional images that increase customer trust and improve online sales.
Learn More About Product Photography
If you’re looking to master product photography from beginner to advanced level, don’t miss our complete guide:
👉 Powerful Product Photography Secrets for Photos
Inside this comprehensive guide, you’ll learn:
- Camera settings for product photography
- Lighting techniques for every budget
- Background selection
- Composition tips
- Lens recommendations
- Editing workflow
- AI tools for product photography
- Studio setup ideas
- Photography mistakes to avoid
- Professional workflow from planning to final image
This pillar guide connects all of our product photography tutorials in one place, making it the perfect starting point for begi
1. The Importance of Shadows in Sarong Product Photography
What Are Shadows in Product Photography?
A shadow is the absence of light that forms when an object obstructs a light source. In product photography, shadows help create:
- Depth and dimension – Prevents flat, lifeless images.
- Realism – Mimics natural light conditions for an authentic look.
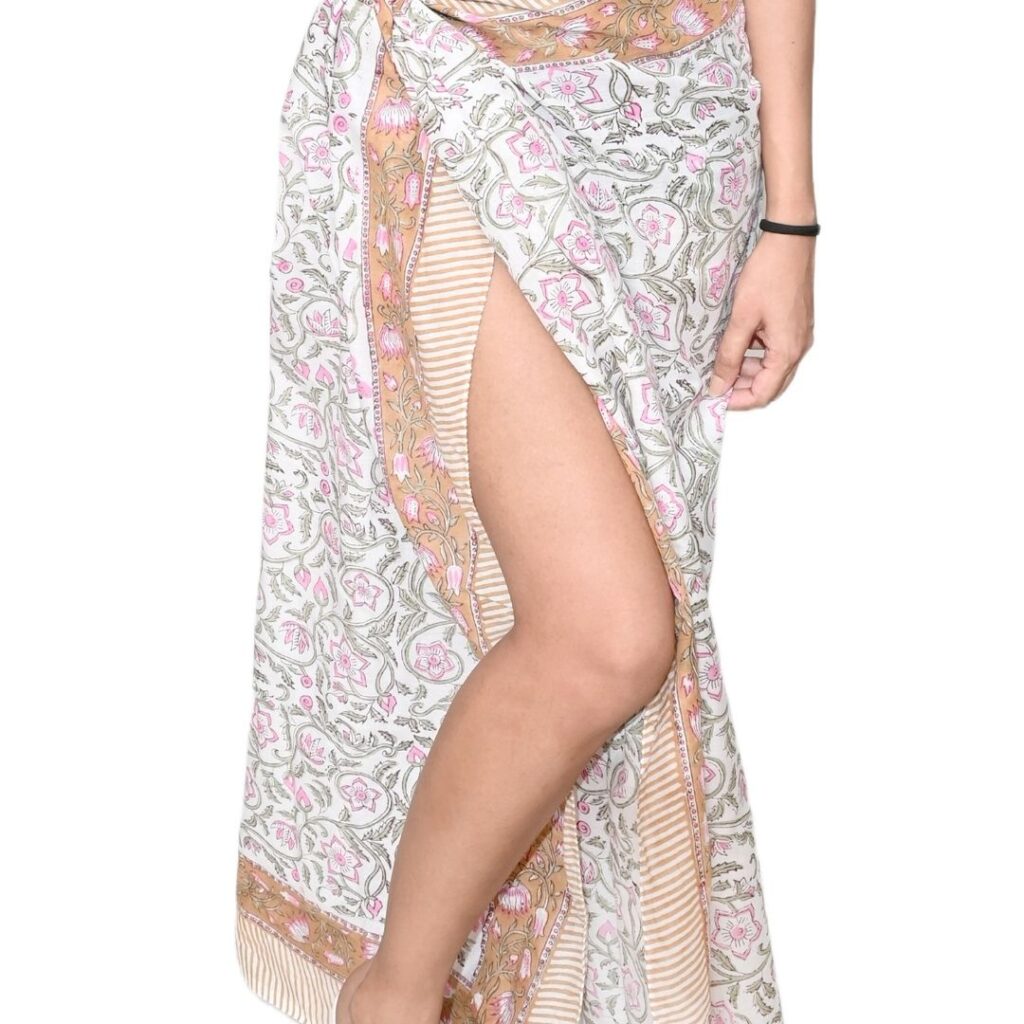
- Texture definition – Highlights the flow, folds, and softness of the sarong fabric.
- Contrast balance – Adds visual interest and balance to the composition.
Types of Shadows in Product Photography
There are three main types of shadows used in sarong product photography:
1. Hard Shadows
- Created by small, direct light sources such as bare bulbs or direct sunlight.
- Results in sharp, high-contrast edges.
- Not ideal for fabric photography as they emphasize harsh lines.
2. Soft Shadows
- Produced by large or diffused light sources like softboxes, umbrella reflectors, or cloudy daylight.
- Creates smooth transitions from light to dark.
- Ideal for highlighting the softness and texture of sarongs.
3. Drop Shadows
- Occur when an object is placed against a surface and the shadow falls naturally behind it.
- Common in e-commerce photography to create a grounded look.
2. How to Create Soft Shadows in Sarong Product Shoots
A. Use Large and Diffused Light Sources
Larger light sources create softer shadows. The bigger the light source, the more evenly it wraps around the sarong, reducing harsh contrast.
Recommended Light Sources:
- Softboxes (24-inch to 48-inch) – Distributes light evenly for smooth shadows.
- Umbrella Reflectors – Bounces light for a wide, diffused effect.
- LED Panel Lights with Diffusers – Adjustable brightness with built-in diffusion.
- Natural Window Light with Sheer Curtains – Softens strong daylight naturally.
B. Increase the Distance Between the Light and the Product
Moving the light source further away helps spread the light and soften shadows. If the light is too close, it creates sharper, more defined shadows.
C. Adjust the Light Angle for Shadow Control
- A 45-degree angle from the front creates natural, well-balanced shadows.
- A side light setup enhances depth and highlights fabric textures.
- Overhead lighting can create unpleasant downward shadows – avoid direct top-down setups.
D. Use Reflectors to Fill in Shadows
Reflectors bounce light back into the shadowed areas, reducing harshness.
Recommended Reflectors:
- White Foam Board – Provides a neutral, soft fill light.
- Silver Reflectors – Increases brightness without altering color tones.
- Gold Reflectors – Adds warmth to the shadows for a richer look.
E. Utilize Light-Diffusing Modifiers
Diffusion softens the harshness of light and prevents strong shadow lines.
Best Diffusers for Soft Shadows:
- Sheer white curtains (for natural light)
- Silk diffusion panels (for studio lights)
- Translucent umbrellas (for flash photography)


3. Ideal Lighting Setups for Sarong Product Shoots
Setup 1: One-Light Softbox & Reflector
- Position a softbox at a 45-degree angle to the sarong.
- Place a reflector on the opposite side to fill in shadows.
- Adjust the distance of the softbox for desired shadow softness.
Setup 2: Window Light & Sheer Curtain Diffusion
- Place the sarong near a large window with diffused daylight.
- Use white curtains or tracing paper to soften direct sunlight.
- Add a white foam board on the darker side for light balance.
Setup 3: Overhead Softbox with Side Reflectors
- Hang a large softbox above to create soft top shadows.
- Use reflectors on both sides to reduce excessive darkness.
- Works well for flat-lay sarong photography.
4. Post-Processing Tips for Shadow Refinement
Even with perfect lighting, post-processing is essential for shadow control.
A. Adjust Shadows in Lightroom
- Use the Shadows slider to lift dark areas.
- Reduce highlights to prevent overexposure.
B. Use Dodge & Burn in Photoshop
- Dodge Tool: Lightens dark shadows selectively.
- Burn Tool: Deepens shadows where needed for depth.
C. Apply Gradient Filters for Even Lighting
- Soft gradient adjustments help even out lighting imbalances.
D. Remove Distracting Shadows
- Use the Clone Stamp Tool to fix unwanted shadows.
5. Common Mistakes & How to Avoid Them
Mistake 1: Harsh Shadows on the Fabric
✔ Solution: Use a softbox or diffusion panel to soften the light.
Mistake 2: Uneven Light Distribution
✔ Solution: Position reflectors strategically to balance lighting.
Mistake 3: Shadows That Are Too Flat
✔ Solution: Adjust the light angle to create depth while keeping shadows soft.
Mistake 4: Over-Editing Shadows in Post-Production
✔ Solution: Use subtle adjustments to maintain natural lighting.
Conclusion
Mastering shadows in sarong product shoots is essential for professional, high-quality photography. Whether using natural light or studio setups, controlling shadow softness, light diffusion, and post-processing adjustments will elevate your images.
By experimenting with different lighting angles, reflectors, and editing techniques, you can create visually stunning sarong product photographs with perfect shadows.
Ready to take your sarong photography to the next level? Apply these techniques and transform your product images today! 🚀
Frequently Asked Questions:
What is product photography?
Product photography is the process of photographing products in a way that highlights their features, quality, and design. High-quality product photos help businesses increase customer trust, improve conversions, and reduce product returns.
What equipment is best for product photography?
For most products, you’ll need:
A camera or modern smartphone
A tripod
Softbox or LED lighting
White or colored background
Reflectors or diffusers
Basic photo editing software
Professional equipment can improve quality, but proper lighting is usually more important than an expensive camera.
What lighting is best for product photography?
Soft, diffused lighting is generally the best choice because it minimizes harsh shadows and accurately represents product colors. Softboxes, LED panels, and natural window light are commonly used depending on the shooting environment.
How can I improve product photography for eCommerce?
To improve eCommerce product photos:
Use consistent lighting
Keep backgrounds clean
Photograph multiple angles
Show product details and textures
Maintain accurate colors
Optimize image size for faster website loading
Edit images without making the product look unrealistic
Can I use a smartphone for product photography?
Yes. Modern smartphones can produce professional-looking product photos when paired with good lighting, a stable tripod, and proper editing. For many small businesses, a smartphone is an excellent starting point before investing in dedicated camera equipment.
Why is product photography important for online sales?
Customers cannot physically inspect products online. High-quality product images build trust, improve user experience, increase click-through rates, and often lead to higher conversion rates while reducing product returns.
Can AI improve product photography?
Yes. AI tools can remove backgrounds, enhance image quality, improve lighting, generate realistic backgrounds, resize images for different marketplaces, and automate editing workflows. AI should be used to enhance product photos while keeping them accurate and representative of the actual product.
What image size is best for product photography websites?
The ideal image size depends on the platform, but most websites perform well with:
JPEG or WebP format
1200–2000 pixels on the longest side
Compressed images under 300 KB when possible
Proper alt text for accessibility and SEO
Related Product Photography Guides
Continue improving your photography skills with these helpful resources:
- Product Photography Lighting Guide
- Best Cameras for Product Photography
- DIY Product Photography Setup at Home
- White Background Product Photography Tips
- Product Photography Camera Settings Explained
- Best Lenses for Product Photography
- AI Product Photography Tools
- Product AI Photo Editing Guide
- Photography Tutorials for Beginners
Recommended Resources
Improve Your Product Photography Skills
Photography is a skill that improves with practice. Try experimenting with different lighting setups, camera angles, and editing techniques to discover what works best for your products. Even small improvements in composition and lighting can make your images look significantly more professional.
If you enjoyed this guide, explore more tutorials on The Candid Shoot to continue improving your photography skills.





Leave a Reply