
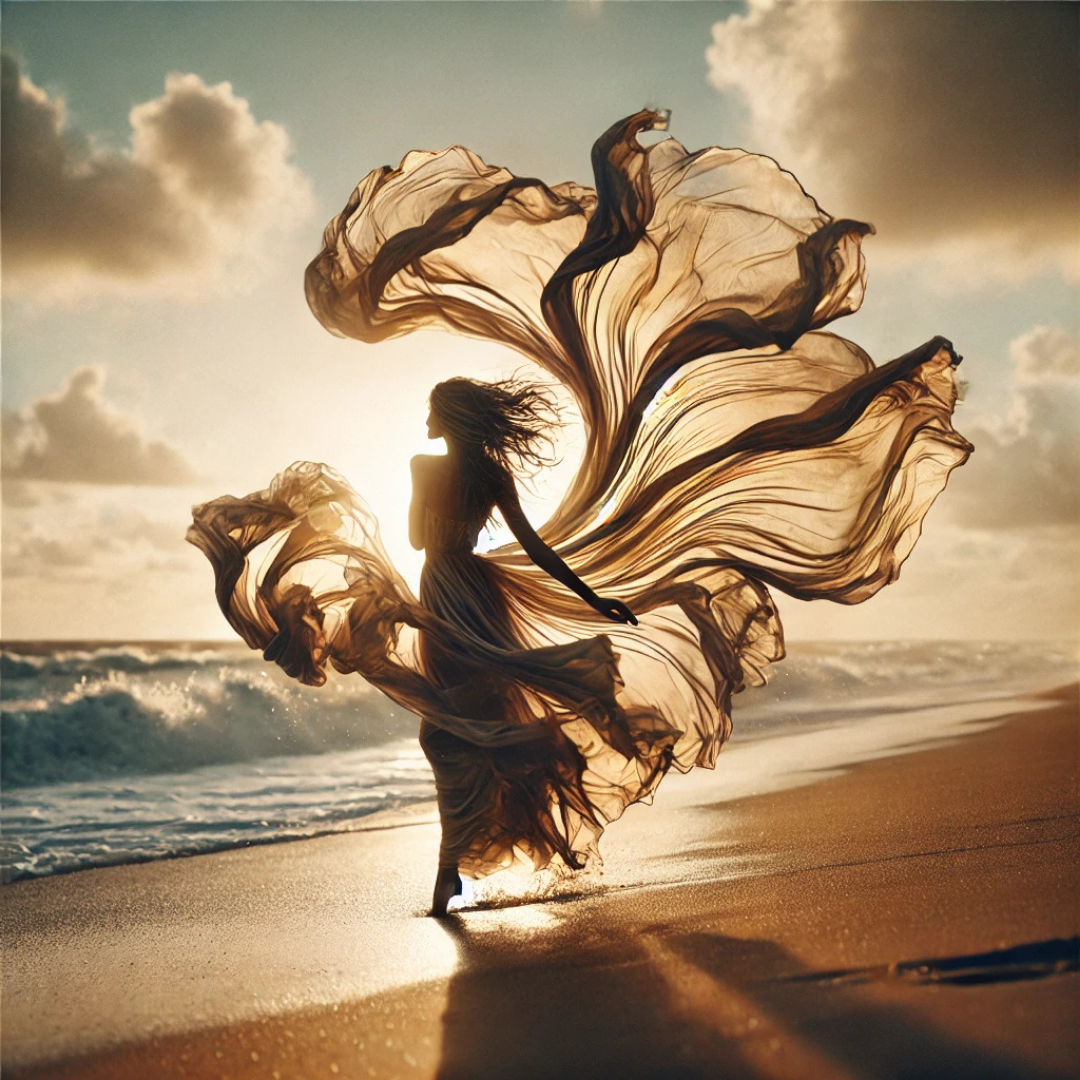
Sarong photoshoots in Jaipur offer a seamless blend of traditional and contemporary aesthetics, creating a visually striking narrative. With the city’s vibrant hues, historical architecture, and breathtaking landscapes, sarongs find their perfect stage. To achieve stunning results, understanding styling and draping techniques is crucial.
Why Trust The Candid Shoot?
At The Candid Shoot, we publish practical photography guides based on real-world shooting techniques, camera knowledge, lighting setups, and post-processing workflows. Our goal is to simplify photography concepts so beginners, hobbyists, creators, and professionals can capture better images with confidence.
Every guide is carefully reviewed and updated to reflect current photography trends, camera technology, AI-powered editing tools, and industry best practices. Whenever relevant, we reference trusted photography resources and official manufacturer documentation to ensure our recommendations remain accurate and reliable.
Whether you’re photographing products for an online store, social media, Amazon listings, or personal projects, our tutorials are designed to help you improve image quality while making informed equipment and workflow decisions.
Quick Answer
Product photography is the process of creating high-quality images that accurately showcase a product’s appearance, features, and details. Effective product photography combines proper lighting, composition, camera settings, backgrounds, and editing techniques to produce professional images that increase customer trust and improve online sales.
Learn More About Product Photography
If you’re looking to master product photography from beginner to advanced level, don’t miss our complete guide:
👉 Powerful Product Photography Secrets for Photos
Inside this comprehensive guide, you’ll learn:
- Camera settings for product photography
- Lighting techniques for every budget
- Background selection
- Composition tips
- Lens recommendations
- Editing workflow
- AI tools for product photography
- Studio setup ideas
- Photography mistakes to avoid
- Professional workflow from planning to final image
This pillar guide connects all of our product photography tutorials in one place, making it the perfect starting point for beginners and experienced photographers alike.
Why Choose Jaipur for Sarong Photoshoots?
Jaipur, the Pink City, boasts a diverse range of scenic locations that perfectly complement sarong fashion. Whether you aim for a bohemian beach-inspired look, a regal Indian fusion, or a contemporary high-fashion aesthetic, Jaipur’s rich cultural backdrop enhances every frame.
Benefits of Shooting in Jaipur:
- Cultural Charm: The city’s palaces, forts, and stepwells add grandeur to sarong photography.
- Dynamic Backgrounds: From vibrant bazaars to desert landscapes, Jaipur offers varied backdrops.
- Golden Hour Lighting: The soft, warm light enhances fabric textures and intricate draping details.
Essential Styling Tips for Sarong Photoshoots
1. Choosing the Right Fabric
- Opt for lightweight materials like chiffon, silk, georgette, or linen to ensure fluid draping.
- Avoid stiff fabrics that lack movement and might appear rigid in images.
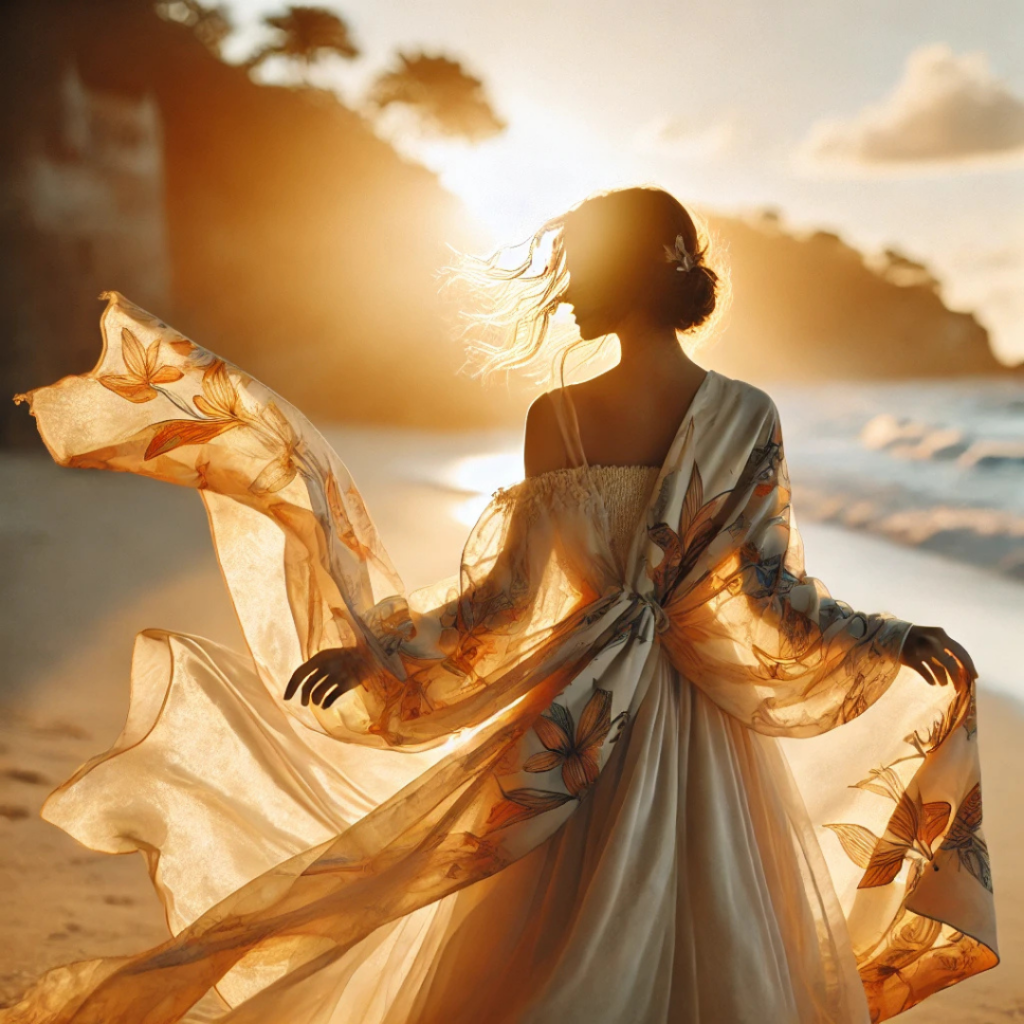
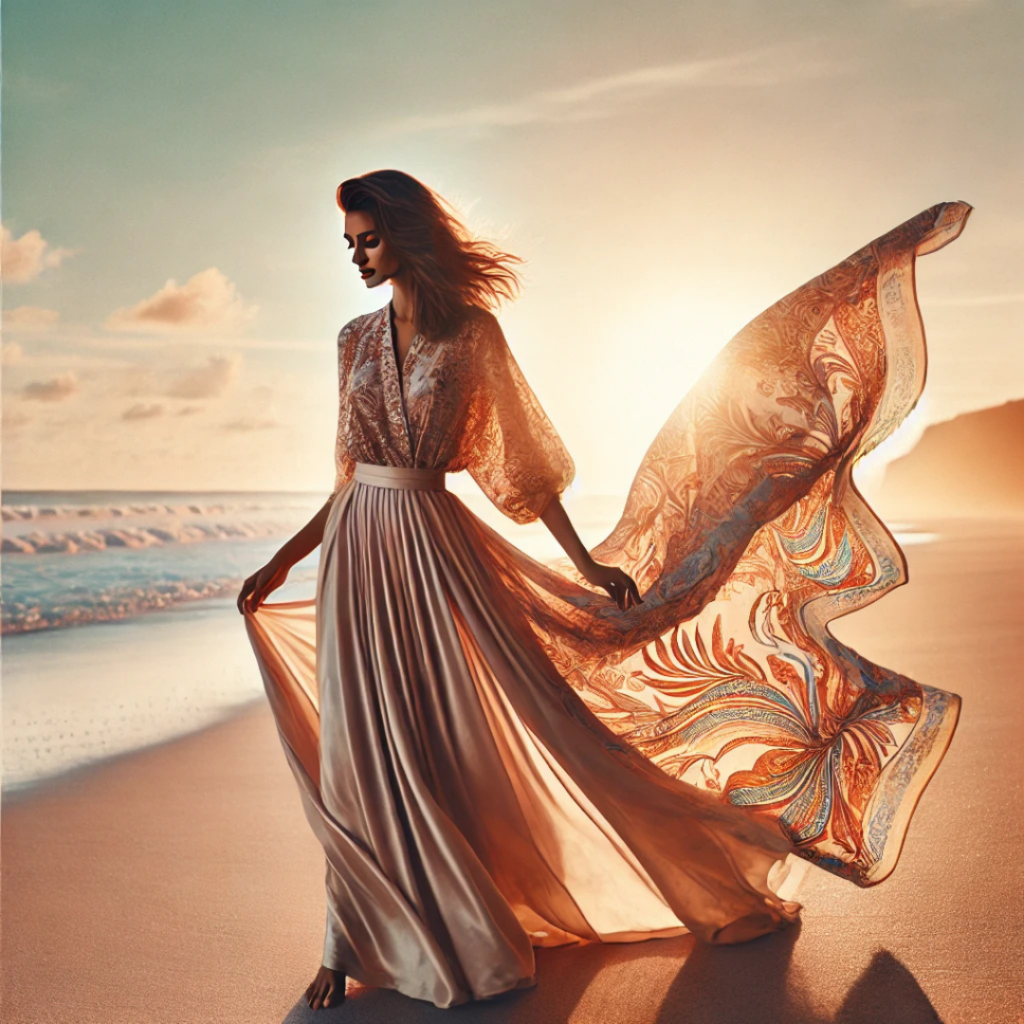
- Printed sarongs with bohemian patterns, floral designs, or solid jewel tones contrast beautifully against Jaipur’s warm color palette.
2. Accessory Selection for a Polished Look
- Jewelry: Layered necklaces, statement earrings, and tribal-inspired anklets enhance the aesthetic appeal.
- Footwear: Strappy sandals, barefoot styling, or Rajasthani juttis add authenticity.
- Props: Wide-brim hats, flowing scarves, and desert-themed elements like clay pots can create storytelling compositions.
3. Flattering Draping Techniques
- Classic Wrap: A simple tie-around-the-waist style, ideal for casual and beach-inspired photoshoots.
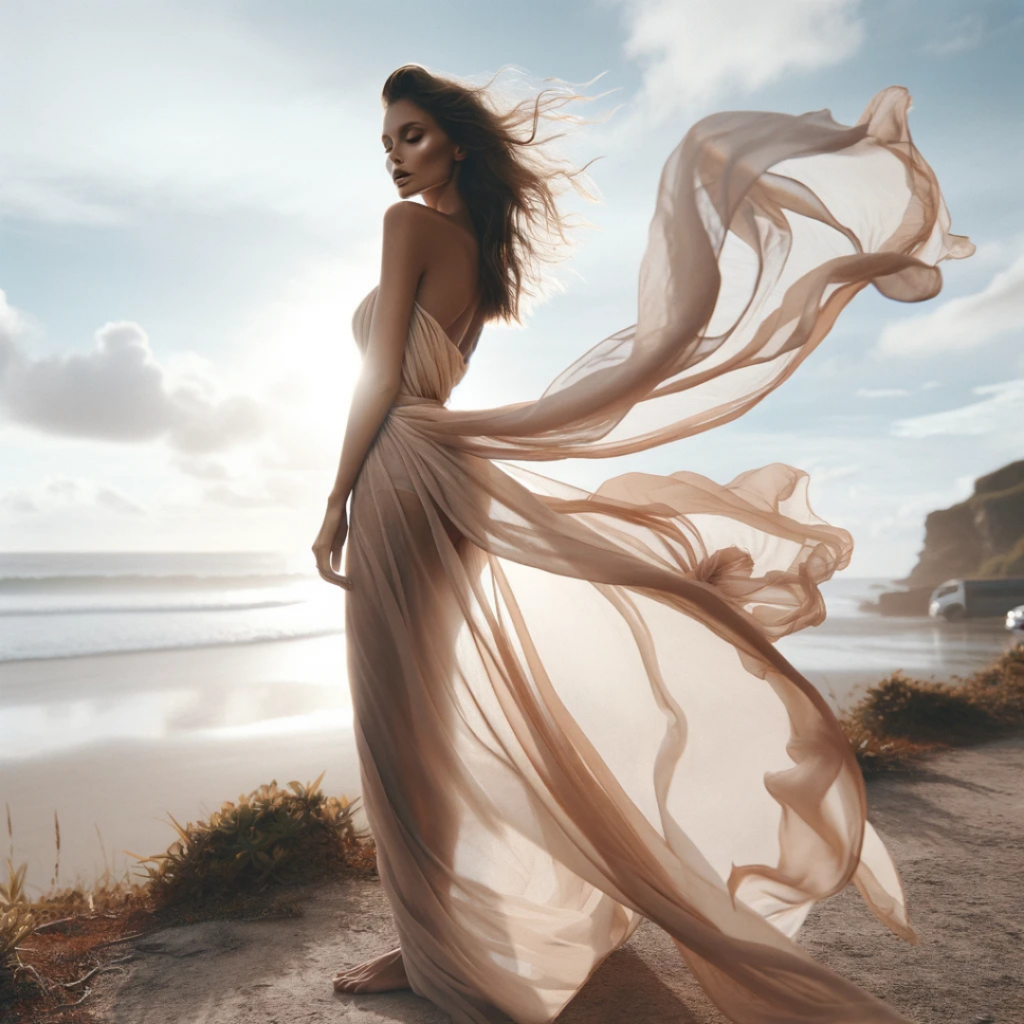
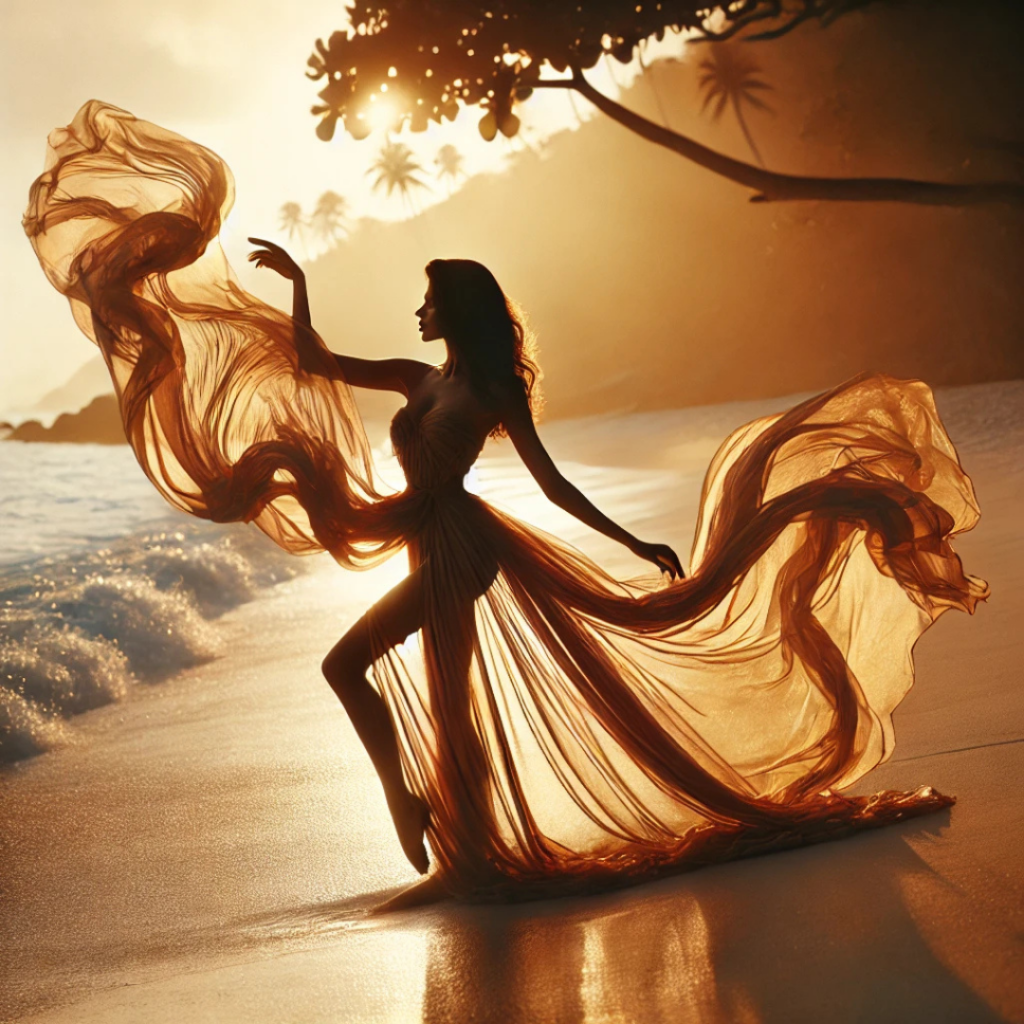
- Asymmetrical Draping: High-slit or one-shoulder wraps create a dramatic, elongated silhouette.
- Grecian Knot: Tying the sarong at the neck transforms it into a flowing maxi dress.
- Saree-Inspired Drape: Layering the sarong over traditional Indian attire creates a fusion fashion statement.
Mastering Posing and Movement for Stunning Photos
1. Utilizing Fabric Movement
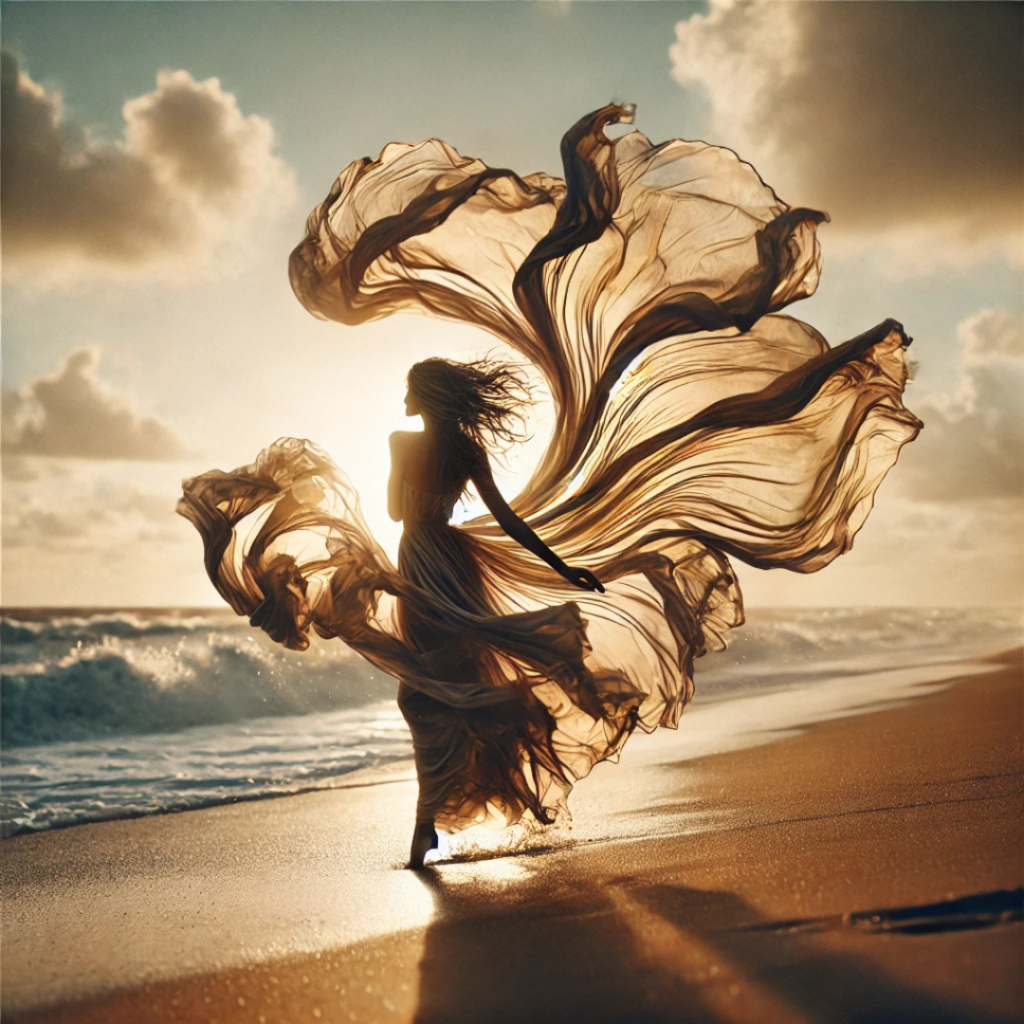
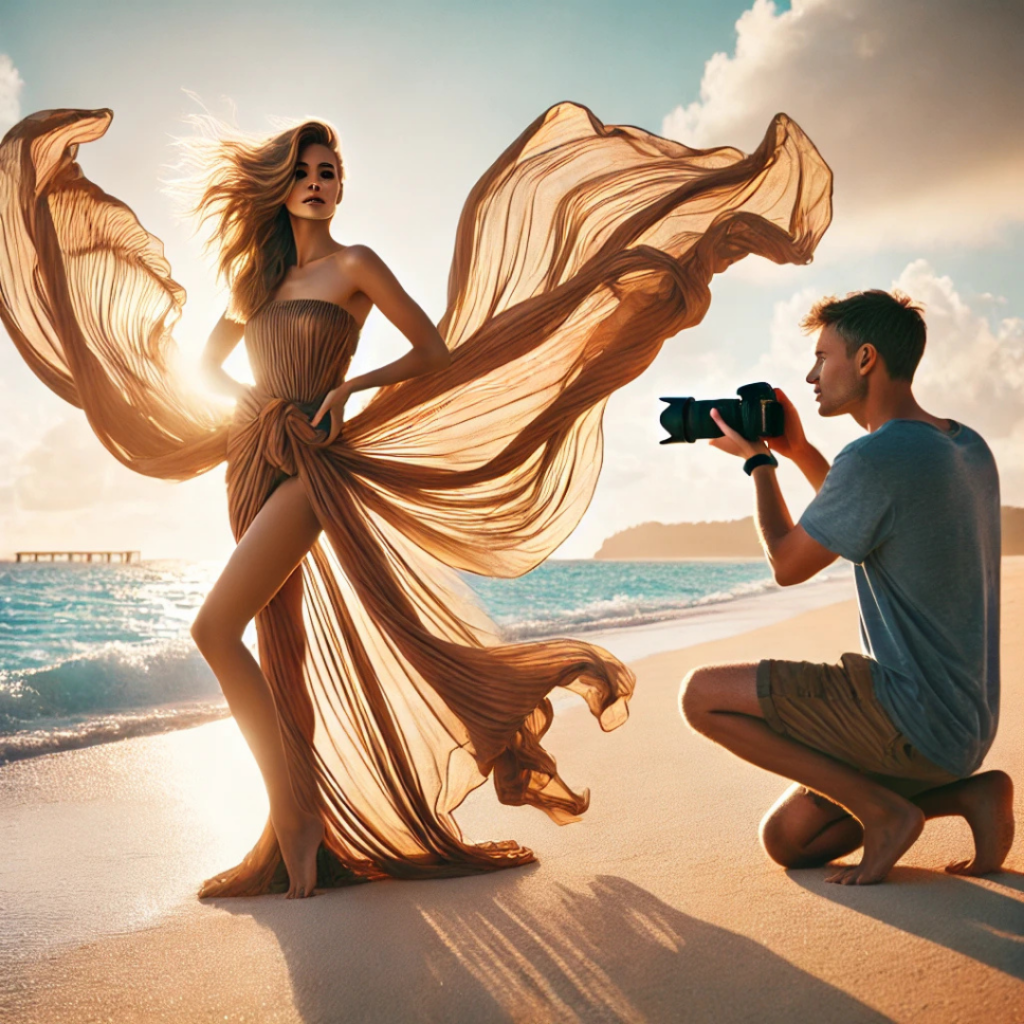
- Encourage twirling, walking, and wind-blown effects to highlight sarong flow.
- Use a gentle breeze or handheld fans to create dynamic shots.
2. Striking Body Poses
- One leg slightly bent with a forward hip shift for an elongated look.
- Hands-on-hips or behind-the-head gestures for confidence and flair.
- Side-angle poses to showcase draping techniques and fabric texture.
Top Locations in Jaipur for Sarong Photoshoots
1. Amer Fort
- Rustic walls and grand corridors provide a majestic setting.
- The fort’s intricate details contrast beautifully with flowing sarongs.
2. City Palace Jaipur
- Regal backdrops with pastel-hued walls and archways.
- The fusion of Mughal and Rajput architecture adds elegance.
3. Panna Meena Ka Kund
- Geometric stepwells create depth and symmetry for artistic compositions.
- Ideal for structured poses and contrasting sarong patterns.
4. Nahargarh Fort Sunset Point
- The golden-hour glow enhances the translucency of sarong fabrics.
- Overlooking Jaipur, it offers panoramic views for wide-angle shots.
Photography Techniques to Enhance Sarong Shoots
1. Lighting Tips
- Utilize natural golden-hour lighting for soft, ethereal effects.
- Backlighting emphasizes fabric translucency, adding dimension.
2. Camera Angles for Maximum Impact
- Low-angle shots create an elongated, statuesque look.
- Overhead shots showcase intricate draping details.
- Wide shots against Jaipur’s architectural marvels enhance visual storytelling.
3. Post-Processing Edits
- Enhance colors to complement Jaipur’s warm hues.
- Soft focus and vignette effects create a dreamlike feel.
- Highlight intricate sarong textures through sharpening techniques.
Conclusion
Sarong photoshoots in Jaipur offer an opportunity to blend cultural aesthetics with modern fashion sensibilities. By selecting the right fabric, mastering draping techniques, utilizing dynamic poses, and choosing the perfect location, photographers can capture mesmerizing images that tell a visual story of elegance and movement.
Frequently Asked Questions:
What is product photography?
Product photography is the process of photographing products in a way that highlights their features, quality, and design. High-quality product photos help businesses increase customer trust, improve conversions, and reduce product returns.
What equipment is best for product photography?
For most products, you’ll need:
A camera or modern smartphone
A tripod
Softbox or LED lighting
White or colored background
Reflectors or diffusers
Basic photo editing software
Professional equipment can improve quality, but proper lighting is usually more important than an expensive camera.
What lighting is best for product photography?
Soft, diffused lighting is generally the best choice because it minimizes harsh shadows and accurately represents product colors. Softboxes, LED panels, and natural window light are commonly used depending on the shooting environment.
How can I improve product photography for eCommerce?
To improve eCommerce product photos:
Use consistent lighting
Keep backgrounds clean
Photograph multiple angles
Show product details and textures
Maintain accurate colors
Optimize image size for faster website loading
Edit images without making the product look unrealistic
Can I use a smartphone for product photography?
Yes. Modern smartphones can produce professional-looking product photos when paired with good lighting, a stable tripod, and proper editing. For many small businesses, a smartphone is an excellent starting point before investing in dedicated camera equipment.
Why is product photography important for online sales?
Customers cannot physically inspect products online. High-quality product images build trust, improve user experience, increase click-through rates, and often lead to higher conversion rates while reducing product returns.
Can AI improve product photography?
Yes. AI tools can remove backgrounds, enhance image quality, improve lighting, generate realistic backgrounds, resize images for different marketplaces, and automate editing workflows. AI should be used to enhance product photos while keeping them accurate and representative of the actual product.
What image size is best for product photography websites?
The ideal image size depends on the platform, but most websites perform well with:
JPEG or WebP format
1200–2000 pixels on the longest side
Compressed images under 300 KB when possible
Proper alt text for accessibility and SEO
Related Product Photography Guides
Continue improving your photography skills with these helpful resources:
- Product Photography Lighting Guide
- Best Cameras for Product Photography
- DIY Product Photography Setup at Home
- White Background Product Photography Tips
- Product Photography Camera Settings Explained
- Best Lenses for Product Photography
- AI Product Photography Tools
- Product AI Photo Editing Guide
- Photography Tutorials for Beginners
Recommended Resources
Improve Your Product Photography Skills
Photography is a skill that improves with practice. Try experimenting with different lighting setups, camera angles, and editing techniques to discover what works best for your products. Even small improvements in composition and lighting can make your images look significantly more professional.
If you enjoyed this guide, explore more tutorials on The Candid Shoot to continue improving your photography skills.


Leave a Reply