
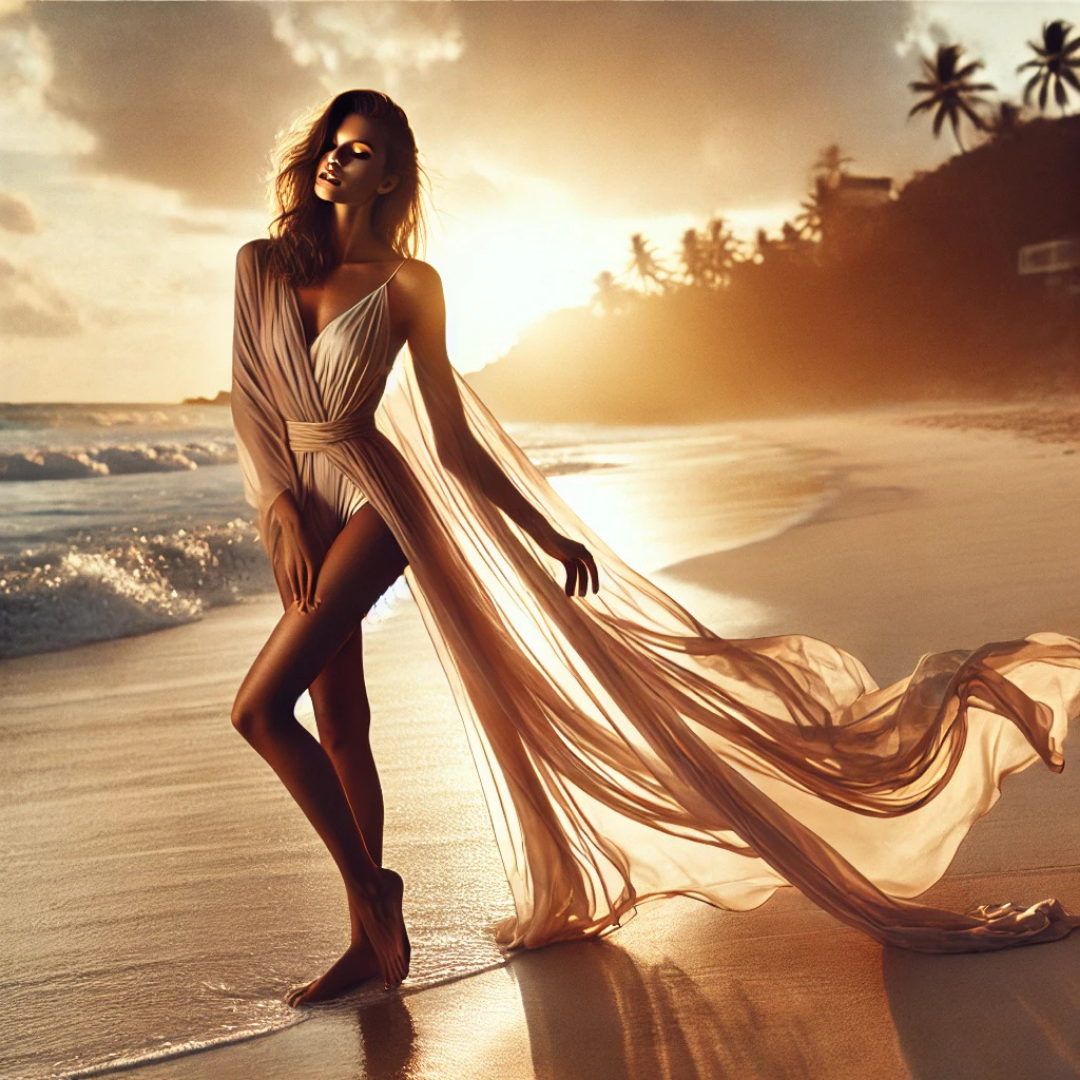
Sarong product photography is an essential aspect of showcasing the beauty, fabric, and versatility of sarongs for fashion brands and independent designers. Capturing stunning images requires not just a good camera but also strategic angles, well-composed poses, and expert lighting techniques. In this comprehensive guide, we will explore the best approaches to Sarong Product Photography, covering ideal shooting angles, flattering model poses, fabric movement techniques, and post-processing strategies to create compelling, high-quality visuals that enhance your brand’s appeal.
Why Trust The Candid Shoot?
At The Candid Shoot, we publish practical photography guides based on real-world shooting techniques, camera knowledge, lighting setups, and post-processing workflows. Our goal is to simplify photography concepts so beginners, hobbyists, creators, and professionals can capture better images with confidence.
Every guide is carefully reviewed and updated to reflect current photography trends, camera technology, AI-powered editing tools, and industry best practices. Whenever relevant, we reference trusted photography resources and official manufacturer documentation to ensure our recommendations remain accurate and reliable.
Whether you’re photographing products for an online store, social media, Amazon listings, or personal projects, our tutorials are designed to help you improve image quality while making informed equipment and workflow decisions.
Quick Answer
Product photography is the process of creating high-quality images that accurately showcase a product’s appearance, features, and details. Effective product photography combines proper lighting, composition, camera settings, backgrounds, and editing techniques to produce professional images that increase customer trust and improve online sales.
Learn More About Product Photography
If you’re looking to master product photography from beginner to advanced level, don’t miss our complete guide:
👉 Powerful Product Photography Secrets for Photos
Inside this comprehensive guide, you’ll learn:
- Camera settings for product photography
- Lighting techniques for every budget
- Background selection
- Composition tips
- Lens recommendations
- Editing workflow
- AI tools for product photography
- Studio setup ideas
- Photography mistakes to avoid
- Professional workflow from planning to final image
This pillar guide connects all of our product photography tutorials in one place, making it the perfect starting point for beginners and experienced photographers alike.
Importance of Sarong Product Photography
Sarongs are graceful, flowing garments, often associated with beachwear, resort fashion, and traditional wear. Their lightweight nature and variety of styles make them unique in terms of how they drape, reflect light, and create movement. Capturing these elements in a photograph can make a significant difference in the marketability of the product. High-quality Sarong Product Photography can:
- Enhance online sales and customer engagement
- Highlight the fabric’s texture, design, and fluidity
- Showcase various ways to style and wear the sarong
- Make your brand stand out in the competitive fashion industry
Choosing the Right Angles for Sarong Product Photography
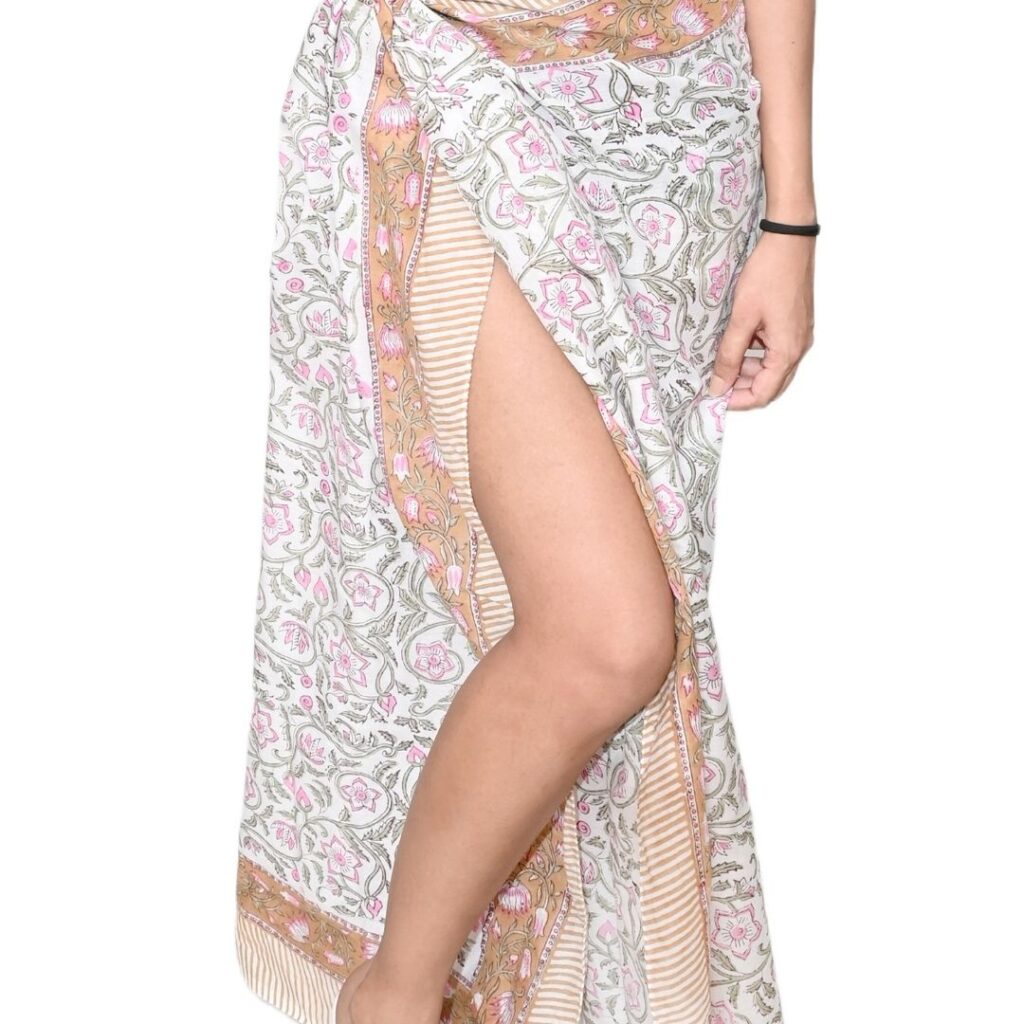
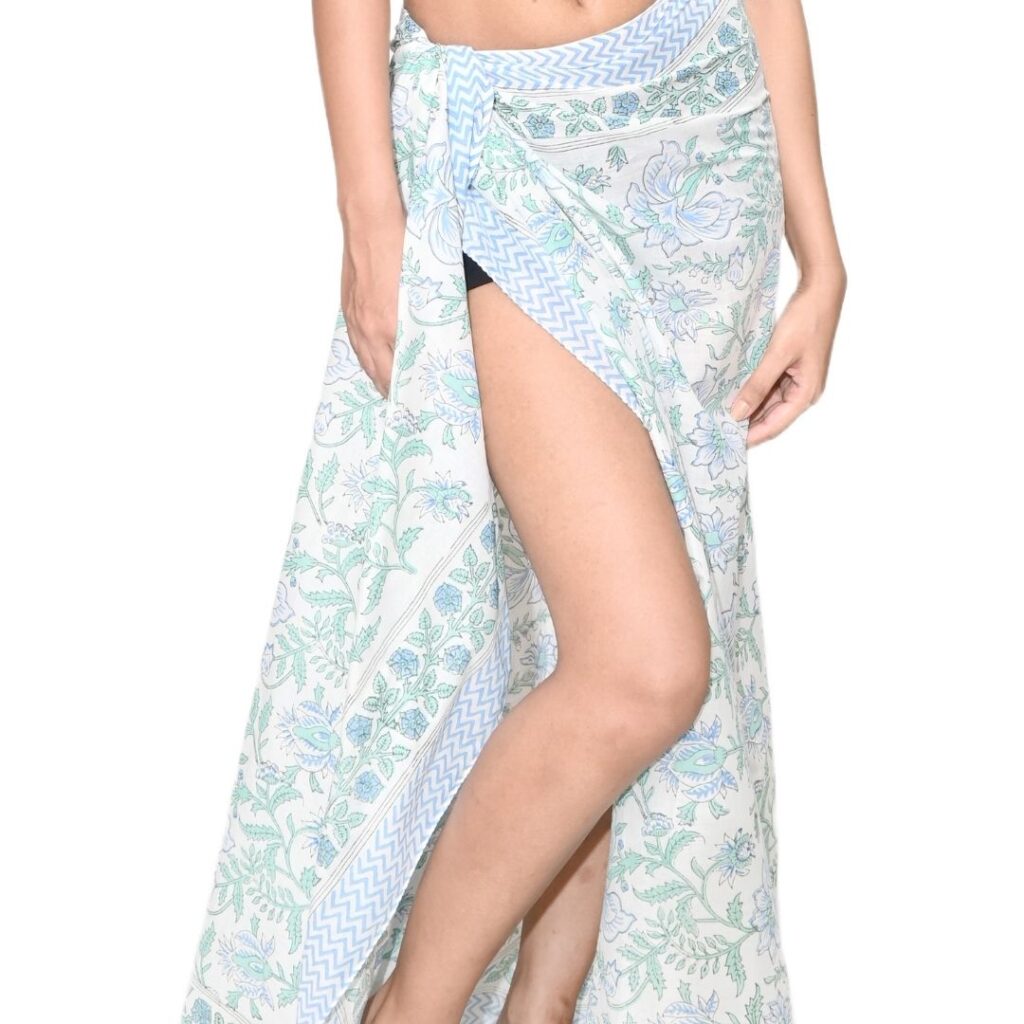
Angles play a crucial role in presenting a sarong in its best form. Whether you are focusing on the intricate patterns, demonstrating how it wraps around the body, or emphasizing its lightweight flow, selecting the right angles ensures that the product is showcased optimally.
1. Eye-Level Shots
- Eye-level photography presents the sarong in a natural, relatable way.
- Works best for e-commerce listings and social media posts.
- Maintains accurate proportions and provides a neutral perspective.
2. High-Angle Shots
- High-angle photography can highlight the entire drape of the sarong.
- Ideal for flat-lay compositions where the fabric is displayed with accessories.
- Adds an artistic touch by showing the interplay of colors and patterns.
3. Low-Angle Shots
- A low-angle shot creates a powerful, dramatic effect.
- Helps in emphasizing the flowing nature of the fabric.
- Works well for outdoor, beach-themed, and movement-based photography.
4. Close-Up Angles
- Focuses on fabric texture, embroidery, or printed patterns.
- Allows the customer to appreciate the detailing of the sarong.
- Best for luxury or designer sarongs where fabric quality is a selling point.
5. Over-the-Shoulder Perspective
- Creates a more lifestyle-driven, storytelling approach.
- Helps customers envision themselves wearing the sarong.
- Adds a sense of depth and movement to the image.
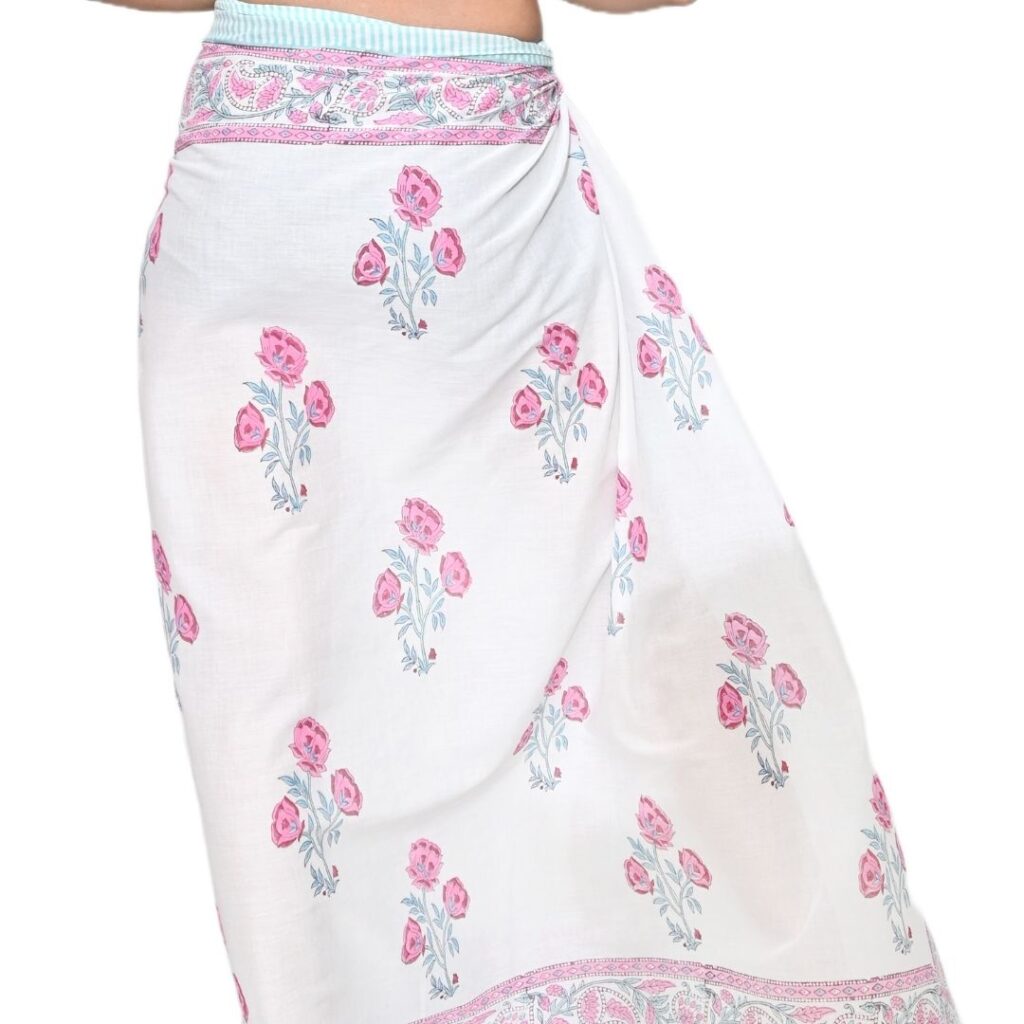
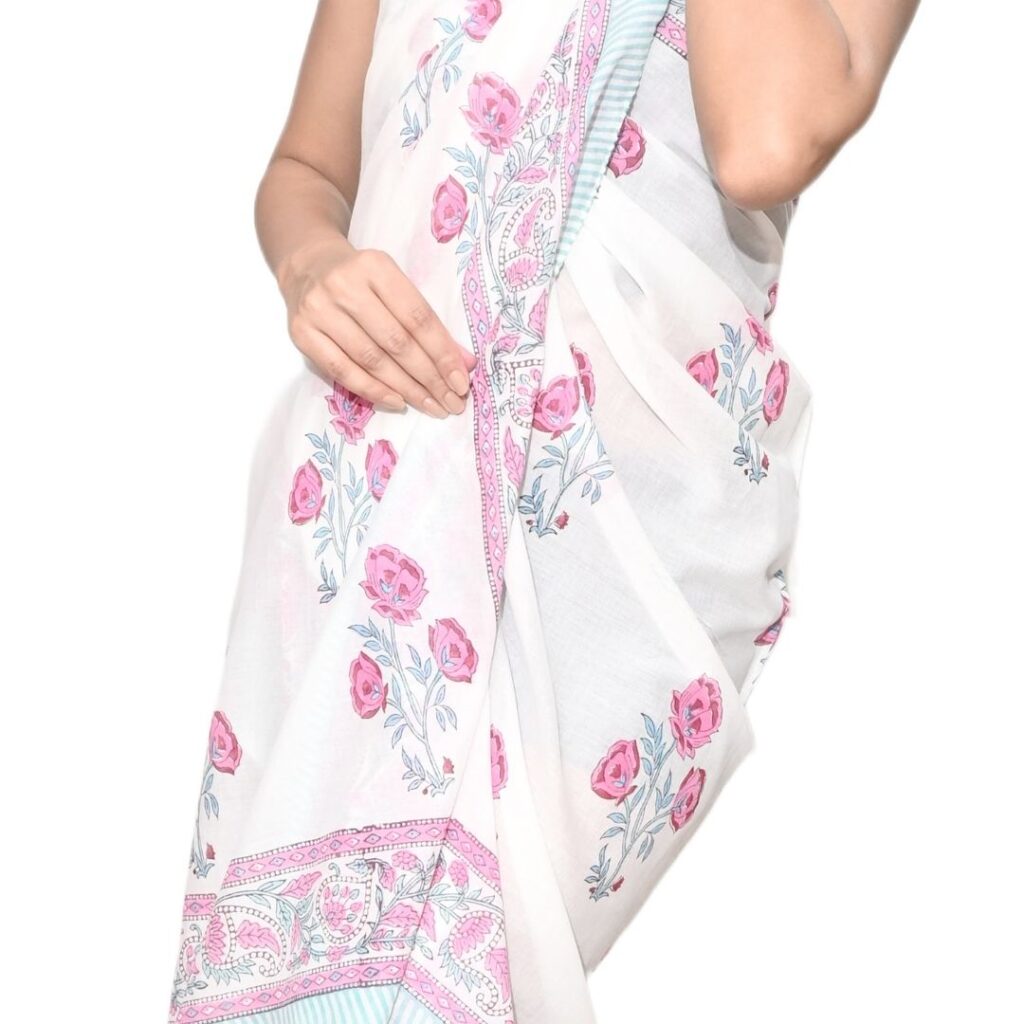
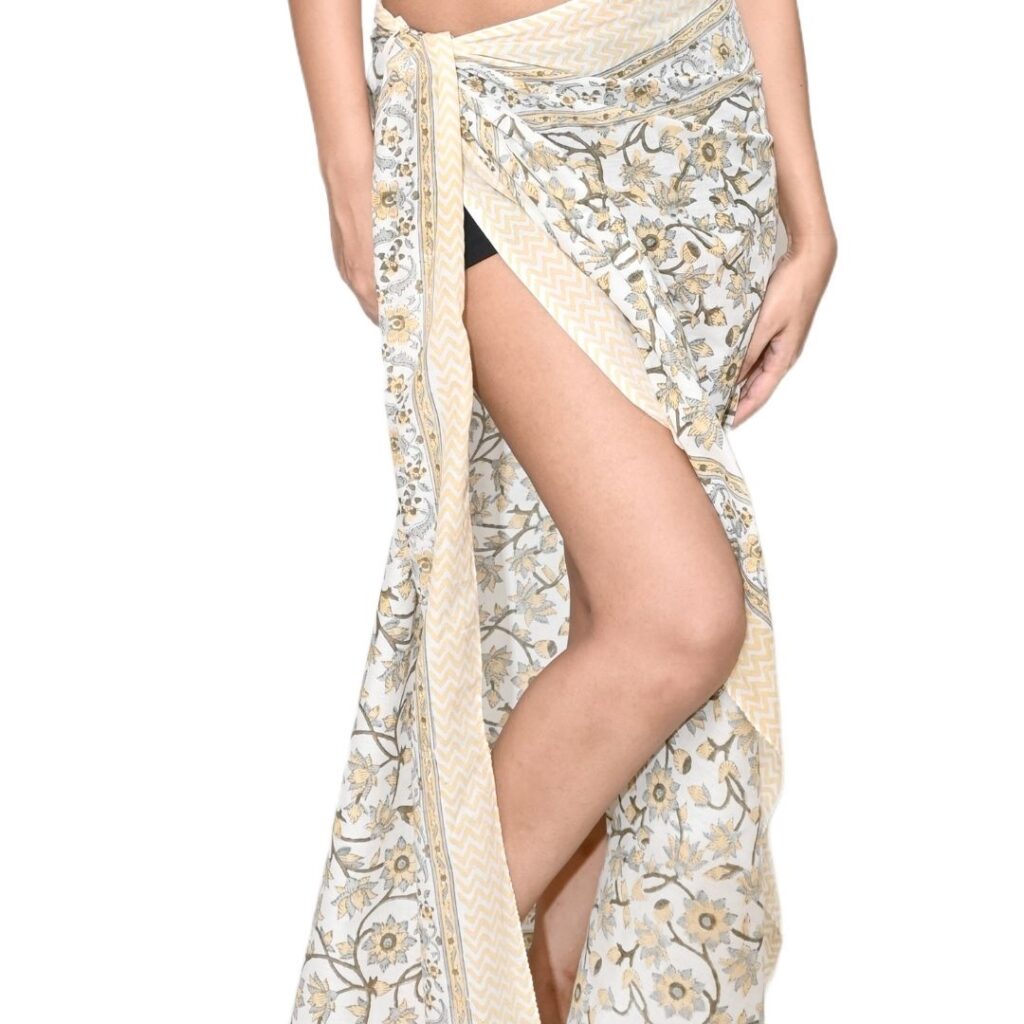
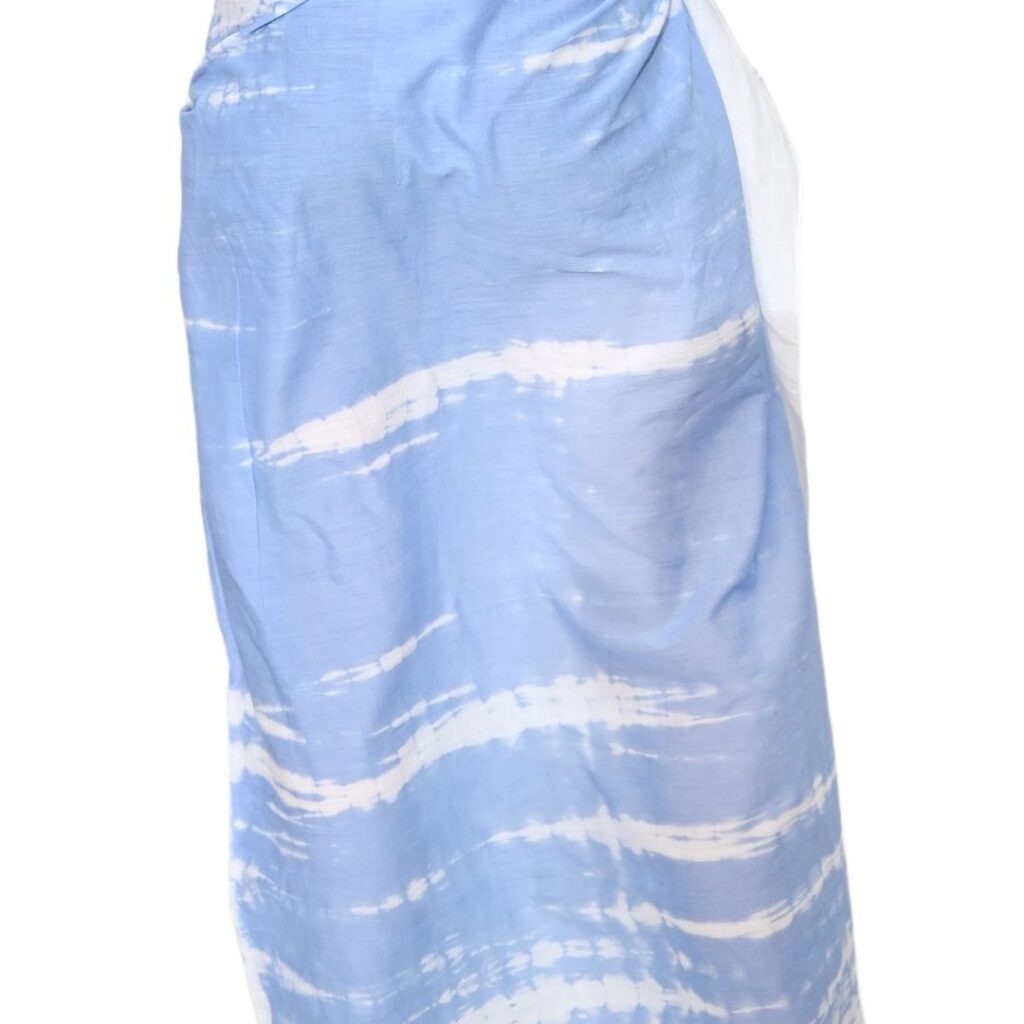
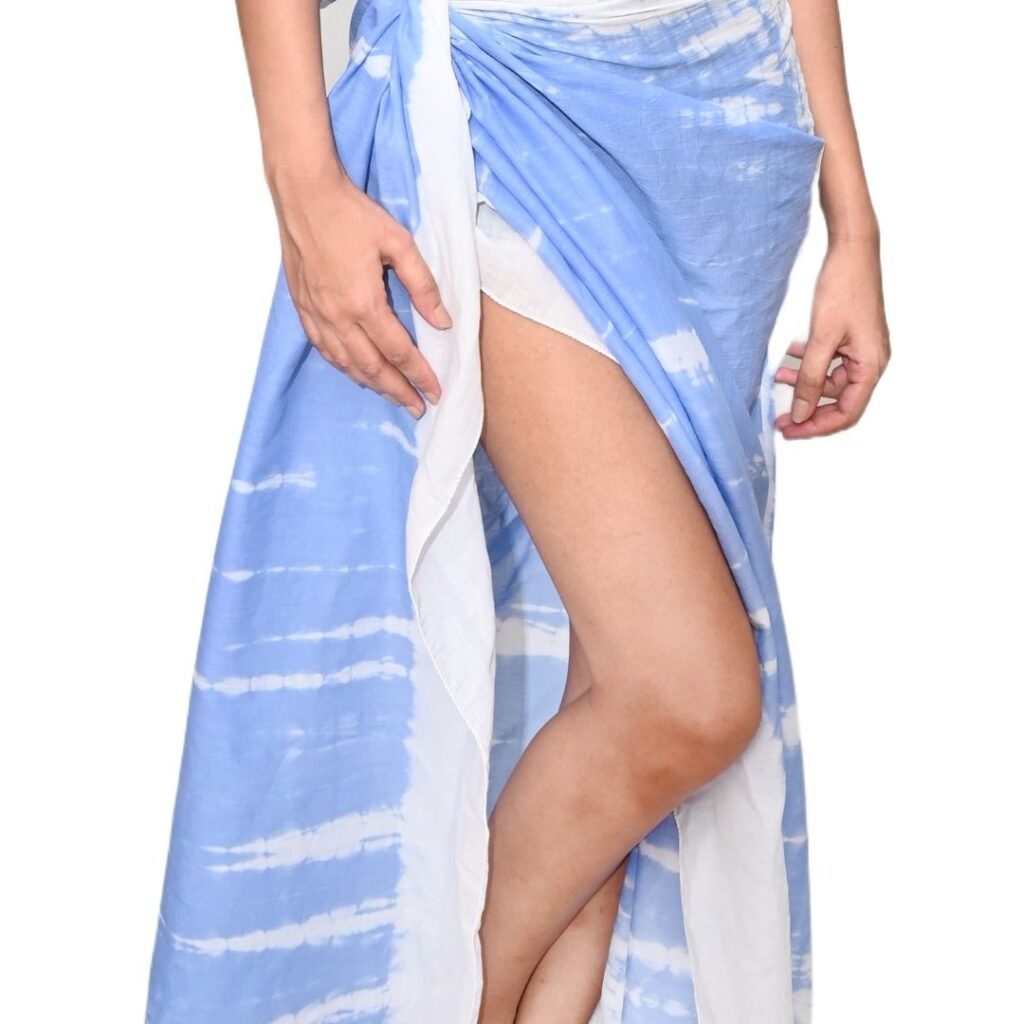
Best Poses for Sarong Product Photography
Models play an essential role in showcasing the versatility of sarongs. The right poses can highlight the drape, movement, and adaptability of the garment, making it more visually appealing to potential buyers.
1. The Classic Wrap Pose
- Demonstrates how to tie a sarong into a classic wrap dress.
- Works well for full-body shots, emphasizing the elegance of the fabric.
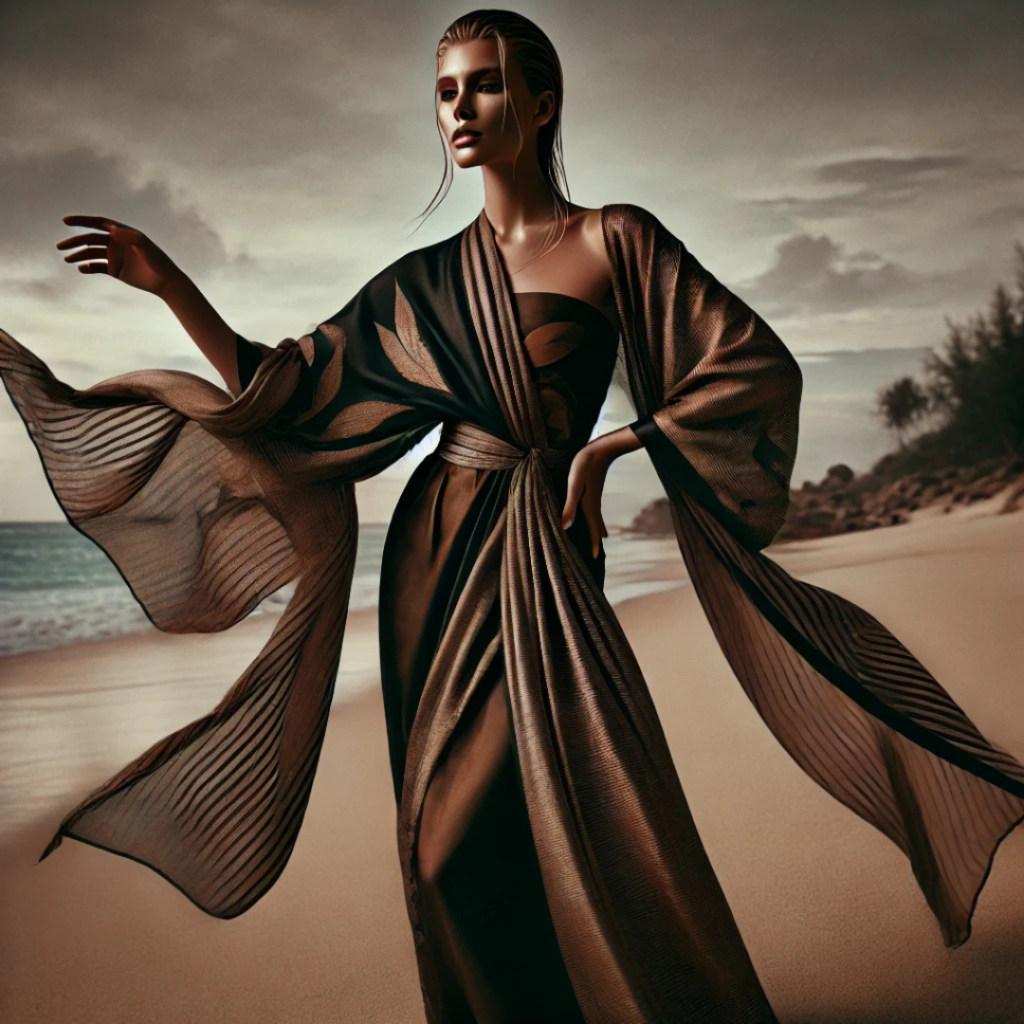
2. Over-the-Shoulder Drape
- Creates a relaxed, vacation-style look.
- Best for bohemian or resort-wear branding.
3. Twirling Motion Shot
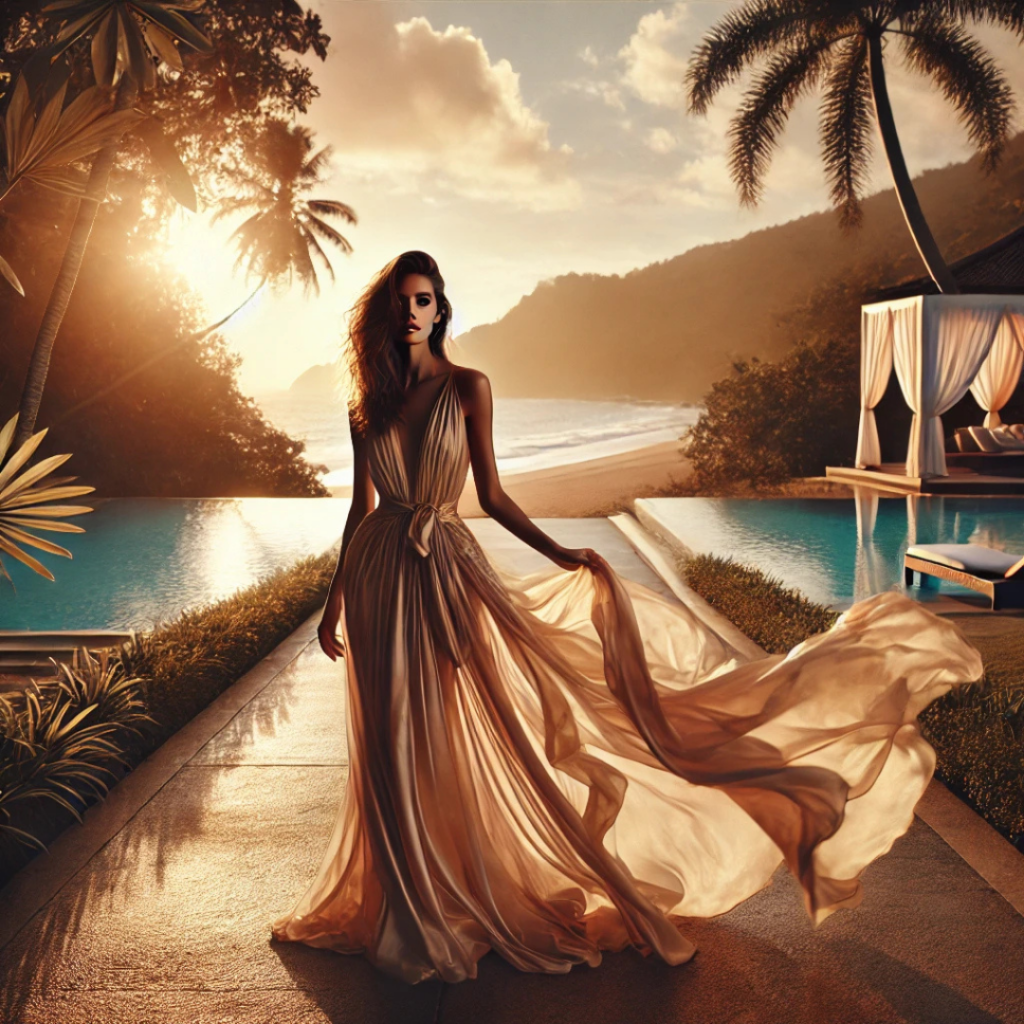
- Captures the sarong’s flowing nature.
- Works best with light, airy fabrics to showcase movement.
4. Sitting and Leaning Pose
- Ideal for seaside, poolside, or casual lounge settings.
- Adds a sense of relaxation and effortless fashion.
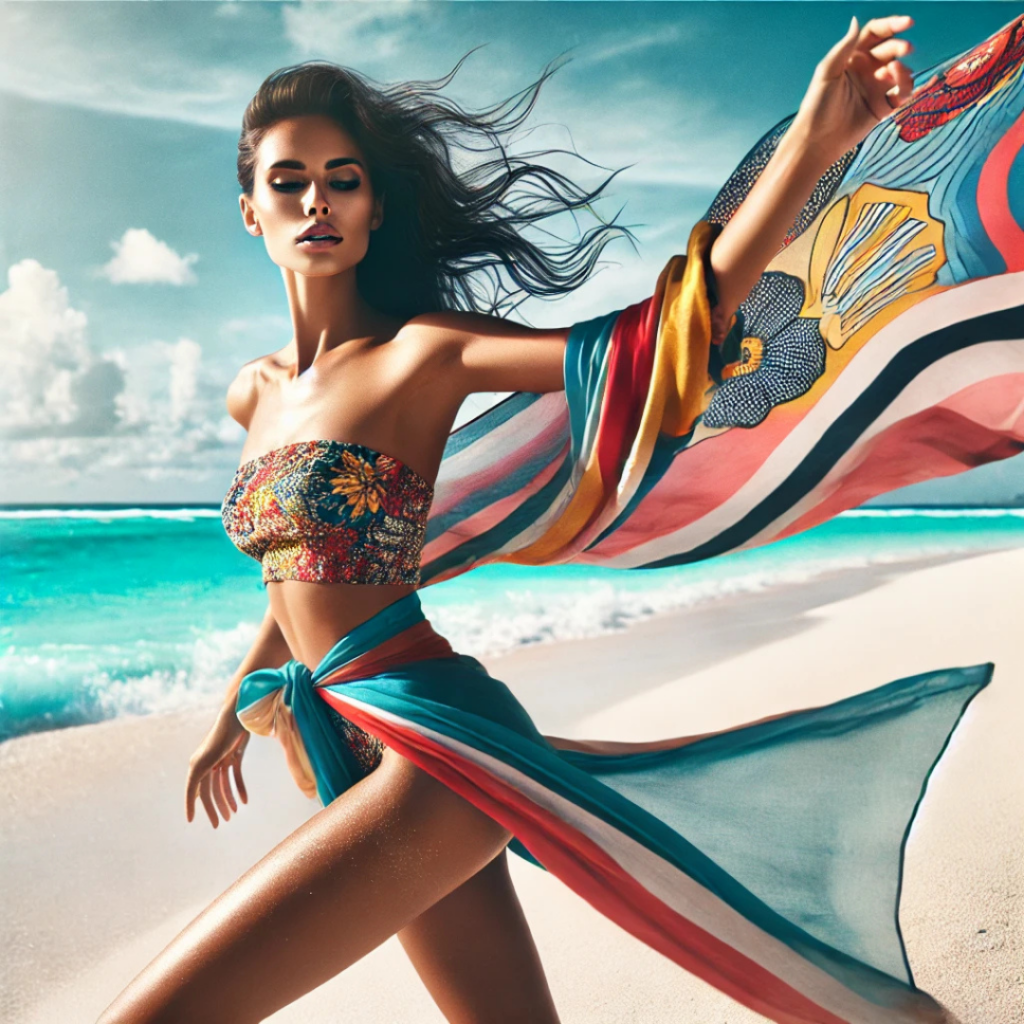
5. Wind-Blown Action Pose
- Uses natural wind or artificial fans to enhance the fabric’s movement.
- Perfect for outdoor, lifestyle, and bohemian-styled shoots.
Essential Lighting Techniques for Sarong Photography
Lighting is the key factor in ensuring that the colors, textures, and folds of the sarong are showcased properly. Here are some best lighting practices for Sarong Product Photography:
1. Soft Natural Light
- Best for beach and outdoor shoots.
- Reduces harsh shadows and enhances the sarong’s natural flow.
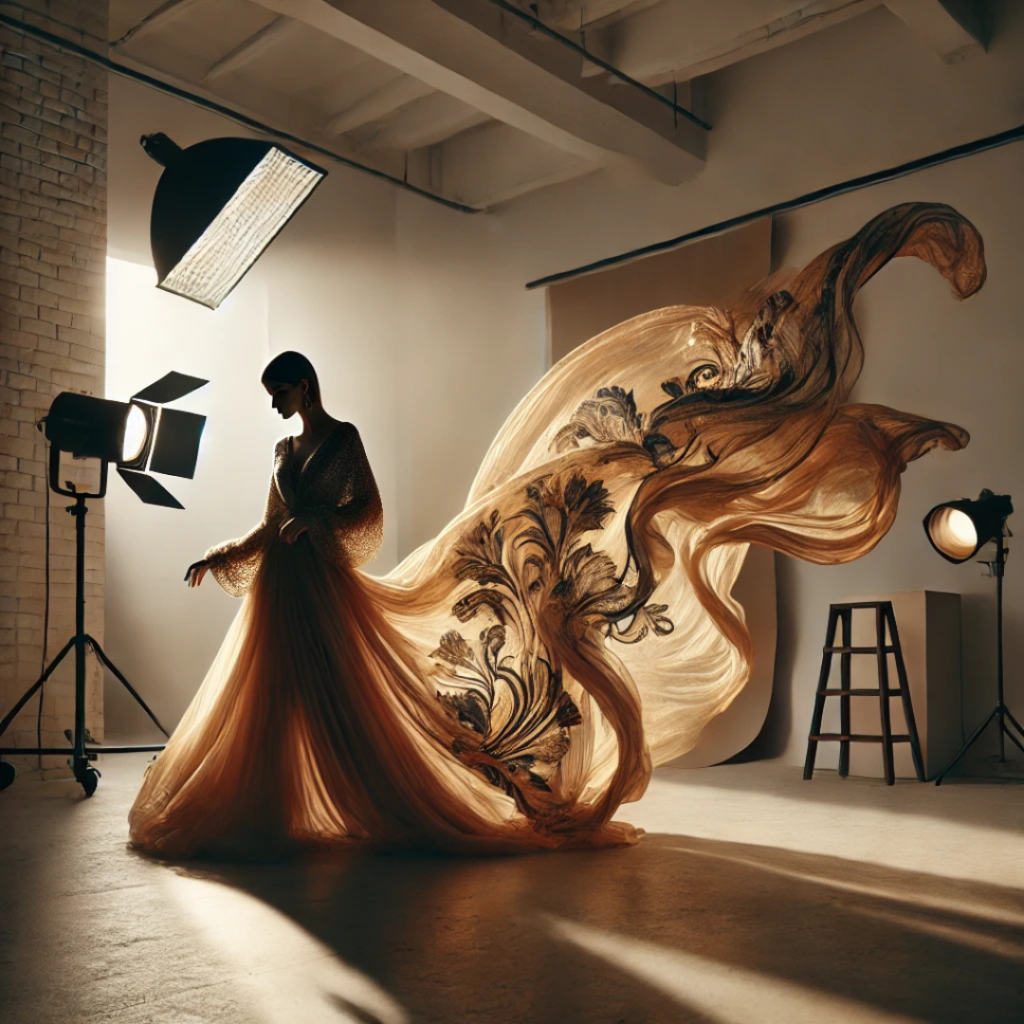
2. Diffused Studio Lighting
- Ideal for indoor and e-commerce product photography.
- Ensures even lighting and color accuracy.
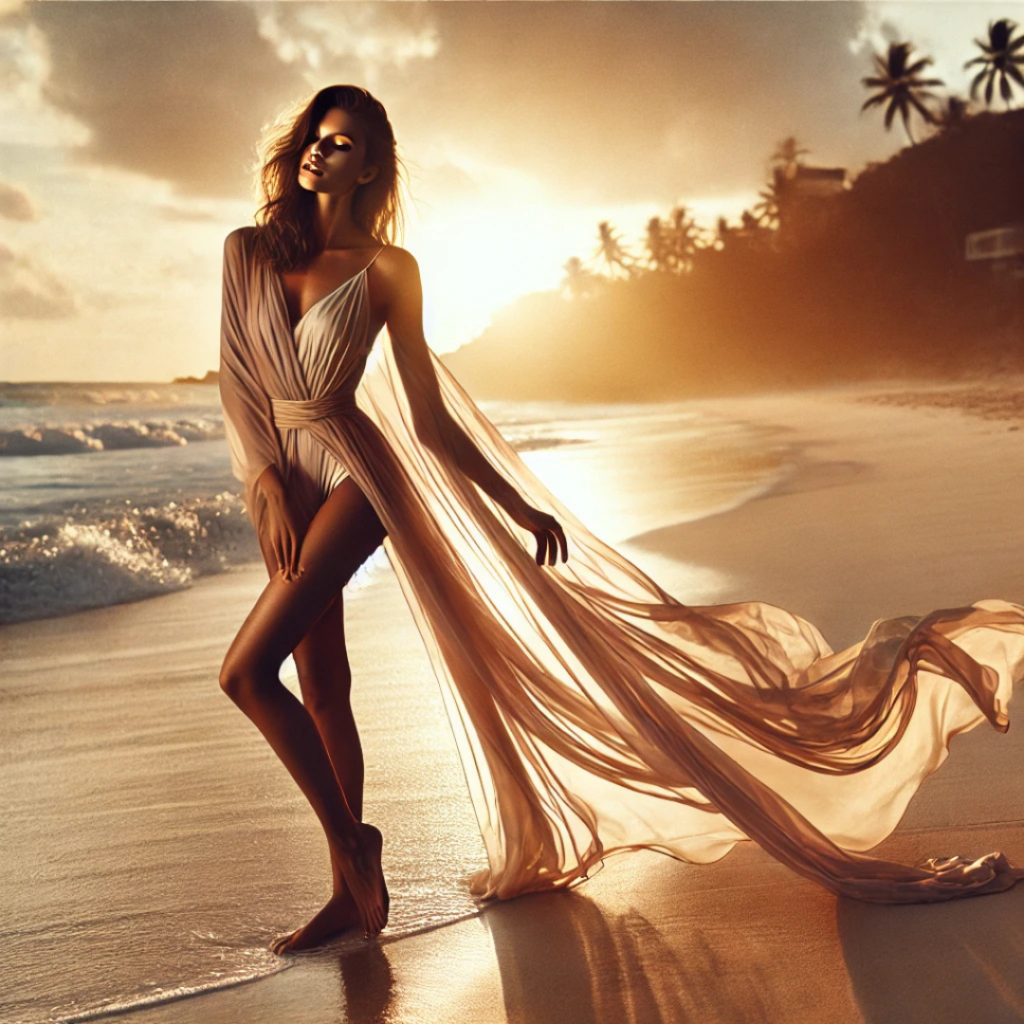
3. Backlighting for Transparency
- Highlights semi-transparent fabrics beautifully.
- Creates an ethereal, soft glow effect.
Post-Processing Techniques for Sarong Product Photography
Editing plays a significant role in refining Sarong Product Photography. Here’s how you can enhance your images:
1. Color Correction
- Adjusts hues to maintain true fabric colors.
- Ensures brand consistency across product images.
2. Background Removal
- Helps in creating clean, professional product listings.
- Ideal for e-commerce sites and catalogs.
3. Retouching Fabric Details
- Enhances fine textures and eliminates wrinkles.
- Ensures the fabric looks smooth and high-quality.
Conclusion
Sarong Product Photography is both an art and a technique-driven craft. The right angles, thoughtful poses, and precise lighting strategies all contribute to making your sarong images visually compelling and highly marketable. Whether you’re a fashion photographer, brand owner, or content creator, implementing these expert photography tips will enhance your product presentation and boost audience engagement.
Frequently Asked Questions:
What is product photography?
Product photography is the process of photographing products in a way that highlights their features, quality, and design. High-quality product photos help businesses increase customer trust, improve conversions, and reduce product returns.
What equipment is best for product photography?
For most products, you’ll need:
A camera or modern smartphone
A tripod
Softbox or LED lighting
White or colored background
Reflectors or diffusers
Basic photo editing software
Professional equipment can improve quality, but proper lighting is usually more important than an expensive camera.
What lighting is best for product photography?
Soft, diffused lighting is generally the best choice because it minimizes harsh shadows and accurately represents product colors. Softboxes, LED panels, and natural window light are commonly used depending on the shooting environment.
How can I improve product photography for eCommerce?
To improve eCommerce product photos:
Use consistent lighting
Keep backgrounds clean
Photograph multiple angles
Show product details and textures
Maintain accurate colors
Optimize image size for faster website loading
Edit images without making the product look unrealistic
Can I use a smartphone for product photography?
Yes. Modern smartphones can produce professional-looking product photos when paired with good lighting, a stable tripod, and proper editing. For many small businesses, a smartphone is an excellent starting point before investing in dedicated camera equipment.
Why is product photography important for online sales?
Customers cannot physically inspect products online. High-quality product images build trust, improve user experience, increase click-through rates, and often lead to higher conversion rates while reducing product returns.
Can AI improve product photography?
Yes. AI tools can remove backgrounds, enhance image quality, improve lighting, generate realistic backgrounds, resize images for different marketplaces, and automate editing workflows. AI should be used to enhance product photos while keeping them accurate and representative of the actual product.
What image size is best for product photography websites?
The ideal image size depends on the platform, but most websites perform well with:
JPEG or WebP format
1200–2000 pixels on the longest side
Compressed images under 300 KB when possible
Proper alt text for accessibility and SEO
Related Product Photography Guides
Continue improving your photography skills with these helpful resources:
- Product Photography Lighting Guide
- Best Cameras for Product Photography
- DIY Product Photography Setup at Home
- White Background Product Photography Tips
- Product Photography Camera Settings Explained
- Best Lenses for Product Photography
- AI Product Photography Tools
- Product AI Photo Editing Guide
- Photography Tutorials for Beginners
Recommended Resources
Improve Your Product Photography Skills
Photography is a skill that improves with practice. Try experimenting with different lighting setups, camera angles, and editing techniques to discover what works best for your products. Even small improvements in composition and lighting can make your images look significantly more professional.
If you enjoyed this guide, explore more tutorials on The Candid Shoot to continue improving your photography skills.




Leave a Reply