
Want dramatic portraits? Learn powerful Light Setup Ideas for Bold and Boudoir Shoots to capture aesthetic and cinematic indoor photography.
Table of Contents
Introduction:
Lighting is the cornerstone of successful photography, but when it comes to Bold and Boudoir Shoots, lighting transforms from a technical tool into a narrative force. The right lighting setup doesn’t just illuminate your subject—it tells a story, reveals emotion, builds confidence, and shapes mood. Whether your goal is to highlight sensual curves with soft shadows or produce strong, confident silhouettes, mastering light allows you to amplify your creative voice and support your client’s self-expression. This comprehensive guide takes a deep dive into lighting techniques, gear options, studio planning, and post-production strategies that elevate boudoir photography from ordinary to unforgettable.
Great fashion photography goes beyond striking poses. Factors such as lighting, composition, styling, and subject confidence all contribute to creating professional-looking images. For a deeper understanding of these techniques, explore our complete portrait and fashion photography guide packed with expert tips and creative ideas.
📸 Instagram (Lighting Inspiration & Trends)
Explore dramatic portrait lighting and cinematic boudoir photography inspiration:
👉 Instagram Official Platform
Chapter 1: The Emotional Power of Light in Bold and Boudoir Shoots
What is Bold and Boudoir Shoots?
Boudoir Shoots goes far beyond intimate imagery—it’s a celebration of individuality, confidence, and empowerment. Bold boudoir, in particular, introduces elements of drama, creativity, and daring visual aesthetics. Common themes include vulnerability paired with strength, quiet allure alongside confident expressions, and the interplay of exposure and mystery.
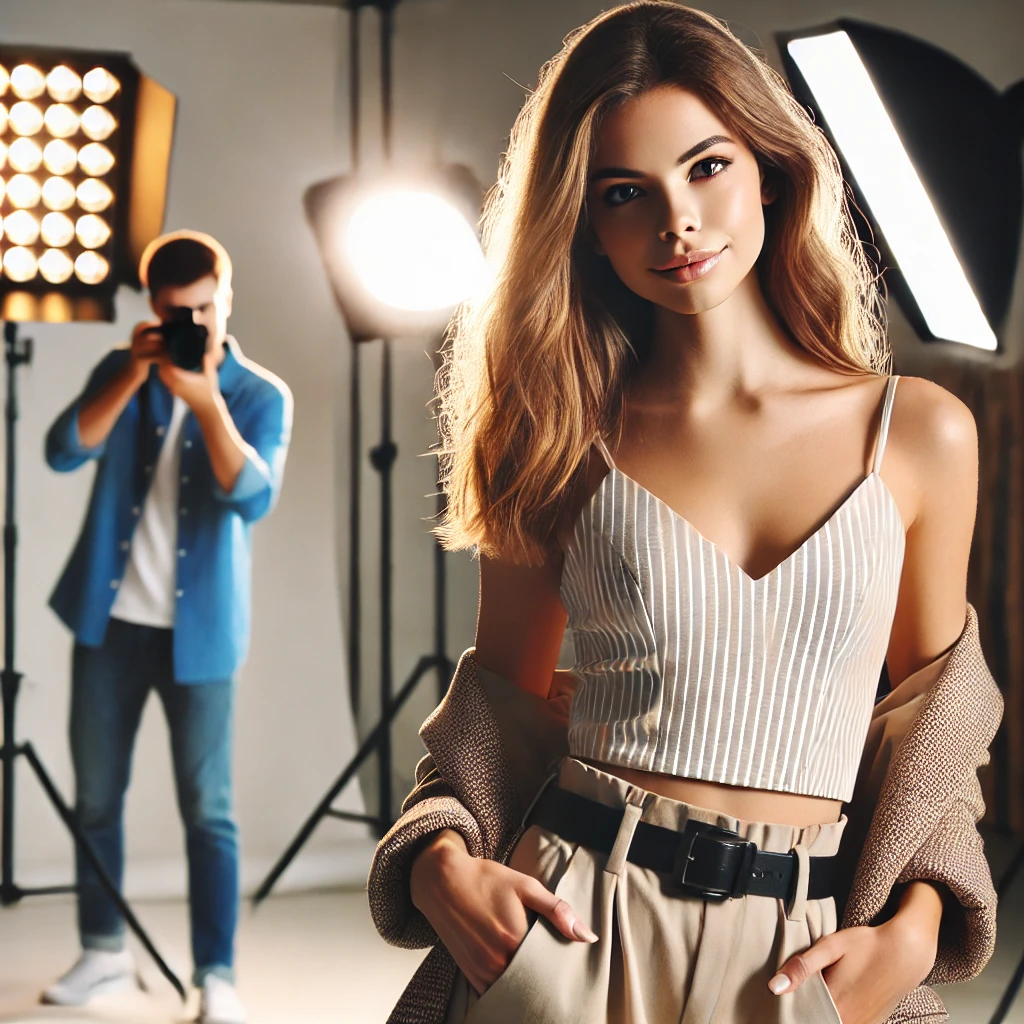
Why Lighting Matters
- Emotion Delivery: Light manipulates perception. Soft light induces calmness, while hard shadows evoke drama.
- Mood Sculpting: From gentle morning glows to dramatic side-lighting, every choice contributes to the story.
- Skin Illumination: Proper lighting reveals texture while avoiding unflattering highlights or deep shadows.
- Client Empowerment: When a subject sees themselves beautifully lit, confidence grows—and it shows.
Photographer Pain Points
- Harsh shadows exaggerating features
- Limited space affecting light positioning
- Mixed color temperatures
- Ensuring consistency in natural light conditions
Chapter 2: Lighting Fundamentals Every Boudoir Photographer Must Know
Types of Lighting
- Natural Light: Most forgiving. Best when diffused through curtains or blinds.
- Continuous Light: LED panels are beginner-friendly and excellent for visualizing effects in real-time.
- Flash/Strobe Light: Offers precise control and consistent power, ideal for styled indoor setups.
Key Light Characteristics
- Direction: Impacts shape and depth. Side lighting contours, while backlighting silhouettes.
- Quality: Soft light smooths skin; hard light reveals edge.
- Color Temperature: Keep it consistent. Warm tones flatter most skin types; cool tones can accent creative styling.
Tools for Light Control
- Modifiers: Softboxes, umbrellas, beauty dishes
- Reflectors: Fill in shadows without overexposing highlights
- Flags and Gobos: Shape light for drama or texture
- Diffusers: Smooth out harshness for more pleasing tones
Chapter 3: Building Your Ideal Lighting Kit for Boudoir Shootsv
Essential Gear Breakdown
- Softboxes (Octa/Rectangular): Create large, soft light sources to flatter the body
- Strip Lights with Grids: Perfect for sculpting the body and minimizing spill
- Ring Light: Great for headshots or even illumination on a budget
- Beauty Dish: Creates contrast with a glamorous feel, ideal for bold aesthetics
- LED Panels: Versatile and portable
- Portable Reflectors: Must-haves for bouncing light in tight spaces
Lighting for Every Budget
- Beginner Budget (<₹10,000): Ring lights, white reflectors, DIY diffusers
- Mid-Tier Budget (₹10,000–₹50,000): LED panels, strip boxes, wireless flash units
- Pro Setup (>₹50,000): Godox AD600, Elinchrom lights, modifiers with honeycomb grids
Chapter 4: Light Setup Styles for Different Moods in Bold and Boudoir Shoots
1. Romantic, Dreamy Mood
- Setup: Natural light with gauzy curtains
- Modifiers: Reflector on opposite side of the window
- Camera Settings: Wide aperture (f/1.8–2.8), ISO 100-400
2. High-Drama and Shadow Play
- Setup: One key light with grid and dark background
- Techniques: Use Rembrandt lighting for cheekbone definition
- Tools: Black foam core to block spill, enhancing contrast
3. Color-Driven Aesthetic
- Setup: Color gels on strobes for dramatic highlights or fills
- Tips: Use complementary tones for contrast (blue + amber)
4. Silhouette and Suggestion
- Setup: Place a strong light source behind subject
- Best Practice: Keep ambient light off; focus on outlines
5. Cinematic Lighting
- Setup: Mix of practical lights (lamps) and key light
- Effect: Creates an editorial, lived-in feel
Chapter 5: Mastering Natural Light Bold and Boudoir Shoots
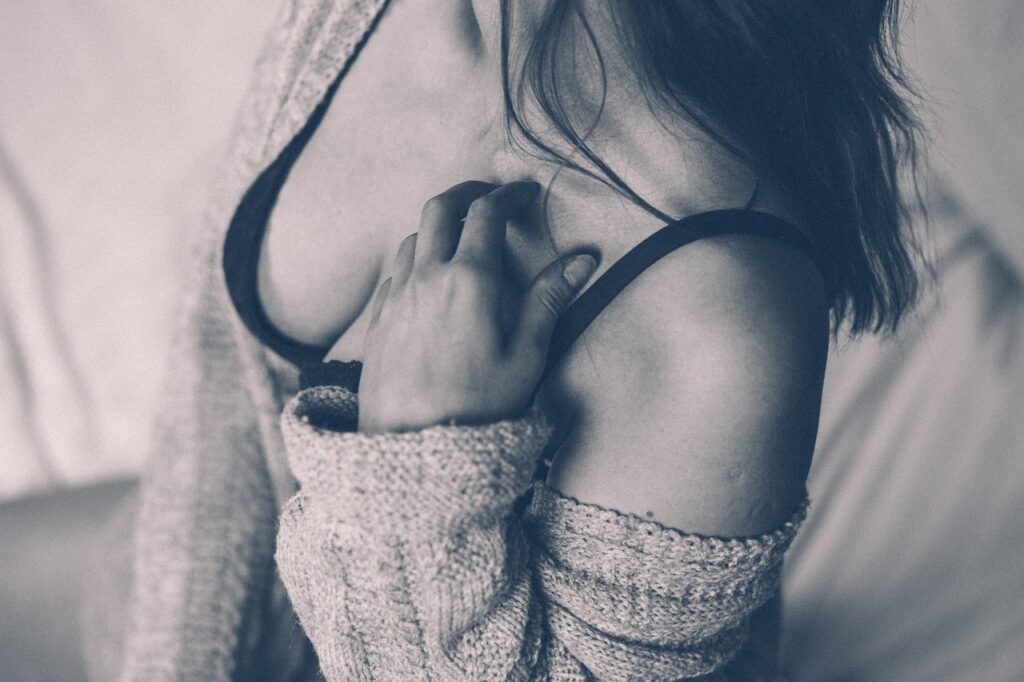
Working with Daylight
- Early Morning: Soft, blue-toned light—great for relaxed, introspective looks
- Golden Hour: Creates flared warmth, adds nostalgic romance
Window Light Magic
- Ideal for small home studios
- Use sheer white curtains to create diffusion
- Position subject at 45° angle for depth and highlight
Tricks for Reflective Enhancement
- Bounce boards below the chin for fill
- Use hand mirrors or glass for light play on skin
Chapter 6: Lighting Placement and Subject Posing Synergy
Posing Based on Light Position
- Side Light: Emphasizes curves
- Backlight: Ideal for halos and rim lighting
- Top Light: Sculpting muscles, collarbones
Light-Aware Posing Techniques
- Arched back towards the key light
- Turn face slightly away from light for cheekbone emphasis
- Use hands or props to create shadow depth
Chapter 7: Scene Styling and Set Lighting
Creating the Right Environment
- Coordinate background color with wardrobe tones
- Drape fabric across furniture for texture
- Layer rugs and throws for visual interest
Prop-Enhanced Lighting
- Mirrors: Reflective bounce for added exposure
- Lace: Creates delicate patterned shadows
- Chandeliers: Adds elegance and multi-directional sparkle
Chapter 8: Post-Processing to Enhance Lighting Effects
Key Editing Techniques
- Dodging & Burning: Enhances contours
- Skin Retouching: Maintain pores for realism
- Highlight Control: Prevents hotspots from strobes
Color Grading for Mood
- Warm Tones: Gold, copper, peach (sensual feel)
- Cool Tones: Slate, sapphire, lavender (mystery and edge)
Lightroom Presets & Photoshop Actions
- Consider presets that mimic natural film
- Use radial filters to add faux spotlighting
Chapter 9: Lighting Techniques in Small Spaces
Compact Studio Tips
- Use reflective walls to bounce light
- One-light setup with grid and bounce card
Bedroom Shoots
- Overhead fairy lights with wide aperture lens
- Natural light mixed with practical bedside lamps
Chapter 10: Lighting Techniques for Bold and Boudoir Shoots
Using Nature’s Toolkit
- Golden Hour: Most forgiving light, adds glow
- Open Shade: Avoids harsh shadows
- Bounce Boards: Bring in detail without artificial gear
Chapter 11: Empowerment Through Light and Safety
Building Client Comfort
- Explain lighting goals
- Always allow clients to view test shots
Safety First
- Avoid hot lights near fabric or skin
- Ensure gear is stable, especially on location
Chapter 12: Lighting for All Skin Tones and Body Types
Inclusive Lighting Strategy
- Use fill light on deeper skin tones for luminance
- Avoid over-diffusion on lighter tones
- Keep color grading subtle to honor skin depth
Chapter 13: Voices from the Field
Interviews with Professionals
- How seasoned boudoir photographers use lighting as emotional expression
- Real examples with before-and-after shots
- Their go-to lighting gear lists
Conclusion – Bold and Boudoir Shoots
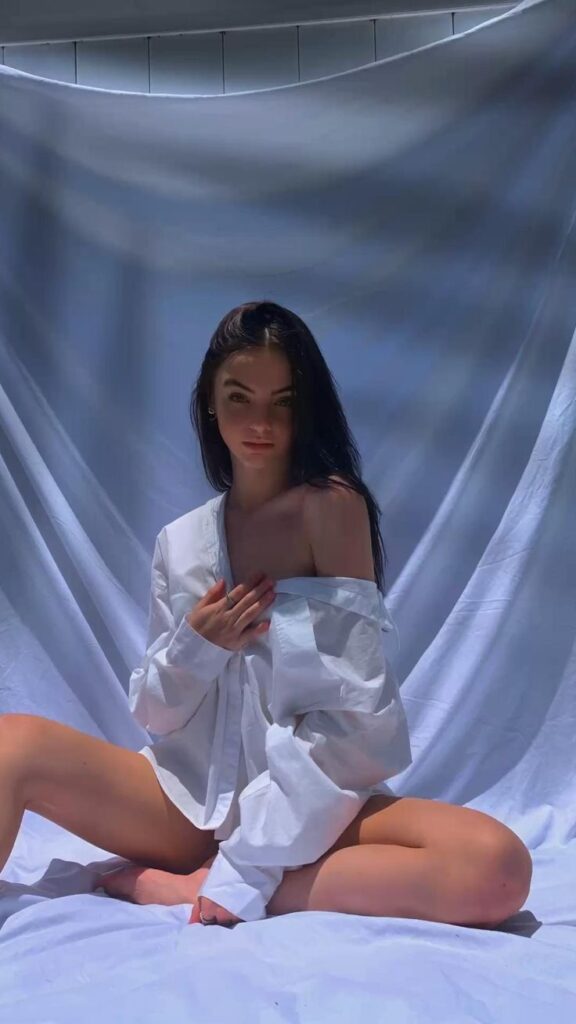
Mastering lighting for Bold and Boudoir Shoots is both an art and a science. Through intentional light placement, understanding emotional tonality, selecting the right tools, and thoughtful post-production, photographers can craft powerful stories that uplift, empower, and transform. Use light to celebrate bodies, express individuality, and build confidence—not just capture images.
If you’re ready to take your boudoir photography lighting to the next level, The Candid Shoot offers exclusive mentoring, curated lighting kits, and behind-the-scenes tutorials tailored for photographers of every skill level.
📅 Book Your Photography in Jaipur Today
Whether you’re celebrating a personal milestone, growing your brand, or just want timeless memories, trust The Candid Shoot for professional photography in Jaipur with Most Popular Cameras that exceeds expectations.
📞 Call | 📱 WhatsApp | 📩 Inquiry Form
FAQs – Bold and Boudoir Shoots
1. What lighting works best for bold and boudoir photography?
Soft directional lighting is one of the best choices for bold and boudoir photography because it creates flattering shadows and cinematic depth. Natural window light, diffused softboxes, and warm LED lighting are commonly used to achieve elegant portraits. Many photographers also use side lighting or backlighting to emphasize body contours and create dramatic mood. Harsh overhead lighting is usually avoided because it can produce unflattering shadows. The right lighting setup depends on whether you want a soft, romantic atmosphere or a dramatic editorial look.
2. Can I create professional boudoir lighting at home?
Yes, professional boudoir lighting can be created at home using simple and affordable equipment. Natural light from large windows often works beautifully for soft and elegant portraits. Ring lights, LED panels, and softboxes are also excellent options for beginners. Using curtains or diffusers helps soften harsh light and create smoother skin tones. Small home setups with controlled lighting can produce highly cinematic and luxury-style portraits without needing a professional photography studio or expensive equipment.
3. What is the best lighting angle for boudoir photography?
Side lighting is one of the most flattering lighting angles for boudoir photography because it creates depth and highlights natural body contours. Backlighting can also create dreamy silhouettes and soft cinematic effects. Front lighting produces softer shadows and is ideal for clean beauty-style portraits. Many photographers experiment with angles around 45 degrees from the subject to balance highlights and shadows naturally. The choice of lighting angle depends on the mood, emotion, and visual style you want to achieve.
4. How do photographers create cinematic lighting indoors?
Photographers create cinematic indoor lighting by controlling shadows, contrast, and color temperature carefully. They often use a single directional light source combined with low ambient lighting to create mood and depth. Warm tones, practical lights like lamps, and soft shadows add emotional atmosphere to portraits. Using wide apertures and background separation also enhances the cinematic look. Editing plays a major role as well, with color grading and contrast adjustments helping create a dramatic and visually immersive final image.
5. Are ring lights good for boudoir photography?
Yes, ring lights can work well for boudoir photography, especially for beginners. They provide soft, even lighting that flatters skin tones and reduces harsh shadows. Ring lights are particularly useful for close-up beauty portraits and indoor setups with limited natural light. However, relying only on ring lights may sometimes create flat-looking images. Many photographers combine ring lights with side lighting or ambient light sources to add more depth, texture, and cinematic atmosphere to boudoir portraits.
Related Articles:
- Boudoir Photography Tips for Beginners
- Boudoir Poses
- How to Pose for a Boudoir Shoot
- How to Make Boudoir Photography Look Artistic High End
- Bold Photoshoot Ideas at Home
- Classy Boudoir Photoshoot Ideas
📖 Digital Photography School (Lighting Tutorials)
Learn professional portrait lighting techniques and indoor photography setups:
👉 Digital Photography School



Leave a Reply