


Apparel product photography is a crucial element in ecommerce, fashion branding, and social media marketing. Capturing high-quality clothing images requires precision in lighting, angles, styling, and post-processing. This guide will walk you through every step, from choosing the right camera settings to editing your final shots for a premium look.
1. Understanding Apparel Product Photography
Before diving into technical aspects, let’s explore why apparel product photography is essential. High-quality images enhance a brand’s credibility, boost conversions, and help consumers visualize the fit and texture of garments.
Why Quality Images Matter in Apparel Photography
- Builds trust with customers
- Reduces return rates
- Strengthens brand identity
- Increases sales and engagement
2. Essential Equipment for Apparel Photography
Professional-looking clothing images require the right gear. Here’s what you need:
Camera & Lenses
- DSLR or Mirrorless Camera – Canon EOS 5D Mark IV, Sony A7R IV
- Lens Selection – 50mm prime for crisp details, 24-70mm for versatility
Lighting Setup
- Softbox Lights – For even, natural-looking illumination
- Ring Light or Reflector – To minimize harsh shadows
- Natural Light Option – A well-lit room with indirect sunlight
Accessories
- Tripod – Prevents motion blur and ensures consistency
- Backdrop – White or neutral-colored for ecommerce, creative textures for branding
- Clothing Steamer – Removes wrinkles for a polished look
3. Preparing the Clothing for the Shoot
Presentation is key in apparel photography. Follow these preparation tips:
- Steam or iron garments to remove creases
- Use lint rollers to eliminate dust or pet hair
- Properly arrange garments for a natural drape
- Style clothing with mannequins, models, or flat lays based on brand aesthetics
4. Choosing the Right Photography Style
Ghost Mannequin Photography
- Creates a 3D effect without distractions
- Ideal for ecommerce platforms
Flat Lay Photography
- Gives a clean and artistic look
- Great for social media branding
Model Photography
- Adds lifestyle context and brand personality
- Ideal for fashion campaigns
5. Camera Settings for Apparel Photography
- ISO: Keep between 100-400 for minimal noise
- Aperture: f/8-f/11 for sharp details
- Shutter Speed: 1/125 or faster to avoid blur
- White Balance: Auto or custom based on lighting
6. Composition & Framing Techniques
Essential Composition Rules
- Keep consistent spacing around the product
- Use a centered or rule-of-thirds approach
- Avoid cropping key details (e.g., necklines, logos)
Angles That Work Best
- Front-facing shots for the main product view
- Side angles to showcase fit and depth
- Close-up shots to highlight fabric texture and details
7. Mastering Lighting for Apparel Photography
- Soft, even lighting prevents harsh shadows
- Avoid direct flash, which creates unflattering reflections
- Use diffused light sources like softboxes or natural light
8. Post-Processing & Editing Tips
Even the best raw images need refining. Key steps include:
- Adjusting brightness and contrast for a balanced look
- Color correcting to maintain fabric accuracy
- Removing background distractions using Photoshop or Canva
- Sharpening details for a crisp, professional finish
9. Optimizing Apparel Photos for Ecommerce
To ensure your images perform well on ecommerce platforms:
- Resize images for fast loading (ideal width: 1200px+)
- Save in WebP or JPEG for best quality-to-size ratio
- Use alt text and keywords for SEO benefits
10. Conclusion
Shooting apparel product photography like a pro requires careful planning, quality equipment, and attention to detail. By following these expert techniques, you can create stunning clothing images that drive engagement, enhance branding, and boost sales.
Ready to upgrade your apparel photography game? Start implementing these tips today and watch your fashion visuals transform!

Sony Alpha a7 IV: The Ultimate Camera for Photography
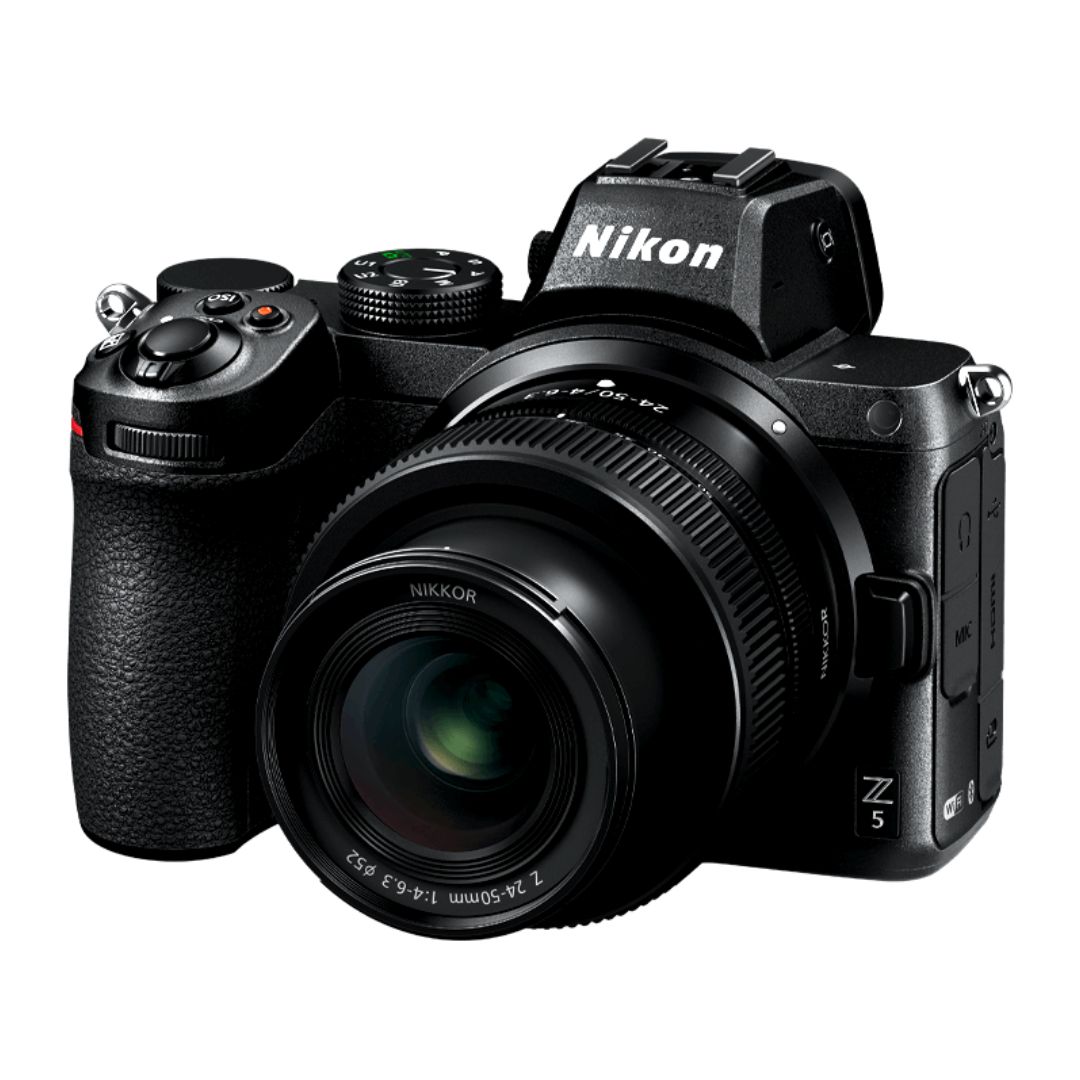
Nikon Z5 Review: Is It Worth It?
-
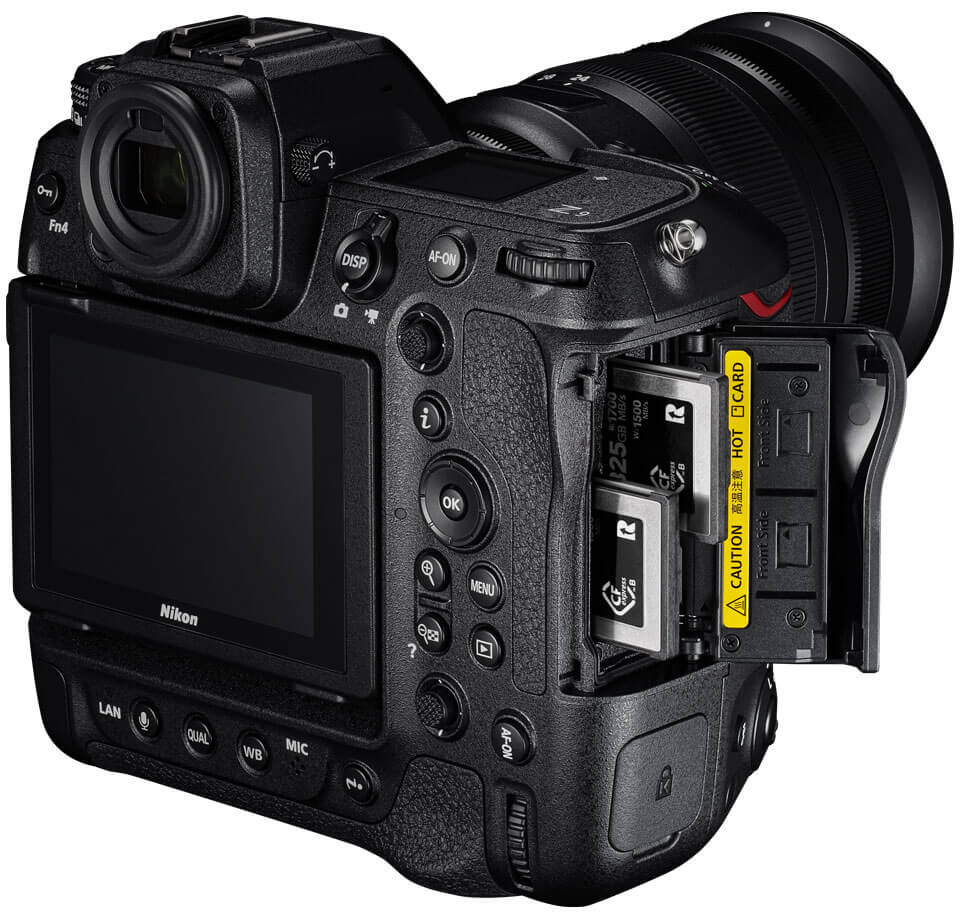
Nikon Z9 : Game-Changer for Photography
-
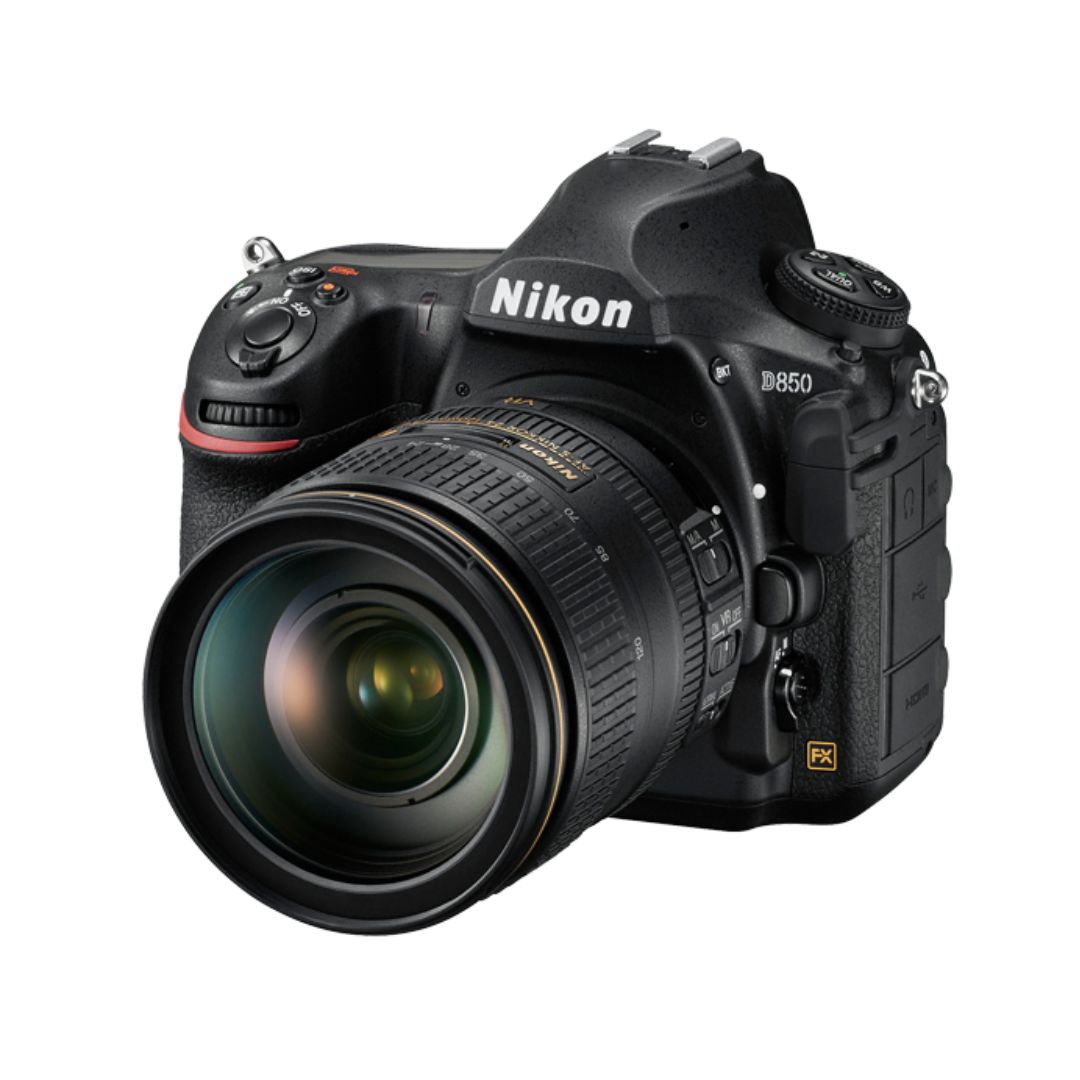
Top Features of Nikon D850 That Make It Ideal for Portfolio Shoots
Sony Alpha a7 IV: The Ultimate Camera for Photography
Explore the Sony Alpha a7 IV in this complete 2025 review. Learn how its pro-level features, real-world performance, and hybrid flexibility make it the ultimate camera for photography across genres like portraits, weddings, travel, and commercial work. Table of Contents Section 1: Introduction – Why the Sony Alpha a7 IV Stands Out The Sony Alpha…
Nikon Z5 Review: Is It Worth It?
In 2025, photographers—whether hobbyists, content creators, or professionals—seek equipment that blends value, performance, and future-readiness. Enter the Nikon Z5, a full-frame mirrorless camera marketed as a gateway to high-end imaging without a flagship price tag. But how well does it hold up under real-world demands like studio shoots, weddings, landscape adventures, and lifestyle photography? In…
Nikon Z9 : Game-Changer for Photography
Discover why the Nikon Z9 is considered a true game-changer for photography. This in-depth Nikon Z9 review explores key features, real-world performance, and how it excels in professional photo shoots in 2025. Table of Contents 1. Introduction The photography world witnessed a significant shift with the launch of the Nikon Z9, a flagship mirrorless camera…
Top Features of Nikon D850 That Make It Ideal for Portfolio Shoots
Discover why the Nikon D850 is the ultimate DSLR for portfolio shoots. Explore its top features—from resolution and dynamic range to autofocus precision and workflow speed—that help photographers create stunning, high-impact images for professional portfolios. Whether you’re a portrait artist, fashion photographer, or visual storyteller, a portfolio shoot demands technical excellence, creative flexibility, and uncompromised…
Candid Moments with Canon EOS R10: Lightweight & Reliable
In the evolving world of mirrorless photography, the Canon EOS R10 stands out as a lightweight yet powerful camera tailored for real-life storytelling. Whether you’re photographing street scenes, family gatherings, weddings, or spontaneous portraits, capturing genuine emotion requires a responsive and discreet tool. This article dives deep into how the Canon EOS R10 excels in…
Bold Portraits with Canon EOS R5: Is It the Best for Work?
Studio photography has always demanded precision, artistry, and impeccable gear. As the expectations for commercial portraits, fashion campaigns, and editorial work continue to rise, the tools we use must evolve. Enter the Canon EOS R5, a camera that has stirred the professional waters with its impressive technical specs and forward-thinking design. In this comprehensive Canon…