


Capturing reflective products such as jewelry, glassware, and metallic items is one of the most challenging aspects of product photography. Unwanted glare, reflections, and overexposure can ruin an otherwise stunning shot. Mastering the art of reflection control is crucial for photographers, ecommerce businesses, and brands looking to showcase premium-quality images. In this ultimate guide, we will walk through the best techniques, equipment, and settings to capture reflective products like jewelry and glass without glare. Our target keyword, “Capture Reflective Products,” will be seamlessly incorporated throughout the article to enhance search visibility and user experience.
Understanding Reflection and Glare
Before jumping into solutions, it’s essential to understand what causes glare and reflections in photography.
What Causes Glare?
Glare occurs when light reflects off a shiny surface and creates a bright, distracting spot in an image. This happens when the angle of incidence (incoming light) matches the angle of reflection. Managing this relationship is key to eliminating glare.
Types of Reflections in Product Photography
- Specular Reflections – Harsh, mirror-like reflections seen on highly polished surfaces.
- Diffuse Reflections – Softer reflections spread over a surface due to texture or material properties.
- Multiple Light Source Reflections – When multiple lights reflect on an object, causing scattered highlights.
Essential Equipment for Photographing Reflective Products
To capture reflective products effectively, you need the right tools:
1. Camera and Lenses
- Use a DSLR or mirrorless camera with manual settings for complete control.
- A macro lens (90mm-105mm) is ideal for jewelry and intricate details.
- A prime lens (50mm or 85mm) offers excellent sharpness for glass and large reflective surfaces.
2. Lighting Equipment
- Softbox lights create diffused, even lighting to minimize harsh reflections.
- Ring lights enhance jewelry photography by providing controlled illumination.
- Bounce cards and reflectors redirect light to fill in shadows.
3. Tripod and Remote Trigger
- A sturdy tripod prevents camera shake and ensures sharpness.
- A remote shutter release avoids minor movements that could introduce blur.
4. Light Modifiers
- Diffusion sheets scatter light, reducing unwanted reflections.
- Polarizing filters cut down on glare by controlling light angles.
Setting Up Your Photography Environment
The way you arrange your studio setup significantly impacts the final image quality. Here’s how to optimize it:
1. Use a Light Tent or Light Box
A light tent provides soft, 360-degree lighting around the object, reducing harsh reflections while evenly illuminating jewelry and glass.
2. Control Light Placement
- Position lights at 45-degree angles to the subject.
- Avoid direct frontal lighting, which increases reflections.
- Use backlighting for glass to create a luminous, ethereal effect.
3. Use a Dark Background for Glass
A dark backdrop enhances the contrast between the product and its surroundings, making transparent objects like glassware stand out without glare.
4. Minimize Unwanted Reflections
- Wear black or dark clothing to avoid being reflected in the product.
- Move light sources around and check for unwanted highlights before taking the shot.
- Shoot from a slightly downward angle to avoid catching ceiling lights in reflections.
Camera Settings for Capturing Reflective Products
To capture reflective products effectively, dial in the correct camera settings:
1. Aperture (f-stop)
- Use f/8 to f/16 for jewelry to keep the entire piece in focus.
- For glass, an aperture of f/4 to f/8 creates a soft background blur while keeping the subject sharp.
2. ISO
- Keep ISO at 100-200 to avoid noise.
- If shooting in low light, increase ISO slightly but compensate with proper lighting.
3. Shutter Speed
- A slower shutter speed (1/60 to 1/125) is sufficient when using a tripod.
- Adjust based on lighting conditions to balance exposure.
4. White Balance
- Set white balance to 5500K (daylight) or custom mode to prevent color shifts.
- Use a gray card to achieve accurate color representation.
Post-Processing for Eliminating Reflections
Even with a perfect setup, some reflections might still appear. Editing software can help refine the final images.
1. Using Adobe Photoshop or Lightroom
- Spot Healing Brush – Removes minor reflections.
- Clone Stamp Tool – Covers large reflections without losing texture.
- Dodge & Burn – Adjusts exposure selectively to highlight product details.
2. Applying Polarization in Post-Processing
- Adjust the highlights and contrast sliders to balance reflections.
- Use graduated filters to blend bright and dark areas smoothly.
Common Mistakes to Avoid
- Using Direct Flash – Causes intense reflections.
- Shooting at the Wrong Angle – Always adjust the viewpoint to minimize reflections.
- Ignoring Light Quality – Hard light sources amplify glare; always diffuse lighting.
- Not Checking Reflections Before Shooting – Always review and adjust lighting setup before capturing final shots.
Conclusion
Mastering the art of photographing reflective products like jewelry and glass requires patience, technique, and the right tools. By following these steps—using controlled lighting, selecting the appropriate camera settings, and refining images in post-processing—you can achieve stunning, glare-free product images that look professional and high-quality.
By optimizing these techniques, ecommerce sellers, photographers, and brands can produce breathtaking visuals that attract customers and enhance online product listings. With practice, capture reflective products with minimal glare will become second nature, allowing you to produce high-end photography that stands out.

Sony Alpha a7 IV: The Ultimate Camera for Photography
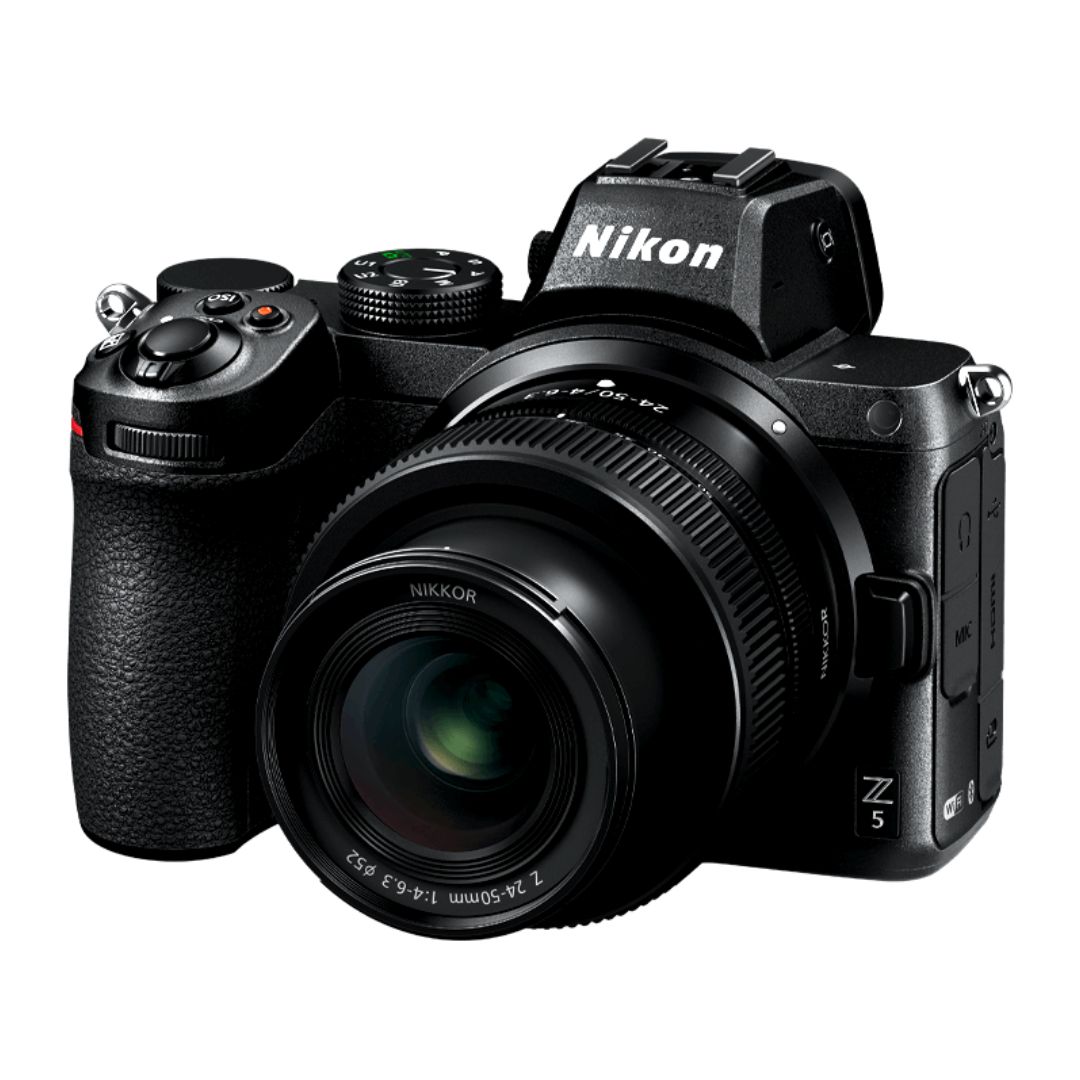
Nikon Z5 Review: Is It Worth It?
-
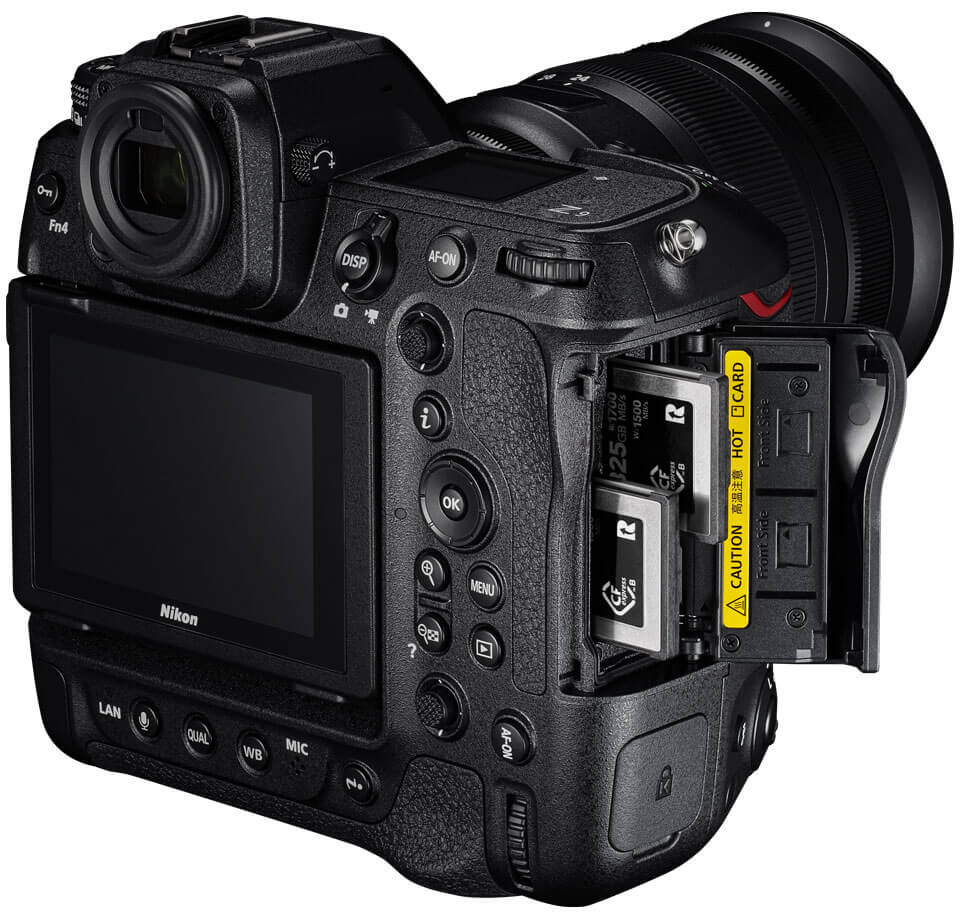
Nikon Z9 : Game-Changer for Photography
-
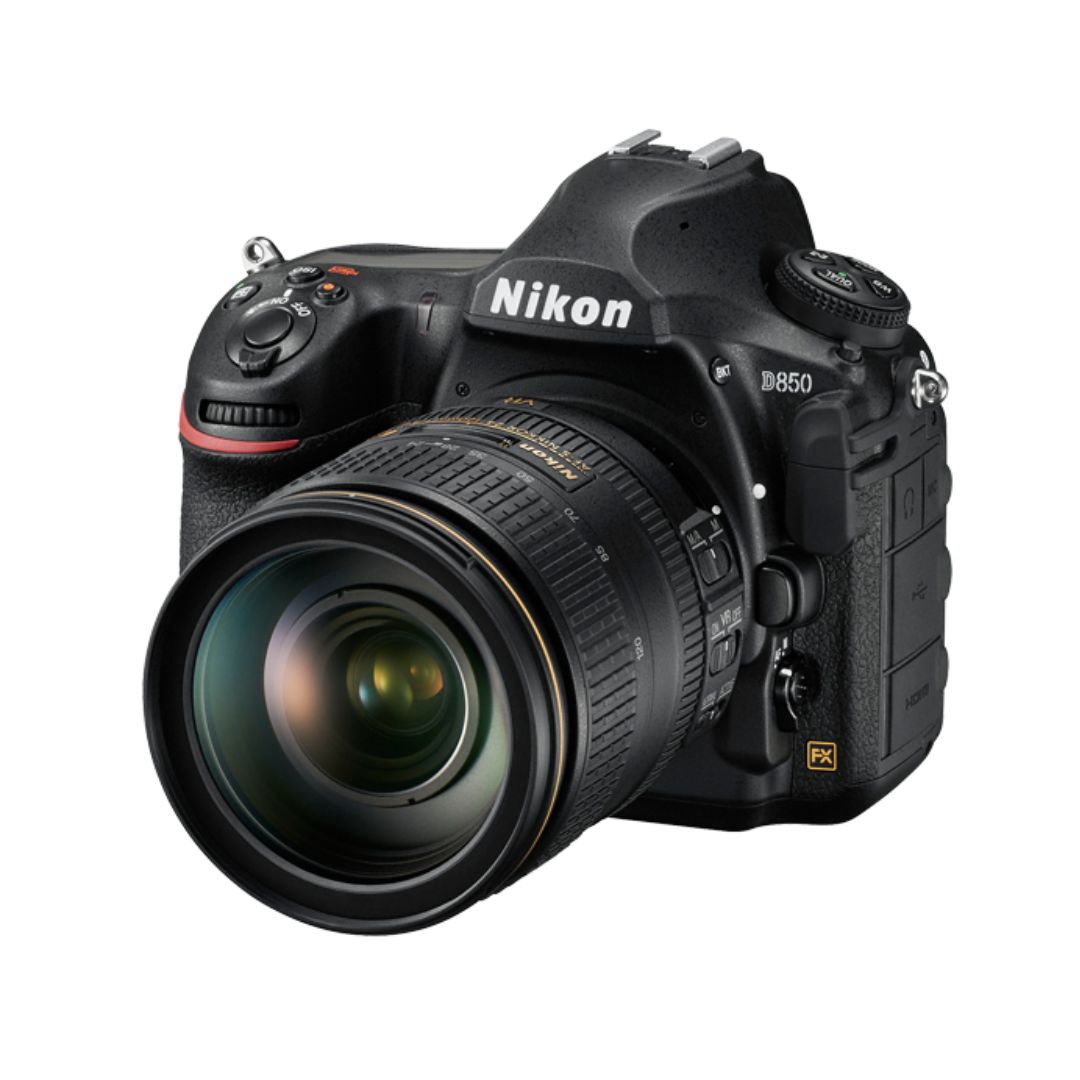
Top Features of Nikon D850 That Make It Ideal for Portfolio Shoots
Sony Alpha a7 IV: The Ultimate Camera for Photography
Explore the Sony Alpha a7 IV in this complete 2025 review. Learn how its pro-level features, real-world performance, and hybrid flexibility make it the ultimate camera for photography across genres like portraits, weddings, travel, and commercial work. Table of Contents Section 1: Introduction – Why the Sony Alpha a7 IV Stands Out The Sony Alpha…
Nikon Z5 Review: Is It Worth It?
In 2025, photographers—whether hobbyists, content creators, or professionals—seek equipment that blends value, performance, and future-readiness. Enter the Nikon Z5, a full-frame mirrorless camera marketed as a gateway to high-end imaging without a flagship price tag. But how well does it hold up under real-world demands like studio shoots, weddings, landscape adventures, and lifestyle photography? In…
Nikon Z9 : Game-Changer for Photography
Discover why the Nikon Z9 is considered a true game-changer for photography. This in-depth Nikon Z9 review explores key features, real-world performance, and how it excels in professional photo shoots in 2025. Table of Contents 1. Introduction The photography world witnessed a significant shift with the launch of the Nikon Z9, a flagship mirrorless camera…
Top Features of Nikon D850 That Make It Ideal for Portfolio Shoots
Discover why the Nikon D850 is the ultimate DSLR for portfolio shoots. Explore its top features—from resolution and dynamic range to autofocus precision and workflow speed—that help photographers create stunning, high-impact images for professional portfolios. Whether you’re a portrait artist, fashion photographer, or visual storyteller, a portfolio shoot demands technical excellence, creative flexibility, and uncompromised…
Candid Moments with Canon EOS R10: Lightweight & Reliable
In the evolving world of mirrorless photography, the Canon EOS R10 stands out as a lightweight yet powerful camera tailored for real-life storytelling. Whether you’re photographing street scenes, family gatherings, weddings, or spontaneous portraits, capturing genuine emotion requires a responsive and discreet tool. This article dives deep into how the Canon EOS R10 excels in…
Bold Portraits with Canon EOS R5: Is It the Best for Work?
Studio photography has always demanded precision, artistry, and impeccable gear. As the expectations for commercial portraits, fashion campaigns, and editorial work continue to rise, the tools we use must evolve. Enter the Canon EOS R5, a camera that has stirred the professional waters with its impressive technical specs and forward-thinking design. In this comprehensive Canon…