Candid photography is all about capturing real, unposed moments filled with emotion and authenticity. However, many photographers fall into the trap of overediting, stripping the image of its natural charm. In this guide, we’ll explore how to enhance candid photos while keeping them realistic, crisp, and visually appealing.
Why Natural Enhancement Matters
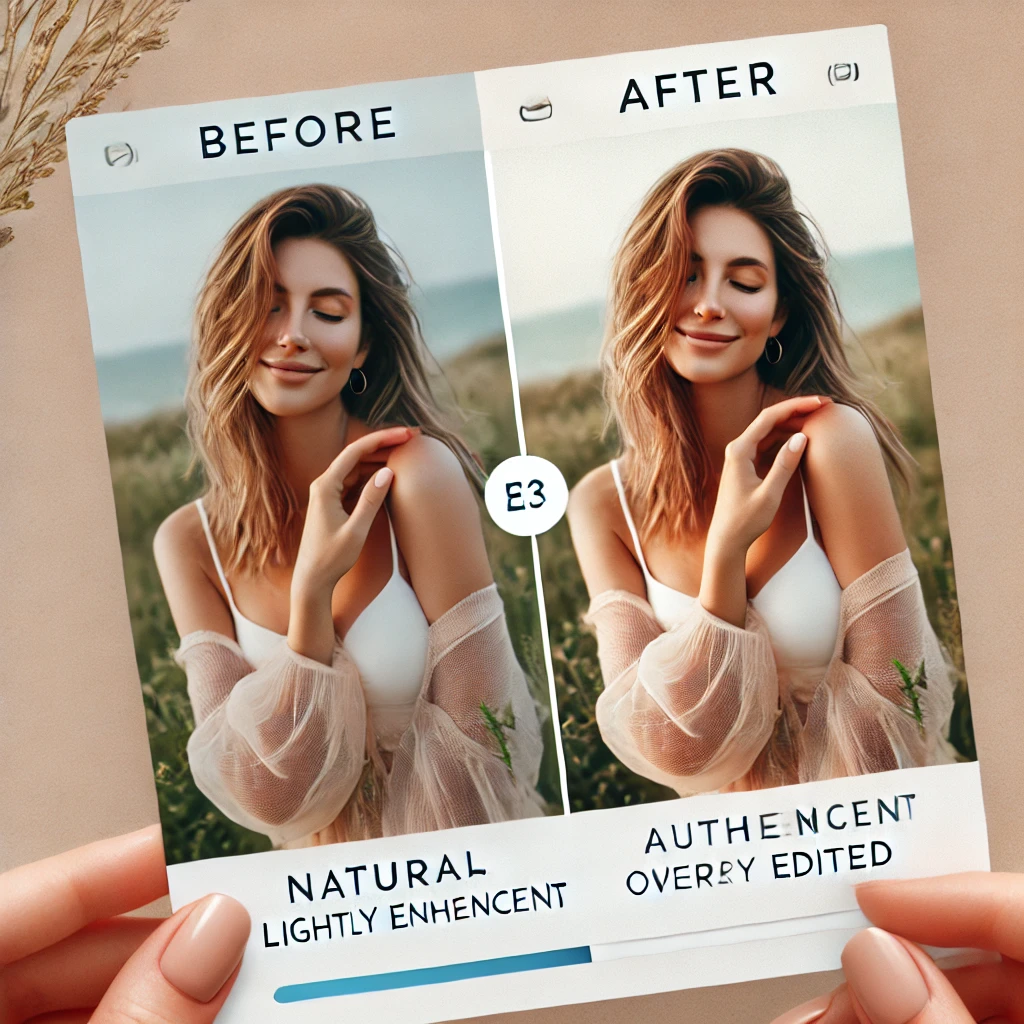
Overediting can lead to unnatural skin tones, excessive sharpness, and loss of the true essence of the moment. Proper enhancement retains:
- Authenticity – Keeping the emotions real.
- Depth – Maintaining true colors and shadows.
- Visual Harmony – Balanced contrast and exposure without artificial filters.
Understanding the Basics of Candid Photography Enhancement
1. Mastering Light and Exposure
Proper exposure is the foundation of a well-enhanced candid shot. To avoid excessive edits:
- Use natural light whenever possible.
- Adjust white balance to maintain realistic skin tones.
- Reduce overexposure or underexposure in-camera rather than in post-processing.
- Utilize soft shadows to add depth and warmth.
2. Composition Over Correction
A well-composed shot needs minimal adjustments. Use these techniques:
- Rule of Thirds: Position the subject at intersection points.
- Leading Lines: Use natural elements to draw focus to the subject.
- Frame Within a Frame: Add creative layers using windows, doors, or natural surroundings.
Post-Processing Techniques for Subtle Enhancements
1. Color Correction Without Overdoing It
Editing should improve, not alter, the photo’s natural tones.
- Adjust highlights and shadows gently.
- Fine-tune contrast for a soft, balanced look.
- Use selective color grading to maintain a realistic palette.
2. Skin Retouching for a Natural Glow
When enhancing portraits:
- Reduce blemishes without erasing natural skin texture.
- Avoid excessive smoothing that results in plastic-looking skin.
- Use dodge and burn tools to subtly shape light and shadows.
3. Enhancing Details Without Artificial Sharpness
- Sharpen the eyes to bring out expression, but keep it subtle.
- Reduce noise while preserving textures.
- Use radial filters to subtly guide attention to the subject.
Best Tools for Natural Photo Enhancement
1. Lightroom
- Best for basic color correction and light adjustments.
- Offers subtle skin smoothing without extreme retouching.
- Features selective editing tools for localized enhancements.
2. Photoshop
- Ideal for in-depth retouching without overprocessing.
- Provides advanced layering options to retain original details.
3. Capture One
- Offers professional-grade color control with minimal distortion.
- Great for handling RAW files while maintaining sharpness.
4. Mobile Editing Apps (For On-the-Go Enhancements)
- Snapseed – Precise control over exposure and color balance.
- VSCO – Classic film-like enhancements with minimal processing.
- Lightroom Mobile – Portable yet powerful for quick refinements.
Avoiding Common Overediting Mistakes
1. Overusing Presets and Filters
- Adjust presets to match the image instead of applying them universally.
- Avoid heavy HDR effects that create unrealistic lighting.
2. Overexposing or Over-Saturating Colors
- Keep saturation levels subtle for a natural feel.
- Maintain proper contrast without losing shadow details.
3. Over-sharpening Details
- Apply sharpening selectively to avoid an artificial, grainy effect.
Workflow for Enhancing Candid Photos Naturally
- Import the Photo into a RAW editor like Lightroom or Capture One.
- Adjust Exposure & White Balance to correct lighting issues.
- Fine-Tune Colors by making minor hue and saturation adjustments.
- Enhance Key Details like the eyes and main focal points.
- Use Subtle Retouching for skin or minor distractions.
- Apply Final Adjustments for contrast, sharpness, and vignetting.
- Export with Minimal Compression to retain quality.
Final Thoughts
Enhancing candid photos should be about subtlety. The goal is to make minor tweaks that bring out the best in your image without altering its essence. By mastering lighting, composition, and natural editing techniques, you can elevate your candid photography to a professional level while preserving authenticity.
By following these tips, you’ll achieve beautifully enhanced candid shots that feel real, captivating, and timeless.
Would you like additional recommendations on camera settings or gear to enhance candid photos? Let us know in the comments!

Sony Alpha a7 IV: The Ultimate Camera for Photography

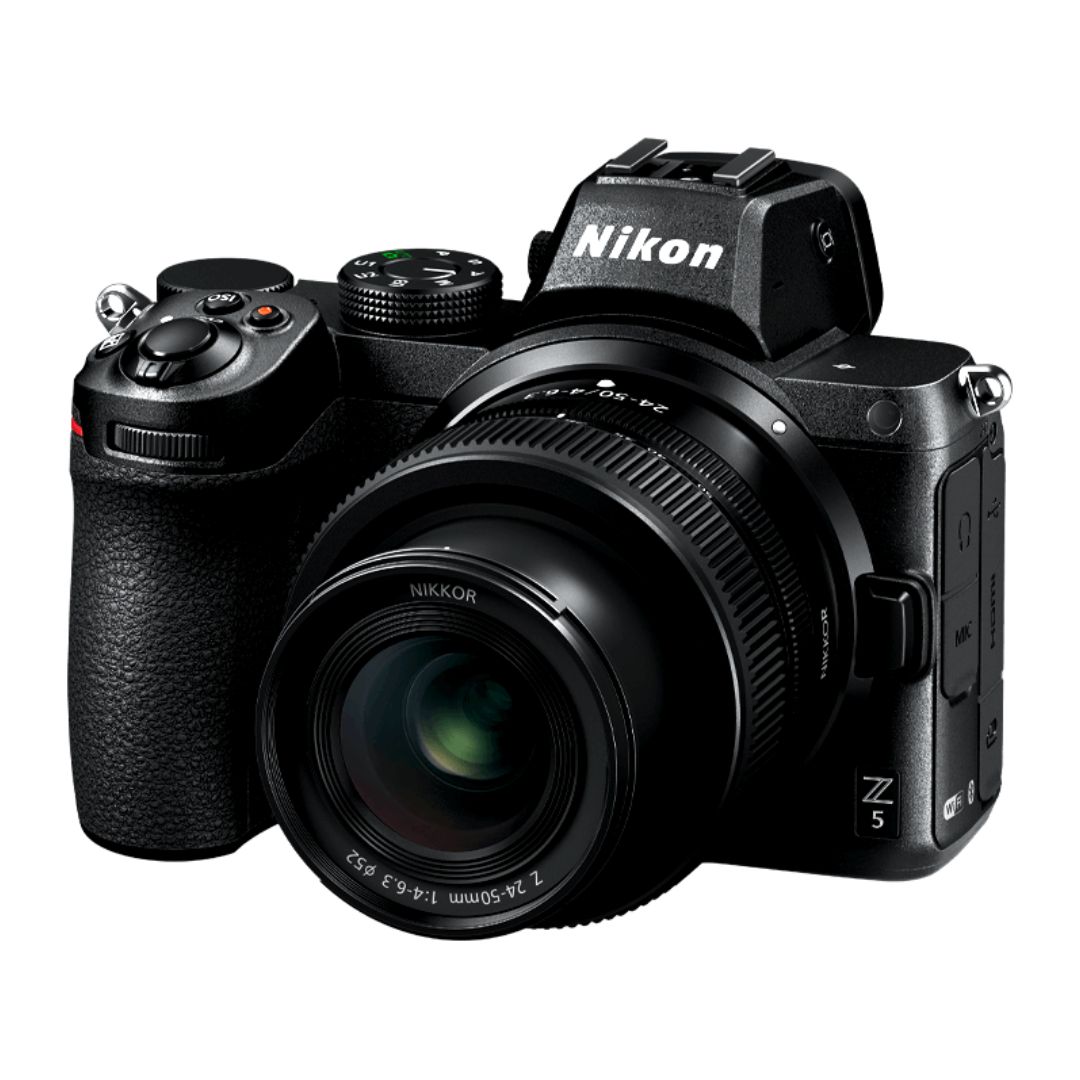
Nikon Z5 Review: Is It Worth It?
-

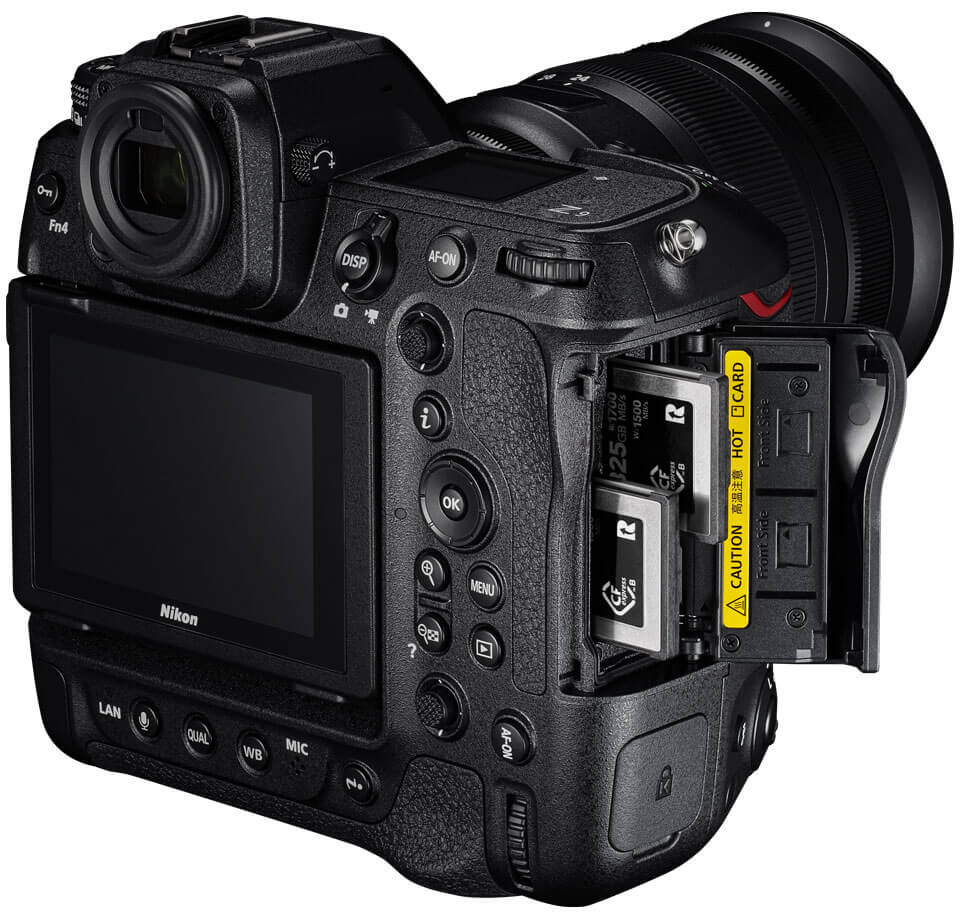
Nikon Z9 : Game-Changer for Photography
-

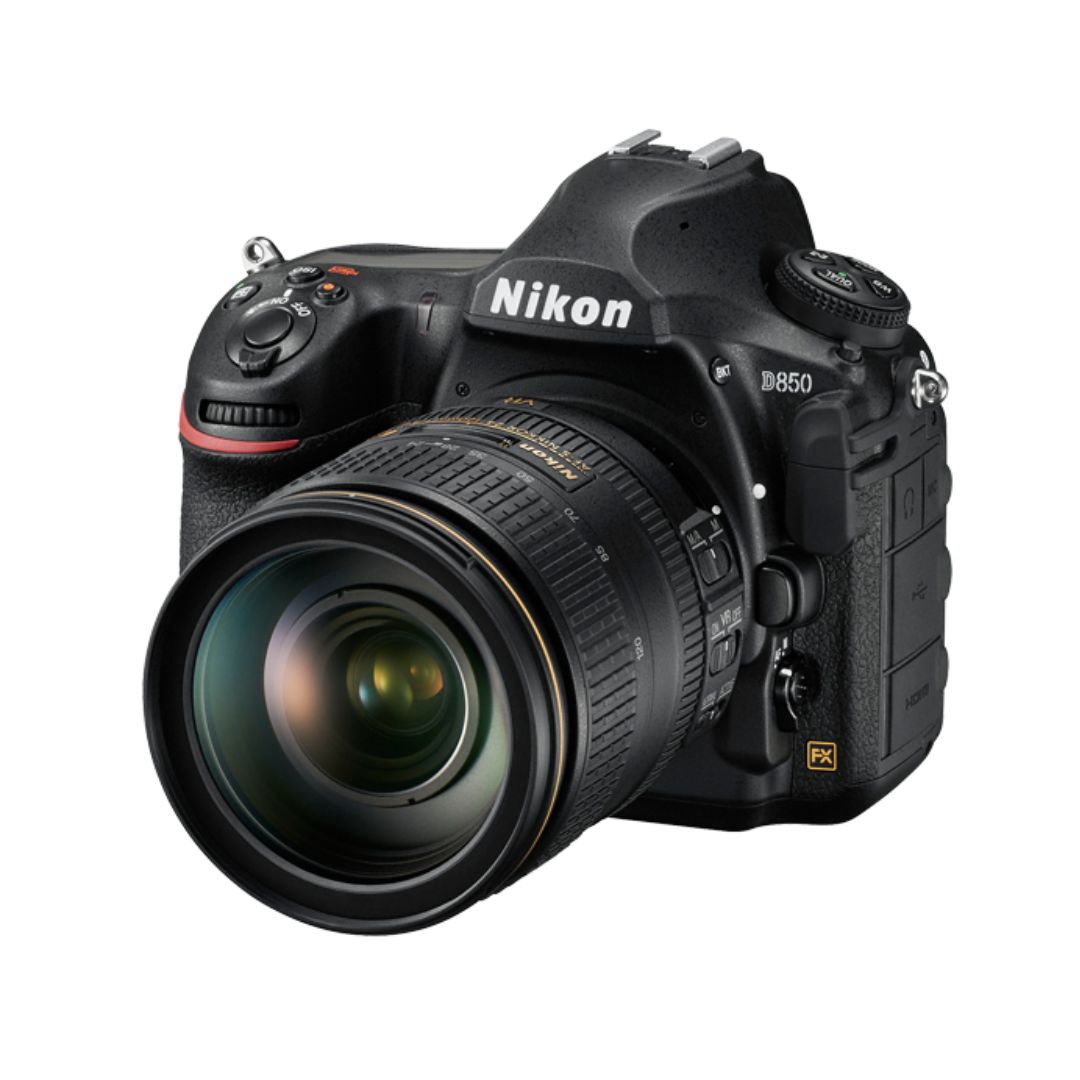
Top Features of Nikon D850 That Make It Ideal for Portfolio Shoots
Sony Alpha a7 IV: The Ultimate Camera for Photography
Explore the Sony Alpha a7 IV in this complete 2025 review. Learn how its pro-level features, real-world performance, and hybrid flexibility make it the ultimate camera for photography across genres like portraits, weddings, travel, and commercial work. Table of Contents Section 1: Introduction – Why the Sony Alpha a7 IV Stands Out The Sony Alpha…
Nikon Z5 Review: Is It Worth It?
In 2025, photographers—whether hobbyists, content creators, or professionals—seek equipment that blends value, performance, and future-readiness. Enter the Nikon Z5, a full-frame mirrorless camera marketed as a gateway to high-end imaging without a flagship price tag. But how well does it hold up under real-world demands like studio shoots, weddings, landscape adventures, and lifestyle photography? In…
Nikon Z9 : Game-Changer for Photography
Discover why the Nikon Z9 is considered a true game-changer for photography. This in-depth Nikon Z9 review explores key features, real-world performance, and how it excels in professional photo shoots in 2025. Table of Contents 1. Introduction The photography world witnessed a significant shift with the launch of the Nikon Z9, a flagship mirrorless camera…
Top Features of Nikon D850 That Make It Ideal for Portfolio Shoots
Discover why the Nikon D850 is the ultimate DSLR for portfolio shoots. Explore its top features—from resolution and dynamic range to autofocus precision and workflow speed—that help photographers create stunning, high-impact images for professional portfolios. Whether you’re a portrait artist, fashion photographer, or visual storyteller, a portfolio shoot demands technical excellence, creative flexibility, and uncompromised…
Candid Moments with Canon EOS R10: Lightweight & Reliable
In the evolving world of mirrorless photography, the Canon EOS R10 stands out as a lightweight yet powerful camera tailored for real-life storytelling. Whether you’re photographing street scenes, family gatherings, weddings, or spontaneous portraits, capturing genuine emotion requires a responsive and discreet tool. This article dives deep into how the Canon EOS R10 excels in…
Bold Portraits with Canon EOS R5: Is It the Best for Work?
Studio photography has always demanded precision, artistry, and impeccable gear. As the expectations for commercial portraits, fashion campaigns, and editorial work continue to rise, the tools we use must evolve. Enter the Canon EOS R5, a camera that has stirred the professional waters with its impressive technical specs and forward-thinking design. In this comprehensive Canon…


