Creating a dedicated Studio for eCommerce Product Shoots may seem like an expensive endeavor. However, with thoughtful planning and cost-effective strategies, you can establish a professional-grade studio without breaking the bank. This comprehensive guide outlines how to build an affordable studio while ensuring top-quality results for your eCommerce product shoots.
Why a Dedicated Studio is Crucial for eCommerce Product Shoots
Before diving into the setup, it’s essential to understand why a dedicated space is beneficial for your business.
1. Consistent Results
A studio ensures uniformity in your product images, enhancing your brand’s visual identity.
- Control Lighting: Easily adjust lighting to achieve consistent exposure and color accuracy.
- Reproducible Angles: Maintain the same framing for product shots, ensuring a cohesive portfolio.
2. Time and Cost Efficiency
A home or rented studio eliminates recurring expenses associated with hiring professional photographers or renting spaces.
- Quick Turnaround: Shoot multiple products without scheduling conflicts.
- Scalability: As your business grows, you can upgrade your studio gradually.
3. Enhanced Productivity
Having a dedicated space allows you to experiment, test, and refine your photography skills at your own pace.




Step-by-Step Guide to Building an Affordable Studio
Step 1: Select the Right Space
Choosing the ideal location is the foundation of your studio setup.
Factors to Consider:
- Size: Ensure enough room for your equipment, products, and movement.
- Natural Light: A room with large windows reduces the need for artificial lighting.
- Accessibility: Make sure it’s easy to transport products to and from the studio.
Budget Tip: Transform a spare bedroom, garage, or even a corner of your living room into a studio.
Step 2: Gather Affordable Lighting Equipment
Lighting is crucial for product photography. You don’t need expensive gear to achieve professional results.
Recommended Lighting Solutions:
- Softboxes: Diffuse light evenly, reducing harsh shadows.
- LED Light Panels: Affordable and adjustable for different lighting needs.
- Ring Lights: Perfect for small products and close-ups.
DIY Alternatives:
- Use white sheets or shower curtains as diffusers.
- Reflect natural light with aluminum foil or white foam boards.
Budget Tip: Start with natural light and gradually invest in lighting kits as needed.
Step 3: Choose Cost-Effective Backgrounds
Backgrounds play a critical role in highlighting your product. Opt for versatile and affordable options.
Options to Consider:
- Seamless Paper Backdrops: Available in various colors for under $50.
- DIY Backgrounds: Use foam boards, poster boards, or repurposed materials like wood planks.
- Foldable Pop-Up Backdrops: Compact and easy to store.
Budget Tip: Stick to neutral tones like white, black, or gray for a clean, professional look.
Step 4: Invest in a Good Camera and Lens
While high-end cameras are great, entry-level DSLRs or mirrorless cameras can deliver excellent results.
Recommended Budget Cameras:
Lens Options:
- A 50mm prime lens for general product shots.
- A macro lens for capturing intricate details.
Budget Tip: Consider buying used or refurbished cameras and lenses to save money.
Step 5: Get a Stable Tripod
A tripod is essential for sharp, well-composed images.
Features to Look For:
- Adjustable height
- Sturdy build
- Compatibility with your camera
Budget Tip: Look for affordable options like AmazonBasics or consider second-hand tripods.
Step 6: Incorporate Light Modifiers
Light modifiers allow you to control the direction and intensity of your lighting setup.
Affordable Options:
- Reflectors: Use white foam boards or reflective car sunshades.
- Diffusers: Create your own with translucent fabric or parchment paper.
- Flags: Cardboard or black foam boards work well to block unwanted light.
Step 7: Source Props on a Budget
Props can enhance your product photos by adding context and creativity.
Examples of Low-Cost Props:
- Household items like books, plants, or fabric.
- Seasonal decorations purchased on clearance.
- DIY props made from everyday materials.
Budget Tip: Visit thrift stores or dollar stores for affordable props.
Step 8: Use Free or Low-Cost Editing Software
Post-processing is key to making your images stand out.
Free Editing Software:
Affordable Options:
- Adobe Lightroom (Photography Plan)
- Affinity Photo
Budget Tip: Take advantage of free trials before committing to a paid option.
Organizing and Maintaining Your Studio
1. Storage Solutions
Keep your equipment and props organized to save time and avoid clutter.
Budget-Friendly Ideas:
- Use plastic bins or baskets for props.
- Install shelves for lighting and camera gear.
- Label storage containers for easy access.
2. Regular Maintenance
- Clean your camera lenses and sensors frequently.
- Replace worn-out backdrops and props as needed.
- Ensure your lighting equipment is in good working condition.
3. Create a Workflow
Establish a step-by-step process for setting up, shooting, and editing to maximize efficiency.
Advanced Upgrades for Your Studio
Once your business grows, consider these upgrades:
- Better Cameras and Lenses: Invest in higher-end models for greater versatility.
- Professional Lighting Kits: Upgrade to studio strobes or continuous lighting.
- Custom Backdrops: Hire designers to create branded backgrounds.
- Dedicated Space: Rent or purchase a commercial studio space.
Conclusion: Start Small, Dream Big
Building a studio for eCommerce product shoots on a budget is entirely achievable with resourcefulness and strategic investments. By focusing on essential tools and leveraging DIY alternatives, you can create a professional setup that delivers exceptional results.
Remember, your studio doesn’t have to be perfect from day one. Start small, refine your process, and upgrade as your business grows. With determination and creativity, you can produce stunning product photos that captivate your audience and boost your sales.

Sony Alpha a7 IV: The Ultimate Camera for Photography
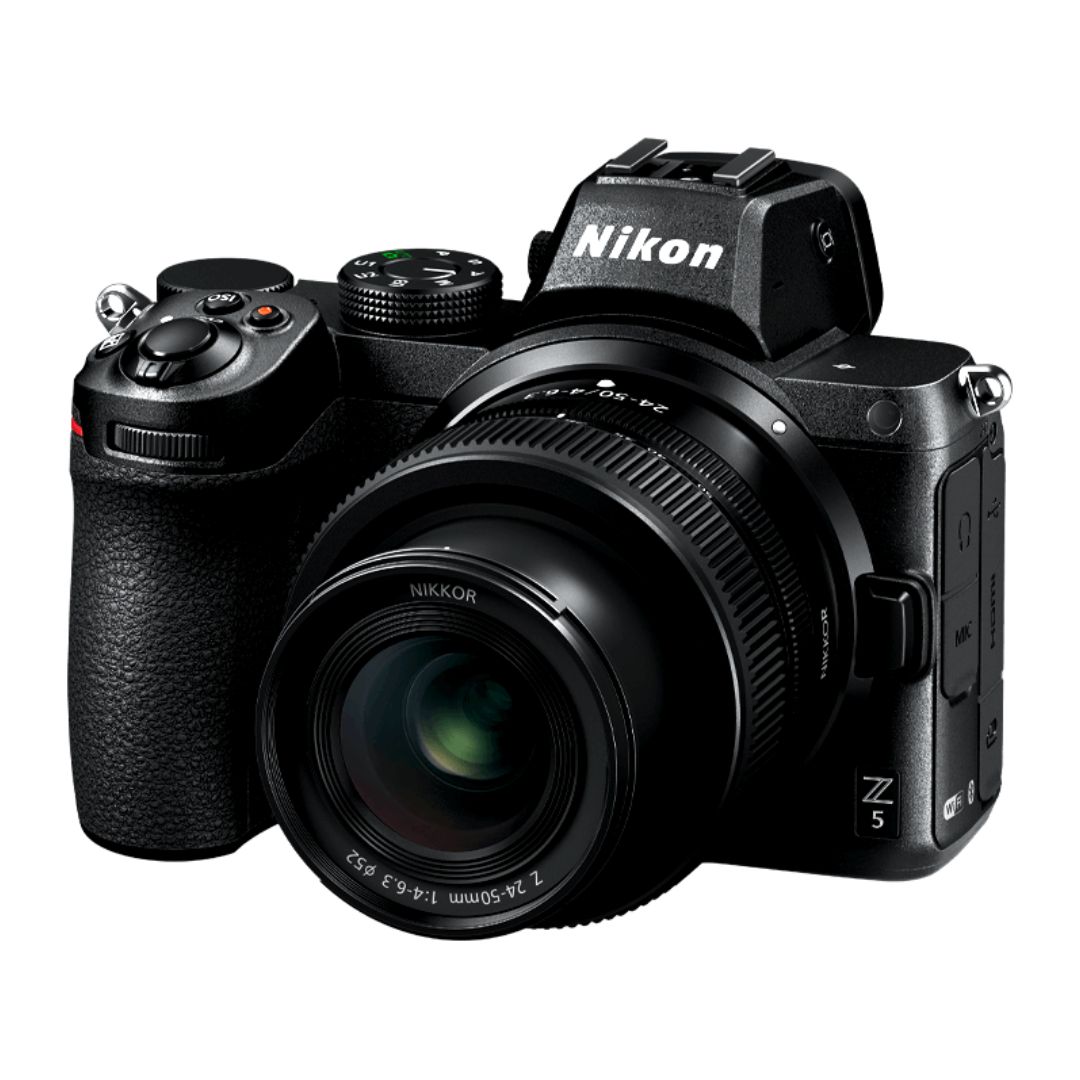
Nikon Z5 Review: Is It Worth It?
-
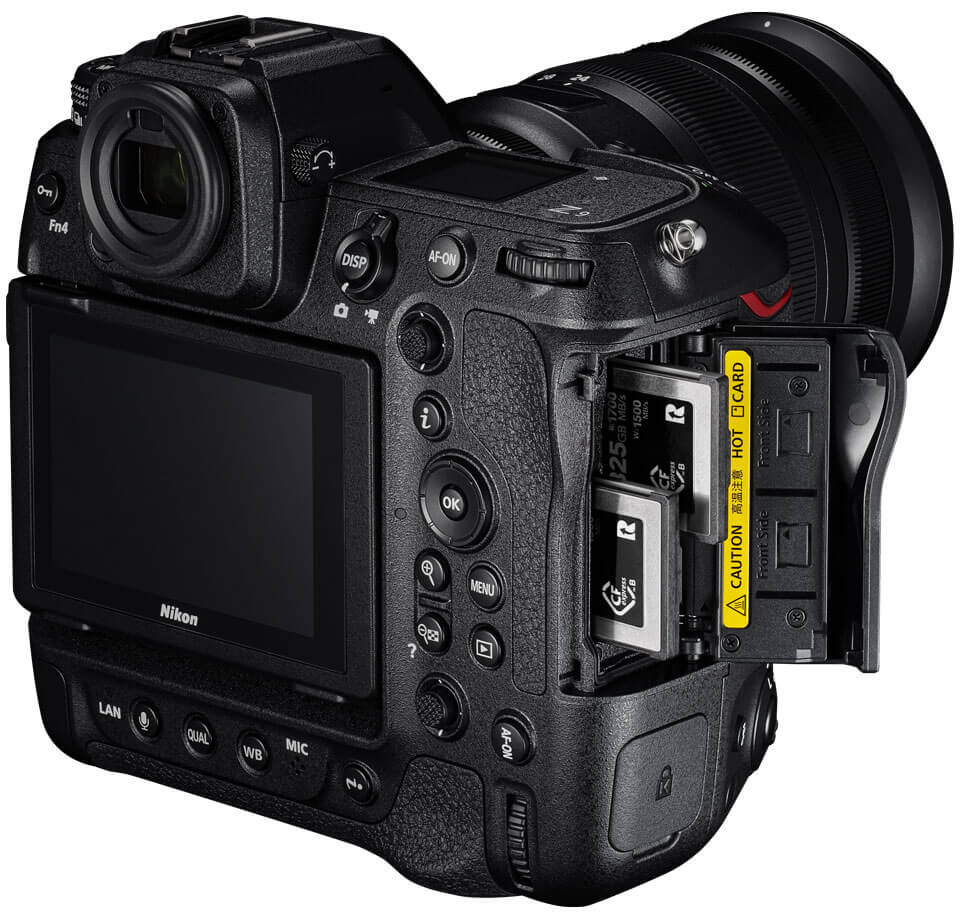
Nikon Z9 : Game-Changer for Photography
-
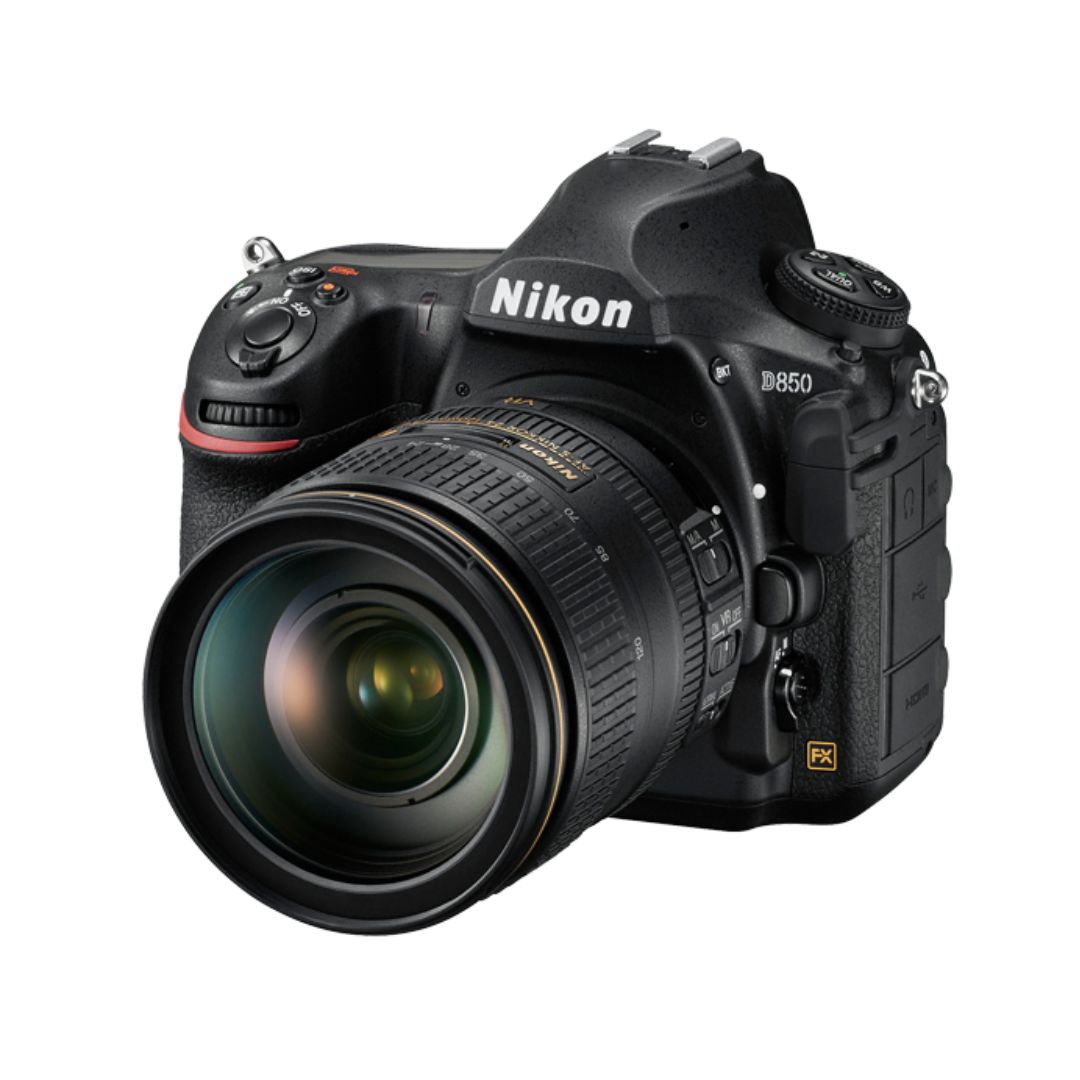
Top Features of Nikon D850 That Make It Ideal for Portfolio Shoots
Sony Alpha a7 IV: The Ultimate Camera for Photography
Explore the Sony Alpha a7 IV in this complete 2025 review. Learn how its pro-level features, real-world performance, and hybrid flexibility make it the ultimate camera for photography across genres like portraits, weddings, travel, and commercial work. Table of Contents Section 1: Introduction – Why the Sony Alpha a7 IV Stands Out The Sony Alpha…
Nikon Z5 Review: Is It Worth It?
In 2025, photographers—whether hobbyists, content creators, or professionals—seek equipment that blends value, performance, and future-readiness. Enter the Nikon Z5, a full-frame mirrorless camera marketed as a gateway to high-end imaging without a flagship price tag. But how well does it hold up under real-world demands like studio shoots, weddings, landscape adventures, and lifestyle photography? In…
Nikon Z9 : Game-Changer for Photography
Discover why the Nikon Z9 is considered a true game-changer for photography. This in-depth Nikon Z9 review explores key features, real-world performance, and how it excels in professional photo shoots in 2025. Table of Contents 1. Introduction The photography world witnessed a significant shift with the launch of the Nikon Z9, a flagship mirrorless camera…
Top Features of Nikon D850 That Make It Ideal for Portfolio Shoots
Discover why the Nikon D850 is the ultimate DSLR for portfolio shoots. Explore its top features—from resolution and dynamic range to autofocus precision and workflow speed—that help photographers create stunning, high-impact images for professional portfolios. Whether you’re a portrait artist, fashion photographer, or visual storyteller, a portfolio shoot demands technical excellence, creative flexibility, and uncompromised…
Candid Moments with Canon EOS R10: Lightweight & Reliable
In the evolving world of mirrorless photography, the Canon EOS R10 stands out as a lightweight yet powerful camera tailored for real-life storytelling. Whether you’re photographing street scenes, family gatherings, weddings, or spontaneous portraits, capturing genuine emotion requires a responsive and discreet tool. This article dives deep into how the Canon EOS R10 excels in…
Bold Portraits with Canon EOS R5: Is It the Best for Work?
Studio photography has always demanded precision, artistry, and impeccable gear. As the expectations for commercial portraits, fashion campaigns, and editorial work continue to rise, the tools we use must evolve. Enter the Canon EOS R5, a camera that has stirred the professional waters with its impressive technical specs and forward-thinking design. In this comprehensive Canon…

