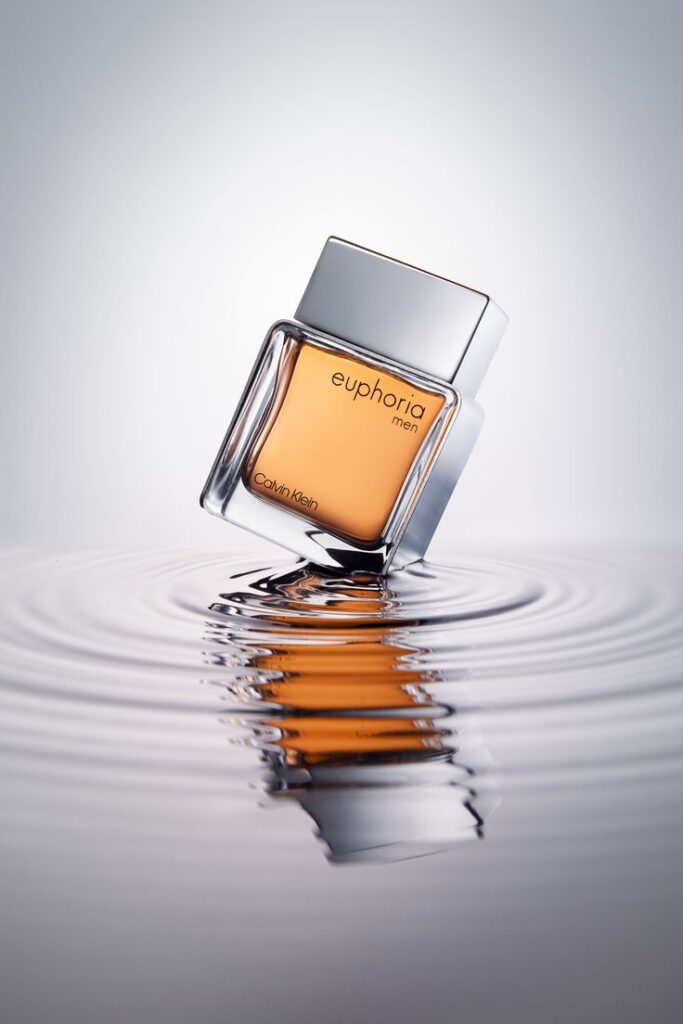
In the world of eCommerce, exceptional product photography is non-negotiable. High-quality visuals not only attract customers but also drive sales and enhance your brand’s credibility. However, achieving professional-grade product images requires more than just a camera. It demands the right set of tools and techniques to ensure your visuals resonate with your target audience. This guide explores the essential tools for eCommerce product photography, detailing their significance and how to use them effectively.
Why Invest in Product Photography Tools?
Before diving into the specific tools, it’s important to understand why investing in the right equipment matters.
1. Visual Communication Drives Sales
Product photos are often the first interaction potential buyers have with your product. Subpar visuals can lead to a loss of trust and sales.
- Highlight Details: High-quality images allow customers to see textures, colors, and intricate details.
- Build Confidence: Professional visuals reassure buyers of your product’s quality.
2. Competitive Edge in the Market
Well-executed photography sets your brand apart from competitors, especially in saturated markets.
- Brand Consistency: Consistent imagery strengthens your brand identity.
- Customer Retention: Memorable visuals encourage repeat purchases.


Essential Tools for eCommerce Product Photography
1. Cameras: The Heart of Photography
A good camera is the cornerstone of professional product photography. While smartphone cameras have improved, DSLRs and mirrorless cameras remain the gold standard.
Features to Look For:
- High Resolution: Ensures sharp, detailed images.
- Manual Controls: Offers greater flexibility for adjusting aperture, shutter speed, and ISO.
- Interchangeable Lenses: Allows versatility for different types of shots.
Recommended Cameras:
- Canon EOS R6
- Sony Alpha a7 III
- Nikon Z6 II
2. Lenses: Elevate Your Image Quality
The right lens can dramatically improve your photo quality. Different lenses serve different purposes, so it’s important to choose one that suits your needs.
Types of Lenses:
- Macro Lenses: Ideal for capturing intricate details.
- Prime Lenses: Known for their sharpness and wide apertures.
- Zoom Lenses: Great for versatility and framing flexibility.
Recommended Lenses:
- Canon EF 100mm f/2.8L Macro IS USM
- Sony FE 50mm f/1.8
- Nikon NIKKOR Z 24-70mm f/2.8 S
3. Tripods: Achieve Stability and Consistency
A tripod is crucial for keeping your camera stable and ensuring consistent angles across shots.
Benefits:
- Reduced Blur: Eliminates camera shake for sharp images.
- Consistent Framing: Maintains uniformity in product photos.
Features to Look For:
- Adjustable height and angles
- Sturdy build for heavier cameras
- Compatibility with your camera model
Recommended Tripods:
- Manfrotto Befree Advanced Tripod
- Gitzo Lightweight Traveler Tripod
- Vanguard Alta Pro 263AB
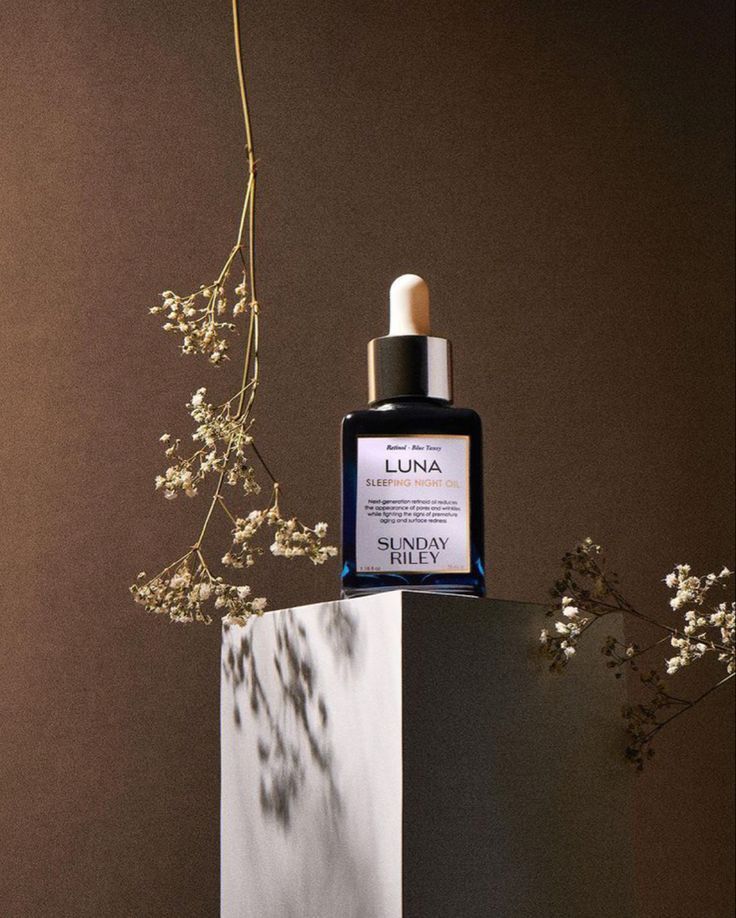
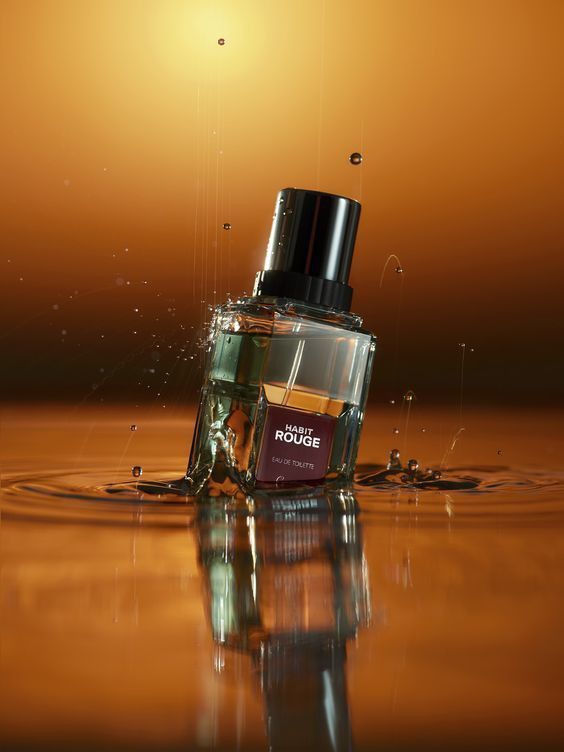
4. Lighting Equipment: Illuminate Your Products
Proper lighting is essential for showcasing your products in the best possible way. Natural light works well, but artificial lighting ensures consistency.
Types of Lighting:
- Softboxes: Diffuse light to reduce harsh shadows.
- Ring Lights: Ideal for small products and close-ups.
- LED Panels: Provide adjustable brightness and color temperature.
Recommended Lighting Kits:
- Neewer 2-Pack Dimmable LED Softbox Lighting Kit
- Godox SL-60W LED Video Light
- Lume Cube Panel Pro
5. Light Modifiers: Control Light Intensity and Direction
Light modifiers help shape and control the light, creating a professional look.
Types of Modifiers:
- Reflectors: Bounce light to reduce shadows.
- Diffusers: Soften harsh light for an even glow.
- Flags: Block light to create contrast and depth.
Recommended Modifiers:
- Westcott 5-in-1 Reflector Kit
- Selens 24×36-inch Diffuser Panel
- Neewer Light Blocker Kit
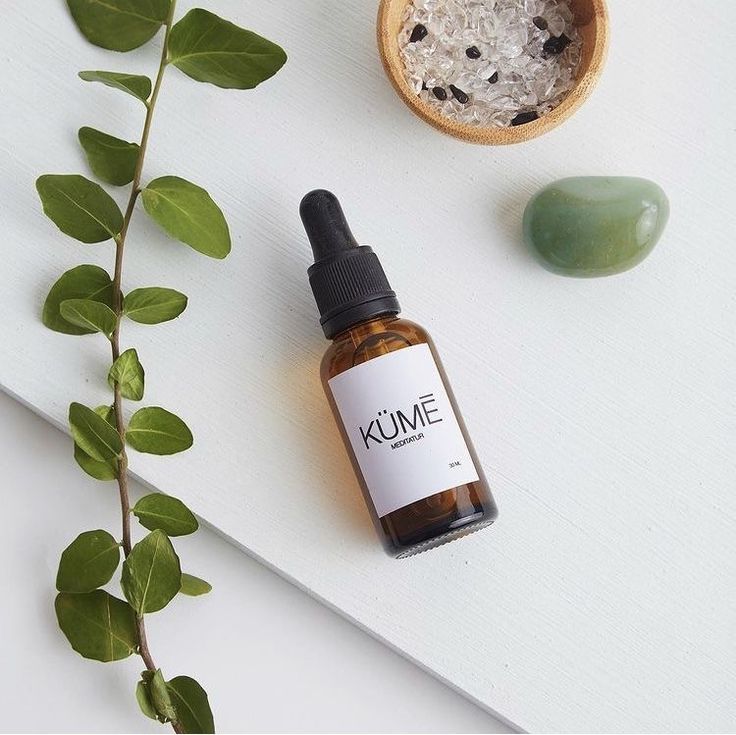
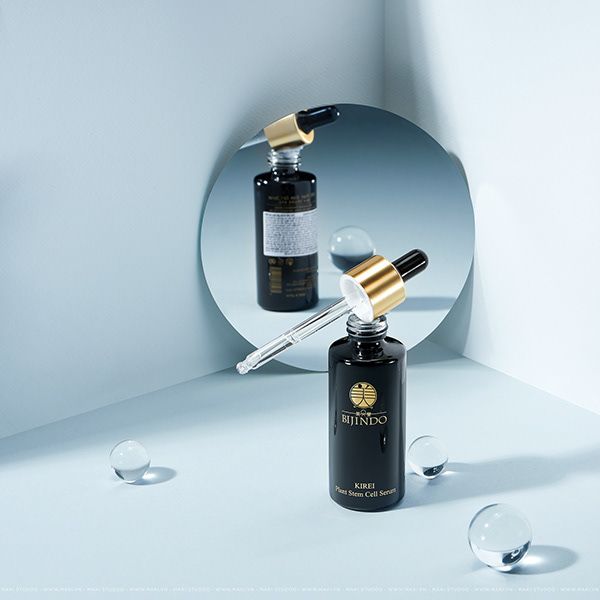
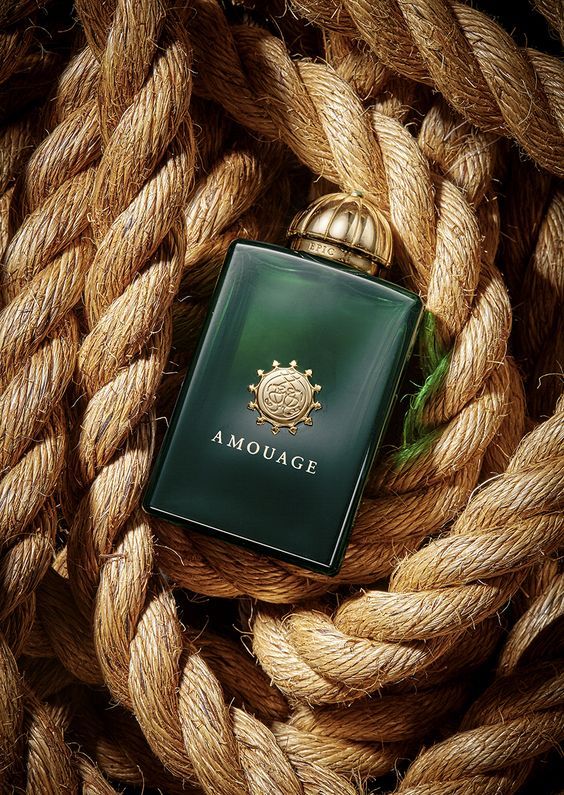
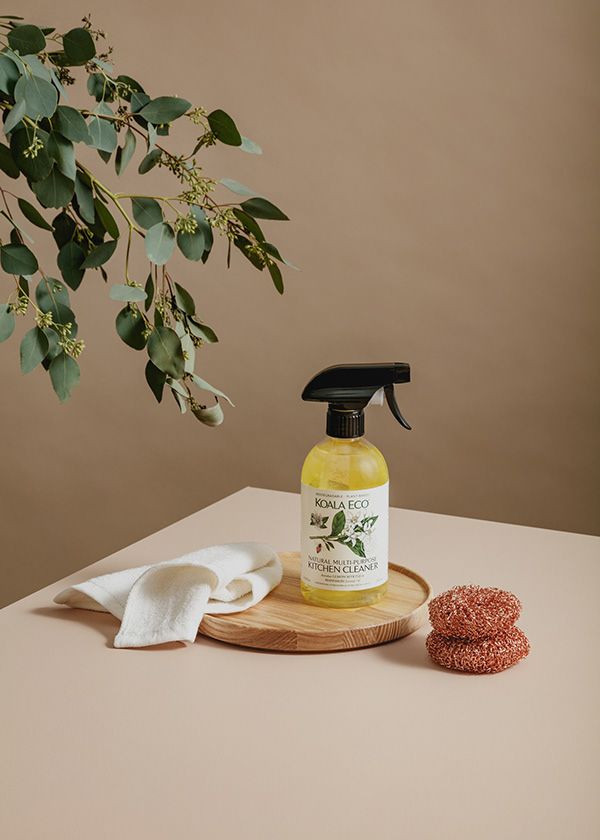
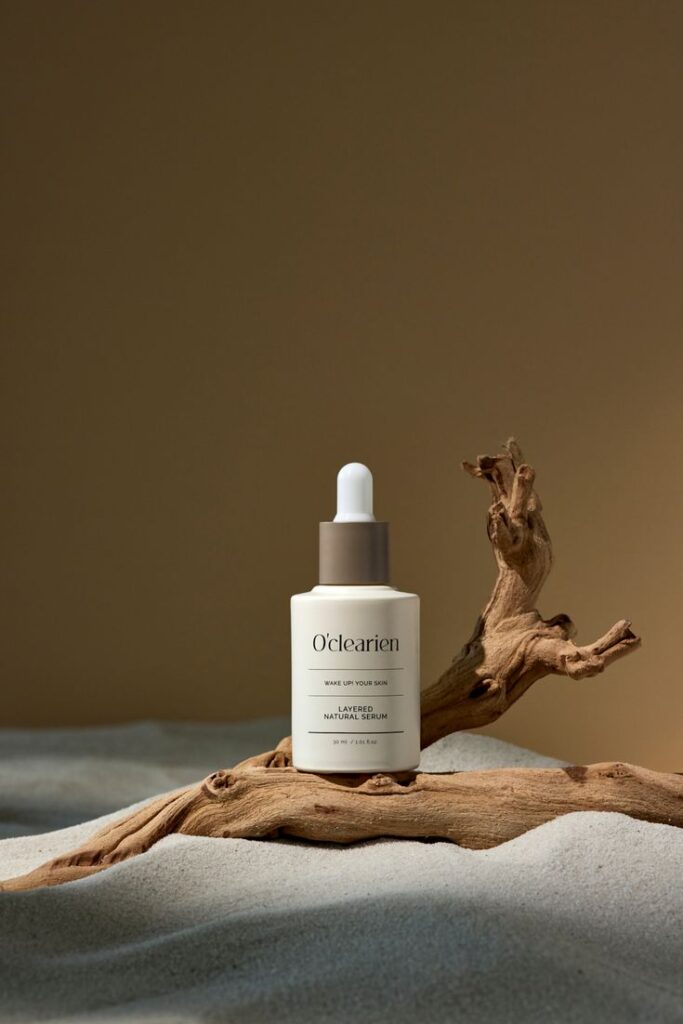
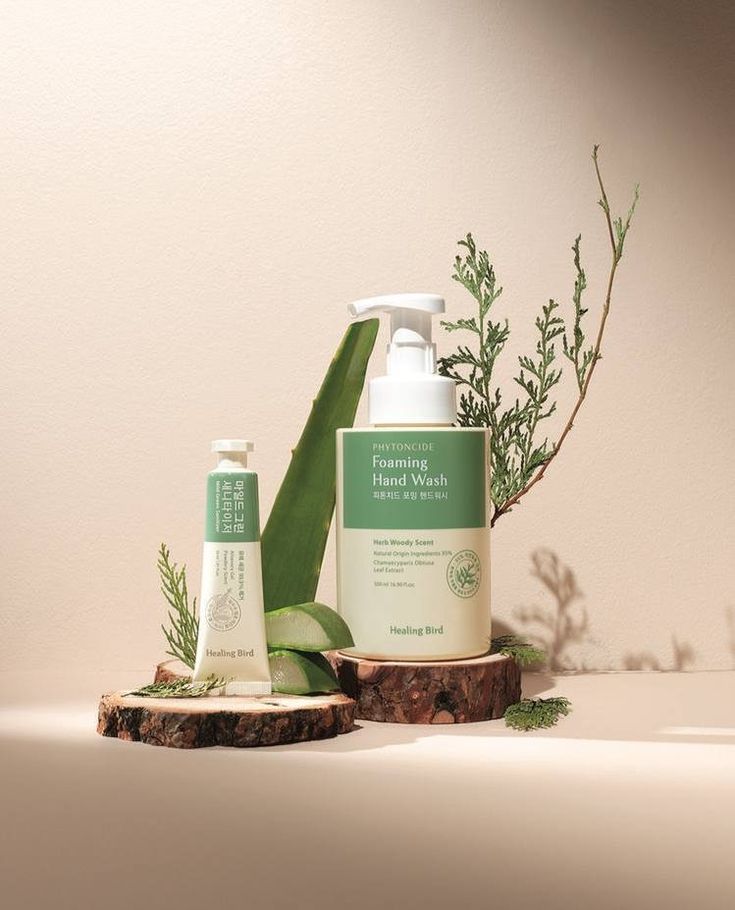
6. Backgrounds: Keep the Focus on Your Product
Backgrounds play a vital role in ensuring the product remains the focal point of the image.
Common Backgrounds:
- White Backgrounds: Clean and professional; great for marketplaces like Amazon.
- Colored Backgrounds: Adds personality and complements the product.
- Textured Backgrounds: Perfect for lifestyle or mood shots.
Recommended Background Solutions:
- Savage Seamless Paper Backdrops
- Foldable Pop-Up Backgrounds
- DIY Backgrounds with Foam Boards
7. Editing Software: Polish Your Images
Even the best photos need some post-production to perfect them.
Key Features to Look For:
- Crop and resize tools
- Color correction and white balance adjustment
- Spot removal for minor blemishes
Recommended Software:
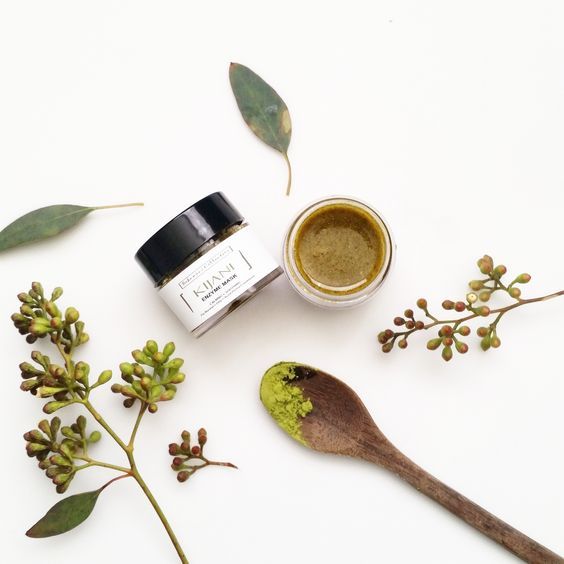
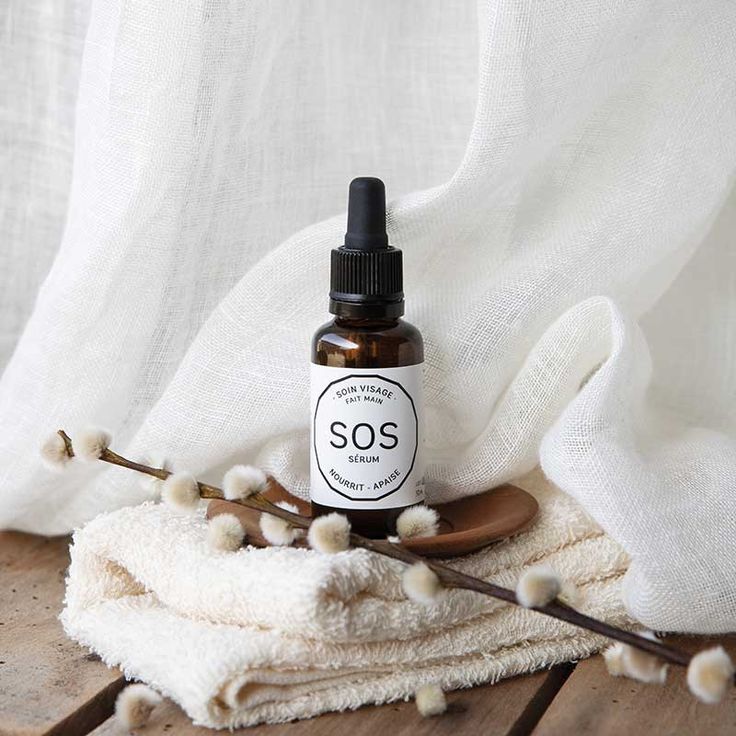
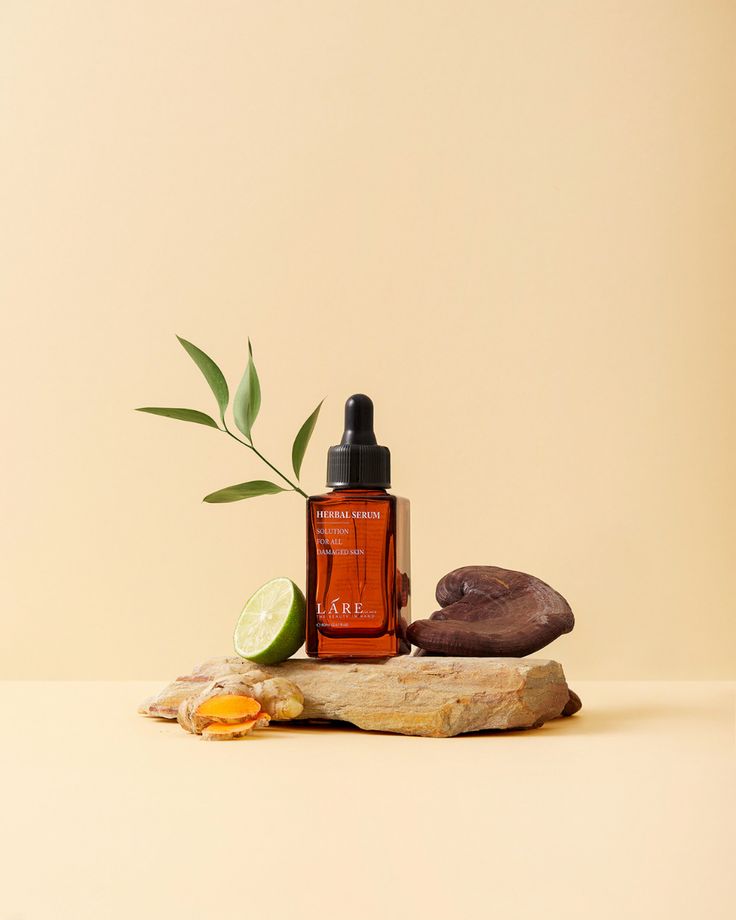
8. Props: Add Context and Appeal
Props can make your product photos more engaging by adding context and storytelling elements.
Tips for Choosing Props:
- Ensure they complement rather than overpower the product.
- Use props relevant to the product’s usage.
- Keep the color palette cohesive.
Examples of Props:
- Fresh produce for food products
- Office supplies for stationery items
- Seasonal decor for holiday promotions
9. Turntables: Capture Every Angle
For 360-degree product views, turntables are indispensable.
Benefits:
- Showcase all sides of the product.
- Enhance customer confidence by providing a comprehensive view.
Recommended Turntables:
- Foldio360 Smart Turntable
- Ortery PhotoBench 360
- Neewer Motorized Rotating Display Stand
10. Remote Shutters: Minimize Contact with the Camera
Remote shutters allow you to capture images without touching the camera, reducing vibrations and ensuring sharp photos.
Recommended Options:
- Canon BR-E1 Wireless Remote
- Sony RMT-P1BT Wireless Remote
- Nikon ML-L3 Remote Control
Tips for Using Your Tools Effectively
1. Plan Your Setup
Before shooting, plan your layout, including the background, lighting, and camera position.
2. Test and Adjust
Take test shots to identify any issues with lighting, composition, or focus.
3. Maintain Your Equipment
Clean your lenses, charge your batteries, and store equipment properly to prolong its lifespan.
4. Keep Learning
Stay updated on the latest tools and techniques through tutorials, blogs, and courses.
Conclusion: Equip Yourself for Success
Investing in the right tools for eCommerce product photography is not an expense but an investment in your brand’s growth. From cameras and lighting to editing software and turntables, each tool plays a pivotal role in elevating the quality of your visuals.
When used effectively, these tools can transform your product photos into compelling visuals that drive sales and build customer trust. Start building your photography toolkit today and watch your eCommerce business flourish.
-
Vivo X300 Pro Photography Kit: Next-Gen Mobile Imaging
-

Empowerment Through Boudoir Photography: The Candid Shoot
-

Bold Photography: Creating Powerful & Confident Visual Stories
-

Jaipur’s Favorite Destination for Couple Shoots | The Candid Shoot
-
Vivo X300 Pro Photography Kit: Next-Gen Mobile Imaging
Discover the complete vivo X300 Pro photography kit guide with in-depth camera analysis, real-world case studies, portrait techniques, cinematic workflows, and pro-level tips. Learn how vivo X300 Pro transforms mobile photography for creators, influencers, and studio professionals. The vivo X300 Pro — Redefining Mobile Imaging for Creators Why the vivo X300 Pro Deserves a Dedicated
-
Empowerment Through Boudoir Photography: The Candid Shoot
Boudoir Photography as Empowerment Boudoir photography has evolved far beyond traditional notions of intimacy or sensuality. Modern boudoir photography is about empowerment, confidence, and self-expression, not merely performing for the camera. At its heart, boudoir photography is a visual dialogue between the subject and themselves, mediated by a professional photographer. It provides a private, safe
-
Jaipur’s Favorite Destination for Couple Shoots | The Candid Shoot
Why Couple Shoots Matter More Than Ever Couple shoots have evolved far beyond posed photographs and forced smiles. Today, couples look for experiences that feel natural, meaningful, and reflective of who they are together. A couple shoot is no longer about perfection. It is about presence, connection, and shared emotion. At The Candid Shoot, we
-
Bold Shoot Photographer with Studio in Jaipur | The Candid Shoot
The phrase “bold shoot photographer” often triggers assumptions—many of them incomplete, outdated, or shaped by stereotypes. In reality, bold photography has evolved far beyond shock value or surface-level aesthetics. Today, bold shoots represent self-expression, body confidence, emotional honesty, and artistic courage. At The Candid Shoot, bold photography is not about exposure—it is about expression. It
-
Styling Tips for Maternity Shoots: Looking Timeless, and Confident
Styling as the Silent Storyteller in Maternity Shoots Maternity shoots are not simply about documenting pregnancy. They are about honoring a season of transformation—physical, emotional, relational, and often spiritual. Styling plays a foundational role in how that transformation appears, feels, and endures through photographs. When people look back at maternity photographs years later, they rarely


