

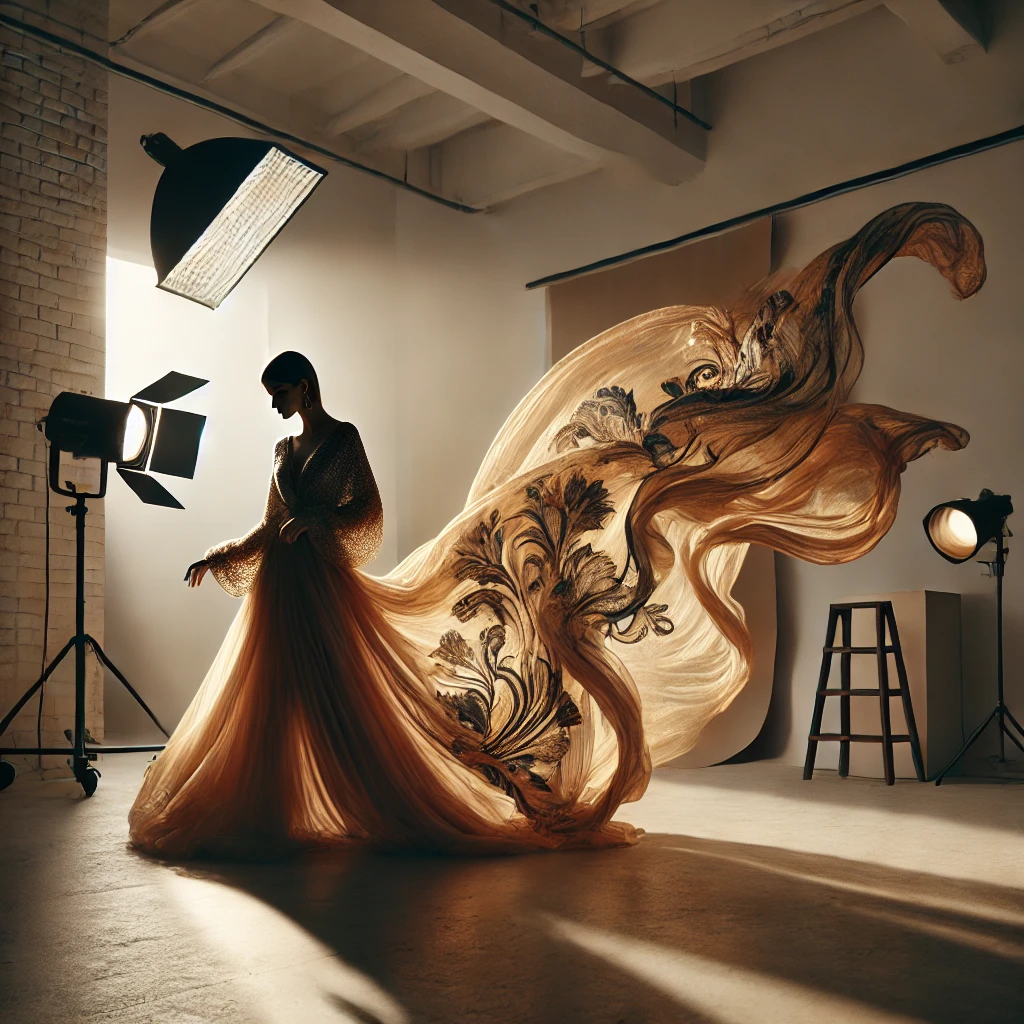
Lighting plays a critical role in photography, especially when working with delicate fabrics like a sarong. The way light interacts with the fabric can transform a simple image into an artistic masterpiece. Whether you are shooting at the beach, poolside, or in a studio, mastering lighting techniques will elevate your sarong photography to an editorial level.
In this guide, we’ll explore the best lighting techniques for capturing the beauty, texture, and movement of a sarong. From soft natural light to dramatic artificial setups, we’ll cover everything you need to know to achieve professional-quality results.
1. Utilizing Natural Light for Sarong Photography
A. Golden Hour: Soft and Flattering Light
The golden hour—shortly after sunrise or before sunset—offers soft, warm light that enhances the delicate movement of a sarong. This light eliminates harsh shadows and creates a dreamy, romantic effect.
Tips:
- Position the subject with the light slightly behind or to the side to create a beautiful glow.
- Use a reflector to bounce light onto the subject’s face and fabric.
- Capture motion by letting the sarong catch the breeze, allowing the sunlight to filter through.
B. Midday Sun: Controlling Harsh Shadows
Bright midday sun can be challenging due to strong contrasts and deep shadows. However, with the right techniques, you can create striking, high-fashion images.
Techniques:
- Use a Diffuser: Soften harsh sunlight by placing a sheer fabric or diffuser between the sun and the subject.
- Find Shade: Position the model under a tree, umbrella, or building for softer lighting.
- Play with Shadows: Use palm leaves or netted fabrics to cast creative patterns on the subject and sarong.
C. Backlighting: Creating a Soft, Ethereal Effect
Backlighting is perfect for sheer sarongs, as it highlights fabric texture and adds depth to the image.
Tips:
- Shoot against the sun for a silhouette effect.
- Increase exposure slightly to brighten shadows without overexposing highlights.
- Allow sunlight to peek through the fabric for an artistic glow.
2. Artificial Lighting Techniques for Sarong Photography
A. Softbox & Diffused Studio Light
Softbox lighting mimics natural light, creating a balanced and flattering effect. This setup works well for indoor sarong photoshoots.
Best Practices:
- Position a large softbox at a 45-degree angle for gentle shadows and highlights.
- Use a fill light or reflector to reduce harsh contrasts.
- Adjust power settings to complement the fabric’s translucency.
B. High-Contrast Fashion Lighting
For a bold, editorial-style look, high-contrast lighting enhances the texture and flow of the sarong.
Setup Ideas:
- Use a single light source with a strong directional beam.
- Position the light at a low angle to create dramatic shadows.
- Experiment with black backdrops for a striking effect.
C. Colored Gels for Artistic Effects
Adding colored gels to artificial lights can transform the mood of sarong photography.
Creative Ideas:
- Use warm gels (orange, gold) for a sun-kissed effect.
- Experiment with cool tones (blue, purple) for a futuristic aesthetic.
- Layer different colors for a unique gradient effect on the fabric.
3. Combining Light and Motion for Dynamic Shots
A. Capturing Flowing Movement
Sarongs are best showcased with movement, and lighting should enhance this.
Best Practices:
- Use a slow shutter speed with controlled lighting to create a soft motion blur.
- Introduce a wind machine or natural breeze for dynamic effects.
- Side lighting emphasizes the flowing texture of the fabric.
B. Silhouette Photography
A sarong’s sheer material creates beautiful silhouette effects when properly lit.
Steps to Achieve:
- Place the model in front of a bright window or artificial backlight.
- Expose for the background to darken the subject while revealing fabric details.
- Adjust contrast and clarity in post-processing for a dramatic look.
4. Essential Gear for Lighting Sarong Photography
To achieve stunning results, the right equipment is essential. Here are some must-haves:
✔ Reflectors: Bounce and control light naturally. ✔ Diffusers: Soften harsh light sources. ✔ Softboxes: Provide controlled studio lighting. ✔ Speedlights/Flashes: Add precision to artificial lighting setups. ✔ Tripod & Remote Shutter: Ensure stability for long exposure shots.
5. Post-Processing for Perfect Lighting Balance
Even with the best lighting techniques, minor adjustments in post-processing can enhance the final image.
Editing Tips:
- Adjust brightness and contrast to refine light balance.
- Use dodge and burn tools to emphasize fabric highlights and shadows.
- Add warmth or cool tones to match the shoot’s aesthetic.
Conclusion
Mastering lighting techniques for sarong photography allows you to capture the elegance, texture, and movement of the fabric. Whether working with natural sunlight or artificial setups, understanding how light interacts with the material can elevate your photos from ordinary to extraordinary. Experiment with different lighting styles, angles, and compositions to create high-fashion, editorial-worthy images.

Sony Alpha a7 IV: The Ultimate Camera for Photography
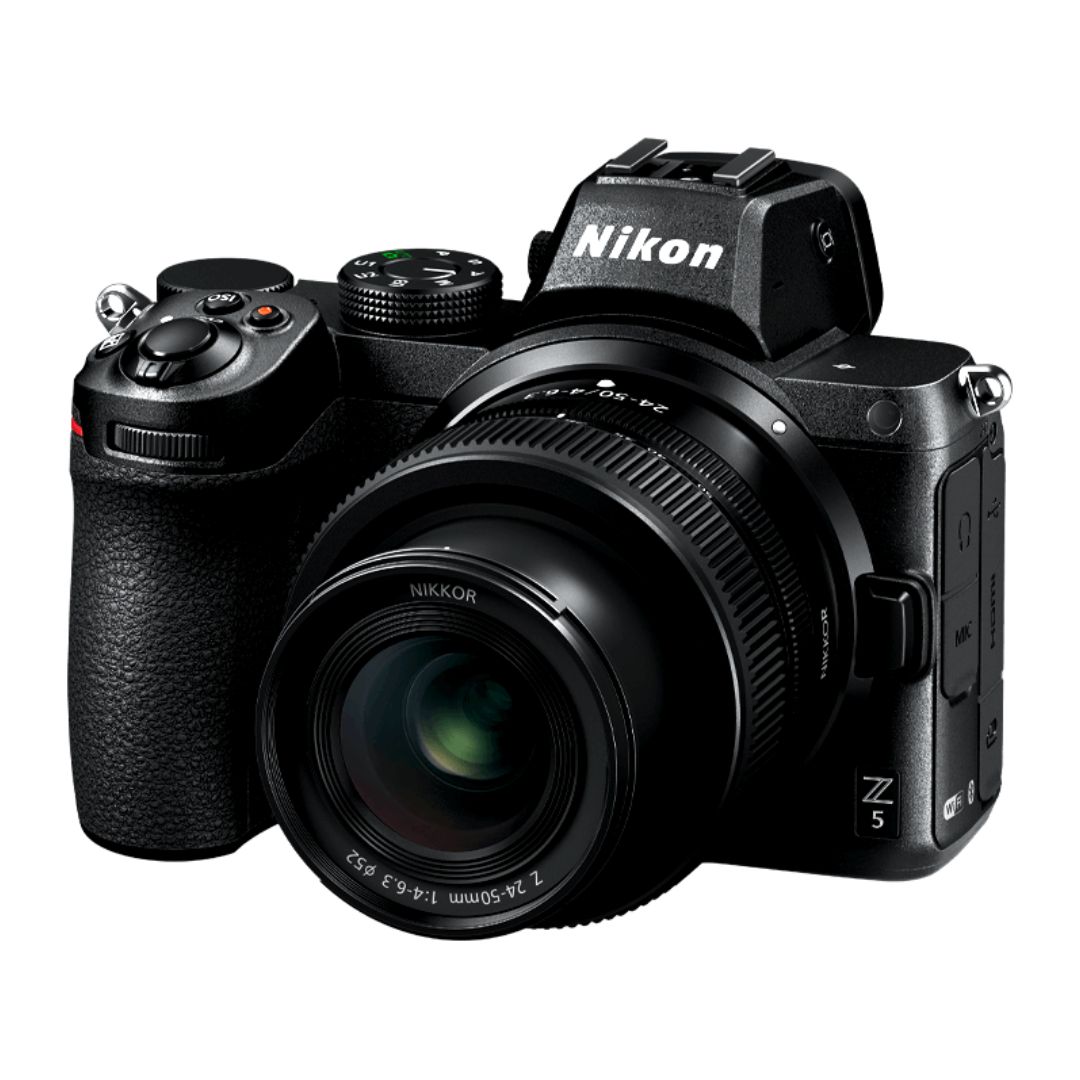
Nikon Z5 Review: Is It Worth It?
-
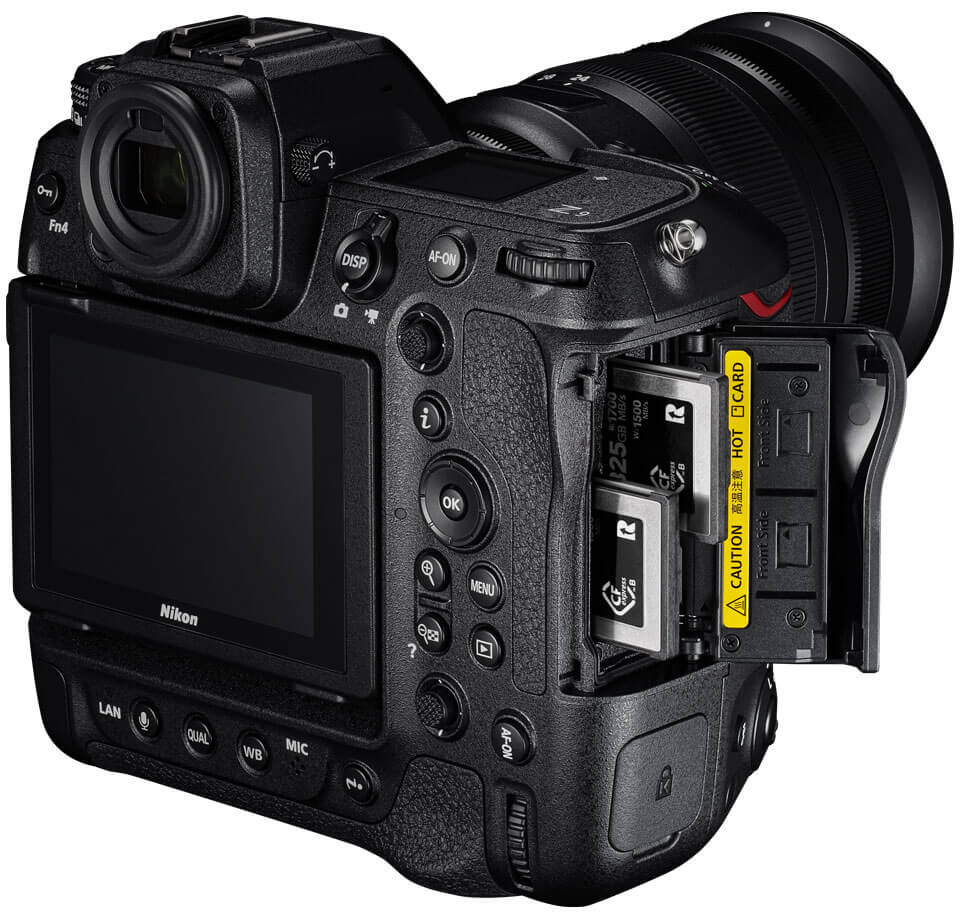
Nikon Z9 : Game-Changer for Photography
-
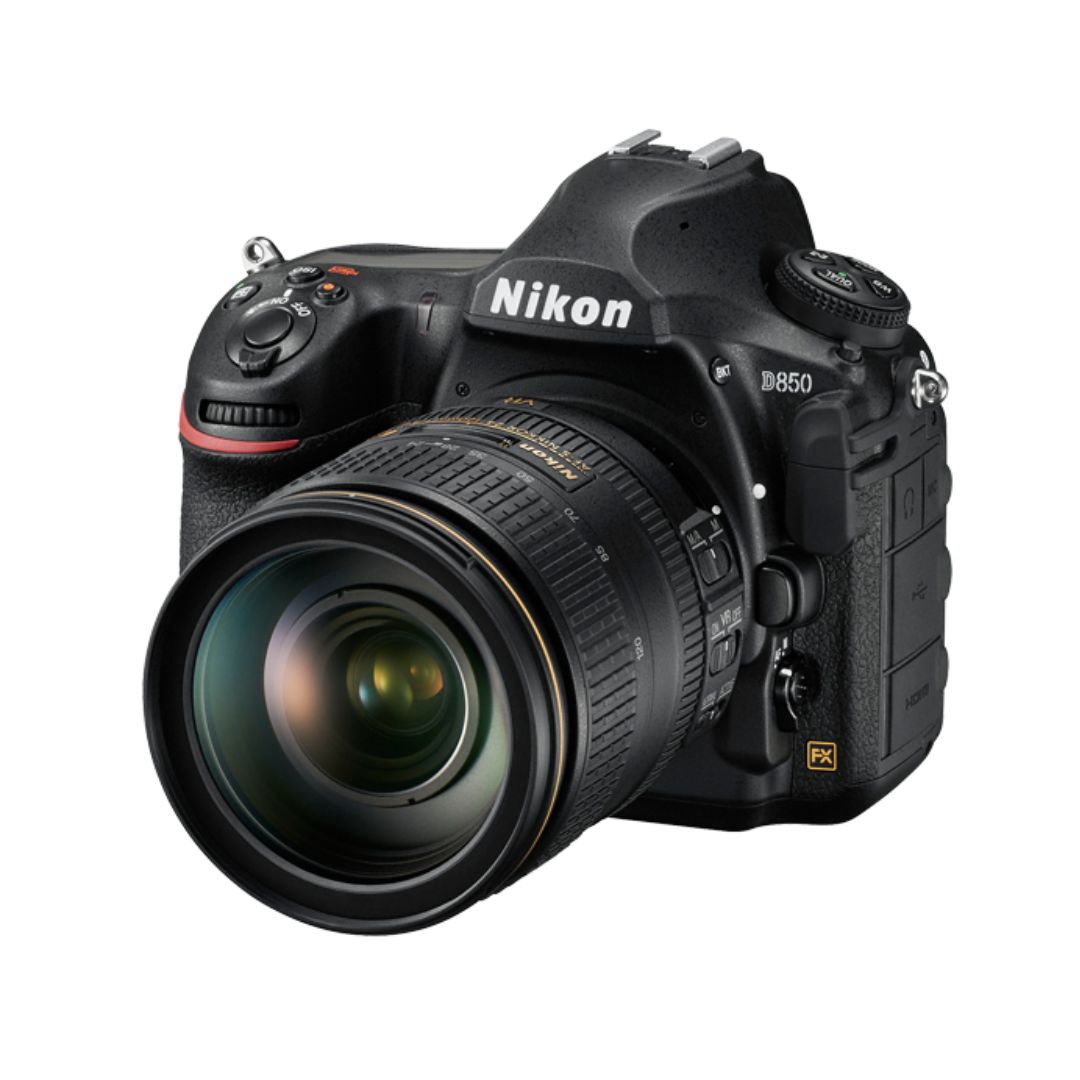
Top Features of Nikon D850 That Make It Ideal for Portfolio Shoots
Sony Alpha a7 IV: The Ultimate Camera for Photography
Explore the Sony Alpha a7 IV in this complete 2025 review. Learn how its pro-level features, real-world performance, and hybrid flexibility make it the ultimate camera for photography across genres like portraits, weddings, travel, and commercial work. Table of Contents Section 1: Introduction – Why the Sony Alpha a7 IV Stands Out The Sony Alpha…
Nikon Z5 Review: Is It Worth It?
In 2025, photographers—whether hobbyists, content creators, or professionals—seek equipment that blends value, performance, and future-readiness. Enter the Nikon Z5, a full-frame mirrorless camera marketed as a gateway to high-end imaging without a flagship price tag. But how well does it hold up under real-world demands like studio shoots, weddings, landscape adventures, and lifestyle photography? In…
Nikon Z9 : Game-Changer for Photography
Discover why the Nikon Z9 is considered a true game-changer for photography. This in-depth Nikon Z9 review explores key features, real-world performance, and how it excels in professional photo shoots in 2025. Table of Contents 1. Introduction The photography world witnessed a significant shift with the launch of the Nikon Z9, a flagship mirrorless camera…
Top Features of Nikon D850 That Make It Ideal for Portfolio Shoots
Discover why the Nikon D850 is the ultimate DSLR for portfolio shoots. Explore its top features—from resolution and dynamic range to autofocus precision and workflow speed—that help photographers create stunning, high-impact images for professional portfolios. Whether you’re a portrait artist, fashion photographer, or visual storyteller, a portfolio shoot demands technical excellence, creative flexibility, and uncompromised…
Candid Moments with Canon EOS R10: Lightweight & Reliable
In the evolving world of mirrorless photography, the Canon EOS R10 stands out as a lightweight yet powerful camera tailored for real-life storytelling. Whether you’re photographing street scenes, family gatherings, weddings, or spontaneous portraits, capturing genuine emotion requires a responsive and discreet tool. This article dives deep into how the Canon EOS R10 excels in…
Bold Portraits with Canon EOS R5: Is It the Best for Work?
Studio photography has always demanded precision, artistry, and impeccable gear. As the expectations for commercial portraits, fashion campaigns, and editorial work continue to rise, the tools we use must evolve. Enter the Canon EOS R5, a camera that has stirred the professional waters with its impressive technical specs and forward-thinking design. In this comprehensive Canon…