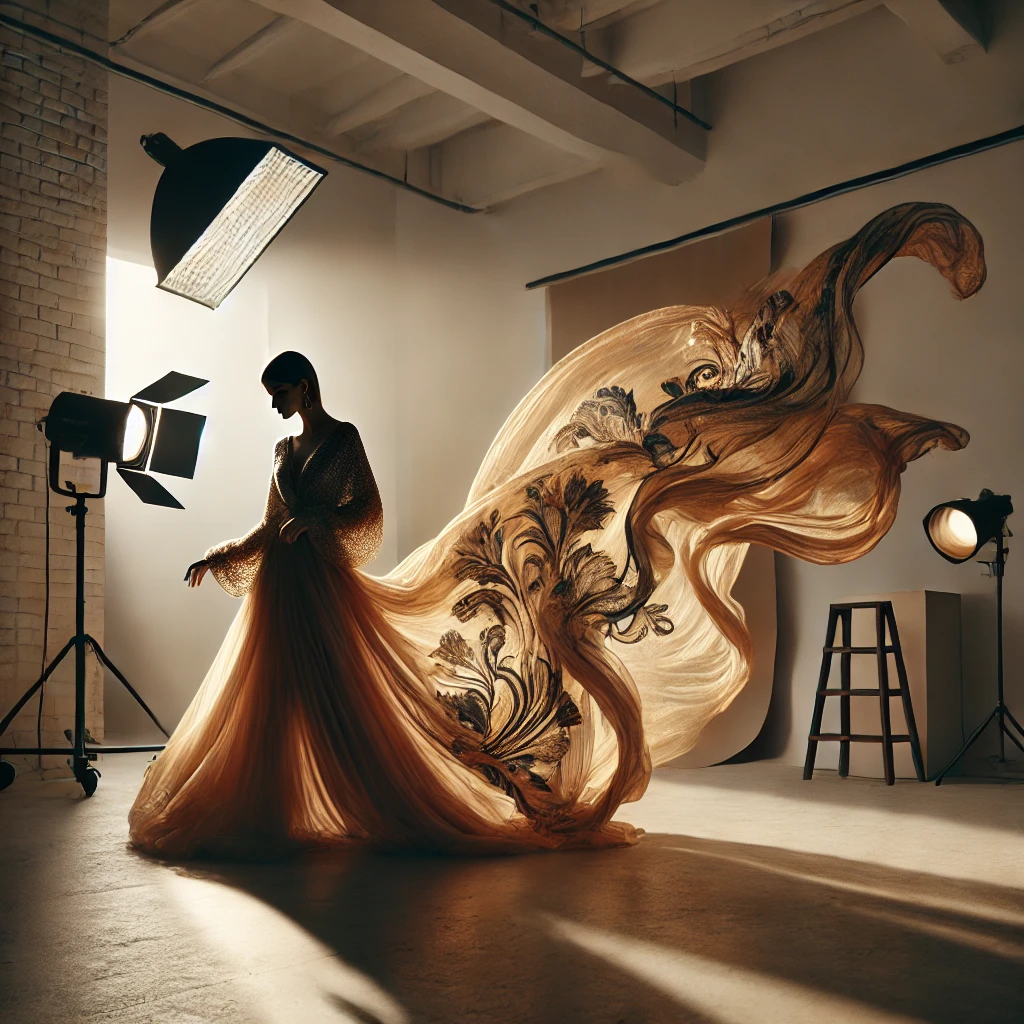
Lighting plays a critical role in photography, especially when working with delicate fabrics like a sarong. The way light interacts with the fabric can transform a simple image into an artistic masterpiece. Whether you are shooting at the beach, poolside, or in a studio, mastering lighting techniques will elevate your sarong photography to an editorial level.
In this guide, we’ll explore the best lighting techniques for capturing the beauty, texture, and movement of a sarong. From soft natural light to dramatic artificial setups, we’ll cover everything you need to know to achieve professional-quality results.
1. Utilizing Natural Light for Sarong Photography
A. Golden Hour: Soft and Flattering Light
The golden hour—shortly after sunrise or before sunset—offers soft, warm light that enhances the delicate movement of a sarong. This light eliminates harsh shadows and creates a dreamy, romantic effect.
Tips:
- Position the subject with the light slightly behind or to the side to create a beautiful glow.
- Use a reflector to bounce light onto the subject’s face and fabric.
- Capture motion by letting the sarong catch the breeze, allowing the sunlight to filter through.
B. Midday Sun: Controlling Harsh Shadows
Bright midday sun can be challenging due to strong contrasts and deep shadows. However, with the right techniques, you can create striking, high-fashion images.
Techniques:
- Use a Diffuser: Soften harsh sunlight by placing a sheer fabric or diffuser between the sun and the subject.
- Find Shade: Position the model under a tree, umbrella, or building for softer lighting.
- Play with Shadows: Use palm leaves or netted fabrics to cast creative patterns on the subject and sarong.
C. Backlighting: Creating a Soft, Ethereal Effect
Backlighting is perfect for sheer sarongs, as it highlights fabric texture and adds depth to the image.
Tips:
- Shoot against the sun for a silhouette effect.
- Increase exposure slightly to brighten shadows without overexposing highlights.
- Allow sunlight to peek through the fabric for an artistic glow.
2. Artificial Lighting Techniques for Sarong Photography
A. Softbox & Diffused Studio Light
Softbox lighting mimics natural light, creating a balanced and flattering effect. This setup works well for indoor sarong photoshoots.
Best Practices:
- Position a large softbox at a 45-degree angle for gentle shadows and highlights.
- Use a fill light or reflector to reduce harsh contrasts.
- Adjust power settings to complement the fabric’s translucency.
B. High-Contrast Fashion Lighting
For a bold, editorial-style look, high-contrast lighting enhances the texture and flow of the sarong.
Setup Ideas:
- Use a single light source with a strong directional beam.
- Position the light at a low angle to create dramatic shadows.
- Experiment with black backdrops for a striking effect.
C. Colored Gels for Artistic Effects
Adding colored gels to artificial lights can transform the mood of sarong photography.
Creative Ideas:
- Use warm gels (orange, gold) for a sun-kissed effect.
- Experiment with cool tones (blue, purple) for a futuristic aesthetic.
- Layer different colors for a unique gradient effect on the fabric.
3. Combining Light and Motion for Dynamic Shots
A. Capturing Flowing Movement
Sarongs are best showcased with movement, and lighting should enhance this.
Best Practices:
- Use a slow shutter speed with controlled lighting to create a soft motion blur.
- Introduce a wind machine or natural breeze for dynamic effects.
- Side lighting emphasizes the flowing texture of the fabric.
B. Silhouette Photography
A sarong’s sheer material creates beautiful silhouette effects when properly lit.
Steps to Achieve:
- Place the model in front of a bright window or artificial backlight.
- Expose for the background to darken the subject while revealing fabric details.
- Adjust contrast and clarity in post-processing for a dramatic look.
4. Essential Gear for Lighting Sarong Photography
To achieve stunning results, the right equipment is essential. Here are some must-haves:
✔ Reflectors: Bounce and control light naturally. ✔ Diffusers: Soften harsh light sources. ✔ Softboxes: Provide controlled studio lighting. ✔ Speedlights/Flashes: Add precision to artificial lighting setups. ✔ Tripod & Remote Shutter: Ensure stability for long exposure shots.
5. Post-Processing for Perfect Lighting Balance
Even with the best lighting techniques, minor adjustments in post-processing can enhance the final image.
Editing Tips:
- Adjust brightness and contrast to refine light balance.
- Use dodge and burn tools to emphasize fabric highlights and shadows.
- Add warmth or cool tones to match the shoot’s aesthetic.
Conclusion
Mastering lighting techniques for sarong photography allows you to capture the elegance, texture, and movement of the fabric. Whether working with natural sunlight or artificial setups, understanding how light interacts with the material can elevate your photos from ordinary to extraordinary. Experiment with different lighting styles, angles, and compositions to create high-fashion, editorial-worthy images.
-
Empowerment Through Boudoir Photography: The Candid Shoot
-

Bold Photography: Creating Powerful & Confident Visual Stories
-
Jaipur’s Favorite Destination for Couple Shoots | The Candid Shoot
-
Bold Shoot Photographer with Studio in Jaipur | The Candid Shoot
-
Empowerment Through Boudoir Photography: The Candid Shoot
Boudoir Photography as Empowerment Boudoir photography has evolved far beyond traditional notions of intimacy or sensuality. Modern boudoir photography is about empowerment, confidence, and self-expression, not merely performing for the camera. At its heart, boudoir photography is a visual dialogue between the subject and themselves, mediated by a professional photographer. It provides a private, safe
-
Jaipur’s Favorite Destination for Couple Shoots | The Candid Shoot
Why Couple Shoots Matter More Than Ever Couple shoots have evolved far beyond posed photographs and forced smiles. Today, couples look for experiences that feel natural, meaningful, and reflective of who they are together. A couple shoot is no longer about perfection. It is about presence, connection, and shared emotion. At The Candid Shoot, we
-
Bold Shoot Photographer with Studio in Jaipur | The Candid Shoot
The phrase “bold shoot photographer” often triggers assumptions—many of them incomplete, outdated, or shaped by stereotypes. In reality, bold photography has evolved far beyond shock value or surface-level aesthetics. Today, bold shoots represent self-expression, body confidence, emotional honesty, and artistic courage. At The Candid Shoot, bold photography is not about exposure—it is about expression. It
-
Styling Tips for Maternity Shoots: Looking Timeless, and Confident
Styling as the Silent Storyteller in Maternity Shoots Maternity shoots are not simply about documenting pregnancy. They are about honoring a season of transformation—physical, emotional, relational, and often spiritual. Styling plays a foundational role in how that transformation appears, feels, and endures through photographs. When people look back at maternity photographs years later, they rarely
-
Mobile Photography Hacks: Candid Moments with Your Phone
Discover high-impact mobile photography hacks to capture genuine, gorgeous candid moments with your phone. Learn practical tips, composition secrets, and pro techniques to turn everyday scenes into stunning visual stories. Introduction: The New Age of Mobile Photography Photography has evolved beyond heavy cameras, technical jargon, and expensive equipment. Today, the power to capture extraordinary moments