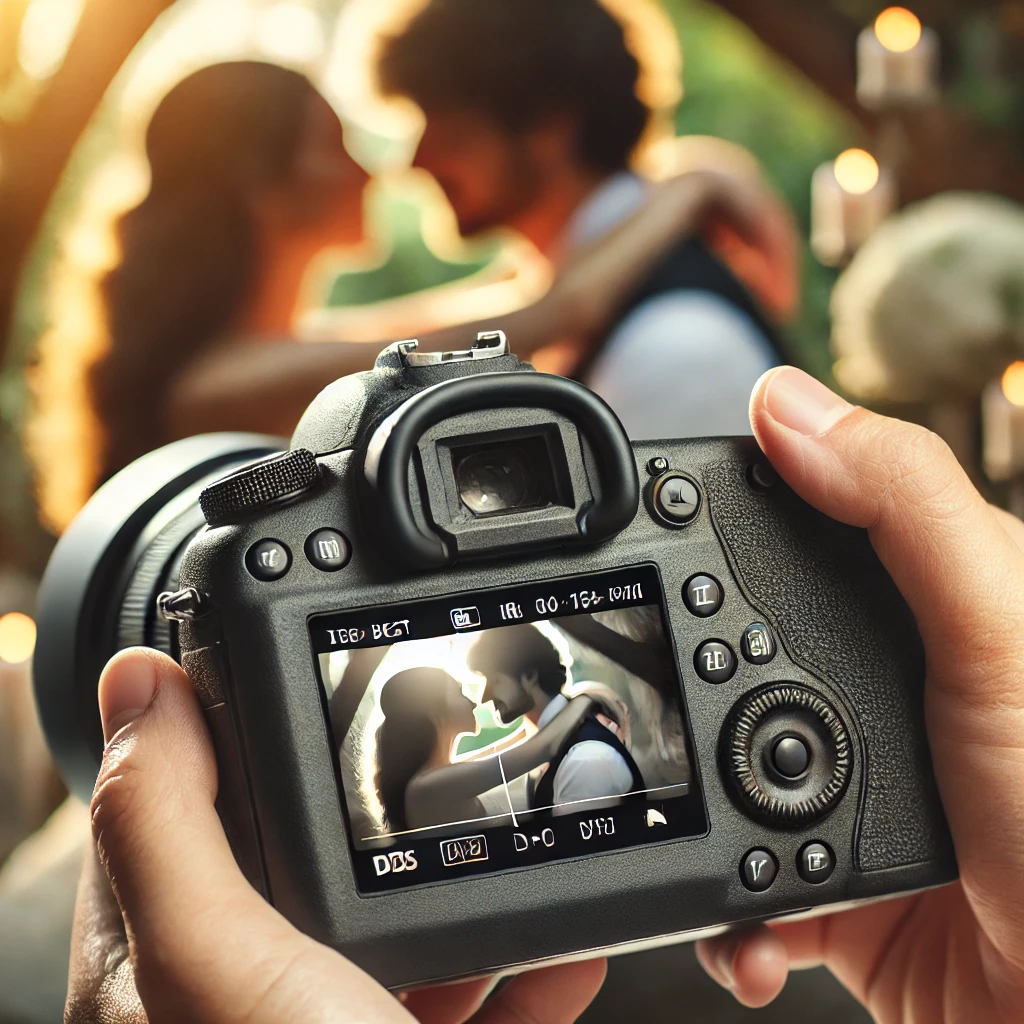
Candid photography captures the authenticity and raw emotions of a moment without posing or staging. Unlike traditional photography, where subjects are aware of the camera, candid shots preserve natural expressions and genuine interactions. However, achieving stunning candid photography requires the right camera settings to balance lighting, focus, and movement. This guide explores the best camera settings for stunning candid photography, helping you capture perfect, spontaneous shots every time.
Understanding Camera Settings for Candid Photography
The key to mastering candid photography lies in adjusting essential camera settings to match different environments, lighting conditions, and subjects. Below are the fundamental settings that contribute to high-quality candid shots.
1. Shooting Mode: Prioritizing Manual or Semi-Automatic Modes
- Aperture Priority (A or Av Mode): Useful for controlling depth of field while allowing the camera to adjust shutter speed.
- Shutter Priority (S or Tv Mode): Ideal for fast-moving subjects, ensuring sharp images with controlled motion blur.
- Manual Mode: Recommended for full control over all settings, allowing precise adjustments in challenging lighting conditions.
2. Aperture Settings: Creating Depth and Focus
- Wide Aperture (f/1.8 – f/4): Blurs the background and isolates the subject, making them stand out.
- Narrow Aperture (f/8 – f/16): Ensures more elements in focus, ideal for group candid shots or street photography.
- Balancing Depth of Field: Adjust the aperture based on subject distance and background distractions.
3. Shutter Speed: Freezing or Blurring Motion
- Fast Shutter Speed (1/250s – 1/1000s): Captures sharp images of fast-moving subjects without motion blur.
- Slow Shutter Speed (1/60s – 1/200s): Suitable for low-light conditions and adding slight motion blur for artistic effect.
- Choosing the Right Speed: Adapt shutter speed based on subject movement and available light.
4. ISO Settings: Managing Light Sensitivity
- Low ISO (100 – 400): Delivers the best image quality in bright lighting conditions.
- Medium ISO (800 – 1600): Ideal for indoor settings with controlled lighting.
- High ISO (3200 – 6400+): Required for low-light scenarios, but be cautious of digital noise.
- ISO Tips: Use auto ISO with a maximum limit to balance exposure without excessive noise.
5. Autofocus vs. Manual Focus: Ensuring Sharpness
- Continuous Autofocus (AF-C/AI Servo): Tracks moving subjects, ensuring sharp focus in action shots.
- Single Autofocus (AF-S/One-Shot AF): Works best for stationary subjects or controlled moments.
- Manual Focus: Effective in low light or when precise focusing is needed.
- Best Practices: Utilize back-button focus for quick adjustments and minimize missed shots.
6. White Balance: Maintaining Natural Colors
- Auto White Balance (AWB): Handles most situations well, adapting to different light sources.
- Daylight, Cloudy, Shade: Useful for outdoor settings to maintain warmth and contrast.
- Custom White Balance: Adjust for artificial lighting to avoid color casts in indoor environments.
- Pro Tip: Use Kelvin settings (e.g., 5200K for daylight) for more control.
7. Metering Mode: Optimizing Exposure
- Evaluative/Matrix Metering: Measures light across the frame, suitable for most candid shots.
- Spot Metering: Focuses on a specific subject, useful in high-contrast scenes.
- Center-Weighted Metering: Prioritizes the center of the frame, ideal for balanced exposure in portraits.
8. Burst Mode: Capturing the Perfect Moment
- Continuous Shooting Mode: Allows multiple frames per second, increasing the chance of capturing the perfect expression.
- Best Use: Essential for fast-paced environments, such as events or street photography.
9. Image Format: RAW vs. JPEG
- RAW Format: Retains maximum detail, allowing advanced post-processing adjustments.
- JPEG Format: Saves space and provides faster processing but with limited editing flexibility.
- Best Choice: Shoot in RAW for professional-quality results, especially in challenging lighting.
Advanced Techniques for Candid Photography
1. Using Natural Light for a Soft, Authentic Look
- Position subjects near windows for diffused light.
- Utilize golden hour (early morning or late afternoon) for warm tones.
- Avoid harsh midday sunlight to reduce overexposure and harsh shadows.
2. Camera Angles and Composition for Candid Shots
- Shoot from different perspectives to add storytelling depth.
- Use the rule of thirds to frame subjects naturally.
- Capture interactions between multiple subjects for a dynamic composition.
3. Blending into the Environment
- Avoid direct eye contact to maintain authenticity.
- Use a telephoto lens to capture intimate moments from a distance.
- Engage with the environment to make subjects feel at ease.
4. Post-Processing for a Natural Aesthetic
- Adjust exposure and contrast to enhance image depth.
- Fine-tune colors to match the mood of the scene.
- Reduce noise in high-ISO images using software like Lightroom.
Conclusion
Mastering camera settings for stunning candid photography requires a balance of technical knowledge and creative intuition. By adjusting aperture, shutter speed, ISO, and autofocus strategically, you can capture authentic, emotionally powerful moments effortlessly. Experiment with different settings, practice in various lighting conditions, and most importantly, stay ready to capture life’s spontaneous beauty.
Implement these techniques and watch your candid photography skills elevate to a professional level.
-
Empowerment Through Boudoir Photography: The Candid Shoot
-
Jaipur’s Favorite Destination for Couple Shoots | The Candid Shoot
-
Bold Shoot Photographer with Studio in Jaipur | The Candid Shoot
-
Empowerment Through Boudoir Photography: The Candid Shoot
Boudoir Photography as Empowerment Boudoir photography has evolved far beyond traditional notions of intimacy or sensuality. Modern boudoir photography is about empowerment, confidence, and self-expression, not merely performing for the camera. At its heart, boudoir photography is a visual dialogue between the subject and themselves, mediated by a professional photographer. It provides a private, safe
-
Jaipur’s Favorite Destination for Couple Shoots | The Candid Shoot
Why Couple Shoots Matter More Than Ever Couple shoots have evolved far beyond posed photographs and forced smiles. Today, couples look for experiences that feel natural, meaningful, and reflective of who they are together. A couple shoot is no longer about perfection. It is about presence, connection, and shared emotion. At The Candid Shoot, we
-
Bold Shoot Photographer with Studio in Jaipur | The Candid Shoot
The phrase “bold shoot photographer” often triggers assumptions—many of them incomplete, outdated, or shaped by stereotypes. In reality, bold photography has evolved far beyond shock value or surface-level aesthetics. Today, bold shoots represent self-expression, body confidence, emotional honesty, and artistic courage. At The Candid Shoot, bold photography is not about exposure—it is about expression. It
-
Styling Tips for Maternity Shoots: Looking Timeless, and Confident
Styling as the Silent Storyteller in Maternity Shoots Maternity shoots are not simply about documenting pregnancy. They are about honoring a season of transformation—physical, emotional, relational, and often spiritual. Styling plays a foundational role in how that transformation appears, feels, and endures through photographs. When people look back at maternity photographs years later, they rarely
-
Mobile Photography Hacks: Candid Moments with Your Phone
Discover high-impact mobile photography hacks to capture genuine, gorgeous candid moments with your phone. Learn practical tips, composition secrets, and pro techniques to turn everyday scenes into stunning visual stories. Introduction: The New Age of Mobile Photography Photography has evolved beyond heavy cameras, technical jargon, and expensive equipment. Today, the power to capture extraordinary moments
