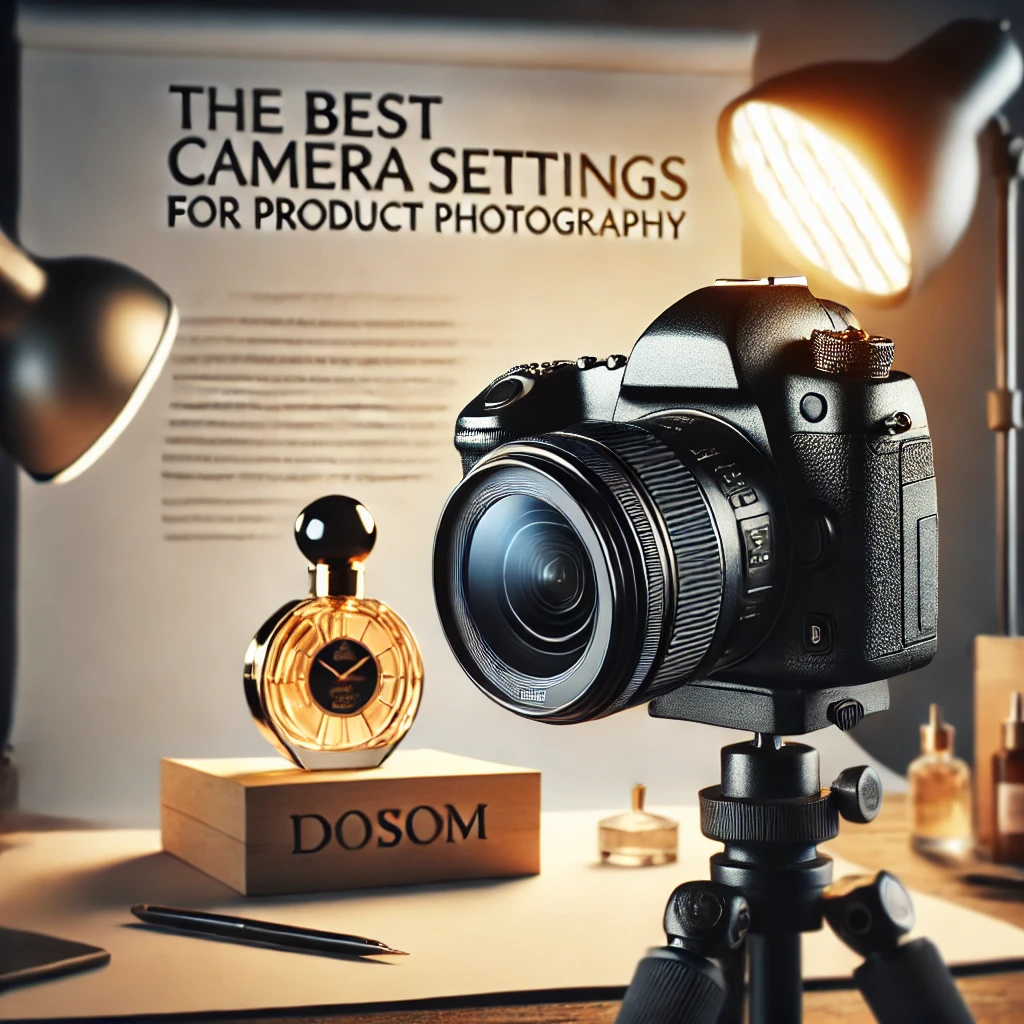
Product photography plays a critical role in e-commerce, marketing, and branding. Whether you’re shooting for a personal online store or a global brand, understanding the right camera settings can transform your images from average to professional. This guide explores the best camera settings for product photography, breaking down technical concepts into practical tips you can apply immediately.
By the end of this guide, you’ll have a clear understanding of how to use aperture, shutter speed, ISO, white balance, and other settings to create stunning, high-resolution product photos.
1. Choosing the Right Camera for Product Photography
Before diving into camera settings, it’s essential to select the right type of camera for product photography.
Best Camera Types
- DSLR Cameras – Excellent for high-quality images, offering interchangeable lenses and manual settings.
- Mirrorless Cameras – Lightweight, fast, and great for studio and on-location photography.
- Smartphone Cameras – Newer flagship models offer impressive image quality but require extra lighting and stabilization.
Recommended Camera Models
- Canon EOS 5D Mark IV (Professional DSLR)
- Sony A7R IV (High-resolution mirrorless camera)
- Nikon Z7 II (Best dynamic range for products)
- iPhone 15 Pro / Samsung Galaxy S23 Ultra (Best smartphone cameras for product photography)
2. The Best Camera Settings for Product Photography
The right settings help you achieve sharp, well-lit, and color-accurate images. Let’s break them down:
Aperture: Controlling Depth of Field
Aperture, measured in f-stops (e.g., f/2.8, f/8, f/16), controls how much light enters the lens.
Recommended Aperture Settings
- f/8 – f/11: Best for sharp focus across the entire product.
- f/2.8 – f/5.6: Suitable for artistic shots where only part of the product is in focus.
- f/16 – f/22: Helps ensure extreme sharpness in macro photography.
Pro Tip: Avoid very small apertures (like f/22) if your camera suffers from diffraction, which can reduce sharpness.
Shutter Speed: Preventing Motion Blur
Shutter speed determines how long your camera’s sensor is exposed to light.
Recommended Shutter Speeds
- 1/125 – 1/200 sec: Ideal for studio photography with a tripod.
- 1/500 sec or faster: Needed for handheld shots to prevent blur.
- 1/60 sec or slower: Only use with a tripod to avoid camera shake.
Pro Tip: If using studio strobes or flash, set the shutter speed to your camera’s sync speed (usually 1/200 or 1/250 sec).
ISO: Balancing Light and Noise
ISO controls how sensitive your camera’s sensor is to light.
Recommended ISO Settings
- ISO 100 – 200: Best for product photography to keep images crisp and noise-free.
- ISO 400 – 800: Use in low-light situations, but beware of grain.
- ISO 1600+: Only use if necessary, as high ISO introduces digital noise.
Pro Tip: Always aim for the lowest ISO possible while keeping the image well-exposed.
3. White Balance: Achieving Accurate Colors
White balance (WB) ensures that colors appear true to life.
Best White Balance Settings for Product Photography
- Auto White Balance (AWB): Works well for most situations.
- Daylight (5500K): Best for natural light.
- Tungsten (3200K): Use when shooting under warm indoor lighting.
- Custom White Balance: Adjust using a gray card for color accuracy.
Pro Tip: If shooting RAW, you can adjust white balance in post-production without loss of quality.
4. Focusing Techniques for Sharp Product Images
Blurry product photos can turn potential customers away. Mastering focus settings ensures high-quality results.
Best Focus Mode for Product Photography
- Single Point Autofocus (AF-S or One-Shot AF): Ideal for still product shots.
- Manual Focus: Best when using a tripod for precision.
Tips for Sharp Focus
- Use Live View: Magnify details to fine-tune focus.
- Use a Tripod: Stabilizes the camera, especially for macro photography.
- Enable Focus Peaking (if available): Highlights sharp areas in real time.
5. Lighting: Enhancing Camera Settings with Proper Illumination
Even with perfect camera settings, poor lighting can ruin product photos.
Best Lighting Types
- Natural Light: Ideal for lifestyle product shots.
- Softbox Lighting: Creates even, shadow-free illumination.
- Ring Lights: Great for small products and beauty shots.
Best Light Setup for Product Photography
- One-Light Setup: A single softbox or window light works for simple shots.
- Two-Light Setup: Key light + fill light for balanced exposure.
- Three-Light Setup: Key light + fill light + backlight for professional depth.
Pro Tip: Use a light diffuser to avoid harsh shadows.
6. Composition and Backgrounds: Enhancing the Product Shot
Beyond settings, composition and background choices affect the appeal of product images.
Best Backgrounds for Product Photography
- White Background: Clean and professional (popular for e-commerce).
- Textured Backgrounds: Add depth and context.
- Colorful Backgrounds: Create branding consistency.
Composition Tips
- Rule of Thirds: Place the product slightly off-center for balance.
- Negative Space: Keep backgrounds uncluttered.
- Reflections & Shadows: Use creatively for added depth.
7. Post-Processing: Editing for the Perfect Product Shot
Even with ideal camera settings, editing enhances the final image.
Essential Edits
- Brightness & Contrast: Adjust for clarity.
- Color Correction: Ensure true-to-life hues.
- Sharpening: Enhances product details.
Recommended Software:
- Adobe Lightroom (Best for color correction)
- Photoshop (For detailed retouching)
- Canva (Simple touch-ups for social media)
Conclusion
Mastering camera settings for product photography transforms ordinary images into stunning, sales-driving assets. By optimizing aperture, shutter speed, ISO, and lighting, you ensure sharp, well-exposed product photos. Pair this knowledge with strong composition and post-processing for a professional finish.
-
Vivo X300 Pro Photography Kit: Next-Gen Mobile Imaging
-

Empowerment Through Boudoir Photography: The Candid Shoot
-

Bold Photography: Creating Powerful & Confident Visual Stories
-

Jaipur’s Favorite Destination for Couple Shoots | The Candid Shoot
-
Vivo X300 Pro Photography Kit: Next-Gen Mobile Imaging
Discover the complete vivo X300 Pro photography kit guide with in-depth camera analysis, real-world case studies, portrait techniques, cinematic workflows, and pro-level tips. Learn how vivo X300 Pro transforms mobile photography for creators, influencers, and studio professionals. The vivo X300 Pro — Redefining Mobile Imaging for Creators Why the vivo X300 Pro Deserves a Dedicated
-
Empowerment Through Boudoir Photography: The Candid Shoot
Boudoir Photography as Empowerment Boudoir photography has evolved far beyond traditional notions of intimacy or sensuality. Modern boudoir photography is about empowerment, confidence, and self-expression, not merely performing for the camera. At its heart, boudoir photography is a visual dialogue between the subject and themselves, mediated by a professional photographer. It provides a private, safe
-
Jaipur’s Favorite Destination for Couple Shoots | The Candid Shoot
Why Couple Shoots Matter More Than Ever Couple shoots have evolved far beyond posed photographs and forced smiles. Today, couples look for experiences that feel natural, meaningful, and reflective of who they are together. A couple shoot is no longer about perfection. It is about presence, connection, and shared emotion. At The Candid Shoot, we
-
Bold Shoot Photographer with Studio in Jaipur | The Candid Shoot
The phrase “bold shoot photographer” often triggers assumptions—many of them incomplete, outdated, or shaped by stereotypes. In reality, bold photography has evolved far beyond shock value or surface-level aesthetics. Today, bold shoots represent self-expression, body confidence, emotional honesty, and artistic courage. At The Candid Shoot, bold photography is not about exposure—it is about expression. It
-
Styling Tips for Maternity Shoots: Looking Timeless, and Confident
Styling as the Silent Storyteller in Maternity Shoots Maternity shoots are not simply about documenting pregnancy. They are about honoring a season of transformation—physical, emotional, relational, and often spiritual. Styling plays a foundational role in how that transformation appears, feels, and endures through photographs. When people look back at maternity photographs years later, they rarely