


Product photography is more than just capturing an item on camera—it’s about showcasing the product in the best light, highlighting its features, and creating an image that will resonate with potential customers. Whether you’re shooting for an online store, catalog, or advertising, mastering product photography can elevate your brand and boost sales. In this guide, we’ll take you through the essential steps to master product photography, from understanding the basics to advanced techniques that will make your images stand out.
1. Understand the Basics: Get to Know Your Gear
Before you start snapping photos, it’s important to get comfortable with your equipment. While professional-grade cameras are great, you can still achieve excellent results with a smartphone or a mid-range camera, as long as you understand how to use them effectively.
Key Equipment:
- Camera: DSLR or mirrorless cameras are ideal for product photography, but a smartphone with a good camera can also work. Make sure your camera allows for manual control over settings like aperture, shutter speed, and ISO.
- Tripod: Stability is crucial for sharp, focused shots. A tripod ensures your camera stays steady, eliminating blurriness caused by hand movement.
- Lenses: For close-up shots, a macro lens is perfect for capturing small details. A standard 50mm lens works well for most products, offering a balanced perspective.
- Lighting: Good lighting is key to mastering product photography. Natural light is great, but softbox lights or LED panels offer more control in low-light situations.
- Backdrop: Simple, neutral backgrounds work best to let the product take center stage. You can use a white sheet, a black cloth, or a professional backdrop.
2. Set Up the Perfect Lighting: Make Your Product Shine
Lighting is the most important element in product photography. Poor lighting can make even the best products look unappealing. The goal is to illuminate the product evenly and highlight its details without harsh shadows or overexposure.
Types of Lighting:
- Natural Light: If you’re shooting during the day, position your product near a large window to take advantage of natural light. It provides soft, flattering illumination that works well for most products.
- Artificial Lighting: If you’re shooting indoors or at night, artificial light becomes essential. Softbox lights are perfect for diffusing light and creating even, shadow-free images. LED panels also provide consistent light and can be adjusted for warmth and intensity.
- Light Modifiers: Use reflectors to bounce light back onto your product and soften shadows. Diffusers are helpful to spread the light evenly across the product, eliminating harsh spots.
3. Composition: Frame the Perfect Shot
Once the lighting is set, it’s time to think about the composition. The way you frame your shot will influence how your audience perceives the product. Consider these tips to create the perfect composition:
Composition Tips:
- Rule of Thirds: Imagine dividing the image into three equal parts horizontally and vertically. Position your product along these lines or at the intersections to create a balanced and visually pleasing image.
- Negative Space: Don’t overcrowd your frame. Negative space (empty areas around the product) can help draw attention to the product itself, making it the focal point of the shot.
- Angles: Experiment with different angles. For example, shooting from above works well for flat lay shots, while side angles can showcase depth and detail. For 3D products, a 45-degree angle can give a dynamic perspective.
4. Background: Choose the Right Backdrop
The background plays a huge role in emphasizing your product. A clean, uncluttered background lets your product stand out, while a busy or distracting background can take away from its appeal.
Background Options:
- Solid Color: White or light-colored backdrops keep the focus on the product and are perfect for online marketplaces. Darker backdrops can make bright products pop, while neutral tones add elegance.
- Textured Backgrounds: Textured or patterned backdrops can add interest to your shots. Just make sure they don’t compete with the product. A wooden surface, a fabric backdrop, or even a stone surface can create a stylish environment.
- Environment: For lifestyle shots, placing the product in a real-world setting can help customers visualize its use. For example, a watch might be photographed on a wrist or a pair of shoes on a floor.
5. Capture Multiple Angles: Show All Features
One angle is rarely enough when showcasing a product. To give your audience a complete view of the item, capture it from multiple perspectives. This is especially important for e-commerce, where customers can’t physically handle the product.
Angles to Consider:
- Front View: The most straightforward shot, showing the product directly facing the camera. This is especially useful for symmetrical products.
- Side View: A side shot reveals the depth of the product and helps highlight its shape.
- Close-Ups: Focus on the small details, like textures, logos, or unique features, to help the customer appreciate the quality and craftsmanship.
- Lifestyle Shots: Showcase the product in use. For example, photograph a coffee mug being held, or a pair of shoes being worn. This helps create an emotional connection with the potential buyer.
6. Post-Processing: Perfect the Image
Post-processing is the final step in mastering product photography. Editing allows you to enhance the details, adjust colors, and ensure the product looks its best.
Post-Processing Tips:
- Color Correction: Adjust the white balance to ensure the product’s colors appear true to life. This is especially important for products that rely on accurate color representation.
- Sharpness: Increase the sharpness of the product to bring out fine details like textures or logos.
- Remove Imperfections: Use editing tools to remove any dust, fingerprints, or other imperfections that may appear in the shot.
- Cropping and Alignment: Make sure the product is properly centered and aligned. Crop any excess background to create a clean, professional image.
7. Test and Experiment: Find What Works for You
As you refine your skills, it’s important to test different techniques and experiment with different setups. Product photography requires creativity and trial-and-error to find what works best for each product type. Always take multiple shots and compare to see which one works best.
Tips for Experimentation:
- Lighting Variations: Try different light angles, diffusers, and reflectors to see how they affect the look of your product.
- Vary the Composition: Test different framing, backgrounds, and angles to determine what works best for showcasing the product.
- Feedback: Don’t hesitate to seek feedback from others. Sometimes a fresh perspective can highlight details you may have missed.
Conclusion
Mastering product photography is a combination of technical skill, creativity, and attention to detail. By understanding your equipment, perfecting your lighting, framing your shots, and applying post-processing techniques, you can create high-quality images that effectively showcase your products. Remember, practice makes perfect—keep experimenting, and soon you’ll be capturing product photos that not only stand out but also drive sales.

Sony Alpha a7 IV: The Ultimate Camera for Photography
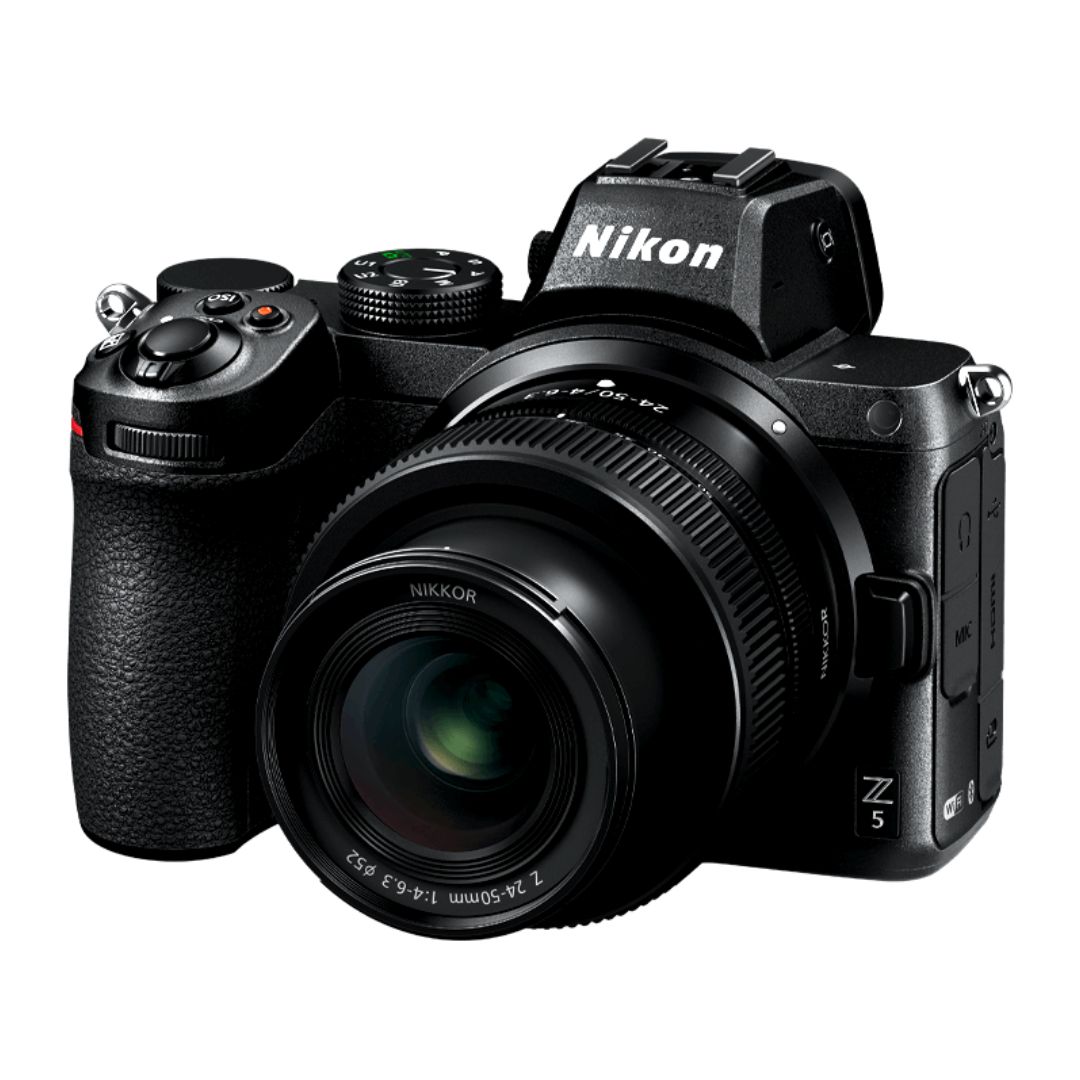
Nikon Z5 Review: Is It Worth It?
-
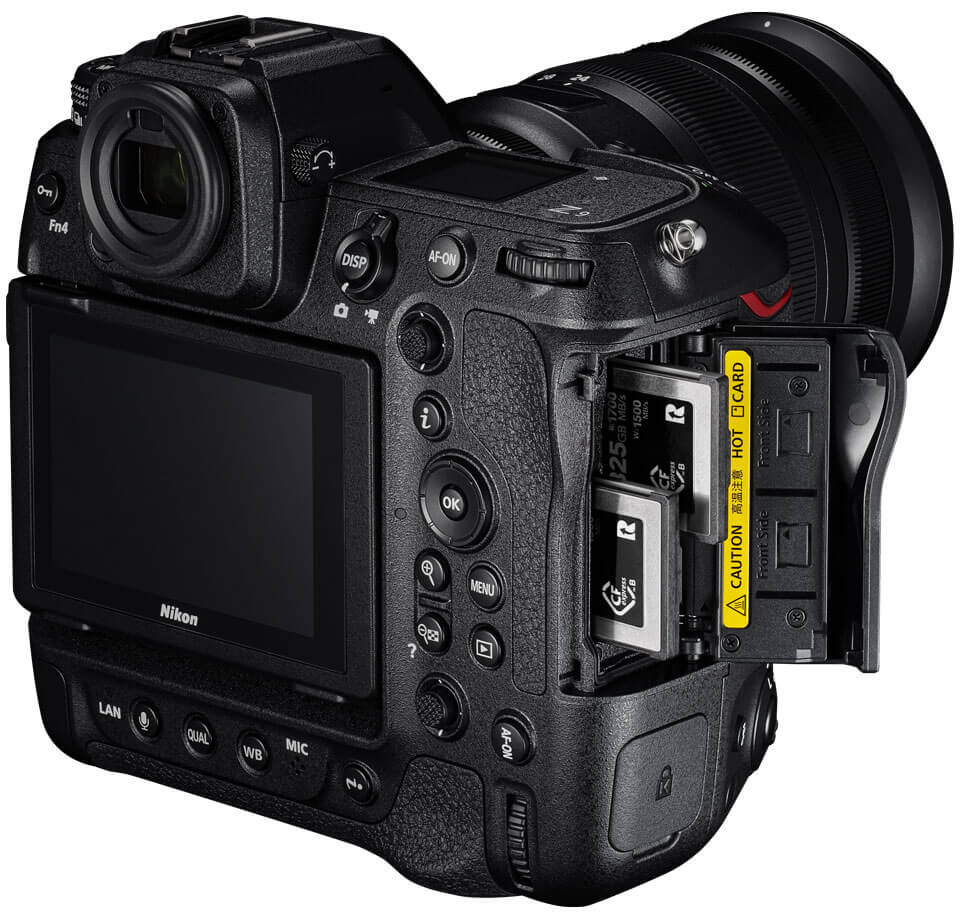
Nikon Z9 : Game-Changer for Photography
-
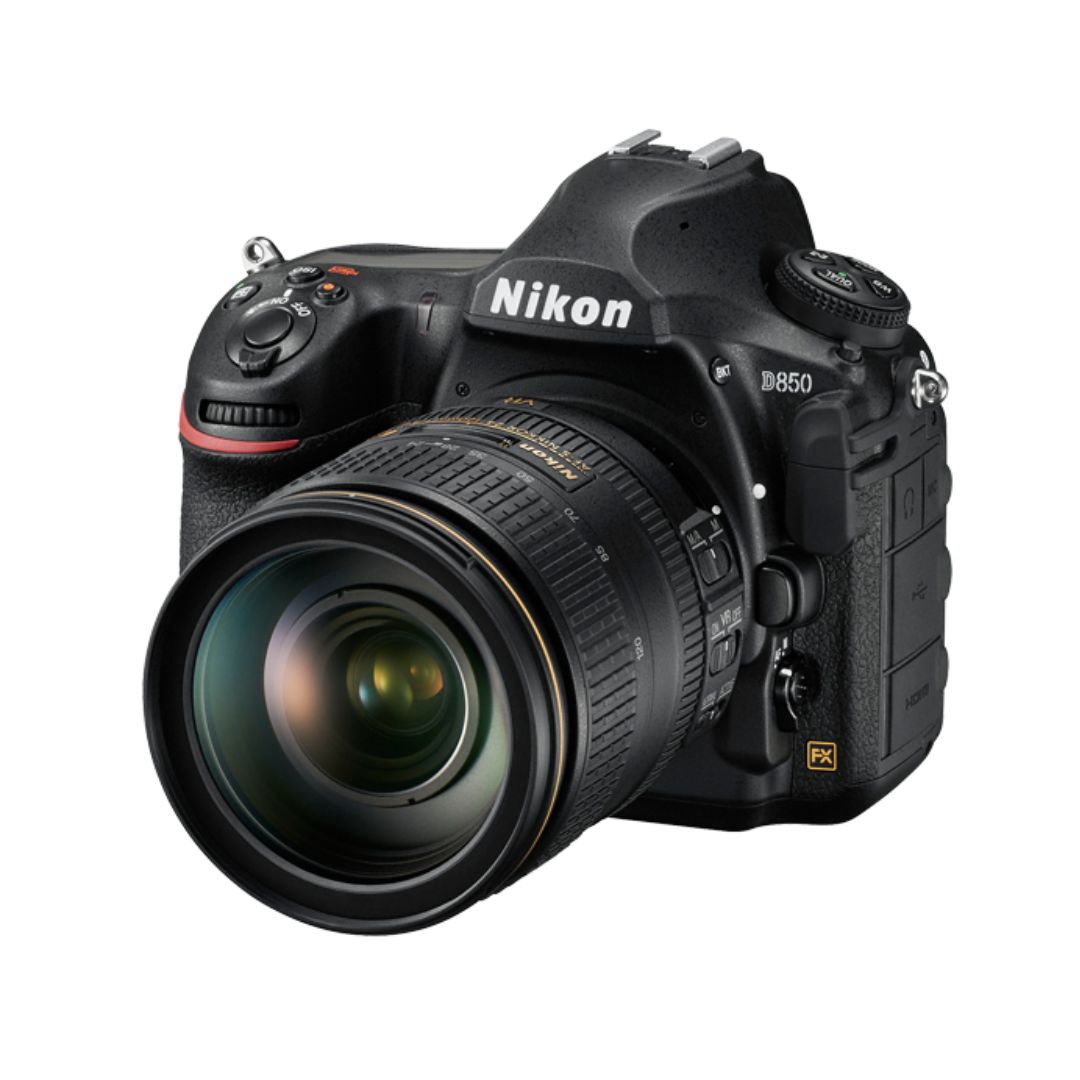
Top Features of Nikon D850 That Make It Ideal for Portfolio Shoots
Sony Alpha a7 IV: The Ultimate Camera for Photography
Explore the Sony Alpha a7 IV in this complete 2025 review. Learn how its pro-level features, real-world performance, and hybrid flexibility make it the ultimate camera for photography across genres like portraits, weddings, travel, and commercial work. Table of Contents Section 1: Introduction – Why the Sony Alpha a7 IV Stands Out The Sony Alpha…
Nikon Z5 Review: Is It Worth It?
In 2025, photographers—whether hobbyists, content creators, or professionals—seek equipment that blends value, performance, and future-readiness. Enter the Nikon Z5, a full-frame mirrorless camera marketed as a gateway to high-end imaging without a flagship price tag. But how well does it hold up under real-world demands like studio shoots, weddings, landscape adventures, and lifestyle photography? In…
Nikon Z9 : Game-Changer for Photography
Discover why the Nikon Z9 is considered a true game-changer for photography. This in-depth Nikon Z9 review explores key features, real-world performance, and how it excels in professional photo shoots in 2025. Table of Contents 1. Introduction The photography world witnessed a significant shift with the launch of the Nikon Z9, a flagship mirrorless camera…
Top Features of Nikon D850 That Make It Ideal for Portfolio Shoots
Discover why the Nikon D850 is the ultimate DSLR for portfolio shoots. Explore its top features—from resolution and dynamic range to autofocus precision and workflow speed—that help photographers create stunning, high-impact images for professional portfolios. Whether you’re a portrait artist, fashion photographer, or visual storyteller, a portfolio shoot demands technical excellence, creative flexibility, and uncompromised…
Candid Moments with Canon EOS R10: Lightweight & Reliable
In the evolving world of mirrorless photography, the Canon EOS R10 stands out as a lightweight yet powerful camera tailored for real-life storytelling. Whether you’re photographing street scenes, family gatherings, weddings, or spontaneous portraits, capturing genuine emotion requires a responsive and discreet tool. This article dives deep into how the Canon EOS R10 excels in…
Bold Portraits with Canon EOS R5: Is It the Best for Work?
Studio photography has always demanded precision, artistry, and impeccable gear. As the expectations for commercial portraits, fashion campaigns, and editorial work continue to rise, the tools we use must evolve. Enter the Canon EOS R5, a camera that has stirred the professional waters with its impressive technical specs and forward-thinking design. In this comprehensive Canon…