

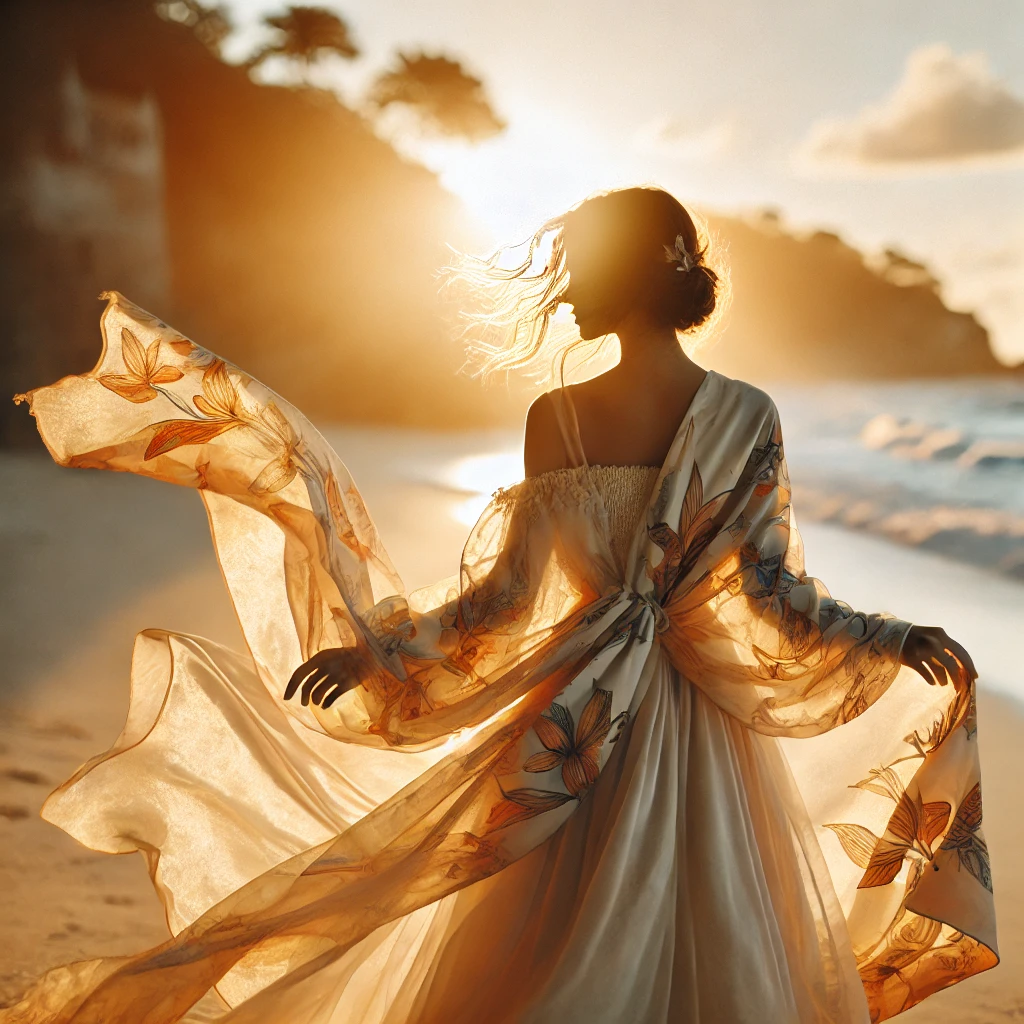
Sarong photography has a distinct, ethereal quality, especially when captured during the golden hour. This magical time, occurring just after sunrise and before sunset, bathes the surroundings in a warm, diffused glow, creating a soft, dreamy effect that enhances the fabric’s fluidity and movement. Whether shooting on a beach, in a meadow, or near water, the golden hour offers an unparalleled opportunity to achieve breathtaking, high-end imagery. This guide explores how to master sarong photography in golden hour lighting, from selecting the right location and angles to optimizing camera settings and directing movement. By following these expert tips, you’ll capture the essence of effortless beauty and natural elegance.
1. Why Golden Hour is Ideal for Sarong Photography
Golden hour provides a natural, flattering light that enhances textures, softens shadows, and adds a warm glow to images. It is especially beneficial for sarong photography because:
- Soft Light Reduces Harsh Shadows: Unlike midday light, which creates strong contrasts, golden hour light is diffused, making the subject and sarong appear softer and more radiant.
- Warm Tones Enhance Mood: The golden hues enrich skin tones and fabric textures, giving the scene an inviting and intimate feel.
- Natural Rim Light Creates Depth: The backlighting effect from the sun at lower angles outlines the subject beautifully, emphasizing movement and elegance.
- Enhanced Fluidity in Fabric: Sarongs flow effortlessly with the wind, and golden hour lighting enhances their transparency and drape, adding to the ethereal quality.
2. Choosing the Best Locations for Sarong Photography in Golden Hour
The right setting is crucial for creating a dreamy effect in sarong photography. Here are some ideal locations that complement golden hour lighting:
A. Beach Settings
- The golden reflection on the water adds a luminous effect.
- Sand dunes create a soft, neutral backdrop for elegant sarong draping.
- Ocean waves enhance movement, making the fabric appear weightless.
B. Fields & Meadows
- Tall grasses catch the golden light, adding texture and depth.
- Wildflowers introduce a natural, romantic element to the composition.
C. Lakesides & Waterfalls
- The shimmering light on still water creates stunning reflections.
- Flowing water can be used creatively for movement-focused shots.
D. Urban Rooftops
- If you prefer a modern take, golden hour on a rooftop provides a unique mix of soft natural light and cityscape contrast.
- The light reflecting off buildings adds a golden hue to the fabric and skin.
3. Camera Settings for Capturing a Dreamy Effect
To maximize the beauty of golden hour light, adjust your camera settings accordingly:
- Shoot in RAW: Preserves more detail and allows for better post-processing adjustments.
- Use a Wide Aperture (f/1.8 – f/4): Creates a beautiful background blur, making the sarong stand out against the glowing backdrop.
- Lower ISO (100–400): Reduces noise and maintains a clean, soft look.
- Adjust White Balance to ‘Cloudy’ or ‘Shade’: Enhances warmth and ensures a natural golden glow.
- Use a Faster Shutter Speed (1/250 – 1/1000s): Captures movement crisply, especially if incorporating wind-blown fabric.
- Experiment with Exposure Compensation (+0.3 to +1.0): Prevents underexposure when shooting directly into the sun.
4. Directing Movement for a Natural, Elegant Look
Sarongs are designed for fluidity, and incorporating movement brings a graceful, editorial quality to the images. Here’s how to achieve the best results:
A. Encourage Natural Movement
- Have the model walk barefoot along the shoreline, letting the sarong catch the wind.
- Use gentle twirls and turns to showcase the fabric’s transparency and layers.
- Allow for spontaneous interactions, like adjusting the sarong mid-motion.
B. Use the Wind Creatively
- Position the model so that the breeze lifts the sarong naturally.
- Have assistants or a portable fan direct airflow for controlled fabric movement.
C. Play with Silhouettes
- Backlight the model so the sarong becomes semi-transparent, creating striking shapes.
- Position the model between the camera and the sun for dreamy, halo-lit effects.
5. Best Posing Techniques for a Breezy Aesthetic
Natural posing enhances the dreamy effect of golden hour sarong photography. Some ideas include:
- Arms Raised & Draped: Creates elongated lines and highlights the sarong’s flow.
- Side Profile with a Gaze Towards the Horizon: Evokes mystery and grace.
- Mid-Step Walks: Introduces dynamic movement and depth.
- Laying on the Sand with Sun-Kissed Highlights: Adds intimacy and softness.
- Holding the Sarong Above the Head, Letting It Billow: Maximizes dramatic movement.
6. Post-Processing for a Dreamy Finish
Editing plays a key role in refining the golden hour effect. Keep these adjustments in mind:
- Enhance Warmth & Glow: Adjust temperature sliders to emphasize golden hues.
- Reduce Harsh Highlights: Prevent overexposed skies by lowering highlights slightly.
- Increase Contrast & Clarity in the Sarong’s Fabric: Ensures texture remains visible.
- Use Soft Focus & Slight Grain: Creates an organic, film-like quality.
- Color Grading with Warm Tones: Blend soft pinks, oranges, and ambers for an extra dreamy touch.
Final Thoughts: Mastering Sarong Photography in Golden Hour
Golden hour is an unparalleled time to create breathtaking sarong photography. The combination of soft light, warm tones, and effortless movement transforms ordinary images into extraordinary works of art. By selecting the perfect location, using strategic camera settings, and directing movement with intention, you can elevate sarong photography into a high-fashion, editorial masterpiece.
Embrace the natural elements, experiment with different angles, and let the golden light sculpt each image beautifully. With patience and creativity, every shot can capture the essence of breezy elegance and timeless allure.

Sony Alpha a7 IV: The Ultimate Camera for Photography
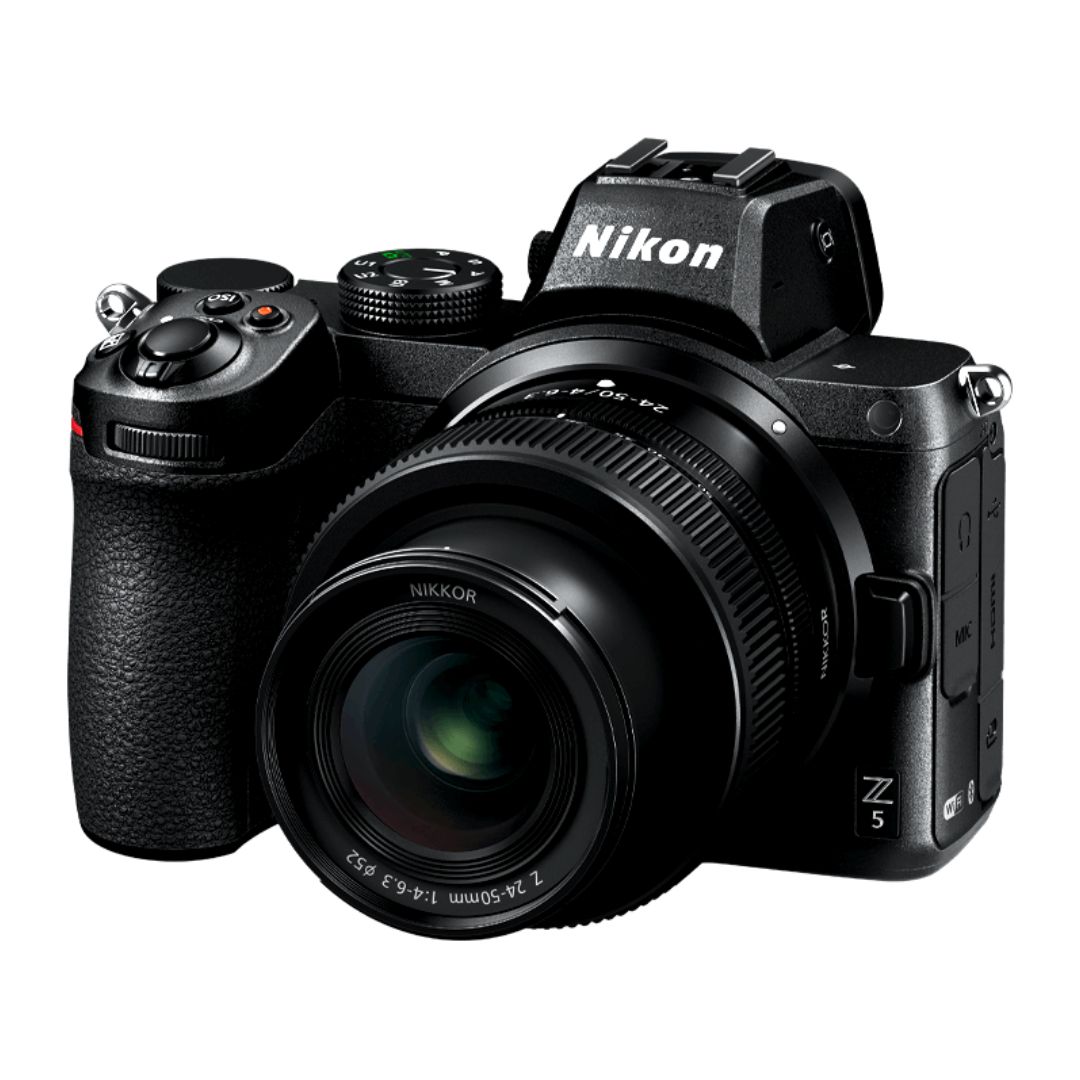
Nikon Z5 Review: Is It Worth It?
-
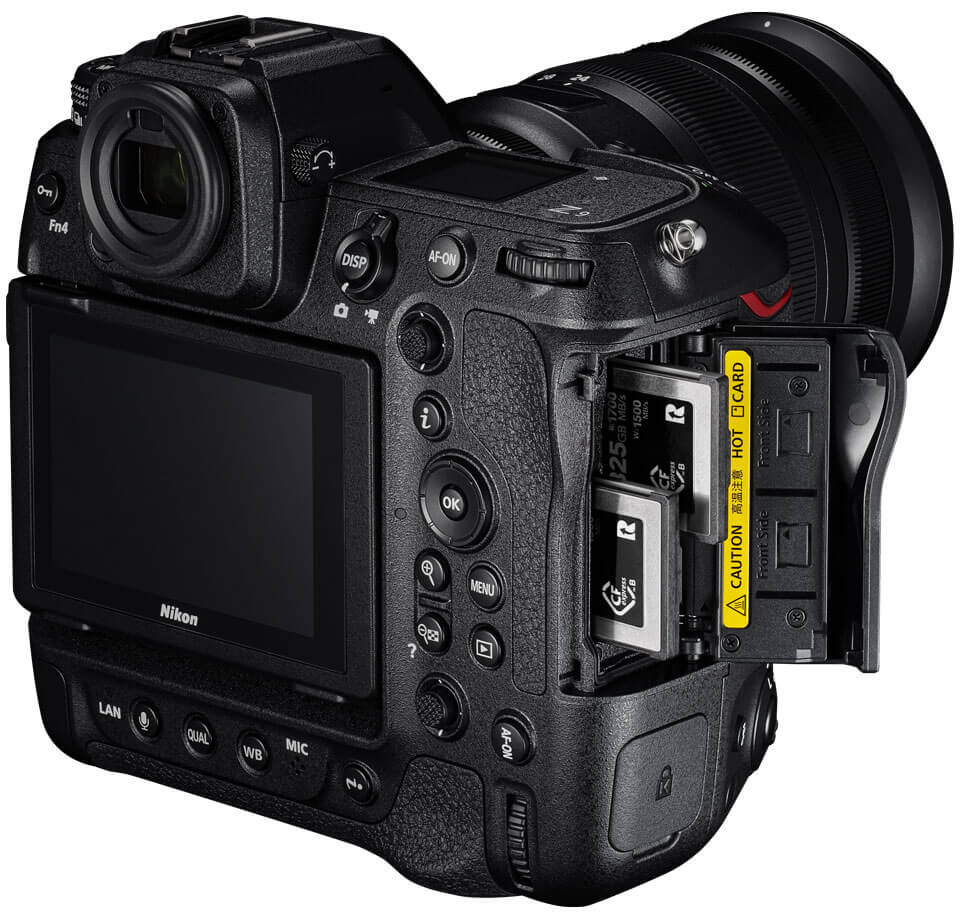
Nikon Z9 : Game-Changer for Photography
-
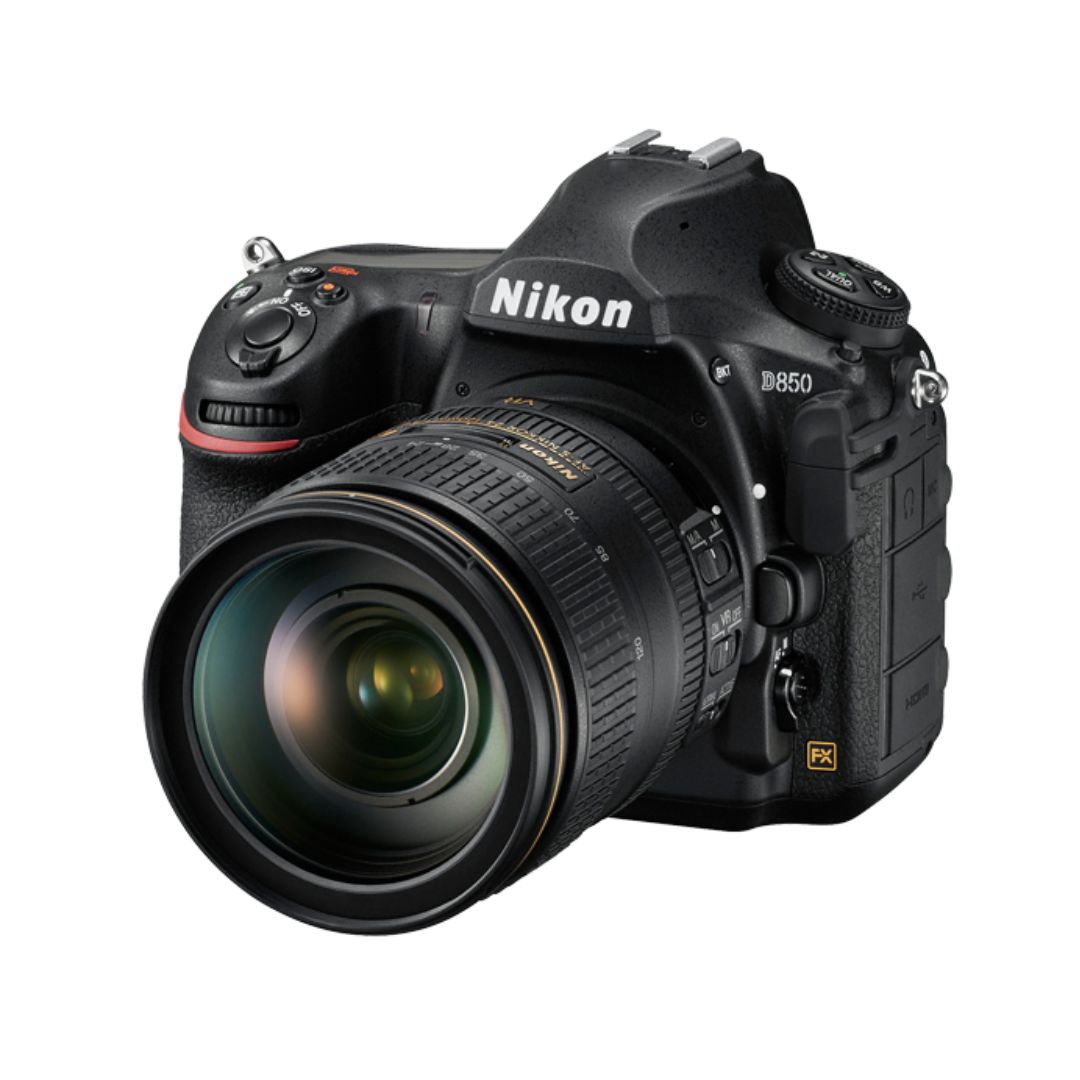
Top Features of Nikon D850 That Make It Ideal for Portfolio Shoots
Sony Alpha a7 IV: The Ultimate Camera for Photography
Explore the Sony Alpha a7 IV in this complete 2025 review. Learn how its pro-level features, real-world performance, and hybrid flexibility make it the ultimate camera for photography across genres like portraits, weddings, travel, and commercial work. Table of Contents Section 1: Introduction – Why the Sony Alpha a7 IV Stands Out The Sony Alpha…
Nikon Z5 Review: Is It Worth It?
In 2025, photographers—whether hobbyists, content creators, or professionals—seek equipment that blends value, performance, and future-readiness. Enter the Nikon Z5, a full-frame mirrorless camera marketed as a gateway to high-end imaging without a flagship price tag. But how well does it hold up under real-world demands like studio shoots, weddings, landscape adventures, and lifestyle photography? In…
Nikon Z9 : Game-Changer for Photography
Discover why the Nikon Z9 is considered a true game-changer for photography. This in-depth Nikon Z9 review explores key features, real-world performance, and how it excels in professional photo shoots in 2025. Table of Contents 1. Introduction The photography world witnessed a significant shift with the launch of the Nikon Z9, a flagship mirrorless camera…
Top Features of Nikon D850 That Make It Ideal for Portfolio Shoots
Discover why the Nikon D850 is the ultimate DSLR for portfolio shoots. Explore its top features—from resolution and dynamic range to autofocus precision and workflow speed—that help photographers create stunning, high-impact images for professional portfolios. Whether you’re a portrait artist, fashion photographer, or visual storyteller, a portfolio shoot demands technical excellence, creative flexibility, and uncompromised…
Candid Moments with Canon EOS R10: Lightweight & Reliable
In the evolving world of mirrorless photography, the Canon EOS R10 stands out as a lightweight yet powerful camera tailored for real-life storytelling. Whether you’re photographing street scenes, family gatherings, weddings, or spontaneous portraits, capturing genuine emotion requires a responsive and discreet tool. This article dives deep into how the Canon EOS R10 excels in…
Bold Portraits with Canon EOS R5: Is It the Best for Work?
Studio photography has always demanded precision, artistry, and impeccable gear. As the expectations for commercial portraits, fashion campaigns, and editorial work continue to rise, the tools we use must evolve. Enter the Canon EOS R5, a camera that has stirred the professional waters with its impressive technical specs and forward-thinking design. In this comprehensive Canon…