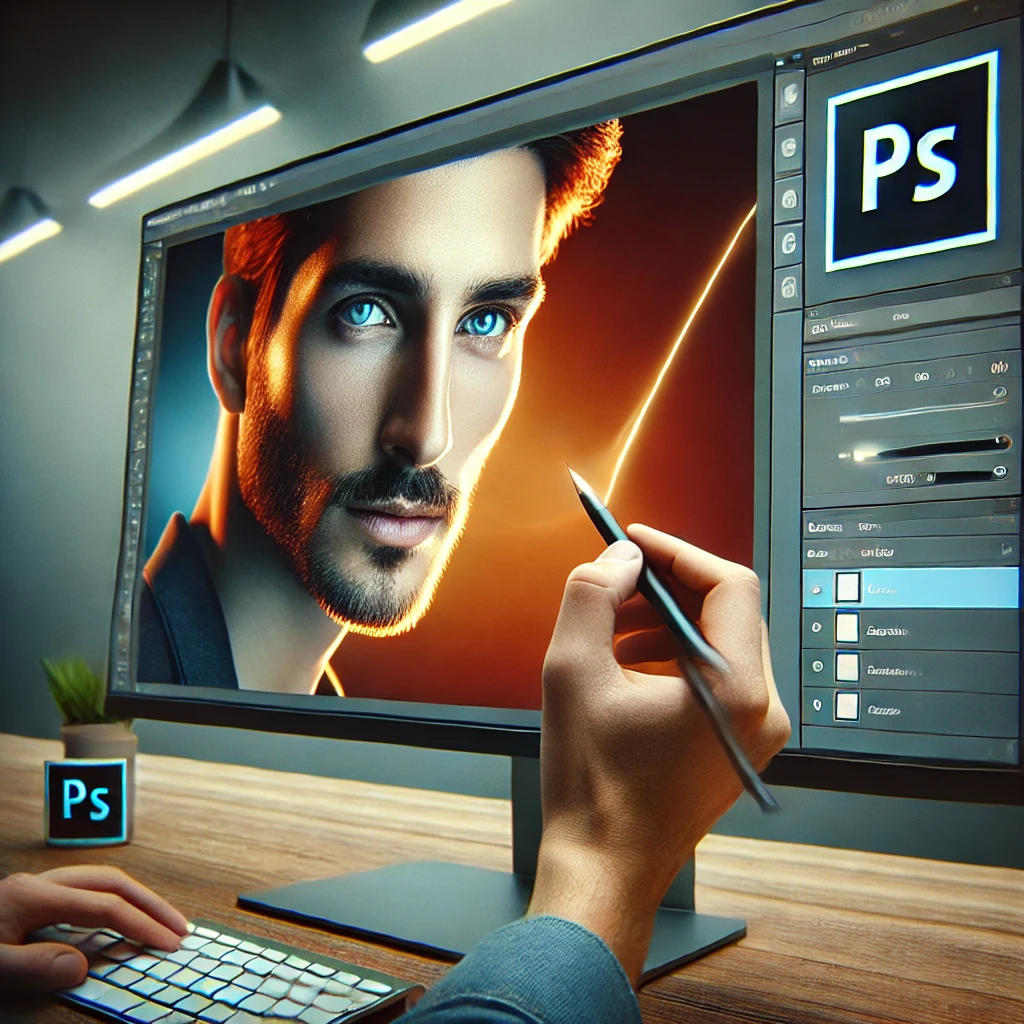
Portrait photography is all about capturing the essence of a person. However, even the best shots often need a bit of post-processing to bring out their full potential. Retouching portraits is an essential skill for photographers and editors, allowing them to refine images while maintaining a natural look. Whether you’re using Photoshop, Lightroom, or AI-based tools, the right editing techniques can transform an ordinary photo into a stunning work of art.
In this comprehensive guide, we will cover:
- Essential tools for retouching portraits
- Skin smoothing without losing texture
- Enhancing eyes, lips, and facial features
- Removing blemishes and imperfections
- Adjusting lighting and color tones
- High-end frequency separation techniques
- Creating a natural look with dodge & burn
- Exporting and saving for different formats
By the end of this guide, you’ll have the knowledge and skills to edit portraits like a pro while preserving a natural and professional finish.
1. Essential Tools for Retouching Portraits
Before diving into editing techniques, it’s important to know the right tools. The most commonly used software for portrait retouching includes:
- Adobe Photoshop – The industry standard for high-end retouching
- Adobe Lightroom – Ideal for batch editing and quick adjustments
- Capture One – Used by professional photographers for color grading
- Luminar AI – AI-powered retouching for fast edits
Each tool has its strengths, but a combination of Photoshop and Lightroom provides the best workflow for high-quality portrait retouching.
2. Skin Retouching: Smoothing & Texture Preservation
Why Skin Retouching Matters
Smooth, even skin is crucial for a polished portrait, but over-editing can result in an unnatural look. The goal is to enhance the subject’s features without making the image look too artificial.
Methods for Skin Retouching:
- Frequency Separation – Separates texture from color/tone for precise retouching
- Dodge & Burn – Enhances skin highlights and shadows for a natural glow
- Healing Brush Tool – Removes blemishes while preserving skin texture
- Gaussian Blur & Layer Masking – Quick but subtle skin softening technique
Step-by-Step Frequency Separation
- Duplicate the image into two layers: Texture and Color/Tone.
- Apply Gaussian Blur to the Color/Tone layer until skin tones blend smoothly.
- Use the High Pass Filter on the Texture layer to restore skin details.
- Use the Clone Stamp tool on the Texture layer to remove imperfections.
- Blend both layers carefully for a natural effect.
3. Enhancing Eyes, Lips, and Facial Features
Eye Enhancement Tips
- Brighten the whites using a Curves adjustment layer
- Sharpen the iris with the Unsharp Mask filter
- Remove redness with the Selective Color tool
Lips & Teeth Editing
- Increase saturation slightly to make lips pop
- Use the Dodge tool to brighten teeth subtly
- Reduce chapped lips with the Healing Brush tool
4. Removing Blemishes & Imperfections
Techniques for Blemish Removal:
- Spot Healing Brush Tool – Quick fixes for minor blemishes
- Patch Tool – Great for removing larger imperfections
- Clone Stamp Tool – Best for matching texture while fixing spots
Pro Tip: Always work on a separate layer to maintain non-destructive editing.
5. Adjusting Lighting & Color Tones
A portrait’s mood is largely affected by lighting and color balance.
Key Adjustments:
- Curves & Levels – Control brightness and contrast
- Color Balance & Hue/Saturation – Adjust skin tones for a flattering look
- Gradient Maps – Create artistic color grading
- LUTs (Look-Up Tables) – Apply professional color styles quickly
6. High-End Retouching with Dodge & Burn
Dodge & Burn is a non-destructive way to enhance light and shadows in portraits.
How to Apply Dodge & Burn:
- Create a New Layer set to Soft Light.
- Use a soft brush at 5-10% opacity.
- Dodge (Brighten) areas like the forehead, cheekbones, and chin.
- Burn (Darken) areas like the jawline and eye sockets.
- Blend for a smooth and natural look.
7. Exporting & Saving for Different Platforms
Each platform has different requirements for image quality and size. Here’s a guide:
- Instagram: 1080x1350px, sRGB, JPEG
- Websites/Blogs: 1920x1080px, 72 DPI, JPEG/PNG
- Print: 300 DPI, TIFF or PNG for maximum quality
Use Export As or Save for Web in Photoshop to optimize your images accordingly.
Conclusion
Mastering retouching portraits requires patience, skill, and the right tools. Whether you’re an aspiring photographer or a seasoned editor, these techniques will help you create stunning, professional-quality portraits. Experiment with different styles and refine your workflow to find what works best for you.
With consistent practice and attention to detail, you can achieve flawless and natural portrait retouching that stands out in today’s digital world.
Would you like a step-by-step video tutorial to go with this guide? Let us know in the comments!

Sony Alpha a7 IV: The Ultimate Camera for Photography

Nikon Z5 Review: Is It Worth It?
-

Nikon Z9 : Game-Changer for Photography
-

Top Features of Nikon D850 That Make It Ideal for Portfolio Shoots
Sony Alpha a7 IV: The Ultimate Camera for Photography
Explore the Sony Alpha a7 IV in this complete 2025 review. Learn how its pro-level features, real-world performance, and hybrid flexibility make it the ultimate camera for photography across genres like portraits, weddings, travel, and commercial work. Table of Contents Section 1: Introduction – Why the Sony Alpha a7 IV Stands Out The Sony Alpha…
Nikon Z5 Review: Is It Worth It?
In 2025, photographers—whether hobbyists, content creators, or professionals—seek equipment that blends value, performance, and future-readiness. Enter the Nikon Z5, a full-frame mirrorless camera marketed as a gateway to high-end imaging without a flagship price tag. But how well does it hold up under real-world demands like studio shoots, weddings, landscape adventures, and lifestyle photography? In…
Nikon Z9 : Game-Changer for Photography
Discover why the Nikon Z9 is considered a true game-changer for photography. This in-depth Nikon Z9 review explores key features, real-world performance, and how it excels in professional photo shoots in 2025. Table of Contents 1. Introduction The photography world witnessed a significant shift with the launch of the Nikon Z9, a flagship mirrorless camera…
Top Features of Nikon D850 That Make It Ideal for Portfolio Shoots
Discover why the Nikon D850 is the ultimate DSLR for portfolio shoots. Explore its top features—from resolution and dynamic range to autofocus precision and workflow speed—that help photographers create stunning, high-impact images for professional portfolios. Whether you’re a portrait artist, fashion photographer, or visual storyteller, a portfolio shoot demands technical excellence, creative flexibility, and uncompromised…
Candid Moments with Canon EOS R10: Lightweight & Reliable
In the evolving world of mirrorless photography, the Canon EOS R10 stands out as a lightweight yet powerful camera tailored for real-life storytelling. Whether you’re photographing street scenes, family gatherings, weddings, or spontaneous portraits, capturing genuine emotion requires a responsive and discreet tool. This article dives deep into how the Canon EOS R10 excels in…
Bold Portraits with Canon EOS R5: Is It the Best for Work?
Studio photography has always demanded precision, artistry, and impeccable gear. As the expectations for commercial portraits, fashion campaigns, and editorial work continue to rise, the tools we use must evolve. Enter the Canon EOS R5, a camera that has stirred the professional waters with its impressive technical specs and forward-thinking design. In this comprehensive Canon…


