

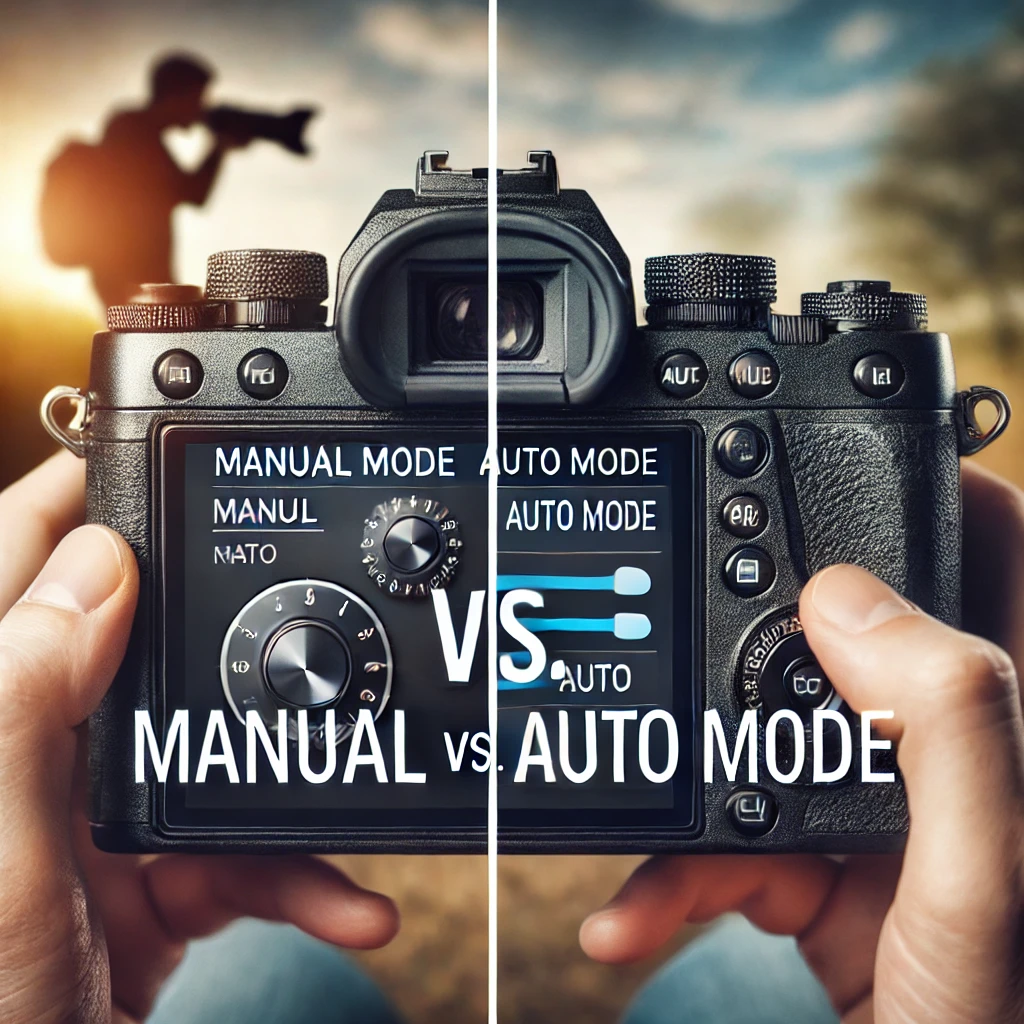
One of the most common dilemmas photographers face is choosing between Manual Mode and Auto Mode on their cameras. While some swear by Manual Mode for its total creative control, others prefer the convenience of Auto Mode, especially when speed is essential. But which one is best for your photography? In this guide, we will explore everything about Manual vs. Auto Mode, including their advantages, disadvantages, and when to use each. By the end of this article, you’ll have a clear understanding of which mode suits your style and needs the most.
Table of Contents
- What Are Manual and Auto Modes?
- Understanding Camera Settings in Both Modes
- Manual Mode: Pros, Cons & Best Use Cases
- Auto Mode: Pros, Cons & Best Use Cases
- Manual vs. Auto Mode for Different Photography Styles
- Learning to Transition from Auto to Manual Mode
- Tips for Mastering Manual Mode
- When Auto Mode Can Be Your Best Friend
- Common Myths About Manual vs. Auto Mode
- Conclusion: Which One Should You Use?
1. What Are Manual and Auto Modes?
Before we dive into the pros and cons, let’s break down Manual and Auto Modes:
Manual Mode (M)
Manual Mode gives photographers complete control over camera settings. You adjust the shutter speed, aperture, and ISO yourself to achieve the desired exposure and creative effects.
Auto Mode
Auto Mode is designed for convenience. The camera automatically selects the best settings based on lighting conditions, scene composition, and motion detection.
2. Understanding Camera Settings in Both Modes
Exposure Triangle in Manual Mode
To master Manual Mode, you need to understand the three key settings that determine exposure:
- Aperture (f/stop): Controls depth of field (background blur or sharpness).
- Shutter Speed: Controls motion blur or freeze action.
- ISO: Determines brightness and noise level in the image.
How Auto Mode Works
In Auto Mode, the camera analyzes the scene and adjusts the settings based on its built-in metering system. While this is helpful for quick shots, it may not always achieve the desired artistic look.
3. Manual Mode: Pros, Cons & Best Use Cases
Pros of Manual Mode:
✅ Total creative control over exposure and composition.
✅ Perfect exposure in tricky lighting situations.
✅ Intentional motion control for long exposures or action shots.
✅ Ideal for professional and artistic photography.
Cons of Manual Mode:
❌ Requires a learning curve and understanding of exposure settings.
❌ Slower adjustments in fast-moving environments.
❌ Not ideal for quick, on-the-go photography.
Best Use Cases for Manual Mode:
- Portrait Photography: Allows control over background blur and lighting.
- Night Photography: Helps achieve long exposure shots.
- Astrophotography: Captures stars and celestial objects effectively.
- Studio Photography: Works best with controlled lighting setups.
4. Auto Mode: Pros, Cons & Best Use Cases
Pros of Auto Mode:
✅ Quick and easy to use—perfect for beginners.
✅ Great for unpredictable or fast-moving scenes.
✅ Automatically adjusts settings for different lighting conditions.
✅ Allows photographers to focus on composition rather than settings.
Cons of Auto Mode:
❌ Less creative control over settings.
❌ May not expose images correctly in challenging lighting conditions.
❌ Can use higher ISO, causing more noise.
Best Use Cases for Auto Mode:
- Street Photography: Captures candid moments quickly.
- Event Photography: Helps in unpredictable lighting conditions.
- Travel Photography: Ideal for shooting on the go.
5. Manual vs. Auto Mode for Different Photography Styles
| Photography Style | Best Mode to Use |
|---|---|
| Landscape Photography | Manual Mode |
| Wedding Photography | Manual (with Auto-Focus) |
| Wildlife Photography | Auto Mode (Quick Adaptability) |
| Sports Photography | Auto Mode (Fast Shutter Speeds) |
| Astrophotography | Manual Mode |
| Macro Photography | Manual Mode |
| Travel Photography | A Mix of Both |
6. Learning to Transition from Auto to Manual Mode
Want to shift from Auto to Manual Mode? Follow these steps:
- Start with Semi-Auto Modes like Aperture Priority (A/Av) or Shutter Priority (S/Tv).
- Practice in controlled environments to understand how settings affect exposure.
- Experiment with different lighting conditions to improve adaptability.
7. Tips for Mastering Manual Mode
- Use a light meter to measure exposure accurately.
- Start with Auto ISO while manually adjusting aperture and shutter speed.
- Keep a settings cheat sheet for different scenarios.
- Practice regularly in various conditions.
8. When Auto Mode Can Be Your Best Friend
Even professionals use Auto Mode in certain cases:
- Fast-moving action shots (e.g., sports photography).
- Quick travel snaps where manual adjustments take too long.
- Learning a new camera to understand its capabilities before switching to Manual Mode.
9. Common Myths About Manual vs. Auto Mode
❌ Myth 1: Manual Mode is Always Better
✔ Truth: Auto Mode is useful in fast-paced scenarios.
❌ Myth 2: Professional Photographers Never Use Auto Mode
✔ Truth: Even pros use Auto or Semi-Auto Modes when necessary.
❌ Myth 3: Auto Mode Always Gives Bad Photos
✔ Truth: Modern cameras have advanced Auto Modes that produce great results.
10. Conclusion: Which One Should You Use?
Choose Manual Mode if:
✔ You want full creative control.
✔ You shoot in complex lighting conditions.
✔ You prefer custom creative effects.
Choose Auto Mode if:
✔ You need quick and convenient shots.
✔ You’re new to photography.
✔ You’re in a fast-paced shooting environment.
Final Thought:
Whether you use Manual Mode or Auto Mode, the key is understanding both and using them strategically to get the best results.

Sony Alpha a7 IV: The Ultimate Camera for Photography
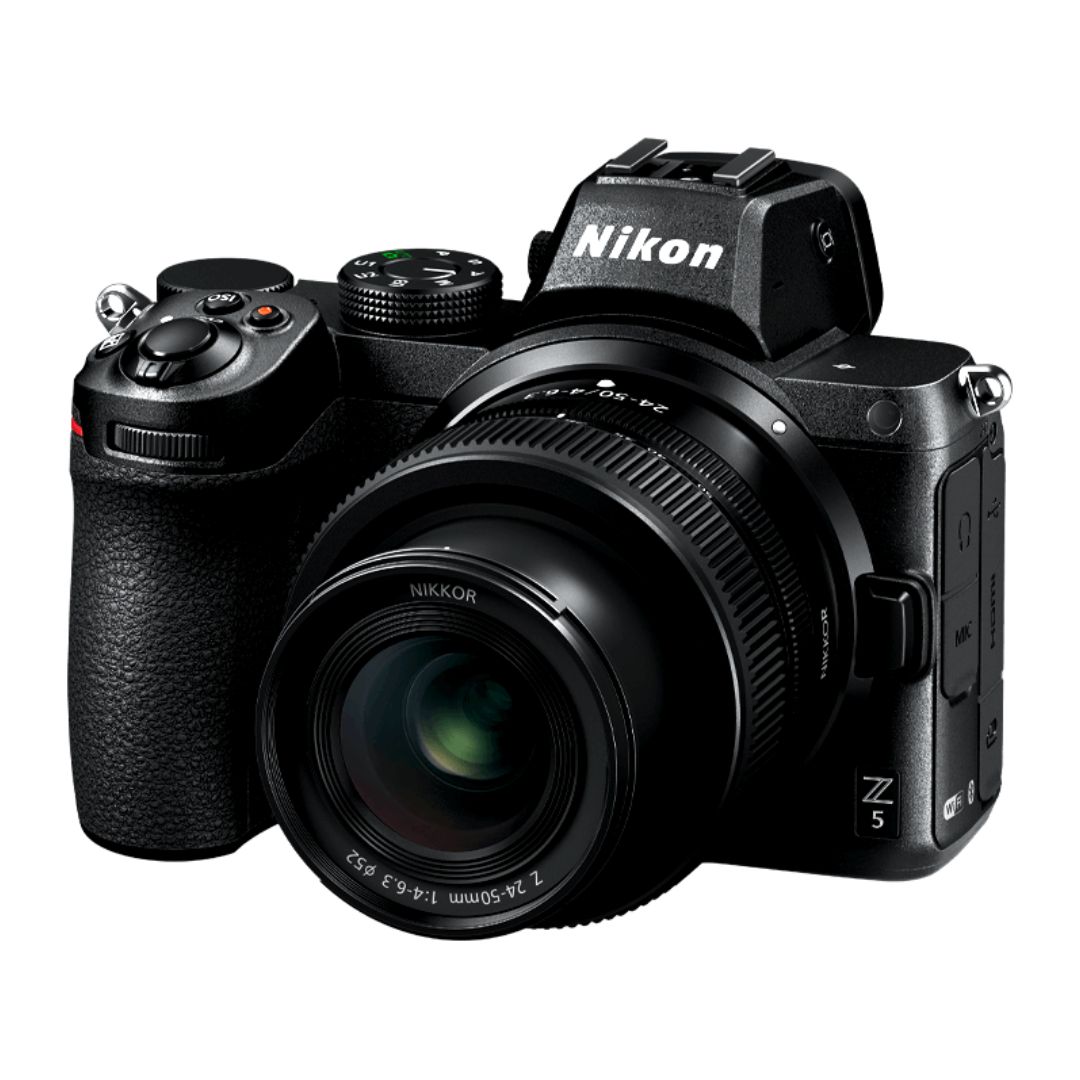
Nikon Z5 Review: Is It Worth It?
-
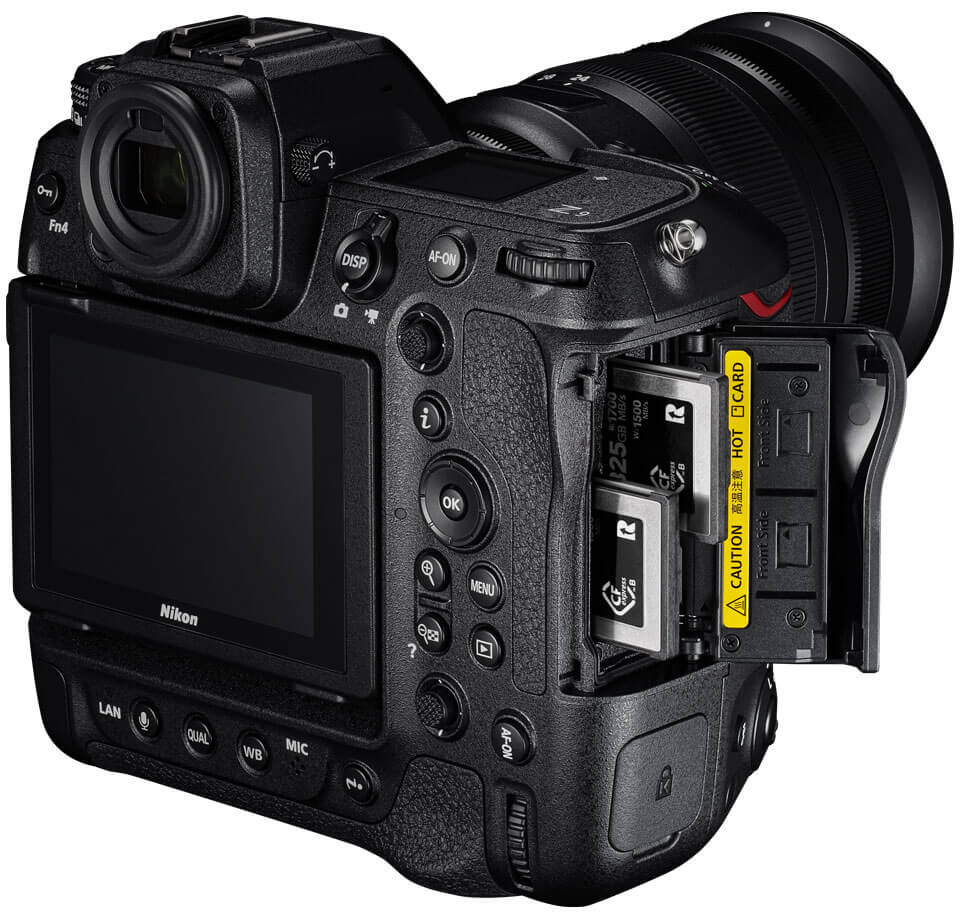
Nikon Z9 : Game-Changer for Photography
-
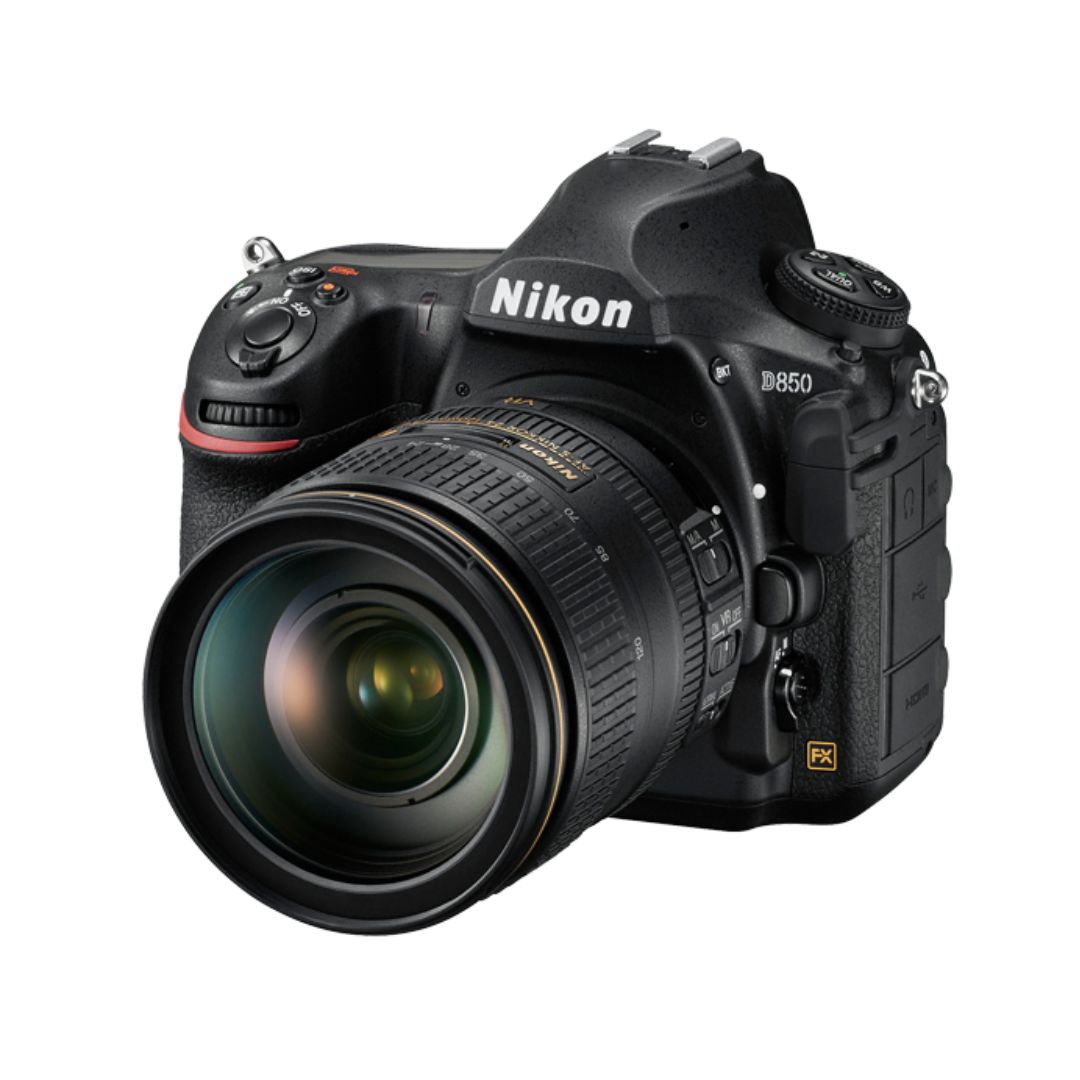
Top Features of Nikon D850 That Make It Ideal for Portfolio Shoots
Sony Alpha a7 IV: The Ultimate Camera for Photography
Explore the Sony Alpha a7 IV in this complete 2025 review. Learn how its pro-level features, real-world performance, and hybrid flexibility make it the ultimate camera for photography across genres like portraits, weddings, travel, and commercial work. Table of Contents Section 1: Introduction – Why the Sony Alpha a7 IV Stands Out The Sony Alpha…
Nikon Z5 Review: Is It Worth It?
In 2025, photographers—whether hobbyists, content creators, or professionals—seek equipment that blends value, performance, and future-readiness. Enter the Nikon Z5, a full-frame mirrorless camera marketed as a gateway to high-end imaging without a flagship price tag. But how well does it hold up under real-world demands like studio shoots, weddings, landscape adventures, and lifestyle photography? In…
Nikon Z9 : Game-Changer for Photography
Discover why the Nikon Z9 is considered a true game-changer for photography. This in-depth Nikon Z9 review explores key features, real-world performance, and how it excels in professional photo shoots in 2025. Table of Contents 1. Introduction The photography world witnessed a significant shift with the launch of the Nikon Z9, a flagship mirrorless camera…
Top Features of Nikon D850 That Make It Ideal for Portfolio Shoots
Discover why the Nikon D850 is the ultimate DSLR for portfolio shoots. Explore its top features—from resolution and dynamic range to autofocus precision and workflow speed—that help photographers create stunning, high-impact images for professional portfolios. Whether you’re a portrait artist, fashion photographer, or visual storyteller, a portfolio shoot demands technical excellence, creative flexibility, and uncompromised…
Candid Moments with Canon EOS R10: Lightweight & Reliable
In the evolving world of mirrorless photography, the Canon EOS R10 stands out as a lightweight yet powerful camera tailored for real-life storytelling. Whether you’re photographing street scenes, family gatherings, weddings, or spontaneous portraits, capturing genuine emotion requires a responsive and discreet tool. This article dives deep into how the Canon EOS R10 excels in…
Bold Portraits with Canon EOS R5: Is It the Best for Work?
Studio photography has always demanded precision, artistry, and impeccable gear. As the expectations for commercial portraits, fashion campaigns, and editorial work continue to rise, the tools we use must evolve. Enter the Canon EOS R5, a camera that has stirred the professional waters with its impressive technical specs and forward-thinking design. In this comprehensive Canon…
1 comment