


In the world of eCommerce and product marketing, high-quality imagery is crucial for attracting customers. Blurry, dark, or unprofessional images can make even the best products look unappealing. Enter Lightbox Photography—a game-changing technique that allows photographers to create crisp, clean, and professional-looking product shots with ease.
This guide will walk you through the essentials of Lightbox Photography, covering everything from setting up your equipment to refining your final images. Whether you’re a beginner or an experienced photographer, mastering this technique will elevate your product photography game.
What is Lightbox Photography?
Lightbox Photography involves using a small, enclosed photography box with diffused lighting to create shadow-free and evenly lit product images. A lightbox, also known as a photo tent or light tent, eliminates harsh reflections, making it perfect for photographing small to medium-sized objects like jewelry, cosmetics, gadgets, and food.
Why Use a Lightbox?
- Even Lighting – Soft, diffused lighting eliminates shadows and highlights product details.
- Controlled Environment – Reduces external light interference and reflections.
- Consistent Backgrounds – Ensures clean, uniform backgrounds for professional product images.
- Minimal Post-Processing – Requires less editing due to well-balanced lighting.
Choosing the Right Lightbox for Product Photography
Selecting the right lightbox depends on product size, lighting options, and portability. Consider the following factors before making a purchase:
1. Size & Dimensions
- Small (12×12 inches): Ideal for jewelry, accessories, and small gadgets.
- Medium (16×16 inches): Suitable for cosmetics, footwear, and small kitchen appliances.
- Large (24×24 inches and above): Perfect for handbags, larger gadgets, and bulkier products.
2. Built-in vs. External Lighting
- Built-in LED Lightboxes: Convenient for beginners, providing consistent lighting.
- External Lighting Setup: Allows more flexibility in adjusting brightness and positioning.
3. Portability & Storage
- Foldable or collapsible lightboxes are great for home studios with limited space.
4. Background Options
- Ensure the lightbox comes with multiple interchangeable backgrounds (white, black, gray, or textured) for versatile photography styles.
Essential Equipment for Lightbox Photography
1. Camera & Lens
- DSLR or Mirrorless Cameras (e.g., Canon EOS R5, Sony A7 IV, Nikon Z6 II)
- Prime Lens (50mm or 100mm Macro) for sharp details
- Zoom Lens (24-70mm) for flexibility
2. Tripod
- A sturdy tripod prevents camera shake and ensures consistency across shots.
3. Lighting
- LED Light Panels with adjustable brightness and color temperature.
- Ring Lights for uniform lighting.
4. Reflectors & Diffusers
- Helps control and soften harsh lighting for a professional look.
Setting Up Your Lightbox for Perfect Product Shots
1. Position the Lightbox
- Place it on a stable surface with enough room to adjust lighting angles.
2. Set Up Lighting
- Use two light sources (left & right) for even illumination.
- Adjust intensity and position to eliminate unwanted reflections.
3. Choose the Right Background
- White for a clean, minimalistic look.
- Black for a luxurious and dramatic effect.
- Colored or textured backgrounds to match branding aesthetics.
4. Position the Product Correctly
- Center the product in the lightbox.
- Use props if needed for elevation or rotation.
Best Camera Settings for Lightbox Photography
Getting the right camera settings is crucial for capturing sharp, high-quality product shots.
Recommended Camera Settings:
- ISO: 100-200 (for minimal noise)
- Aperture: f/8 to f/11 (ensures deep depth of field)
- Shutter Speed: 1/125s – 1/200s (prevents motion blur)
- White Balance: Adjust manually or use Auto WB
- Focus Mode: Manual focus for precise sharpness
Editing & Post-Processing Techniques
Even with perfect lighting, minor adjustments in post-processing can enhance image quality.
Editing Tools:
- Adobe Lightroom & Photoshop for color correction, exposure balance, and background cleanup.
- Remove Background Tools (e.g., Canva, Remove.bg) for clean, isolated product images.
- Sharpening & Noise Reduction to improve clarity.
Essential Editing Steps:
- Adjust brightness, contrast, and exposure.
- Fine-tune color accuracy using white balance tools.
- Remove imperfections and enhance product texture.
- Export images in high resolution (300 DPI) for eCommerce use.
Common Lightbox Photography Mistakes & How to Fix Them
1. Uneven Lighting
- Solution: Adjust light angles or add extra diffusers.
2. Harsh Shadows
- Solution: Increase light diffusion or reposition the product.
3. Reflections on Glossy Products
- Solution: Use polarizing filters or shift light angles.
4. Blurry Images
- Solution: Always use a tripod and manual focus for sharp results.
Conclusion: Mastering Lightbox Photography for Stunning Product Images
Mastering Lightbox Photography transforms your product shots into professional, high-converting images. With the right setup, camera settings, and post-processing techniques, you can achieve crisp, clean, and captivating visuals that enhance your brand’s credibility.
Whether you’re a small business owner, eCommerce seller, or photography enthusiast, incorporating a lightbox into your workflow will elevate your product photography game. Experiment with different lighting, backgrounds, and editing styles to create eye-catching visuals that stand out online.

Sony Alpha a7 IV: The Ultimate Camera for Photography
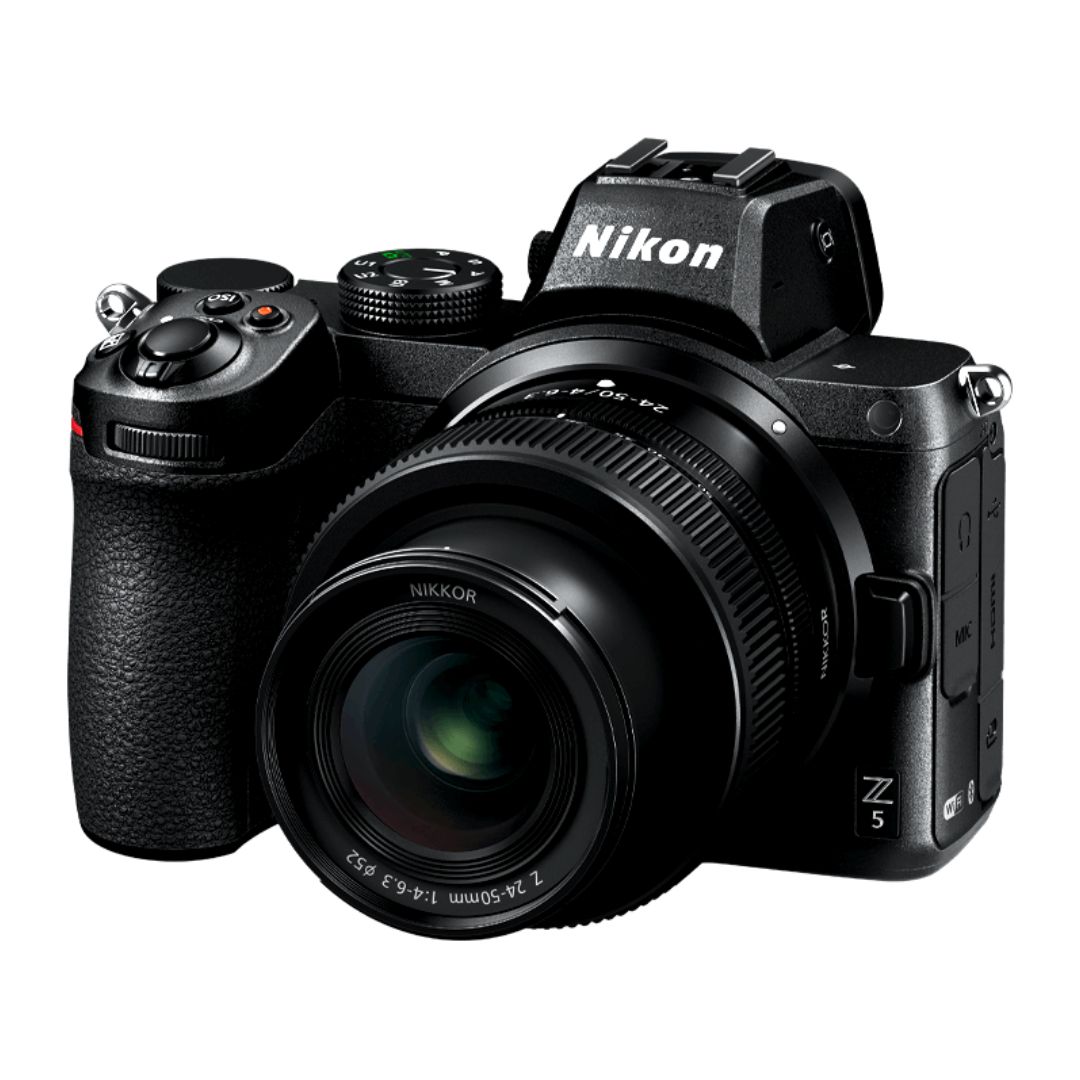
Nikon Z5 Review: Is It Worth It?
-
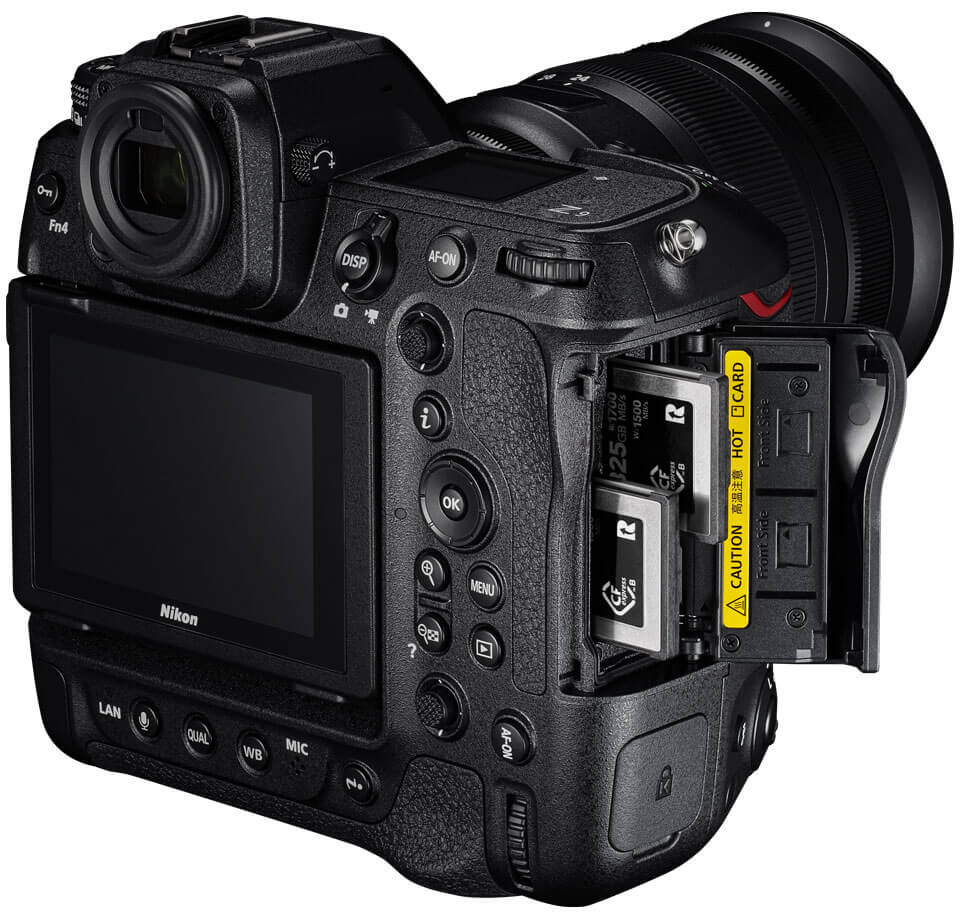
Nikon Z9 : Game-Changer for Photography
-
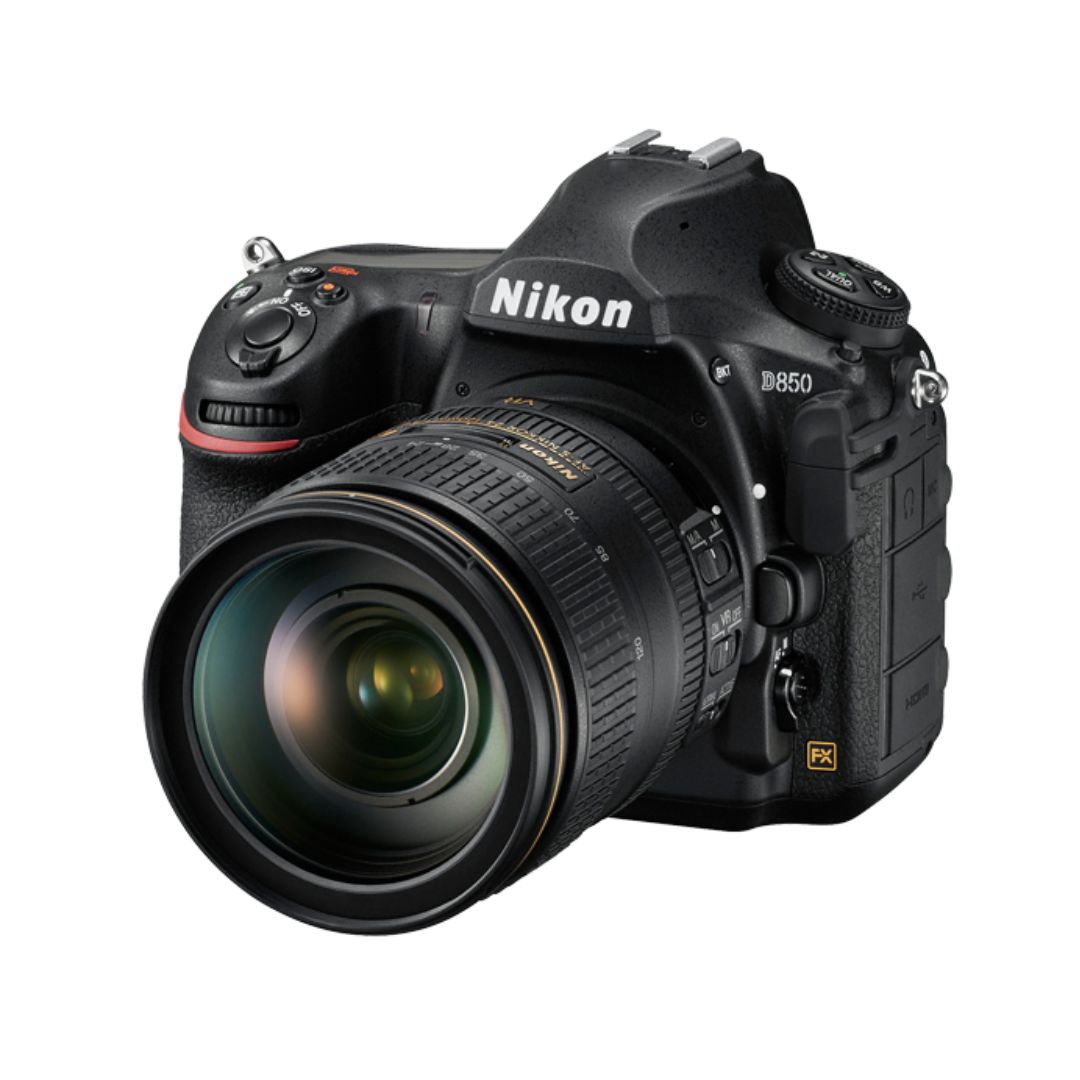
Top Features of Nikon D850 That Make It Ideal for Portfolio Shoots
Sony Alpha a7 IV: The Ultimate Camera for Photography
Explore the Sony Alpha a7 IV in this complete 2025 review. Learn how its pro-level features, real-world performance, and hybrid flexibility make it the ultimate camera for photography across genres like portraits, weddings, travel, and commercial work. Table of Contents Section 1: Introduction – Why the Sony Alpha a7 IV Stands Out The Sony Alpha…
Nikon Z5 Review: Is It Worth It?
In 2025, photographers—whether hobbyists, content creators, or professionals—seek equipment that blends value, performance, and future-readiness. Enter the Nikon Z5, a full-frame mirrorless camera marketed as a gateway to high-end imaging without a flagship price tag. But how well does it hold up under real-world demands like studio shoots, weddings, landscape adventures, and lifestyle photography? In…
Nikon Z9 : Game-Changer for Photography
Discover why the Nikon Z9 is considered a true game-changer for photography. This in-depth Nikon Z9 review explores key features, real-world performance, and how it excels in professional photo shoots in 2025. Table of Contents 1. Introduction The photography world witnessed a significant shift with the launch of the Nikon Z9, a flagship mirrorless camera…
Top Features of Nikon D850 That Make It Ideal for Portfolio Shoots
Discover why the Nikon D850 is the ultimate DSLR for portfolio shoots. Explore its top features—from resolution and dynamic range to autofocus precision and workflow speed—that help photographers create stunning, high-impact images for professional portfolios. Whether you’re a portrait artist, fashion photographer, or visual storyteller, a portfolio shoot demands technical excellence, creative flexibility, and uncompromised…
Candid Moments with Canon EOS R10: Lightweight & Reliable
In the evolving world of mirrorless photography, the Canon EOS R10 stands out as a lightweight yet powerful camera tailored for real-life storytelling. Whether you’re photographing street scenes, family gatherings, weddings, or spontaneous portraits, capturing genuine emotion requires a responsive and discreet tool. This article dives deep into how the Canon EOS R10 excels in…
Bold Portraits with Canon EOS R5: Is It the Best for Work?
Studio photography has always demanded precision, artistry, and impeccable gear. As the expectations for commercial portraits, fashion campaigns, and editorial work continue to rise, the tools we use must evolve. Enter the Canon EOS R5, a camera that has stirred the professional waters with its impressive technical specs and forward-thinking design. In this comprehensive Canon…