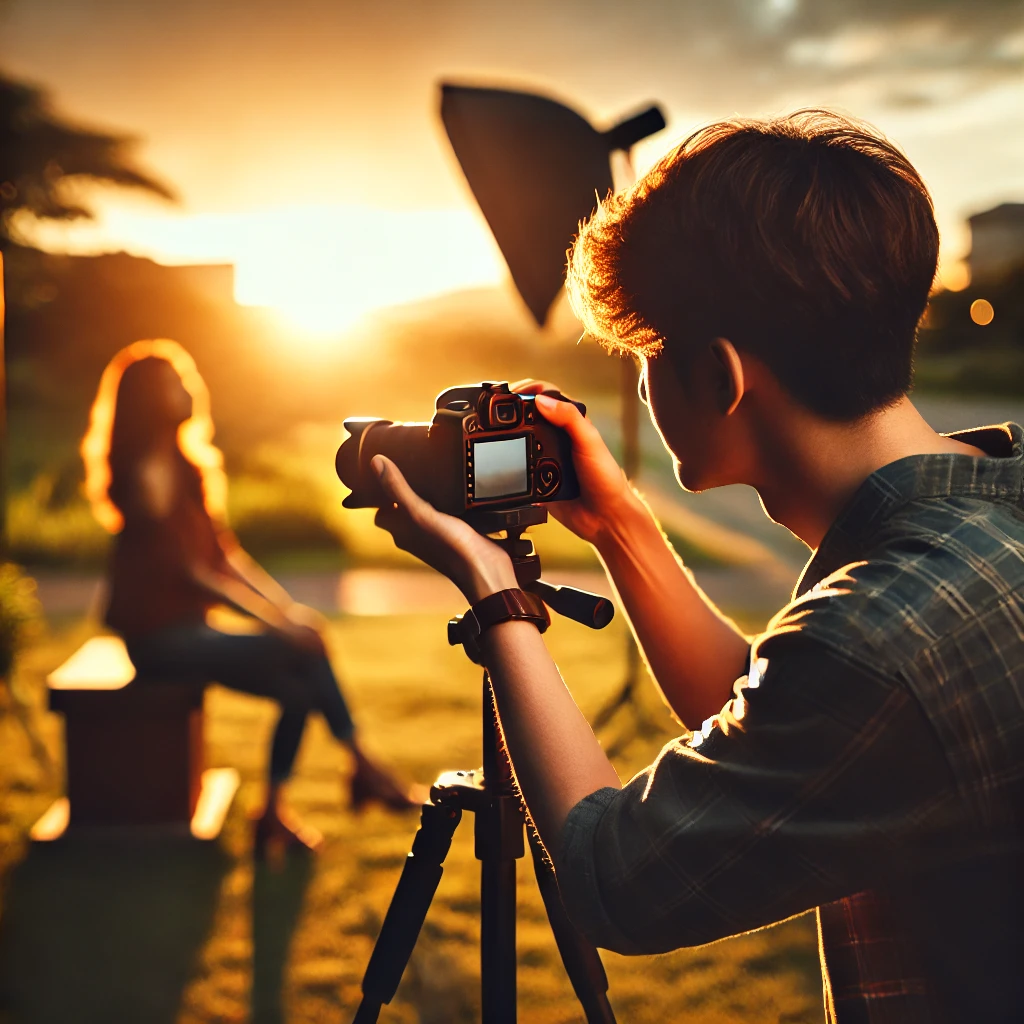
Candid photography thrives on authenticity, and natural light is one of the most powerful tools for achieving stunning, real-life imagery. Unlike artificial lighting, which can sometimes feel harsh or unnatural, natural light enhances skin tones, creates soft shadows, and adds an organic aesthetic to candid shots. But using it effectively requires skill and an understanding of how light behaves throughout the day. In this comprehensive guide, we will explore the best techniques, tools, and settings to harness natural light for breathtaking candid photography. Whether you are capturing street portraits, family moments, or travel adventures, this article will equip you with the knowledge to elevate your photography skills.
Understanding Natural Light for Candid Photography
1. The Science of Natural Light
- Natural light changes in intensity and color depending on the time of day and weather conditions.
- The position of the sun determines the direction and harshness of shadows.
- Different types of natural light create unique effects on images, from soft diffused light to dramatic highlights and shadows.
2. Why Natural Light is Perfect for Candid Photography
- Enhances the natural mood of the moment.
- Requires minimal equipment, making photography spontaneous.
- Avoids artificial lighting setups that can feel intrusive.
- Provides a range of dynamic lighting conditions for creative compositions.
Best Times to Shoot with Natural Light
3. The Golden Hour – The Ideal Lighting Window
- Occurs shortly after sunrise and before sunset.
- Produces soft, warm hues that enhance skin tones.
- Reduces harsh shadows, creating an ethereal glow.
4. Blue Hour – A Unique Aesthetic
- Happens before sunrise and after sunset.
- Produces cool, moody tones that evoke a cinematic feel.
- Perfect for street photography and urban candid shots.
5. Midday Light – Managing Harsh Shadows
- The sun is at its peak, creating strong contrasts.
- Use shade or diffusers to soften shadows.
- Reflectors can help balance exposure and reduce overexposed areas.
6. Overcast Days – The Secret to Soft Lighting
- Cloud cover acts as a natural diffuser, softening the light.
- Great for evenly lit portraits with no harsh shadows.
- Allows for more freedom in positioning subjects without worrying about direct sunlight.
Techniques for Capturing Candid Photos with Natural Light
7. Positioning and Angles
- Observe how the light falls on your subject and adjust your angle accordingly.
- Backlighting can create a beautiful halo effect.
- Side lighting emphasizes texture and depth.
- Shooting from different perspectives can enhance storytelling elements.
8. Using Shadows for a Dramatic Effect
- Shadows add contrast and depth to candid shots.
- Experiment with silhouettes for artistic storytelling.
- Play with window light to create dynamic indoor compositions.
9. Capturing Movement in Natural Light
- Use a fast shutter speed to freeze motion.
- Experiment with slow shutter speeds for a slight motion blur effect.
- Position subjects where light naturally highlights their movement.
10. Making the Most of Reflections
- Water, glass, and other reflective surfaces can add creative depth.
- Position subjects near bright natural light sources for unique reflections.
- Use reflections to frame subjects in urban or nature settings.
Camera Settings for Natural Light Candid Photography
11. Adjusting ISO for Different Lighting Conditions
- Bright daylight: Keep ISO low (100-400) for sharp images.
- Low-light conditions: Increase ISO (800-3200) while managing noise.
- Balance ISO with shutter speed and aperture to maintain clarity.
12. Mastering White Balance for Natural Tones
- Use auto white balance for most natural light situations.
- Adjust manually for warm golden hour shots or cool blue hour effects.
- Experiment with custom white balance settings for precise color tones.
13. Shutter Speed and Aperture for Candid Photography
- Faster shutter speeds (1/500s and above) capture spontaneous moments sharply.
- Wider apertures (f/2.8 – f/5.6) create beautiful background blur (bokeh).
- Balance exposure by adjusting settings according to available light.
Essential Tools for Enhancing Natural Light Photography
14. Reflectors – Bouncing Light for Balanced Exposure
- White reflectors add fill light for softer shadows.
- Gold reflectors warm up skin tones for a flattering glow.
- Silver reflectors brighten shadows with a cooler tone.
15. Lens Choices for Candid Photography
- 50mm prime lens for natural-looking portraits.
- 35mm lens for wider candid shots.
- Telephoto lenses (85mm-135mm) for distant candid moments without intrusion.
16. Using Natural Light Indoors
- Position subjects near windows for soft directional light.
- Experiment with curtains or blinds to diffuse harsh sunlight.
- Utilize lamps and warm interior lights to complement natural tones.
Post-Processing Tips to Enhance Natural Light Photos
17. Adjusting Exposure and Contrast
- Slightly increase exposure to brighten underexposed shots.
- Adjust contrast to add depth and definition.
18. Enhancing Colors with Lightroom and Photoshop
- Use warmth and vibrancy adjustments to bring out golden hour hues.
- Reduce cool tones for a softer, natural look.
19. Removing Unwanted Shadows or Overexposed Areas
- Dodge and burn techniques help balance highlights and shadows.
- Selective editing refines exposure without affecting the whole image.
Conclusion
Mastering natural light for candid photography is a journey of observation, practice, and creativity. By understanding how light interacts with different environments, positioning your subjects strategically, and fine-tuning camera settings, you can elevate your candid photography to professional levels.
Whether shooting in golden hour, working with shadows, or utilizing reflections, natural light offers endless possibilities for capturing raw, emotive moments. With the right techniques, gear, and post-processing tweaks, you can create timeless, breathtaking images that tell powerful stories.
Now, grab your camera and start experimenting with natural light to bring your candid photography to life!
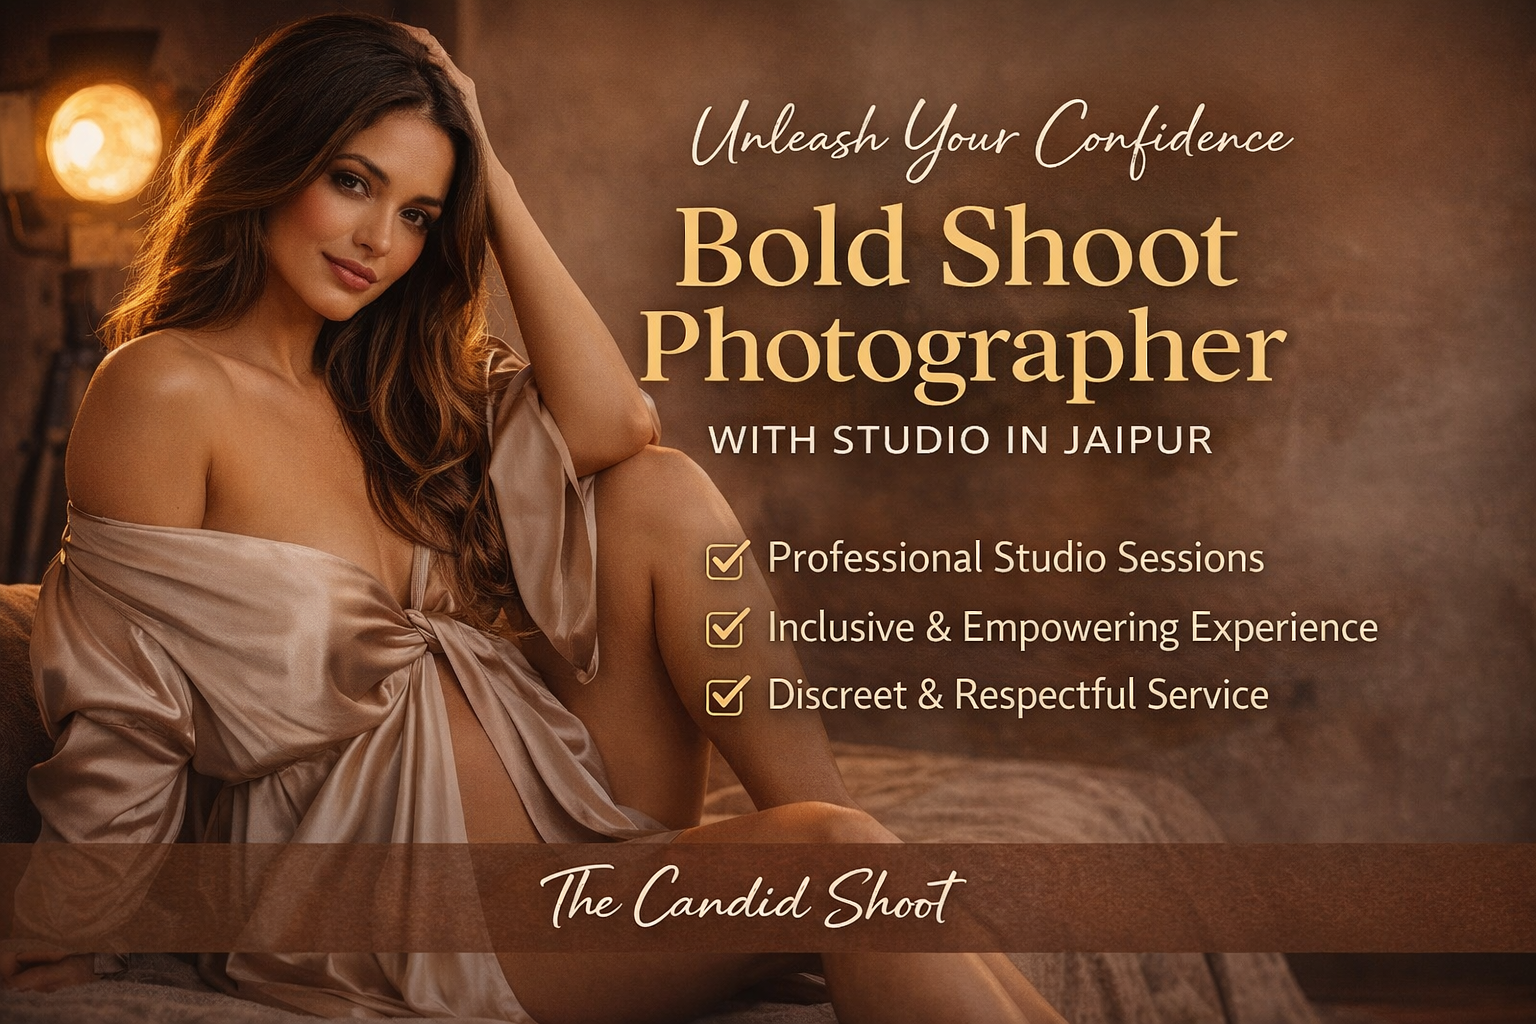
Bold Shoot Photographer with Studio in Jaipur | The Candid Shoot
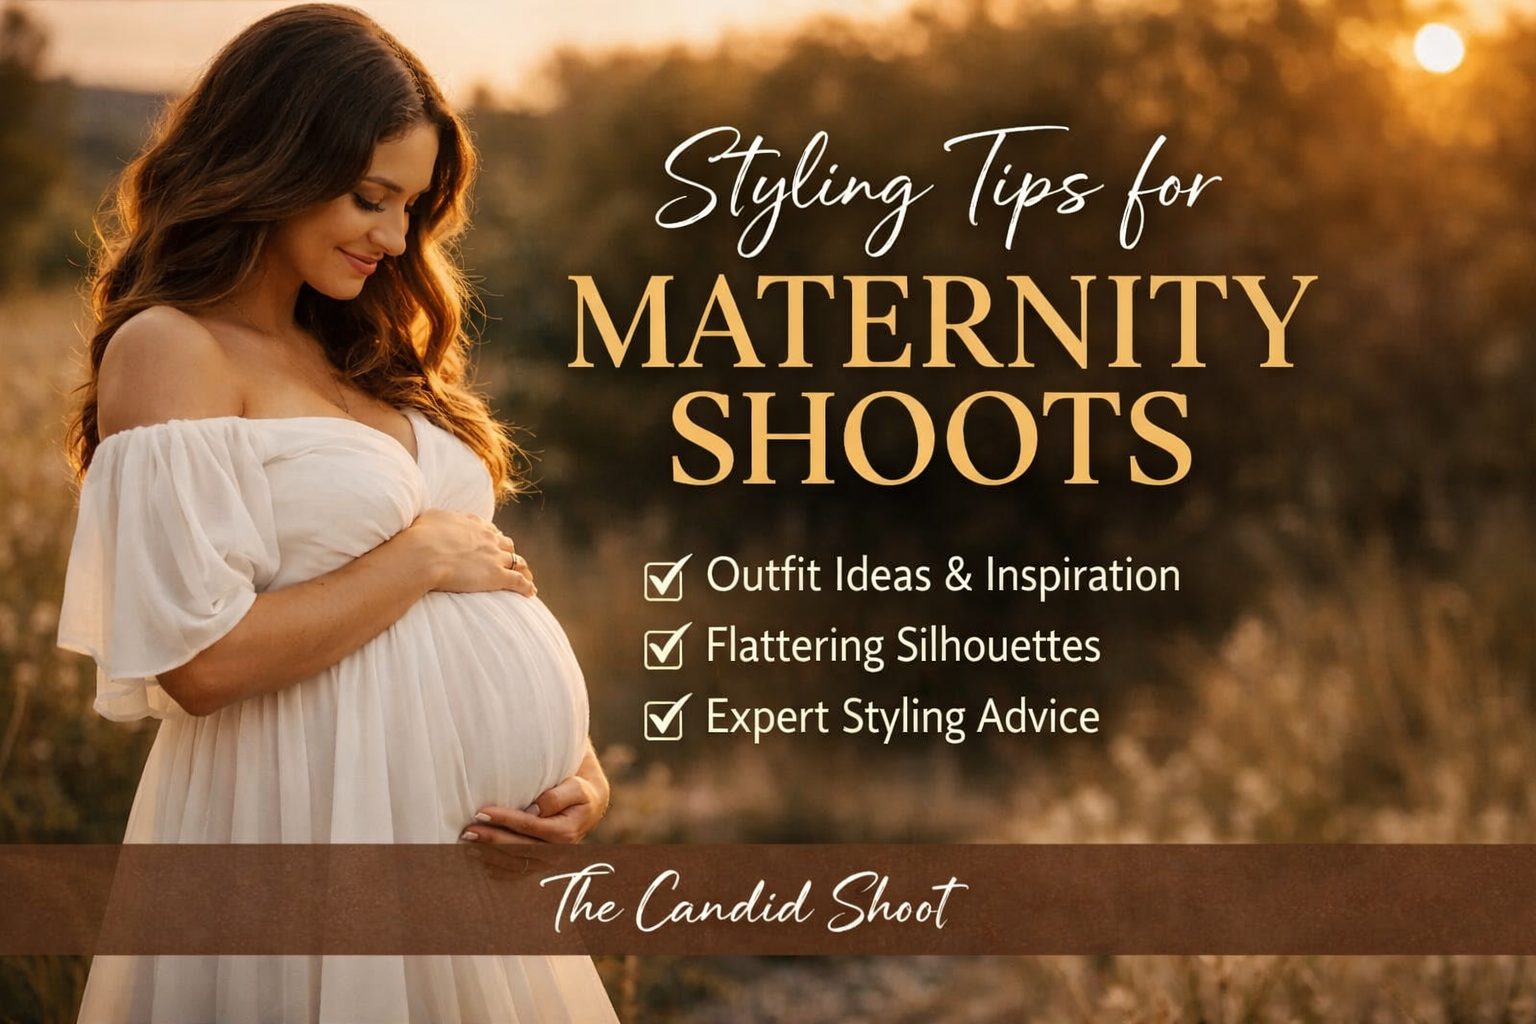
Styling Tips for Maternity Shoots: Looking Timeless, and Confident
-

Mobile Photography Hacks: Candid Moments with Your Phone
-
Professional Model & Portfolio Photoshoots: Show Your Best Work
Bold Shoot Photographer with Studio in Jaipur | The Candid Shoot
The phrase “bold shoot photographer” often triggers assumptions—many of them incomplete, outdated, or shaped by stereotypes. In reality, bold photography has evolved far beyond shock value or surface-level aesthetics. Today, bold shoots represent self-expression, body confidence, emotional honesty, and artistic courage. At The Candid Shoot, bold photography is not about exposure—it is about expression. It
Styling Tips for Maternity Shoots: Looking Timeless, and Confident
Styling as the Silent Storyteller in Maternity Shoots Maternity shoots are not simply about documenting pregnancy. They are about honoring a season of transformation—physical, emotional, relational, and often spiritual. Styling plays a foundational role in how that transformation appears, feels, and endures through photographs. When people look back at maternity photographs years later, they rarely
Mobile Photography Hacks: Candid Moments with Your Phone
Discover high-impact mobile photography hacks to capture genuine, gorgeous candid moments with your phone. Learn practical tips, composition secrets, and pro techniques to turn everyday scenes into stunning visual stories. Introduction: The New Age of Mobile Photography Photography has evolved beyond heavy cameras, technical jargon, and expensive equipment. Today, the power to capture extraordinary moments
Professional Model & Portfolio Photoshoots: Show Your Best Work
” Discover how to plan, style, and execute stunning portfolio photoshoots that showcase your skills, personality, and versatility. This comprehensive guide covers professional tips, posing ideas, gear suggestions, and industry insights for models and photographers.” Introduction – Why Portfolio Photoshoots Are the Cornerstone of a Photographer’s Career A well-crafted portfolio photoshoot is more than a
Street Photography Tips, Effects & Poses – Complete Guide
Discover the ultimate guide to Street Photography with expert tips, creative effects, and dynamic poses. Learn how to capture authentic urban moments, master composition, and tell powerful visual stories through your lens. Article Outline 1. Introduction to Street Photography Street Photography is more than just taking pictures of people in public spaces — it’s about
Leica Q2 for Photography: Why It’s Loved by Photographers
Introduction: The Cult Status of the Leica Q2 The Leica Q2 is not just a camera—it’s a statement. Combining the heritage of German precision engineering with modern digital excellence, it holds a special place in the hearts of professional and passionate photographers alike. With its full-frame sensor, prime Summilux lens, and minimalist design, the Q2
