


Golden hour is a magical time for photographers. It transforms ordinary landscapes and portraits into breathtaking images with warm, golden tones. Whether you’re capturing urban scenes, nature, or portraits during your travels, understanding how to use golden hour can significantly enhance your photography. In this comprehensive guide, we’ll explore the techniques and strategies to make the most of golden hour.
What is Golden Hour?
Golden hour occurs just after sunrise and before sunset, when the sun is lower in the sky, casting a soft, golden light. Unlike the harsh midday sun, this natural lighting creates long shadows, enhances colors, and adds depth to your images.
Why is Golden Hour Important for Photography?
- Soft Light: Diffused sunlight reduces harsh shadows and highlights.
- Warm Tones: Creates an inviting and cinematic look.
- Long Shadows: Adds depth and dimension to your composition.
- Reduced Contrast: Balanced lighting conditions make it easier to capture details.
- Dramatic Effects: Enhances silhouettes and reflections for artistic photography.
Best Camera Settings for Golden Hour Photography
Capturing golden hour requires optimal camera settings to make the most of the available light. Here are the key adjustments:
1. Adjust White Balance
- Use “Cloudy” or “Shade” white balance settings to enhance warm tones.
- If shooting in RAW, adjust white balance in post-processing for greater control.
2. Set the Right ISO
- Use a low ISO (100-400) to avoid noise in your images.
- Increase ISO slightly as golden hour progresses and light diminishes.
3. Use a Wide Aperture for Depth of Field
- For portraits, use f/2.8-f/5.6 to create a soft background blur.
- For landscapes, use f/8-f/16 for maximum sharpness.
4. Optimize Shutter Speed
- Use a faster shutter speed (1/200s – 1/500s) for handheld shots.
- Lower shutter speed (1/30s – 1/100s) for stationary subjects with a tripod.
How to Plan a Golden Hour Photoshoot
1. Research the Golden Hour Timing
Use apps like PhotoPills or Golden Hour Calculator to determine the exact timing based on your location.
2. Scout Your Location in Advance
Arriving early allows you to find the best angles and compositions. Look for elements like water, city skylines, or mountains to maximize the golden light.
3. Prepare Your Gear
- Use a tripod for sharp images in low light.
- Bring a lens hood to reduce lens flares.
- Pack a reflector or diffuser to control light on your subject.
Creative Techniques for Capturing Golden Hour Photos
1. Capture Silhouettes
Position your subject between the camera and the sun to create stunning silhouettes.
2. Utilize Backlighting for a Dreamy Glow
Golden hour backlighting adds a beautiful halo effect around your subject. Adjust exposure to balance the background brightness.
3. Experiment with Reflections
Water bodies, glass windows, and polished surfaces can enhance golden hour photography by creating mirror-like reflections.
4. Use Lens Flares Artistically
Lens flares add a warm, nostalgic touch to images when used creatively. Experiment with angles to incorporate them naturally.
5. Shoot in RAW for Post-Processing Flexibility
Shooting in RAW allows you to recover details in highlights and shadows, adjust colors, and fine-tune exposure.
Post-Processing Tips for Enhancing Golden Hour Photos
Editing plays a crucial role in bringing out the best in golden hour photos. Here are some essential adjustments:
1. Enhance Warmth & Colors
Increase temperature and vibrance in Lightroom or Photoshop to emphasize golden tones.
2. Adjust Highlights and Shadows
Balance exposure by reducing highlights and lifting shadows for better detail retention.
3. Add Contrast and Clarity
Boost contrast slightly to deepen colors and add definition to textures.
4. Remove Unwanted Noise
Use noise reduction tools if higher ISO settings introduce graininess.
Best Locations for Golden Hour Travel Photography
Some destinations are particularly stunning during golden hour. Here are a few must-visit locations:
1. Beaches and Coastal Areas
- The ocean reflects warm tones beautifully.
- Ideal for silhouette shots and dramatic skies.
2. Urban Landscapes
- City lights and golden hues create a cinematic aesthetic.
- Capture reflections in glass buildings and streets.
3. Mountains and Countryside
- Rolling hills and valleys look ethereal in golden light.
- Foggy mornings add an extra dreamy effect.
4. Iconic Landmarks
- Famous landmarks bathed in golden hour light stand out beautifully.
- The soft light enhances architectural details.
Common Mistakes to Avoid When Shooting During Golden Hour
- Ignoring Composition: Ensure proper framing to avoid cluttered backgrounds.
- Underexposing Silhouettes: Adjust exposure to get crisp, dark silhouettes.
- Overediting Colors: Maintain a natural balance when enhancing warmth.
- Not Shooting Fast Enough: Golden hour lasts for a short period; shoot efficiently.
Final Thoughts
Mastering golden hour photography requires practice, patience, and creativity. By understanding light, using the right camera settings, and experimenting with different compositions, you can capture stunning travel photos that stand out. Whether you’re an amateur or a professional, using golden hour effectively will elevate your photography and create unforgettable images.
Are you ready to take your travel photography to the next level? Experiment with golden hour techniques and share your results with us!

Sony Alpha a7 IV: The Ultimate Camera for Photography
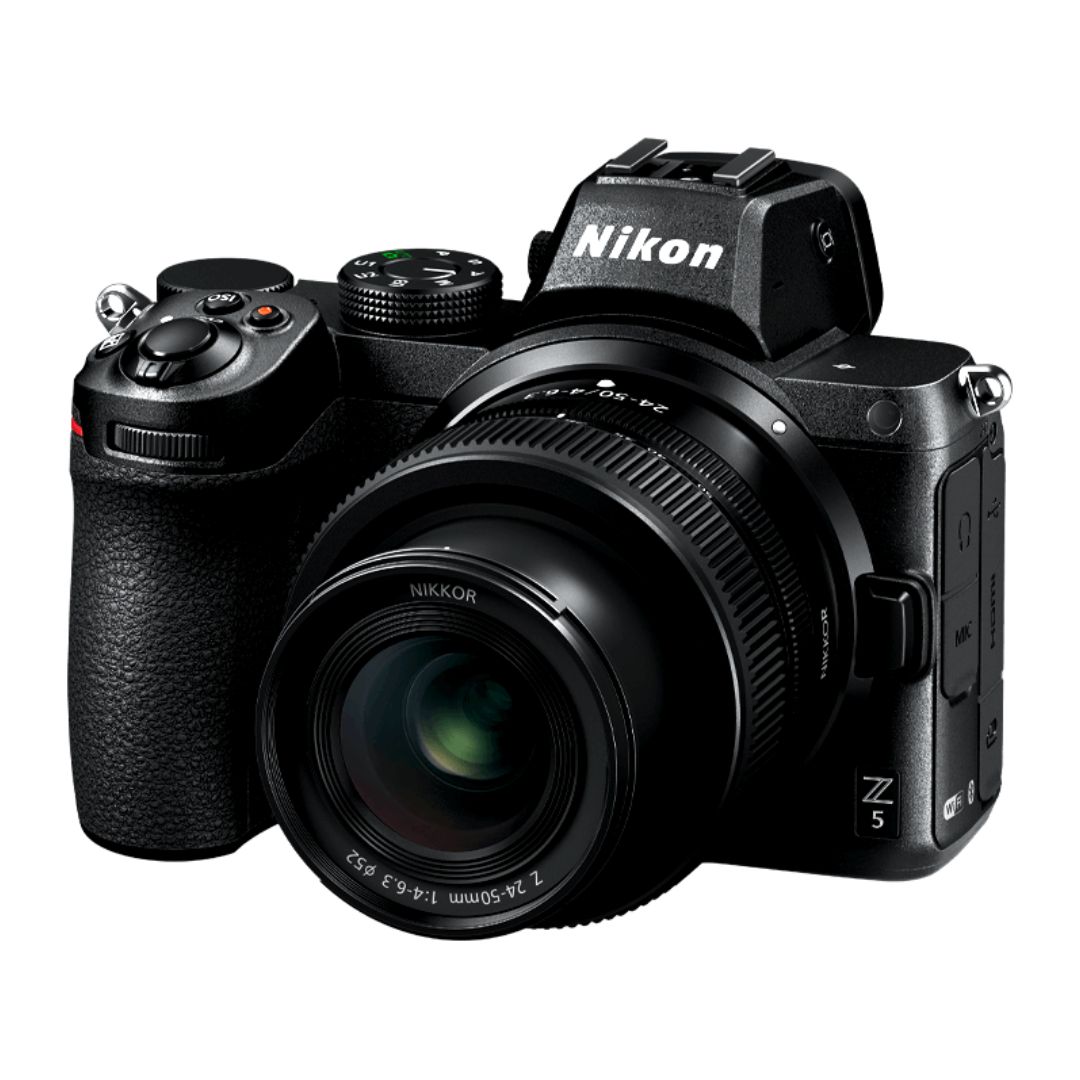
Nikon Z5 Review: Is It Worth It?
-
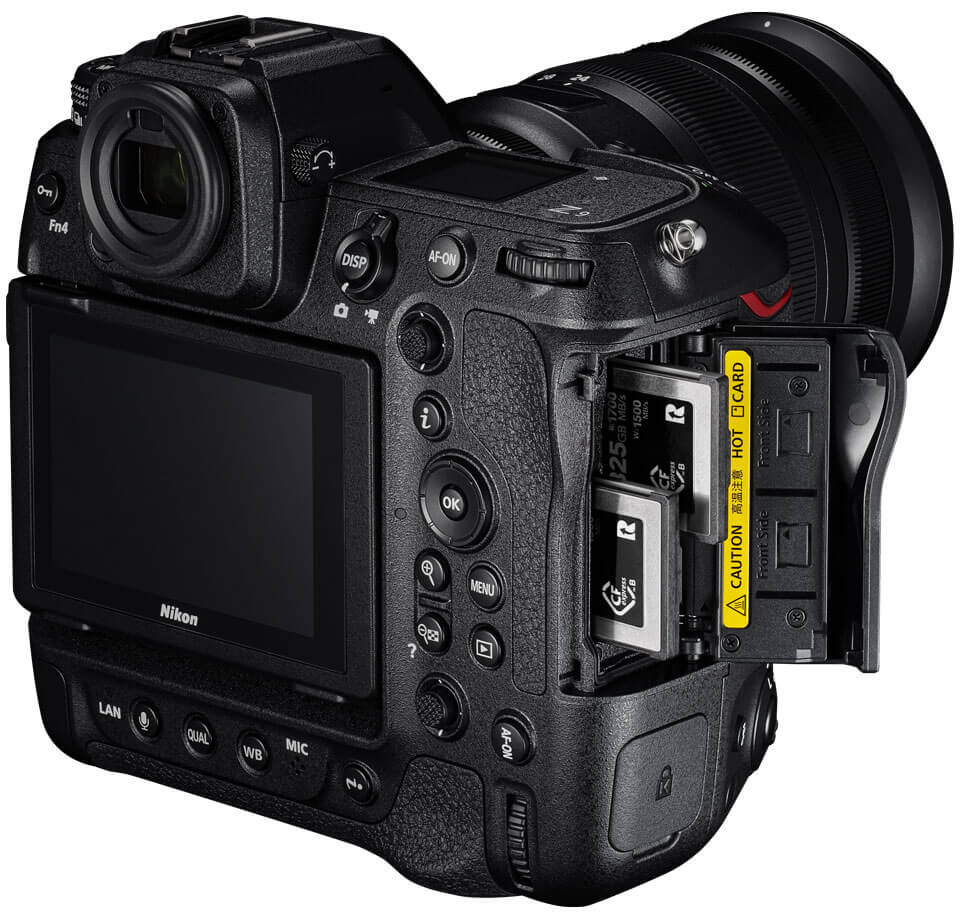
Nikon Z9 : Game-Changer for Photography
-
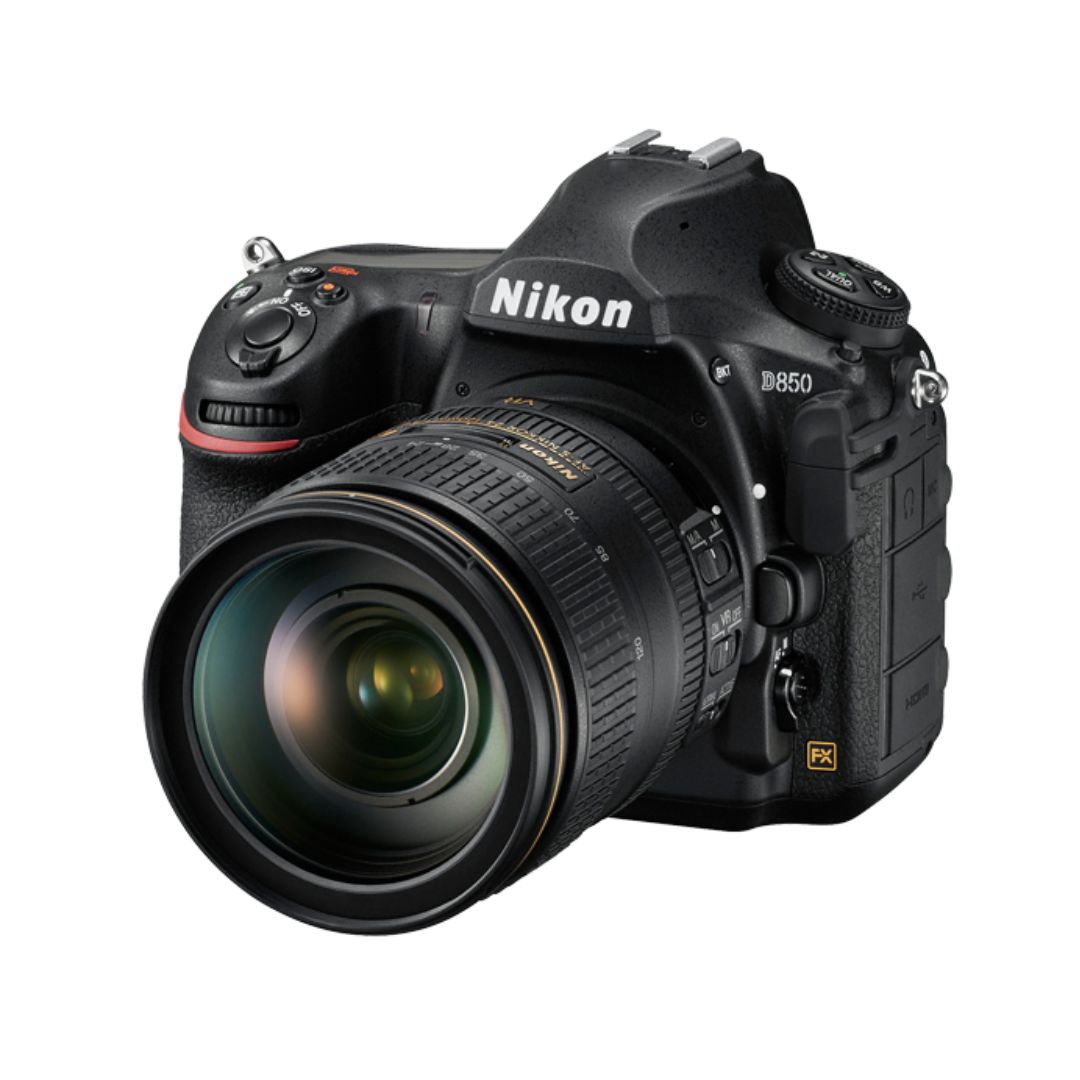
Top Features of Nikon D850 That Make It Ideal for Portfolio Shoots
Sony Alpha a7 IV: The Ultimate Camera for Photography
Explore the Sony Alpha a7 IV in this complete 2025 review. Learn how its pro-level features, real-world performance, and hybrid flexibility make it the ultimate camera for photography across genres like portraits, weddings, travel, and commercial work. Table of Contents Section 1: Introduction – Why the Sony Alpha a7 IV Stands Out The Sony Alpha…
Nikon Z5 Review: Is It Worth It?
In 2025, photographers—whether hobbyists, content creators, or professionals—seek equipment that blends value, performance, and future-readiness. Enter the Nikon Z5, a full-frame mirrorless camera marketed as a gateway to high-end imaging without a flagship price tag. But how well does it hold up under real-world demands like studio shoots, weddings, landscape adventures, and lifestyle photography? In…
Nikon Z9 : Game-Changer for Photography
Discover why the Nikon Z9 is considered a true game-changer for photography. This in-depth Nikon Z9 review explores key features, real-world performance, and how it excels in professional photo shoots in 2025. Table of Contents 1. Introduction The photography world witnessed a significant shift with the launch of the Nikon Z9, a flagship mirrorless camera…
Top Features of Nikon D850 That Make It Ideal for Portfolio Shoots
Discover why the Nikon D850 is the ultimate DSLR for portfolio shoots. Explore its top features—from resolution and dynamic range to autofocus precision and workflow speed—that help photographers create stunning, high-impact images for professional portfolios. Whether you’re a portrait artist, fashion photographer, or visual storyteller, a portfolio shoot demands technical excellence, creative flexibility, and uncompromised…
Candid Moments with Canon EOS R10: Lightweight & Reliable
In the evolving world of mirrorless photography, the Canon EOS R10 stands out as a lightweight yet powerful camera tailored for real-life storytelling. Whether you’re photographing street scenes, family gatherings, weddings, or spontaneous portraits, capturing genuine emotion requires a responsive and discreet tool. This article dives deep into how the Canon EOS R10 excels in…
Bold Portraits with Canon EOS R5: Is It the Best for Work?
Studio photography has always demanded precision, artistry, and impeccable gear. As the expectations for commercial portraits, fashion campaigns, and editorial work continue to rise, the tools we use must evolve. Enter the Canon EOS R5, a camera that has stirred the professional waters with its impressive technical specs and forward-thinking design. In this comprehensive Canon…