Golden hour is a magical time for photographers. It transforms ordinary landscapes and portraits into breathtaking images with warm, golden tones. Whether you’re capturing urban scenes, nature, or portraits during your travels, understanding how to use golden hour can significantly enhance your photography. In this comprehensive guide, we’ll explore the techniques and strategies to make the most of golden hour.
What is Golden Hour?
Golden hour occurs just after sunrise and before sunset, when the sun is lower in the sky, casting a soft, golden light. Unlike the harsh midday sun, this natural lighting creates long shadows, enhances colors, and adds depth to your images.
Why is Golden Hour Important for Photography?
- Soft Light: Diffused sunlight reduces harsh shadows and highlights.
- Warm Tones: Creates an inviting and cinematic look.
- Long Shadows: Adds depth and dimension to your composition.
- Reduced Contrast: Balanced lighting conditions make it easier to capture details.
- Dramatic Effects: Enhances silhouettes and reflections for artistic photography.
Best Camera Settings for Golden Hour Photography
Capturing golden hour requires optimal camera settings to make the most of the available light. Here are the key adjustments:
1. Adjust White Balance
- Use “Cloudy” or “Shade” white balance settings to enhance warm tones.
- If shooting in RAW, adjust white balance in post-processing for greater control.
2. Set the Right ISO
- Use a low ISO (100-400) to avoid noise in your images.
- Increase ISO slightly as golden hour progresses and light diminishes.
3. Use a Wide Aperture for Depth of Field
- For portraits, use f/2.8-f/5.6 to create a soft background blur.
- For landscapes, use f/8-f/16 for maximum sharpness.
4. Optimize Shutter Speed
- Use a faster shutter speed (1/200s – 1/500s) for handheld shots.
- Lower shutter speed (1/30s – 1/100s) for stationary subjects with a tripod.
How to Plan a Golden Hour Photoshoot
1. Research the Golden Hour Timing
Use apps like PhotoPills or Golden Hour Calculator to determine the exact timing based on your location.
2. Scout Your Location in Advance
Arriving early allows you to find the best angles and compositions. Look for elements like water, city skylines, or mountains to maximize the golden light.
3. Prepare Your Gear
- Use a tripod for sharp images in low light.
- Bring a lens hood to reduce lens flares.
- Pack a reflector or diffuser to control light on your subject.
Creative Techniques for Capturing Golden Hour Photos
1. Capture Silhouettes
Position your subject between the camera and the sun to create stunning silhouettes.
2. Utilize Backlighting for a Dreamy Glow
Golden hour backlighting adds a beautiful halo effect around your subject. Adjust exposure to balance the background brightness.
3. Experiment with Reflections
Water bodies, glass windows, and polished surfaces can enhance golden hour photography by creating mirror-like reflections.
4. Use Lens Flares Artistically
Lens flares add a warm, nostalgic touch to images when used creatively. Experiment with angles to incorporate them naturally.
5. Shoot in RAW for Post-Processing Flexibility
Shooting in RAW allows you to recover details in highlights and shadows, adjust colors, and fine-tune exposure.
Post-Processing Tips for Enhancing Golden Hour Photos
Editing plays a crucial role in bringing out the best in golden hour photos. Here are some essential adjustments:
1. Enhance Warmth & Colors
Increase temperature and vibrance in Lightroom or Photoshop to emphasize golden tones.
2. Adjust Highlights and Shadows
Balance exposure by reducing highlights and lifting shadows for better detail retention.
3. Add Contrast and Clarity
Boost contrast slightly to deepen colors and add definition to textures.
4. Remove Unwanted Noise
Use noise reduction tools if higher ISO settings introduce graininess.
Best Locations for Golden Hour Travel Photography
Some destinations are particularly stunning during golden hour. Here are a few must-visit locations:
1. Beaches and Coastal Areas
- The ocean reflects warm tones beautifully.
- Ideal for silhouette shots and dramatic skies.
2. Urban Landscapes
- City lights and golden hues create a cinematic aesthetic.
- Capture reflections in glass buildings and streets.
3. Mountains and Countryside
- Rolling hills and valleys look ethereal in golden light.
- Foggy mornings add an extra dreamy effect.
4. Iconic Landmarks
- Famous landmarks bathed in golden hour light stand out beautifully.
- The soft light enhances architectural details.
Common Mistakes to Avoid When Shooting During Golden Hour
- Ignoring Composition: Ensure proper framing to avoid cluttered backgrounds.
- Underexposing Silhouettes: Adjust exposure to get crisp, dark silhouettes.
- Overediting Colors: Maintain a natural balance when enhancing warmth.
- Not Shooting Fast Enough: Golden hour lasts for a short period; shoot efficiently.
Final Thoughts
Mastering golden hour photography requires practice, patience, and creativity. By understanding light, using the right camera settings, and experimenting with different compositions, you can capture stunning travel photos that stand out. Whether you’re an amateur or a professional, using golden hour effectively will elevate your photography and create unforgettable images.
Are you ready to take your travel photography to the next level? Experiment with golden hour techniques and share your results with us!
-
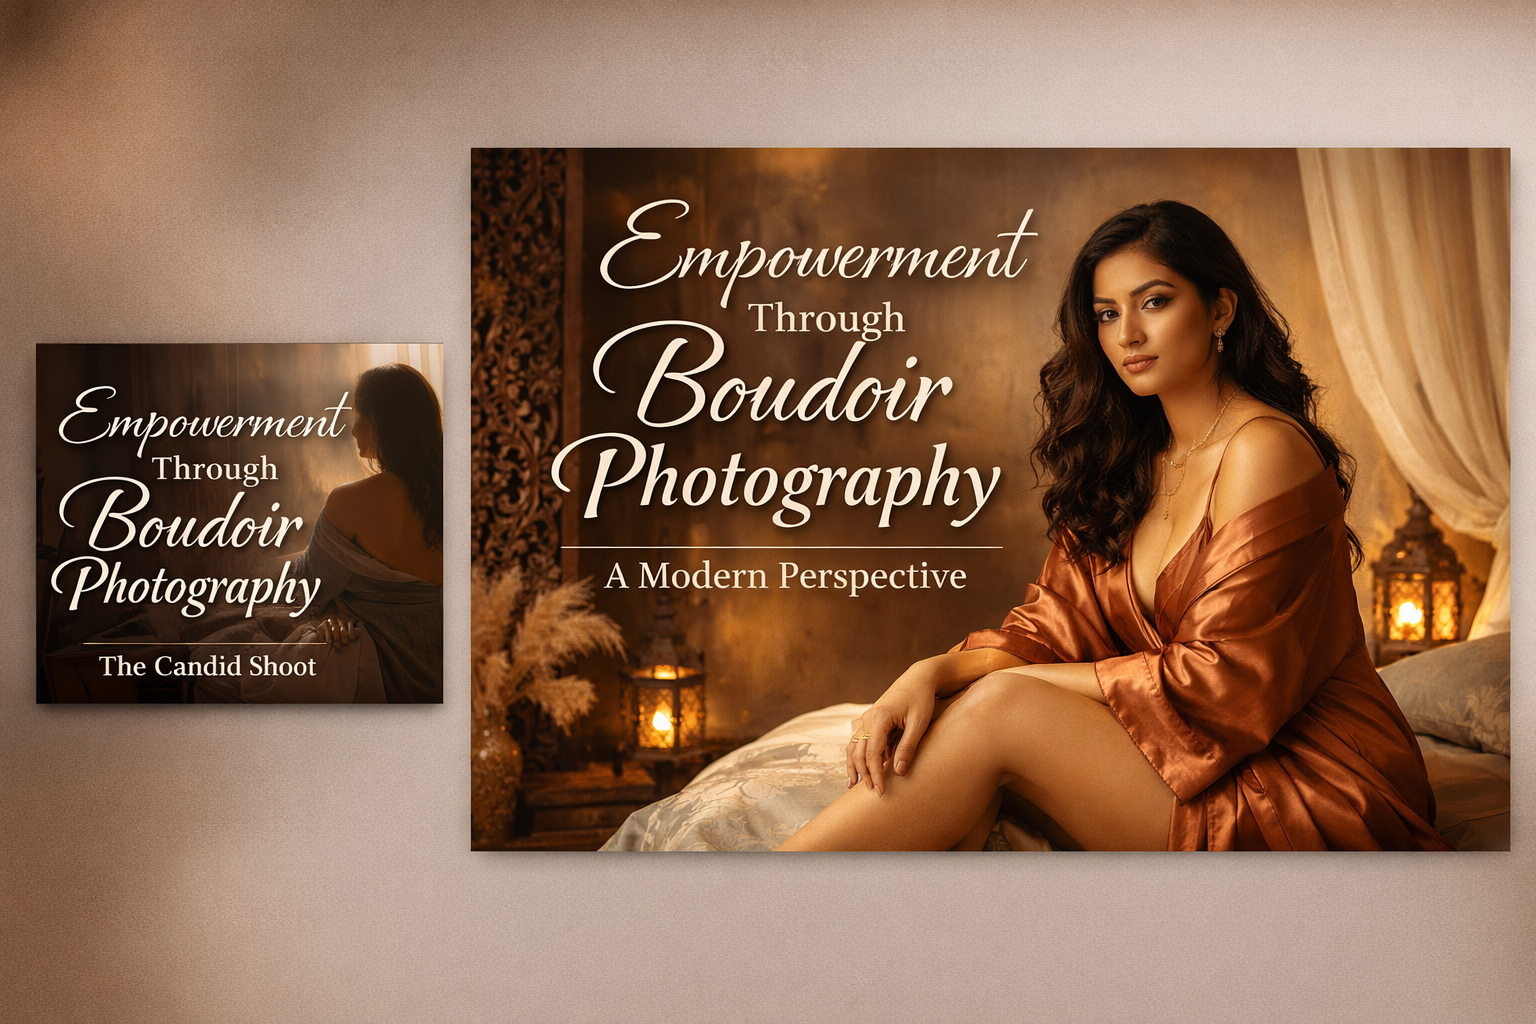
Empowerment Through Boudoir Photography: The Candid Shoot
-

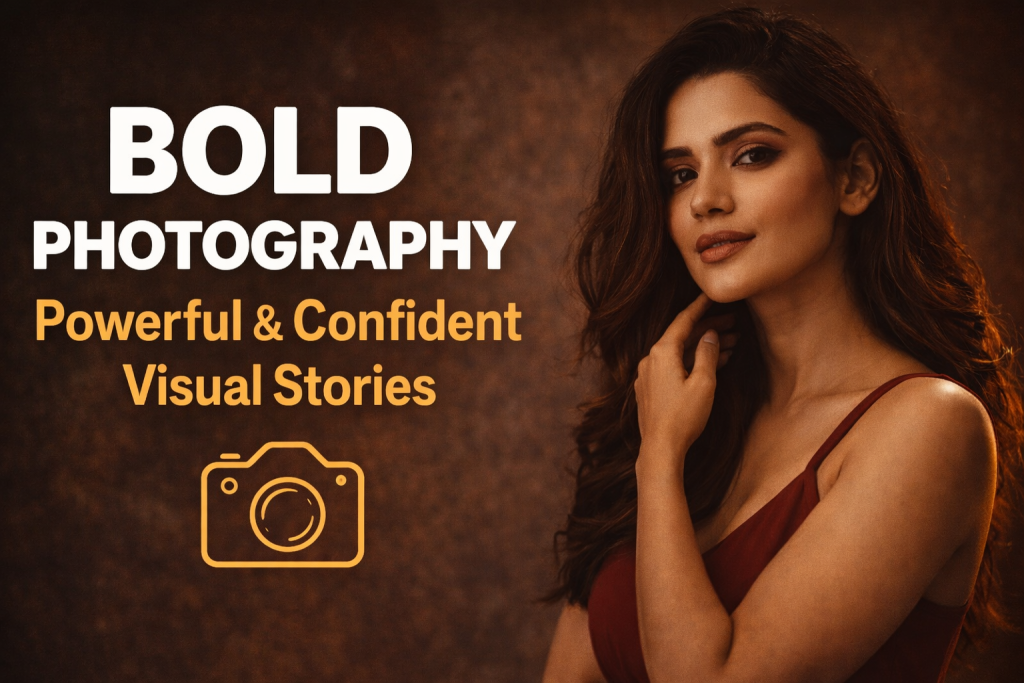
Bold Photography: Creating Powerful & Confident Visual Stories
-

Jaipur’s Favorite Destination for Couple Shoots | The Candid Shoot
-
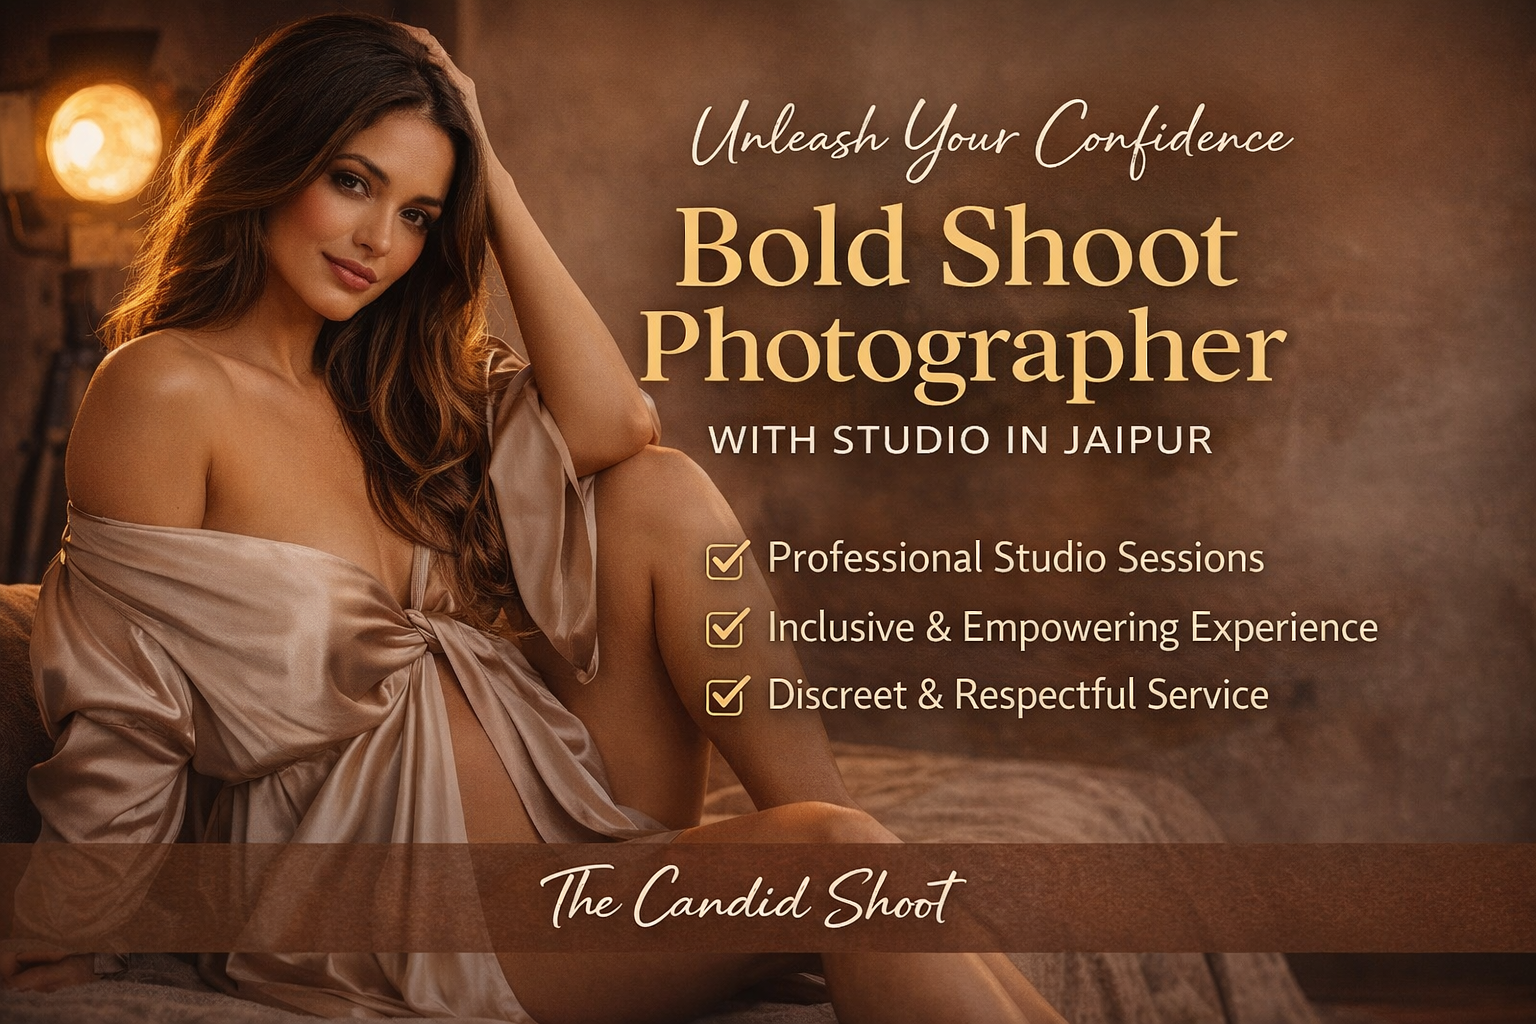
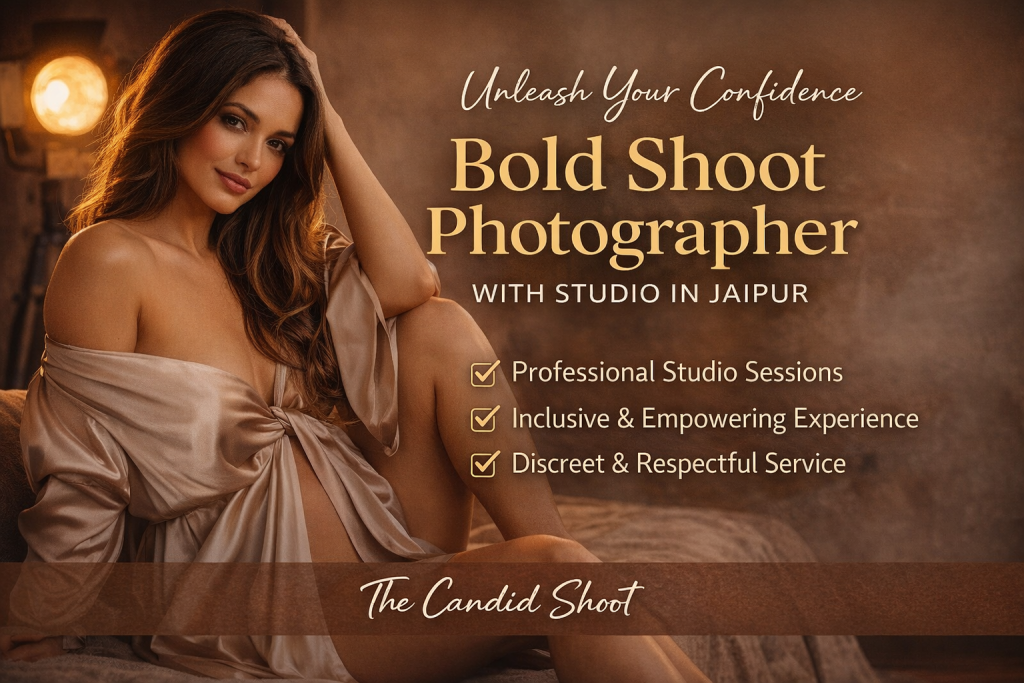
Bold Shoot Photographer with Studio in Jaipur | The Candid Shoot
-
Empowerment Through Boudoir Photography: The Candid Shoot
Boudoir Photography as Empowerment Boudoir photography has evolved far beyond traditional notions of intimacy or sensuality. Modern boudoir photography is about empowerment, confidence, and self-expression, not merely performing for the camera. At its heart, boudoir photography is a visual dialogue between the subject and themselves, mediated by a professional photographer. It provides a private, safe
-
Jaipur’s Favorite Destination for Couple Shoots | The Candid Shoot
Why Couple Shoots Matter More Than Ever Couple shoots have evolved far beyond posed photographs and forced smiles. Today, couples look for experiences that feel natural, meaningful, and reflective of who they are together. A couple shoot is no longer about perfection. It is about presence, connection, and shared emotion. At The Candid Shoot, we
-
Bold Shoot Photographer with Studio in Jaipur | The Candid Shoot
The phrase “bold shoot photographer” often triggers assumptions—many of them incomplete, outdated, or shaped by stereotypes. In reality, bold photography has evolved far beyond shock value or surface-level aesthetics. Today, bold shoots represent self-expression, body confidence, emotional honesty, and artistic courage. At The Candid Shoot, bold photography is not about exposure—it is about expression. It
-
Styling Tips for Maternity Shoots: Looking Timeless, and Confident
Styling as the Silent Storyteller in Maternity Shoots Maternity shoots are not simply about documenting pregnancy. They are about honoring a season of transformation—physical, emotional, relational, and often spiritual. Styling plays a foundational role in how that transformation appears, feels, and endures through photographs. When people look back at maternity photographs years later, they rarely
-
Mobile Photography Hacks: Candid Moments with Your Phone
Discover high-impact mobile photography hacks to capture genuine, gorgeous candid moments with your phone. Learn practical tips, composition secrets, and pro techniques to turn everyday scenes into stunning visual stories. Introduction: The New Age of Mobile Photography Photography has evolved beyond heavy cameras, technical jargon, and expensive equipment. Today, the power to capture extraordinary moments