


Minimalist product photography is a powerful technique that helps brands showcase their products with a clean, modern aesthetic. By focusing on simplicity, it enhances the product’s appeal while eliminating distractions. Whether you’re an e-commerce seller, a content creator, or a brand looking to refine your visual identity, mastering minimalist product photography can significantly improve your conversions and customer engagement.
In this guide, we will explore everything you need to know about shooting minimalist product photography, including setup, lighting, composition, editing, and best practices.
What is Minimalist Product Photography?
Minimalist product photography is a style that emphasizes simplicity, clean backgrounds, and uncluttered compositions. It draws attention to the product itself without unnecessary distractions. This style is commonly used in luxury branding, tech products, beauty products, and lifestyle marketing.
Benefits of Minimalist Product Photography
- Enhances Product Visibility: Keeps the focus on the product by removing distractions.
- Creates a Modern Aesthetic: Clean, sleek, and professional visuals that appeal to contemporary audiences.
- Increases Conversion Rates: Well-shot minimalist photos can boost engagement and sales.
- Optimized for Branding: Consistency in style strengthens brand identity.
Essential Equipment for Minimalist Product Photography
1. Camera & Lens
While you don’t need the most expensive camera, a good-quality DSLR, mirrorless camera, or even a smartphone with a high-resolution camera will work.
- Recommended Cameras: Canon EOS R5, Sony A7 IV, Nikon Z7 II
- Best Lenses for Minimalism: 50mm prime, 85mm prime, or macro lens
2. Lighting Setup
Lighting plays a crucial role in minimalist photography. Natural light works well, but controlled studio lighting provides consistency.
- Softbox or Diffused Lighting: Softens shadows for a clean look.
- Reflectors & Bounce Cards: Help eliminate harsh shadows.
- Ring Lights or LED Panels: Offer even illumination.
3. Backdrops & Surfaces
- Plain White or Neutral Colors: Avoid patterns or textured backgrounds.
- Matte or Glossy Acrylic Sheets: For reflections and creative effects.
- DIY Backdrops: Minimalist setups can be created using foam boards or poster boards.
Setting Up Your Minimalist Product Photography Shoot
1. Choose the Right Background
The background should be simple and complement the product.
- White Background: Works best for clean and professional shots.
- Black or Gray Background: Adds contrast and elegance.
- Pastel or Neutral Tones: Soft yet stylish minimalist aesthetic.
2. Positioning & Composition
- Negative Space: Leave breathing room around the product.
- Center Composition: Works well for symmetrical products.
- Rule of Thirds: Off-center placement can make the image visually appealing.
3. Adjusting Lighting for Minimalist Effect
- Soft Natural Light: Place your product near a window for diffused lighting.
- Artificial Lighting: Use a softbox with diffusers to create even, shadow-free light.
- Experiment with Shadows: Subtle shadows can add depth without cluttering the image.
Shooting Techniques for Minimalist Product Photography
1. Use a Tripod for Stability
A tripod ensures sharp images, especially when using a slow shutter speed in controlled lighting environments.
2. Shoot in RAW Format
RAW files retain more details and allow better post-processing control.
3. Keep the Focus on the Product
Use manual focus or autofocus with a narrow depth of field to make the product stand out.
4. Capture Different Angles
- Front View: Classic and straightforward presentation.
- Top-Down View: Great for flat-lay shots.
- Side Angle: Highlights dimensions and depth.
Editing Minimalist Product Photos
1. Software Options
- Adobe Lightroom: Best for color correction and exposure adjustments.
- Photoshop: Ideal for advanced retouching and background refinement.
- Canva or Snapseed: For quick mobile edits.
2. Color Correction & White Balance
Ensure the background remains neutral and the product colors are accurate.
3. Removing Distractions
Use the Spot Healing Brush or Clone Stamp Tool in Photoshop to remove unwanted spots or marks.
4. Enhancing Sharpness & Clarity
Minimalist photos should have crisp edges and clean lines. Adjust sharpness without over-processing.
Best Practices for Minimalist Product Photography
1. Keep it Simple
Don’t overcrowd the frame. Let the product be the main subject.
2. Maintain Consistency
Use the same lighting and editing style across all product images for a cohesive brand identity.
3. Optimize for E-Commerce
Resize and compress images for faster website loading while maintaining high quality.
4. Test Different Variations
Try different angles, shadows, and compositions to find the best visual representation of the product.
Common Mistakes to Avoid
- Overcomplicating the Scene: Too many props can defeat the purpose of minimalism.
- Poor Lighting Choices: Harsh shadows or uneven lighting can make images look unprofessional.
- Ignoring Image Quality: Low-resolution images can ruin the aesthetic and reduce engagement.
- Inconsistent Branding: Different color tones or styles can make your brand look unprofessional.
Conclusion
Minimalist product photography is an excellent approach for brands looking to create clean, modern, and visually compelling images. By focusing on simplicity, proper lighting, composition, and post-processing, you can produce high-quality product images that appeal to online shoppers.
Whether you’re a business owner, content creator, or aspiring photographer, implementing these techniques will help you master minimalist product photography and elevate your brand’s visual identity.

Sony Alpha a7 IV: The Ultimate Camera for Photography
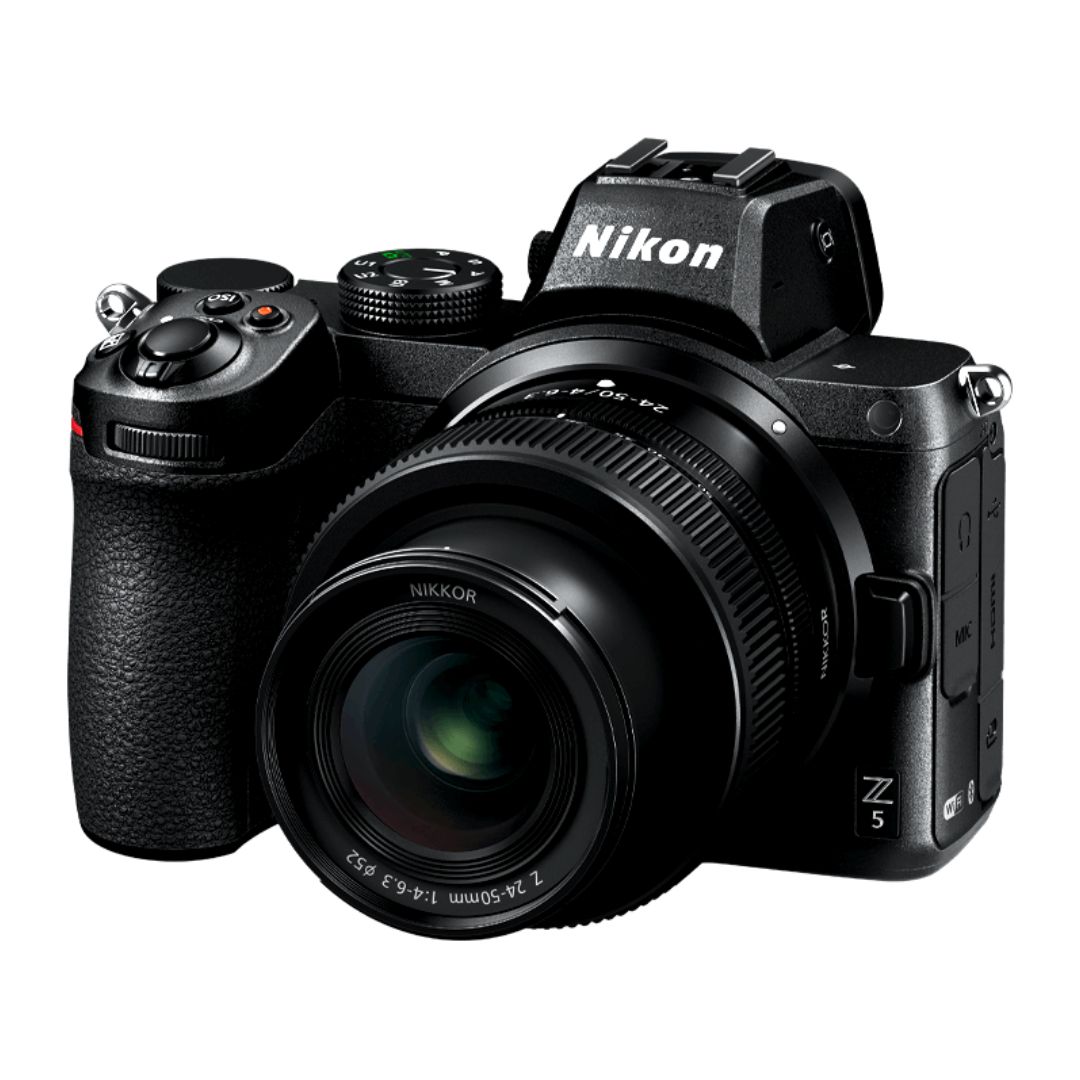
Nikon Z5 Review: Is It Worth It?
-
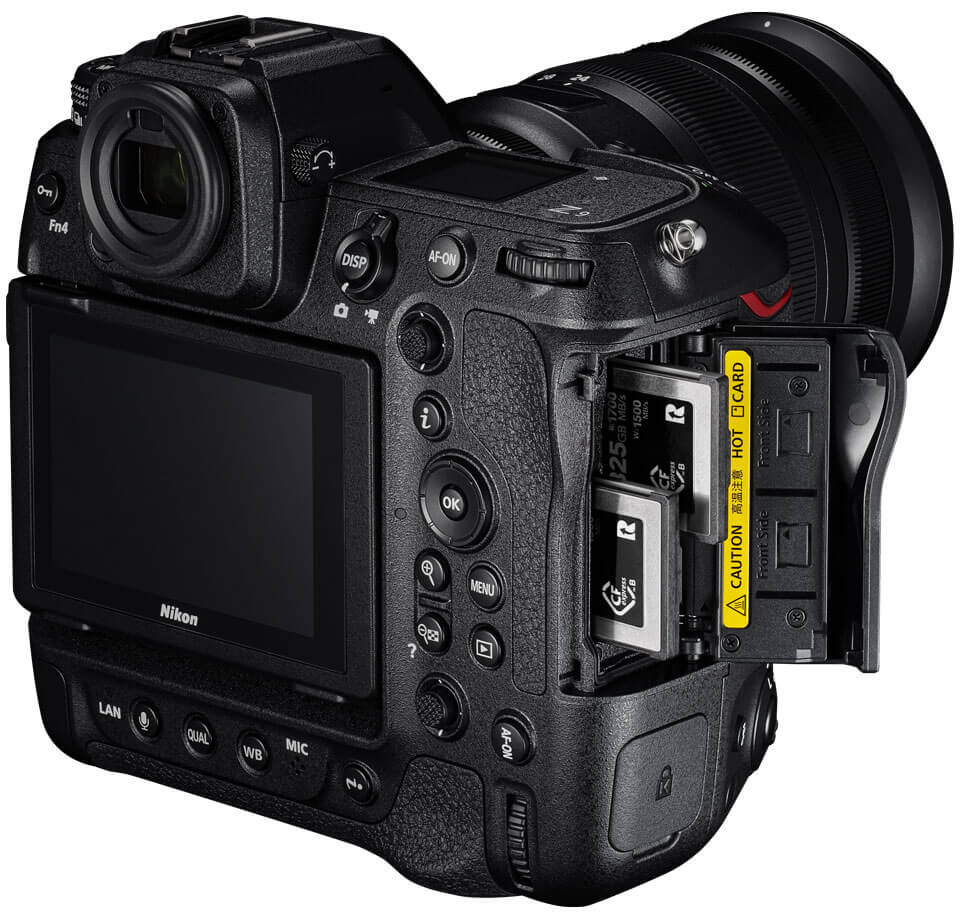
Nikon Z9 : Game-Changer for Photography
-
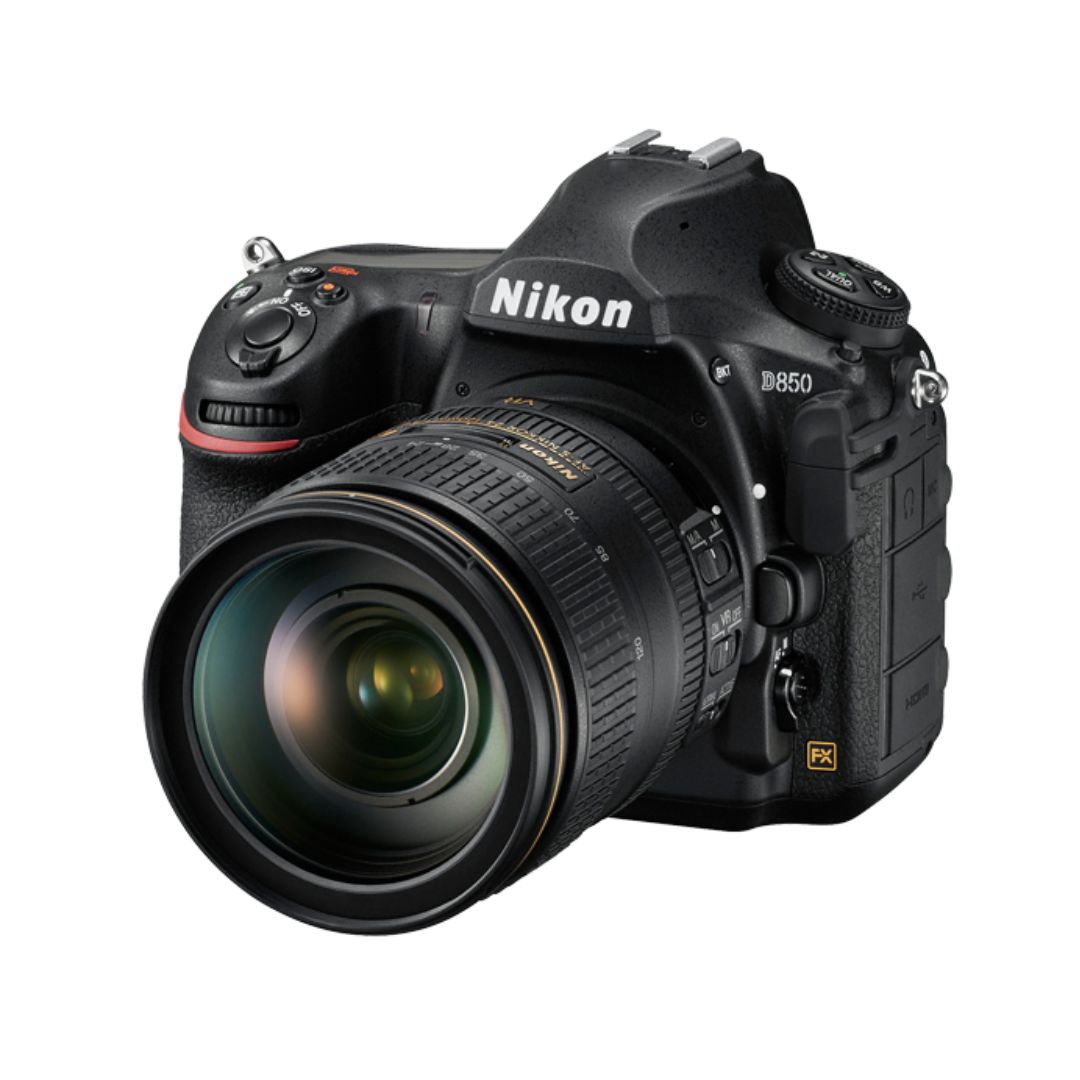
Top Features of Nikon D850 That Make It Ideal for Portfolio Shoots
Sony Alpha a7 IV: The Ultimate Camera for Photography
Explore the Sony Alpha a7 IV in this complete 2025 review. Learn how its pro-level features, real-world performance, and hybrid flexibility make it the ultimate camera for photography across genres like portraits, weddings, travel, and commercial work. Table of Contents Section 1: Introduction – Why the Sony Alpha a7 IV Stands Out The Sony Alpha…
Nikon Z5 Review: Is It Worth It?
In 2025, photographers—whether hobbyists, content creators, or professionals—seek equipment that blends value, performance, and future-readiness. Enter the Nikon Z5, a full-frame mirrorless camera marketed as a gateway to high-end imaging without a flagship price tag. But how well does it hold up under real-world demands like studio shoots, weddings, landscape adventures, and lifestyle photography? In…
Nikon Z9 : Game-Changer for Photography
Discover why the Nikon Z9 is considered a true game-changer for photography. This in-depth Nikon Z9 review explores key features, real-world performance, and how it excels in professional photo shoots in 2025. Table of Contents 1. Introduction The photography world witnessed a significant shift with the launch of the Nikon Z9, a flagship mirrorless camera…
Top Features of Nikon D850 That Make It Ideal for Portfolio Shoots
Discover why the Nikon D850 is the ultimate DSLR for portfolio shoots. Explore its top features—from resolution and dynamic range to autofocus precision and workflow speed—that help photographers create stunning, high-impact images for professional portfolios. Whether you’re a portrait artist, fashion photographer, or visual storyteller, a portfolio shoot demands technical excellence, creative flexibility, and uncompromised…
Candid Moments with Canon EOS R10: Lightweight & Reliable
In the evolving world of mirrorless photography, the Canon EOS R10 stands out as a lightweight yet powerful camera tailored for real-life storytelling. Whether you’re photographing street scenes, family gatherings, weddings, or spontaneous portraits, capturing genuine emotion requires a responsive and discreet tool. This article dives deep into how the Canon EOS R10 excels in…
Bold Portraits with Canon EOS R5: Is It the Best for Work?
Studio photography has always demanded precision, artistry, and impeccable gear. As the expectations for commercial portraits, fashion campaigns, and editorial work continue to rise, the tools we use must evolve. Enter the Canon EOS R5, a camera that has stirred the professional waters with its impressive technical specs and forward-thinking design. In this comprehensive Canon…