

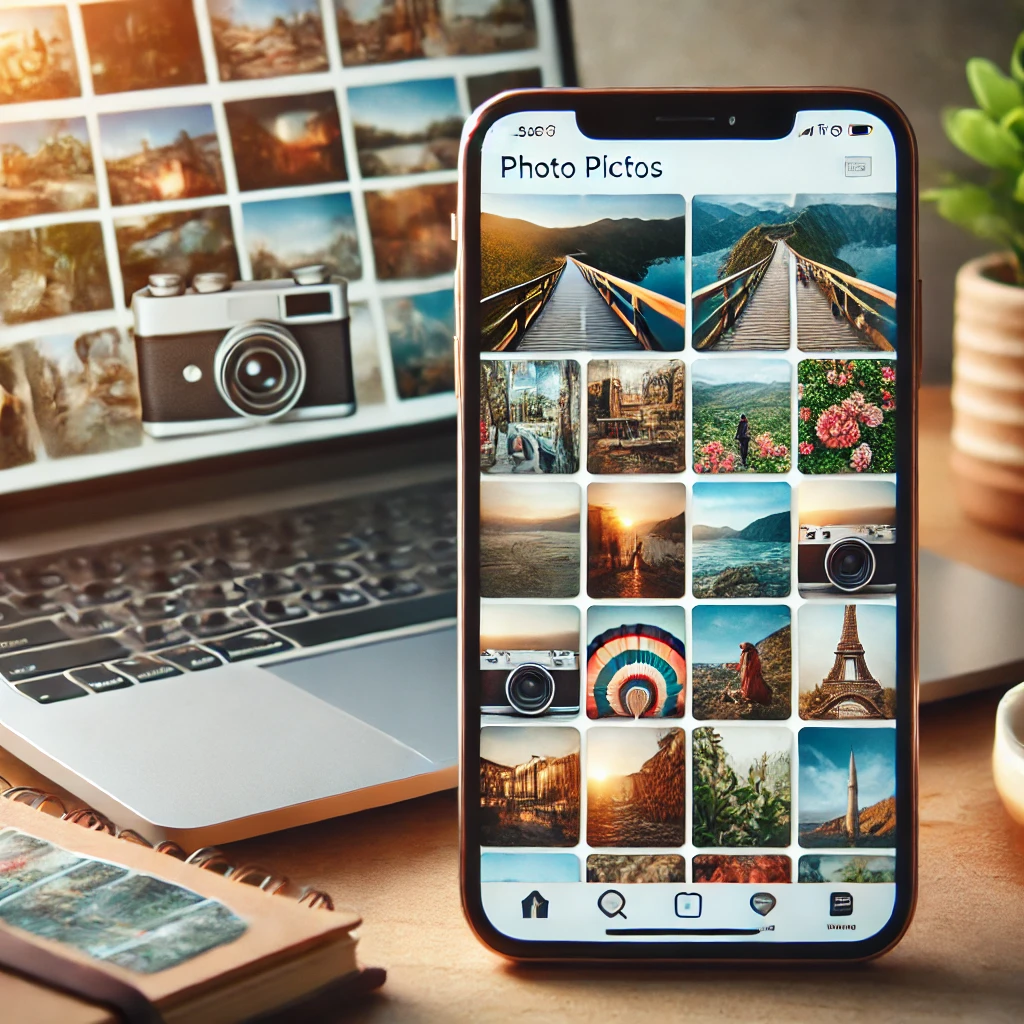
Travel photography captures unforgettable memories, but keeping those images organized is crucial for creating engaging Instagram posts and blog content. With thousands of pictures from multiple destinations, a streamlined workflow ensures that your best shots shine. In this guide, we’ll explore how to organize your travel photos effectively to maximize your storytelling potential on Instagram and blogs.
Why Organizing Your Travel Photos is Essential
- Efficient Content Creation: Saves time when posting or writing blogs.
- Consistent Aesthetic: Helps maintain a visually cohesive feed.
- Easy Access: Allows quick retrieval of specific photos.
- Backup & Security: Protects against accidental loss.
- Improved Workflow: Reduces stress and enhances productivity.
Step 1: Plan Ahead Before You Shoot
Choose a Theme or Storyline
- Define the narrative of your trip (e.g., food, landscapes, culture, adventure).
- Identify key moments that align with your content strategy.
Use Proper Camera & Phone Settings
- Shoot in RAW for flexibility in editing.
- Enable GPS tagging to organize by location.
- Create folders in-camera to separate shots by day or event.
Take Multiple Angles
- Capture wide, mid, and close-up shots.
- Vary perspectives to add depth to your collection.
Step 2: Sorting & Categorizing Your Photos
Create a Logical Folder Structure
- Main Folder: Travel Photos
- Subfolders by Year: 2024, 2023, etc.
- Destinations: Paris, Bali, New York
- Specific Events: Sunrise at Eiffel Tower, Street Markets
- Destinations: Paris, Bali, New York
- Subfolders by Year: 2024, 2023, etc.
Use Metadata & Tags
- Apply keywords for easy search (e.g., “sunset,” “beach,” “architecture”).
- Utilize color-coded labels to highlight best shots.
Delete Unnecessary Photos
- Remove duplicates, blurry shots, or overexposed images.
- Keep only high-quality, meaningful photos.
Step 3: Editing & Enhancing Your Photos
Choose the Right Editing Tools
- Lightroom: Best for color grading and batch processing.
- Snapseed: User-friendly for mobile edits.
- VSCO: Offers film-like filters for Instagram aesthetics.
- Canva: Great for adding text overlays for blogs.
Maintain a Consistent Editing Style
- Define a color palette (warm, cool, earthy tones).
- Use presets for uniformity.
- Adjust brightness, contrast, and sharpness for a polished look.
Step 4: Storing & Backing Up Your Photos
Cloud Storage Options
- Google Photos: Free backup with AI-powered search.
- Dropbox: Easy sharing and collaboration.
- iCloud: Ideal for Apple users with seamless device sync.
External Hard Drives
- Store high-resolution files to save cloud space.
- Create duplicate copies for extra security.
Backup Strategy
- Use the 3-2-1 Rule: 3 copies, 2 different formats, 1 offsite backup.
Step 5: Curating Photos for Instagram & Blogs
Instagram Planning
- Use a Scheduling Tool: Plan posts with apps like Later or Planoly.
- Create a Posting Calendar: Align with events, seasons, or themes.
- Alternate Between Close-Ups & Landscapes: Maintain variety in your feed.
Blog Photo Selection
- Pick images that enhance storytelling.
- Optimize for web (resize and compress for fast loading).
- Add relevant captions and alt text for SEO.
Step 6: Organizing Highlights & Story Archives
Instagram Highlights
- Categorize by topic (e.g., Food, Landscapes, City Tours).
- Use consistent cover icons for a polished look.
Blog Image Indexing
- Embed galleries by destination.
- Use a tagging system for easy navigation.
Step 7: Keeping Your Photo Library Organized Over Time
Monthly Cleanups
- Remove unnecessary photos and duplicates.
- Update keyword tags and metadata.
Consistent Naming Conventions
- Format example: 2024_Paris_EiffelSunset.jpg
Regular Backups
- Schedule automatic backups weekly or monthly.
Conclusion
Organizing your travel photos doesn’t have to be overwhelming. By implementing a structured approach to sorting, editing, storing, and curating your images, you’ll create a seamless workflow for Instagram and blog content. A well-maintained library ensures you can easily find and showcase your best travel moments, making your content more impactful and engaging.
By following these steps, you’ll master the art of travel photo organization, enabling you to share visually stunning and well-structured content effortlessly. Start to organize your travel photos today and elevate your Instagram and blogging game!

Sony Alpha a7 IV: The Ultimate Camera for Photography
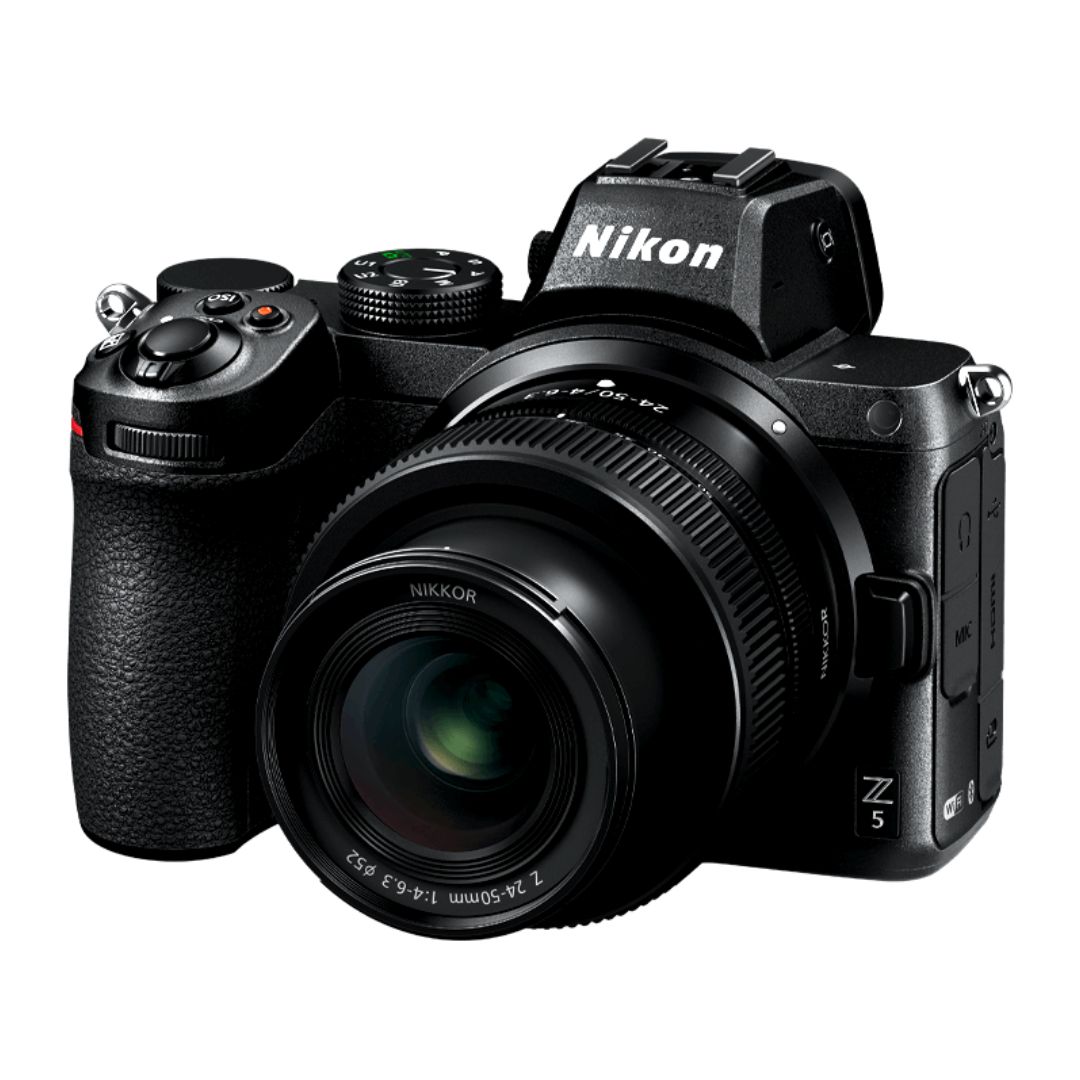
Nikon Z5 Review: Is It Worth It?
-
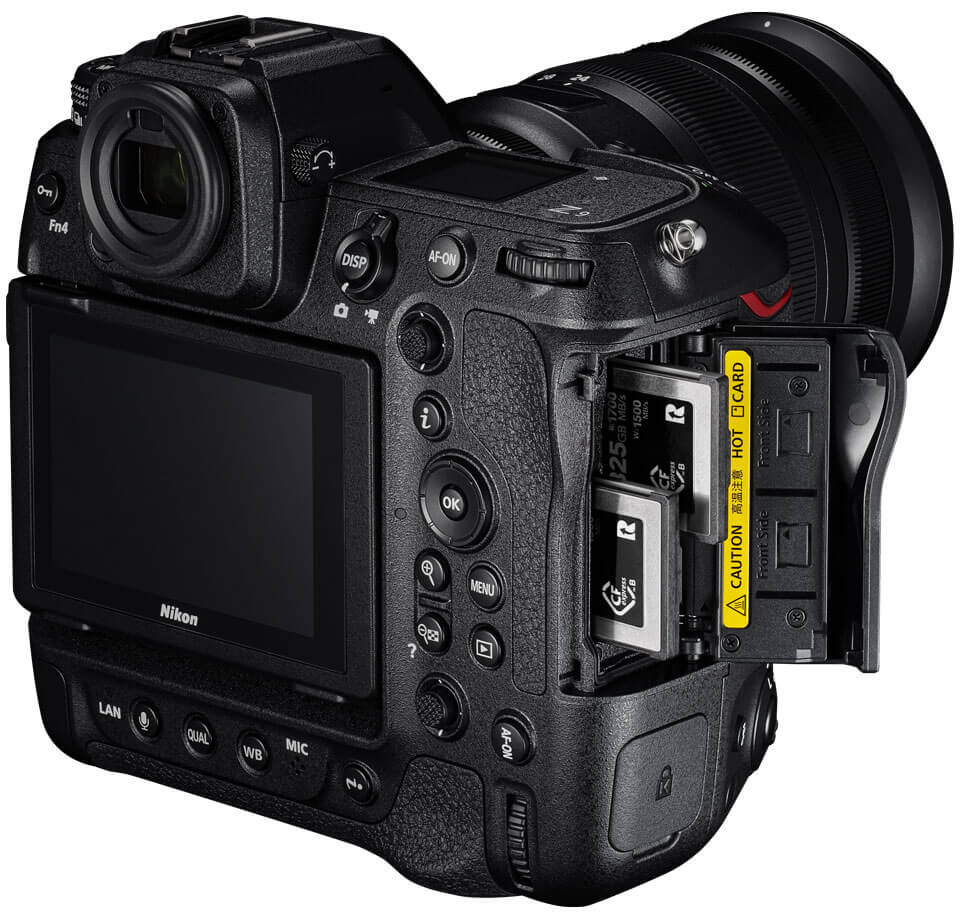
Nikon Z9 : Game-Changer for Photography
-
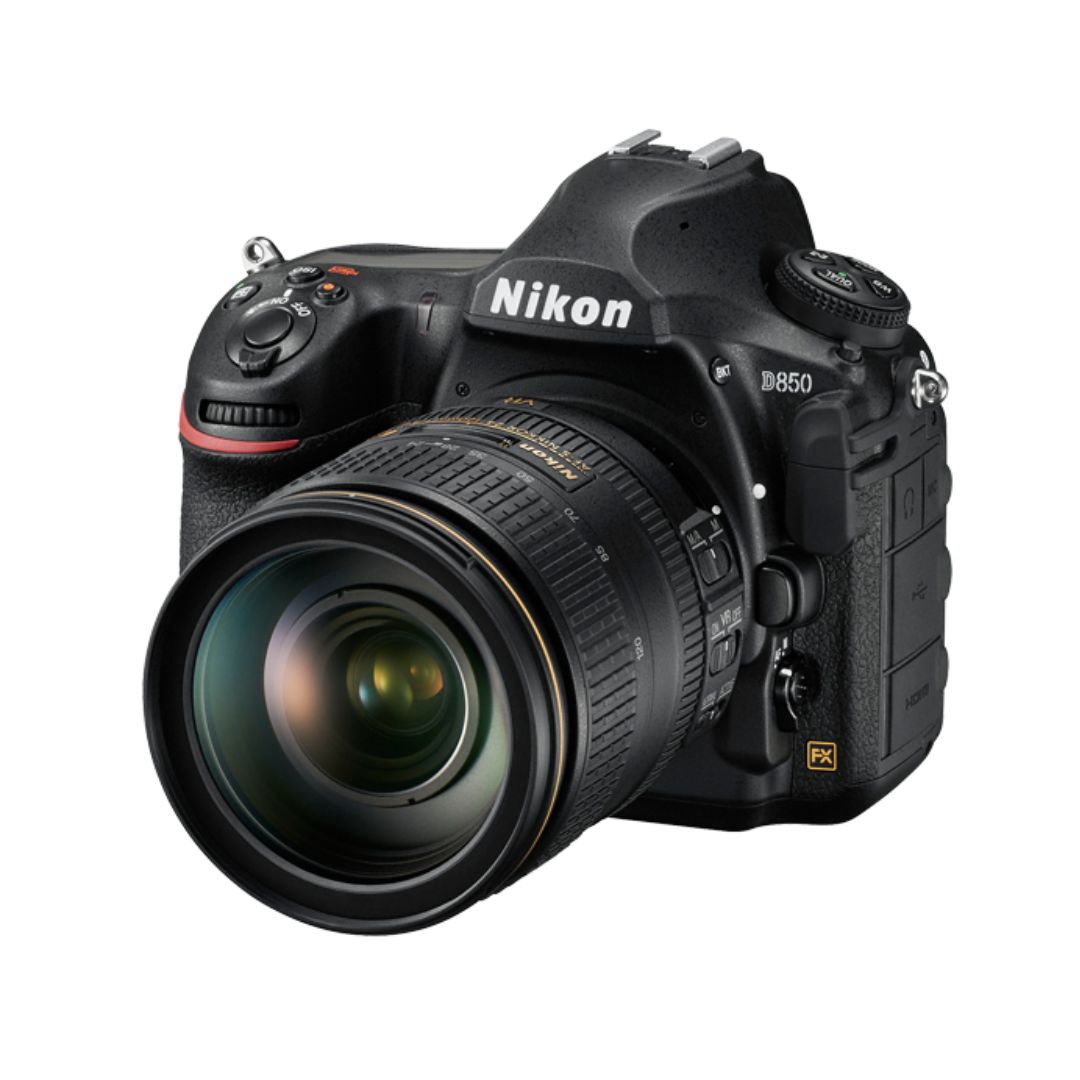
Top Features of Nikon D850 That Make It Ideal for Portfolio Shoots
Sony Alpha a7 IV: The Ultimate Camera for Photography
Explore the Sony Alpha a7 IV in this complete 2025 review. Learn how its pro-level features, real-world performance, and hybrid flexibility make it the ultimate camera for photography across genres like portraits, weddings, travel, and commercial work. Table of Contents Section 1: Introduction – Why the Sony Alpha a7 IV Stands Out The Sony Alpha…
Nikon Z5 Review: Is It Worth It?
In 2025, photographers—whether hobbyists, content creators, or professionals—seek equipment that blends value, performance, and future-readiness. Enter the Nikon Z5, a full-frame mirrorless camera marketed as a gateway to high-end imaging without a flagship price tag. But how well does it hold up under real-world demands like studio shoots, weddings, landscape adventures, and lifestyle photography? In…
Nikon Z9 : Game-Changer for Photography
Discover why the Nikon Z9 is considered a true game-changer for photography. This in-depth Nikon Z9 review explores key features, real-world performance, and how it excels in professional photo shoots in 2025. Table of Contents 1. Introduction The photography world witnessed a significant shift with the launch of the Nikon Z9, a flagship mirrorless camera…
Top Features of Nikon D850 That Make It Ideal for Portfolio Shoots
Discover why the Nikon D850 is the ultimate DSLR for portfolio shoots. Explore its top features—from resolution and dynamic range to autofocus precision and workflow speed—that help photographers create stunning, high-impact images for professional portfolios. Whether you’re a portrait artist, fashion photographer, or visual storyteller, a portfolio shoot demands technical excellence, creative flexibility, and uncompromised…
Candid Moments with Canon EOS R10: Lightweight & Reliable
In the evolving world of mirrorless photography, the Canon EOS R10 stands out as a lightweight yet powerful camera tailored for real-life storytelling. Whether you’re photographing street scenes, family gatherings, weddings, or spontaneous portraits, capturing genuine emotion requires a responsive and discreet tool. This article dives deep into how the Canon EOS R10 excels in…
Bold Portraits with Canon EOS R5: Is It the Best for Work?
Studio photography has always demanded precision, artistry, and impeccable gear. As the expectations for commercial portraits, fashion campaigns, and editorial work continue to rise, the tools we use must evolve. Enter the Canon EOS R5, a camera that has stirred the professional waters with its impressive technical specs and forward-thinking design. In this comprehensive Canon…