


Product photography with models adds life, personality, and relatability to your brand’s imagery. Whether you’re selling fashion, beauty products, or lifestyle goods, showcasing real people using your items enhances trust and improves engagement. This guide covers everything you need to know about incorporating models into your product photoshoots.
Why Use Models in Product Photography?
1. Builds Trust and Connection
Seeing a real person using or wearing a product creates authenticity. Customers relate better to an image that feels real rather than just an isolated object on a white background.
2. Enhances Brand Identity
Using models in your product images reinforces your brand’s visual tone and style. A cohesive approach ensures consistency across all platforms, from your website to social media.
3. Provides a Sense of Scale
Sometimes, customers struggle to visualize the actual size of a product. A model interacting with the product gives viewers a better understanding of its dimensions and usability.
4. Creates Emotional Engagement
A smiling face, a confident pose, or a lifestyle moment makes potential buyers feel something. Emotional connections drive purchase decisions.
Choosing the Right Models for Your Brand
1. Understand Your Target Audience
Your model selection should reflect your ideal customer. Consider age, gender, lifestyle, and interests to ensure that your models resonate with your audience.
2. Diversity and Inclusivity Matter
Consumers appreciate diversity in marketing. A range of ethnicities, body types, and ages broadens your product’s appeal and fosters inclusivity.
3. Professional vs. Amateur Models
While professional models know how to pose and express emotions effectively, amateur models or even brand ambassadors can bring a more natural and relatable feel to your images.
Planning a Photoshoot with Models
1. Define Your Creative Vision
Set clear goals for the shoot:
- What emotions should the images evoke?
- What settings complement the brand?
- Should the images be candid or posed?
2. Location and Background Selection
Your shoot location should align with the product’s theme:
- Studio Settings: Ideal for controlled lighting and clean backgrounds.
- Outdoor Locations: Perfect for lifestyle photography and capturing natural light.
- Indoor Environments: Adds a homely, personal touch to everyday-use products.
3. Outfit and Styling Considerations
The model’s wardrobe should complement the product without overshadowing it. Use neutral or brand-relevant colors and avoid excessive patterns that distract from the main subject.
4. Hiring a Professional Photographer vs. DIY Approach
A seasoned photographer understands lighting, angles, and composition. However, brands on a budget can still achieve great results using a high-quality camera or smartphone with proper lighting setups.
Essential Posing Techniques for Product Photography
1. Posing for Fashion & Apparel Photography
- Showcase product details like fabric texture and fit.
- Use dynamic poses that highlight movement and comfort.
- Capture multiple angles to offer a full view.
2. Lifestyle Posing for Everyday Products
- Models should interact naturally with the product.
- Candid shots help create an authentic feel.
- Use expressions that match the product’s use-case (e.g., joyful for wellness products, focused for tech gadgets).
3. Hands-on Approach for Small Accessories
- Close-up shots of hands holding jewelry, watches, or makeup.
- Minimal distractions to keep the product in focus.
- Soft, natural lighting for elegant product visibility.
Lighting and Equipment for Model Photography
1. Natural Light vs. Artificial Light
- Natural light: Best for lifestyle shots, especially outdoors.
- Studio lighting: Controlled and consistent, ideal for commercial shots.
- Ring lights & Softboxes: Enhance facial features and reduce harsh shadows.
2. Camera and Lens Recommendations
- DSLR/Mirrorless Cameras: Offer superior quality and depth of field.
- Prime Lenses (50mm, 85mm): Perfect for portrait-style product shots.
- Wide-Angle Lenses: Useful for environmental lifestyle images.
3. Reflectors and Light Modifiers
- Reflectors: Fill shadows and balance lighting.
- Diffusers: Soften harsh light for a flattering effect.
Editing and Retouching Product Images
1. Basic Edits to Enhance Quality
- Adjust brightness, contrast, and saturation.
- Remove distracting elements.
- Crop for better composition.
2. Retouching Skin and Fabric Details
- Smooth minor blemishes without making the image look artificial.
- Retouch clothing wrinkles while keeping texture realistic.
3. Consistency Across All Images
- Use preset filters or color grading styles for uniformity.
- Ensure branding elements remain cohesive.
Common Mistakes to Avoid
1. Over-Retouching
Excessive edits make models appear unnatural, reducing credibility.
2. Poorly Chosen Backgrounds
A cluttered or distracting background takes focus away from the product.
3. Inconsistent Lighting
Unbalanced lighting results in harsh shadows and unappealing images.
4. Lack of Variation
Avoid repetitive poses. Capture multiple angles and expressions to offer variety.
Conclusion
Incorporating models in product photography elevates your brand’s visual storytelling. Thoughtful planning, the right models, and strategic execution can create compelling images that enhance product appeal and drive conversions. Whether you’re working with professionals or everyday people, authenticity remains key in connecting with your audience.
Would you like expert guidance on your next product photoshoot? Contact The Candid Shoot for professional photography services tailored to your brand’s needs.

Sony Alpha a7 IV: The Ultimate Camera for Photography
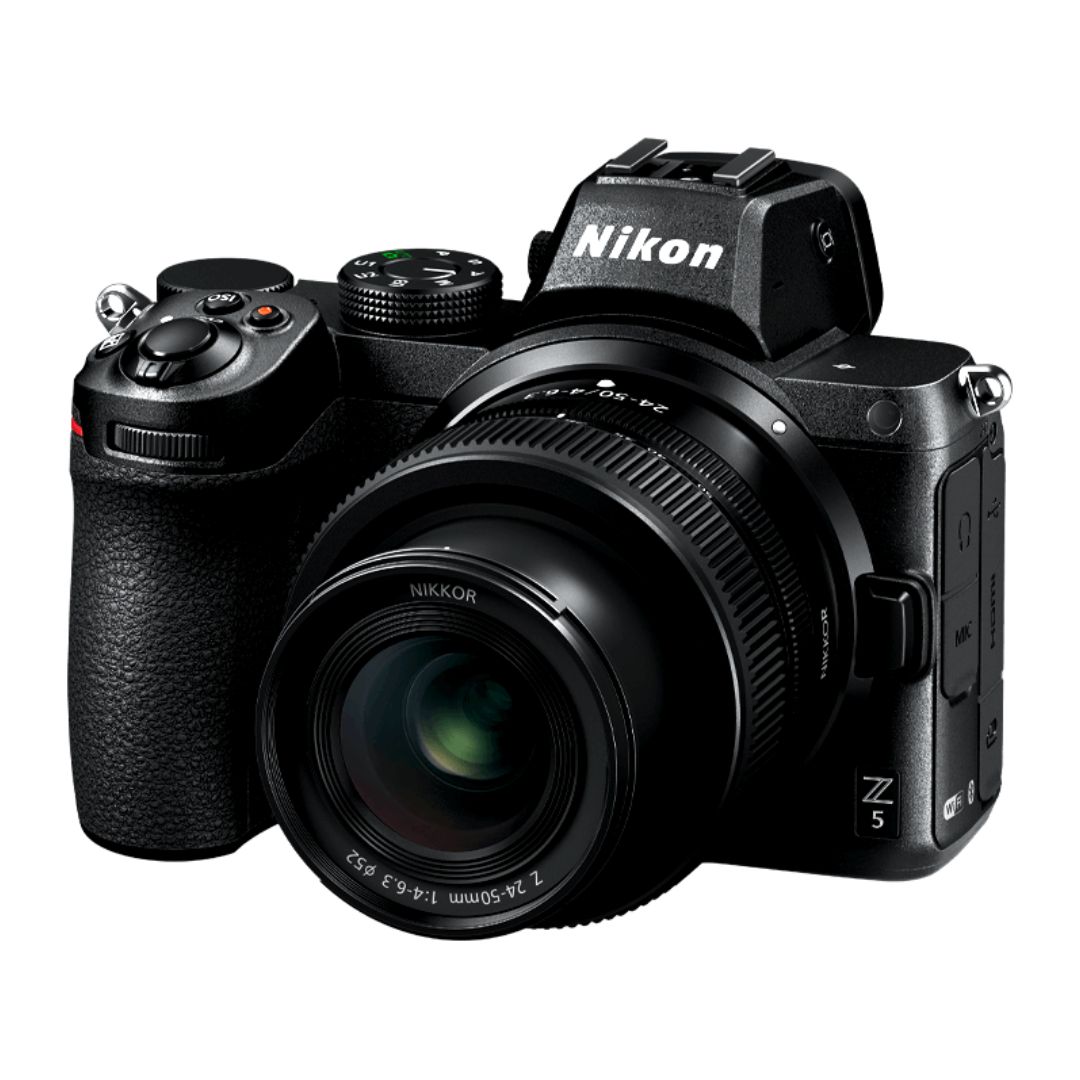
Nikon Z5 Review: Is It Worth It?
-
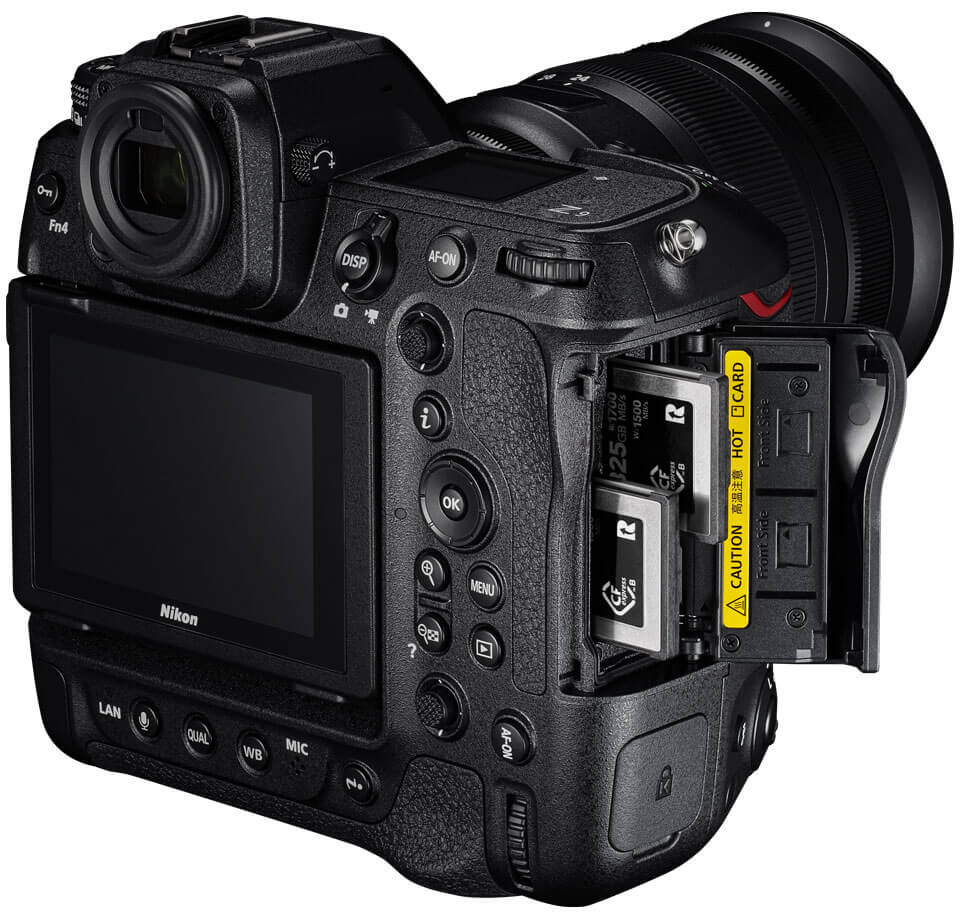
Nikon Z9 : Game-Changer for Photography
-
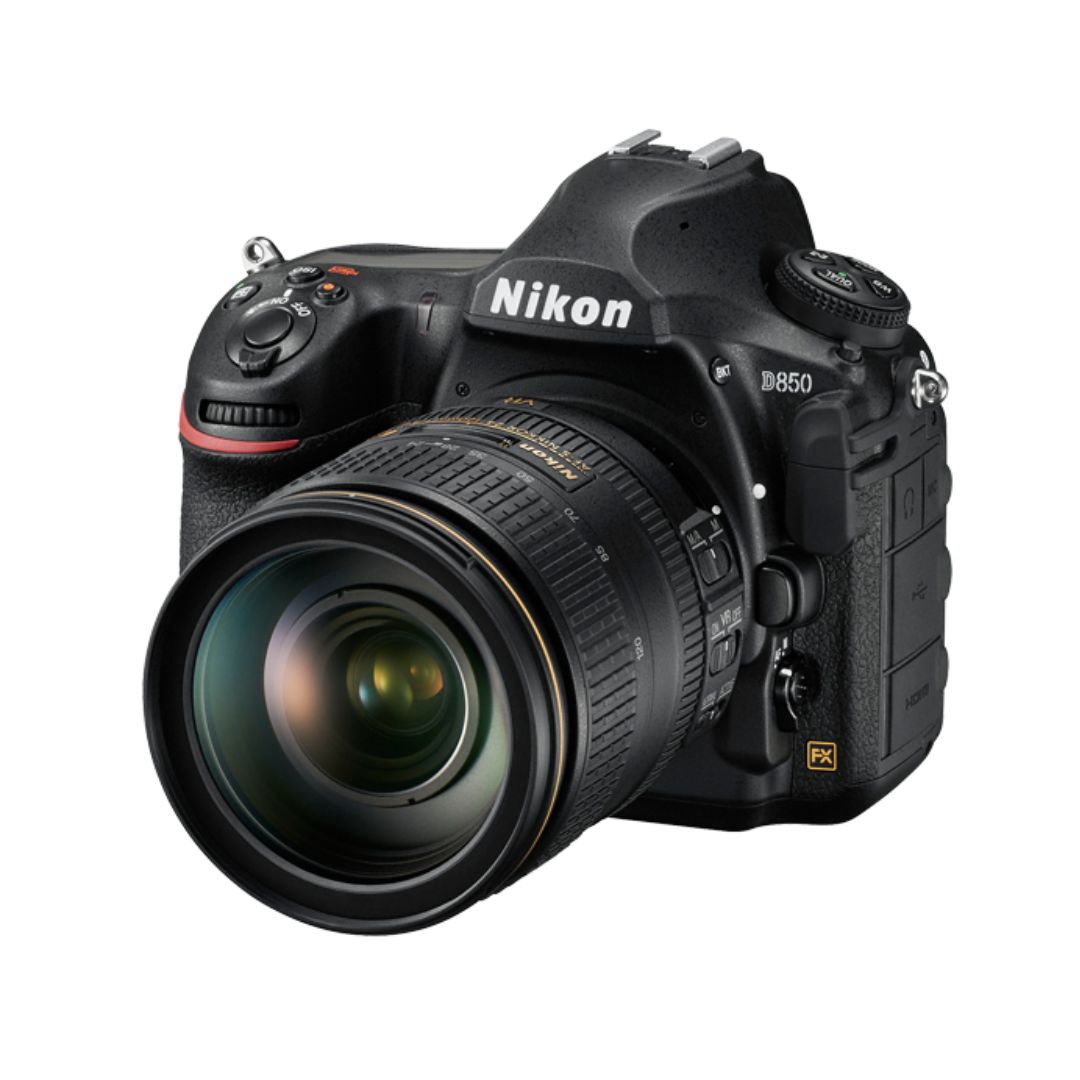
Top Features of Nikon D850 That Make It Ideal for Portfolio Shoots
Sony Alpha a7 IV: The Ultimate Camera for Photography
Explore the Sony Alpha a7 IV in this complete 2025 review. Learn how its pro-level features, real-world performance, and hybrid flexibility make it the ultimate camera for photography across genres like portraits, weddings, travel, and commercial work. Table of Contents Section 1: Introduction – Why the Sony Alpha a7 IV Stands Out The Sony Alpha…
Nikon Z5 Review: Is It Worth It?
In 2025, photographers—whether hobbyists, content creators, or professionals—seek equipment that blends value, performance, and future-readiness. Enter the Nikon Z5, a full-frame mirrorless camera marketed as a gateway to high-end imaging without a flagship price tag. But how well does it hold up under real-world demands like studio shoots, weddings, landscape adventures, and lifestyle photography? In…
Nikon Z9 : Game-Changer for Photography
Discover why the Nikon Z9 is considered a true game-changer for photography. This in-depth Nikon Z9 review explores key features, real-world performance, and how it excels in professional photo shoots in 2025. Table of Contents 1. Introduction The photography world witnessed a significant shift with the launch of the Nikon Z9, a flagship mirrorless camera…
Top Features of Nikon D850 That Make It Ideal for Portfolio Shoots
Discover why the Nikon D850 is the ultimate DSLR for portfolio shoots. Explore its top features—from resolution and dynamic range to autofocus precision and workflow speed—that help photographers create stunning, high-impact images for professional portfolios. Whether you’re a portrait artist, fashion photographer, or visual storyteller, a portfolio shoot demands technical excellence, creative flexibility, and uncompromised…
Candid Moments with Canon EOS R10: Lightweight & Reliable
In the evolving world of mirrorless photography, the Canon EOS R10 stands out as a lightweight yet powerful camera tailored for real-life storytelling. Whether you’re photographing street scenes, family gatherings, weddings, or spontaneous portraits, capturing genuine emotion requires a responsive and discreet tool. This article dives deep into how the Canon EOS R10 excels in…
Bold Portraits with Canon EOS R5: Is It the Best for Work?
Studio photography has always demanded precision, artistry, and impeccable gear. As the expectations for commercial portraits, fashion campaigns, and editorial work continue to rise, the tools we use must evolve. Enter the Canon EOS R5, a camera that has stirred the professional waters with its impressive technical specs and forward-thinking design. In this comprehensive Canon…