


Photography skills is an art that requires patience, creativity, and continuous learning. Whether you are a beginner or an experienced photographer, there is always room for improvement. This 30-day challenge is designed to help you refine your skills through structured practice. Each day focuses on a different aspect of photography, ensuring steady progress. By the end of this challenge, you will have developed a sharper eye for composition, lighting, and storytelling.
Week 1: Mastering Photography Skills
Day 1: Understanding Your Camera
- Read your camera manual and familiarize yourself with its settings.
- Experiment with different shooting modes (Auto, Manual, Aperture Priority, Shutter Priority).
- Case Study: A photographer switched from auto to manual mode and improved their exposure control.
Day 2: Exposure Triangle (Aperture, Shutter Speed, ISO)
- Learn how aperture controls depth of field.
- Understand how shutter speed affects motion blur.
- Adjust ISO for different lighting conditions.
- Example: Shooting a moving car at 1/1000s vs. 1/30s.
Day 3: Composition Basics
- Apply the rule of thirds to frame your subject.
- Experiment with leading lines and symmetry.
- Case Study: A travel photographer improved engagement by following the rule of thirds.
Day 4: Focusing Techniques
- Learn about auto vs. manual focus.
- Use focus modes like single-shot and continuous.
- Exercise: Capture a moving object using AI Servo (Canon) or AF-C (Nikon/Sony).
Day 5: White Balance and Color Accuracy
- Understand how different light sources affect color.
- Adjust white balance to achieve accurate tones.
- Example: Correcting a sunset photo that appears too blue.
Day 6: Using Natural Light
- Shoot during golden hour for softer lighting.
- Avoid harsh midday sun by using shaded areas.
- Case Study: Portrait photographers who prefer natural light over flash.
Day 7: Shooting in Different Weather Conditions
- Capture reflections after rain.
- Adjust settings for foggy or overcast days.
- Example: Taking dramatic landscape shots in stormy weather.
Week 2: Advanced Techniques
Day 8: Long Exposure Photography
- Use slow shutter speeds for light trails and silky water effects.
- Example: Shooting waterfalls at 1/4s for a smooth effect.
Day 9: Capturing Motion
- Try panning to keep moving subjects sharp while blurring the background.
- Exercise: Photograph cyclists or cars in motion.
Day 10: Macro Photography
- Get close to small objects like flowers and insects.
- Use a macro lens or extension tubes.
Day 11: Portrait Photography Essentials
- Master posing and framing.
- Use soft light sources for flattering skin tones.
Day 12: Landscape Photography Techniques
- Utilize a small aperture (f/8–f/16) for sharpness.
- Include foreground elements for depth.
Day 13: Black and White Photography
- Look for contrast and strong shadows.
- Convert color photos to B&W and analyze the impact.
Day 14: HDR Photography
- Merge multiple exposures for balanced details.
- Example: Capturing a sunset with foreground details.
Week 3: Creativity and Storytelling
Day 15: Creative Framing
- Use windows, doorways, and natural frames.
- Example: Shooting through tree branches for a layered effect.
Day 16: Silhouettes and Shadows
- Position subjects against bright light sources.
- Case Study: Dramatic wedding silhouettes at sunset.
Day 17: Street Photography
- Capture candid moments in public spaces.
- Use a 35mm or 50mm lens for versatility.
Day 18: Storytelling Through Photography
- Create a series of images that convey an emotion or event.
- Example: Documenting a day in the life of a street vendor.
Day 19: Capturing Details and Textures
- Focus on intricate patterns and surfaces.
- Exercise: Photograph tree bark, fabric, and architectural elements.
Day 20: Using Reflections
- Capture mirror-like surfaces like water and glass.
- Example: Urban photography using puddles.
Day 21: Abstract Photography Skills
- Look for shapes, colors, and patterns.
- Exercise: Blur motion intentionally for artistic effect.
Week 4: Post-Processing and Refinement
Day 22: Basic Editing Skills
- Adjust brightness, contrast, and saturation.
- Example: Enhancing an underexposed portrait.
Day 23: Retouching Portraits
- Remove blemishes and soften skin in Lightroom or Photoshop.
- Case Study: Before-and-after effects of retouching.
Day 24: Enhancing Landscapes in Post-Production
- Adjust highlights and shadows for dramatic skies.
- Example: Boosting saturation in a dull beach photo.
Day 25: Removing Distractions
- Use healing and clone tools.
- Exercise: Remove unwanted objects from an image.
Day 26: Creating a Consistent Editing Style
- Define a color palette and mood for your photos.
- Example: Developing a signature look for Instagram.
Day 27: Understanding Printing and Formats
- Learn about DPI and color profiles.
- Exercise: Print a high-quality photo and analyze the results.
Day 28: Curating a Portfolio
- Select your best shots for an online or print portfolio.
- Case Study: A photographer’s journey from hobbyist to professional.
Day 29: Social Media and Photography
- Learn how to present your work on Instagram and Pinterest.
- Example: Increasing engagement through storytelling captions.
Day 30: Reviewing Progress and Setting Goals
- Compare Day 1 and Day 30 photos.
- Plan future projects to continue growth.
Conclusion
By completing this challenge, you will have significantly improved your photography skills. From mastering camera settings to storytelling through images, these 30 days will set a strong foundation. Keep experimenting, stay curious, and continue to develop your unique photographic style.

Sony Alpha a7 IV: The Ultimate Camera for Photography
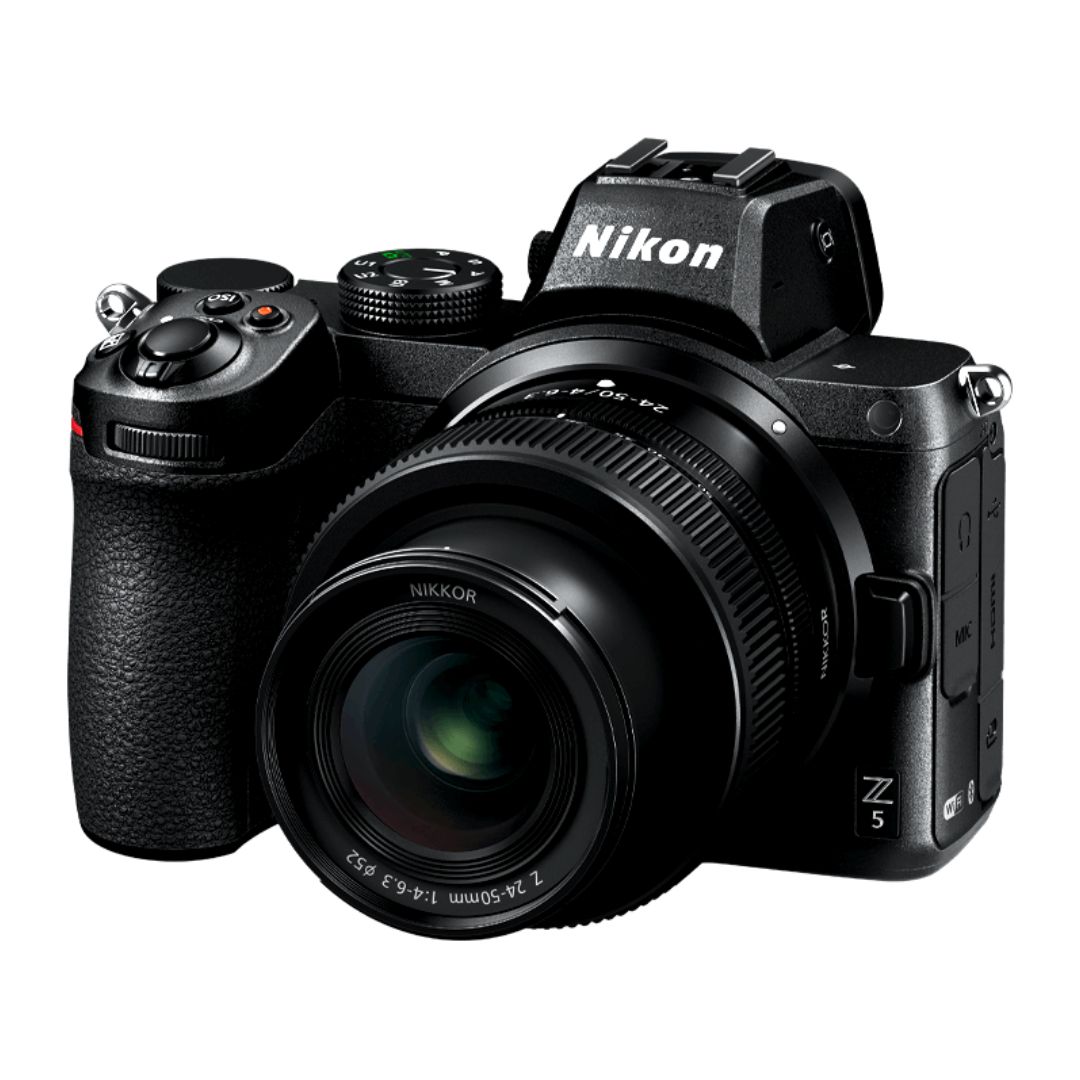
Nikon Z5 Review: Is It Worth It?
-
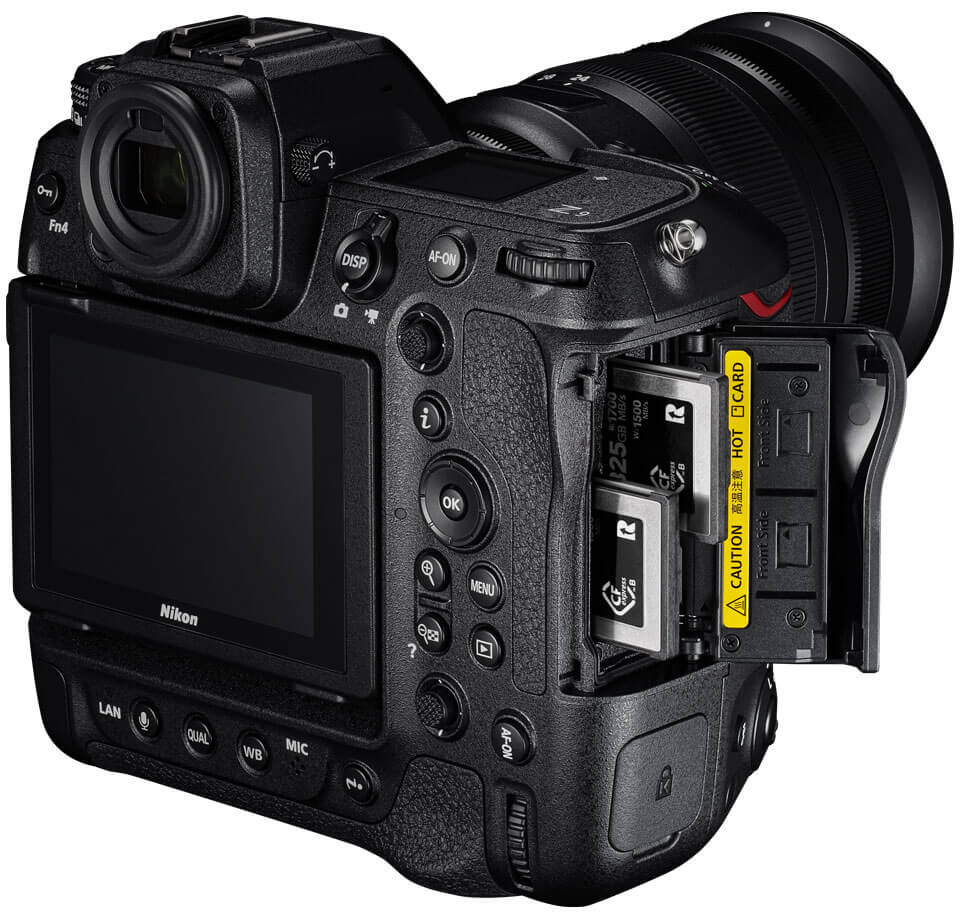
Nikon Z9 : Game-Changer for Photography
-
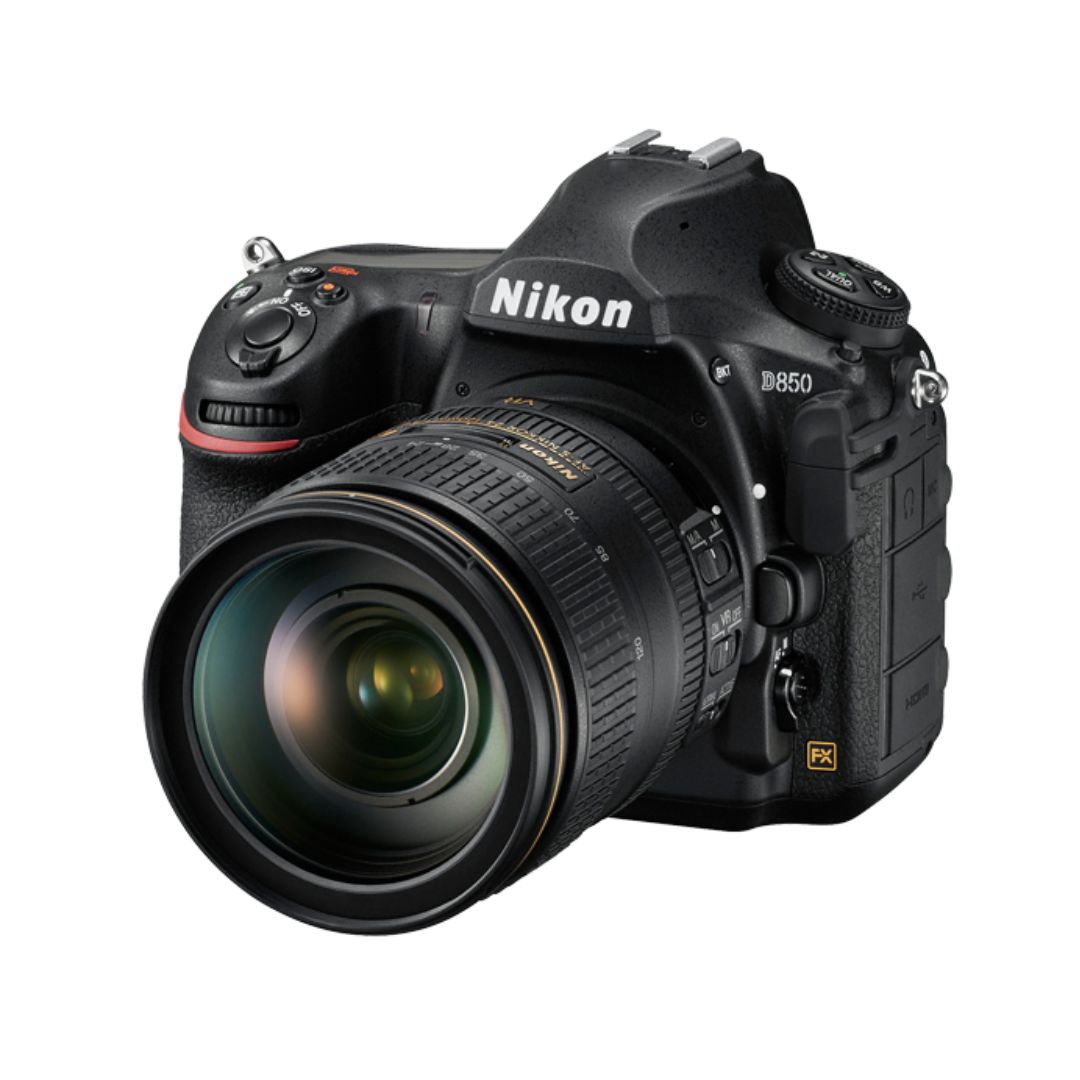
Top Features of Nikon D850 That Make It Ideal for Portfolio Shoots
Sony Alpha a7 IV: The Ultimate Camera for Photography
Explore the Sony Alpha a7 IV in this complete 2025 review. Learn how its pro-level features, real-world performance, and hybrid flexibility make it the ultimate camera for photography across genres like portraits, weddings, travel, and commercial work. Table of Contents Section 1: Introduction – Why the Sony Alpha a7 IV Stands Out The Sony Alpha…
Nikon Z5 Review: Is It Worth It?
In 2025, photographers—whether hobbyists, content creators, or professionals—seek equipment that blends value, performance, and future-readiness. Enter the Nikon Z5, a full-frame mirrorless camera marketed as a gateway to high-end imaging without a flagship price tag. But how well does it hold up under real-world demands like studio shoots, weddings, landscape adventures, and lifestyle photography? In…
Nikon Z9 : Game-Changer for Photography
Discover why the Nikon Z9 is considered a true game-changer for photography. This in-depth Nikon Z9 review explores key features, real-world performance, and how it excels in professional photo shoots in 2025. Table of Contents 1. Introduction The photography world witnessed a significant shift with the launch of the Nikon Z9, a flagship mirrorless camera…
Top Features of Nikon D850 That Make It Ideal for Portfolio Shoots
Discover why the Nikon D850 is the ultimate DSLR for portfolio shoots. Explore its top features—from resolution and dynamic range to autofocus precision and workflow speed—that help photographers create stunning, high-impact images for professional portfolios. Whether you’re a portrait artist, fashion photographer, or visual storyteller, a portfolio shoot demands technical excellence, creative flexibility, and uncompromised…
Candid Moments with Canon EOS R10: Lightweight & Reliable
In the evolving world of mirrorless photography, the Canon EOS R10 stands out as a lightweight yet powerful camera tailored for real-life storytelling. Whether you’re photographing street scenes, family gatherings, weddings, or spontaneous portraits, capturing genuine emotion requires a responsive and discreet tool. This article dives deep into how the Canon EOS R10 excels in…
Bold Portraits with Canon EOS R5: Is It the Best for Work?
Studio photography has always demanded precision, artistry, and impeccable gear. As the expectations for commercial portraits, fashion campaigns, and editorial work continue to rise, the tools we use must evolve. Enter the Canon EOS R5, a camera that has stirred the professional waters with its impressive technical specs and forward-thinking design. In this comprehensive Canon…