


Product photography is crucial for attracting customers and increasing conversions. A well-edited image can enhance the perceived value of your product and establish a strong brand identity. In this guide, we’ll break down professional editing techniques to help you create high-end edit product photos that look polished and visually compelling.
1. Understanding the Importance to Edit Product Photos
1.1 Why Editing Matters in Product Photography
- Enhances product appeal
- Creates a consistent brand aesthetic
- Increases buyer confidence
- Helps products stand out in crowded marketplaces
1.2 The Role of Post-Processing in High-End Photos
- Fixing imperfections
- Adjusting lighting and colors
- Enhancing textures and details
- Creating a clean, professional look
2. Essential Tools for Product Photo Editing
2.1 Recommended Editing Software
- Adobe Photoshop (Industry-standard for high-end edits)
- Lightroom (For color correction and batch processing)
- Capture One (Preferred by professional photographers)
- Canva (Beginner-friendly option for quick edits)
2.2 Additional Editing Accessories
- Graphics tablet for precision retouching
- High-resolution monitor for accurate color grading
- Calibrated color profiles to ensure consistency
3. Preparing Your Image for Editing
3.1 Choosing the Right File Format
- RAW vs. JPEG: Always shoot in RAW for maximum editing flexibility.
- Convert images to TIFF for lossless editing.
3.2 Cropping and Framing for the Best Composition
- Follow the rule of thirds for balanced compositions.
- Ensure product centering for e-commerce sites.
- Use negative space strategically to draw attention to the product.
4. Basic Adjustments for a Polished Look
4.1 Adjusting Exposure and Contrast
- Increase brightness for a clean, sharp look.
- Adjust contrast to define edges and textures.
4.2 Correcting White Balance for Accuracy
- Use the eyedropper tool in Lightroom or Photoshop.
- Adjust temperature and tint sliders for true-to-life colors.
4.3 Enhancing Colors for a Vibrant Look
- Use HSL sliders to refine color tones.
- Apply selective color adjustments for branding consistency.
5. Advanced Editing Techniques for a Luxury Feel
5.1 Retouching Product Surfaces
- Remove dust, scratches, and imperfections using the healing brush.
- Use the clone stamp tool to fix any inconsistencies.
5.2 Sharpening for Crisp Details
- Apply high-pass filter sharpening in Photoshop.
- Adjust clarity and structure in Lightroom.
5.3 Adding Realistic Shadows and Highlights
- Use dodge and burn techniques to create depth.
- Add natural drop shadows for a professional touch.
5.4 Background Removal and Enhancement
- Use the pen tool or select subject feature in Photoshop.
- Apply a clean, neutral background to make the product pop.
6. Creating a High-End Editing Workflow
6.1 Developing a Consistent Editing Style
- Establish a preset for consistent branding.
- Maintain uniform brightness and color balance across all images.
6.2 Batch Processing for Efficiency
- Use Lightroom’s sync settings for faster edits.
- Automate repetitive tasks with Photoshop actions.
7. Exporting and Optimizing for Different Platforms
7.1 Choosing the Right Export Settings
- For web: JPEG, 72dpi, sRGB color profile
- For print: TIFF, 300dpi, Adobe RGB
7.2 Compressing Images Without Losing Quality
- Use TinyPNG or ImageOptim for web optimization.
- Maintain a balance between quality and file size.
8. Common Mistakes to Avoid in Product Photo Editing
- Over-editing: Avoid unnatural-looking enhancements.
- Ignoring shadows: Flat images lack depth and realism.
- Inconsistent colors: Maintain branding across all images.
- Neglecting background cleanup: Distracting elements can lower image quality.
9. Final Tips for a Professional Touch
- Use gradient overlays for a polished background.
- Apply soft lighting effects to enhance highlights.
- Keep edits natural and refined to maintain authenticity.
Conclusion
Edit product photos for a high-end look requires skill and attention to detail. By following these techniques, you can transform simple product shots into stunning, professional-quality images that captivate audiences. Whether you’re an e-commerce seller, a brand photographer, or a social media influencer, mastering these editing skills will elevate your visual content and make your products stand out.
Need more professional photography tips? Check out our latest guides at The Candid Shoot!

Sony Alpha a7 IV: The Ultimate Camera for Photography
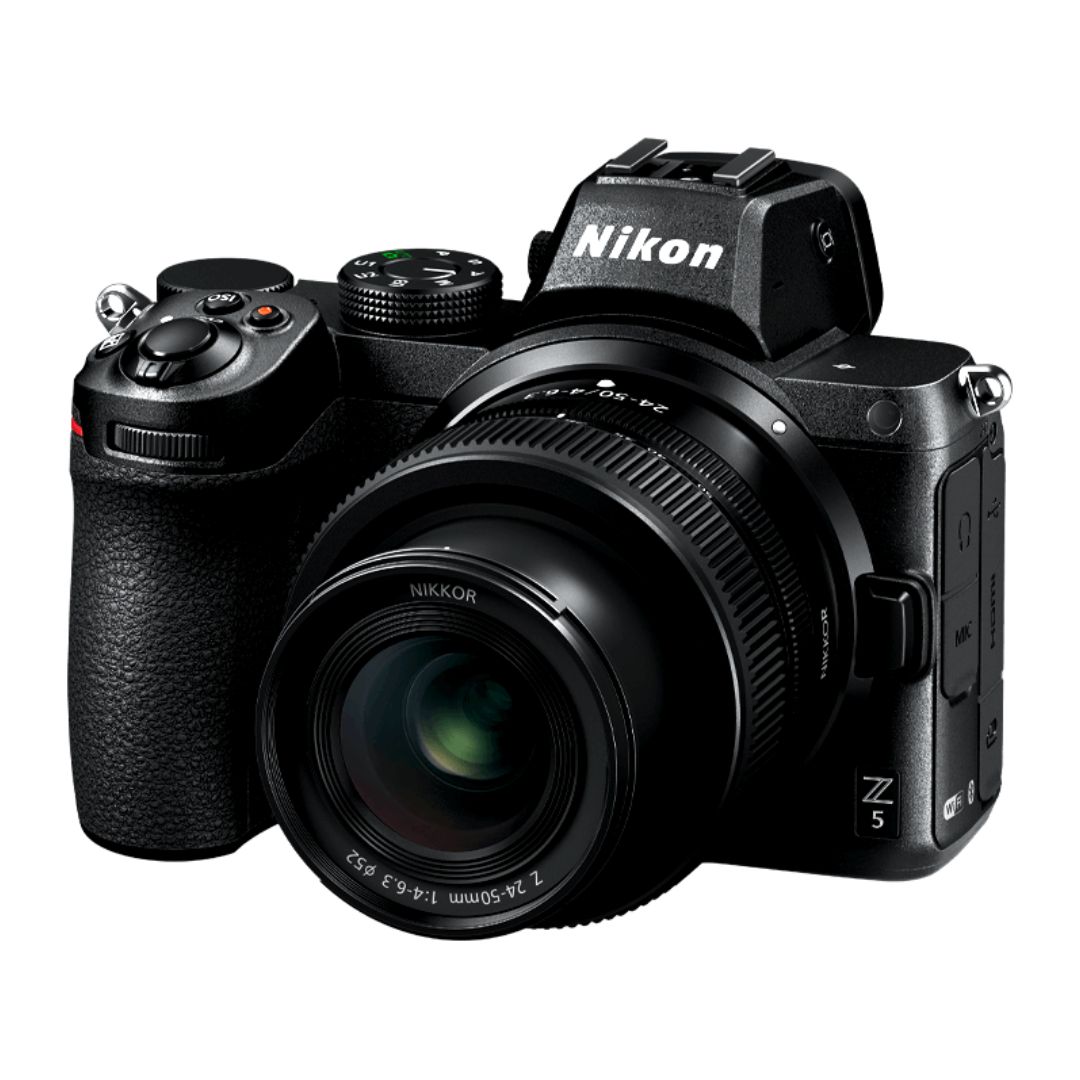
Nikon Z5 Review: Is It Worth It?
-
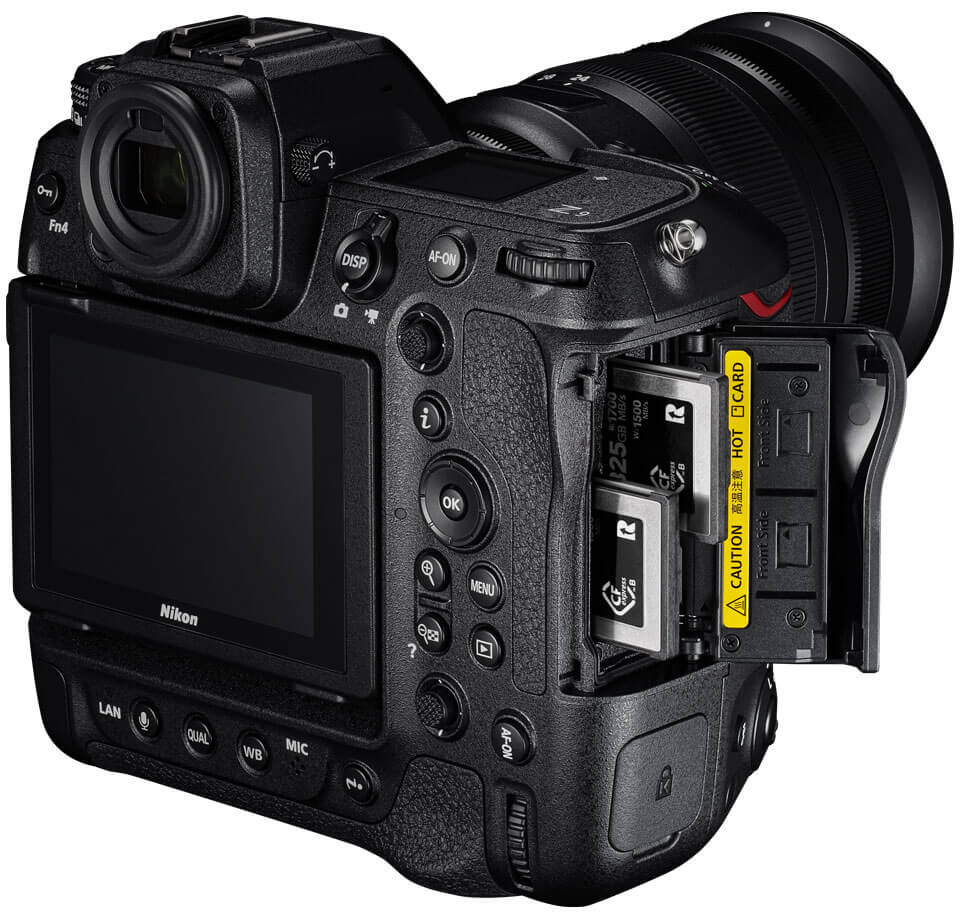
Nikon Z9 : Game-Changer for Photography
-
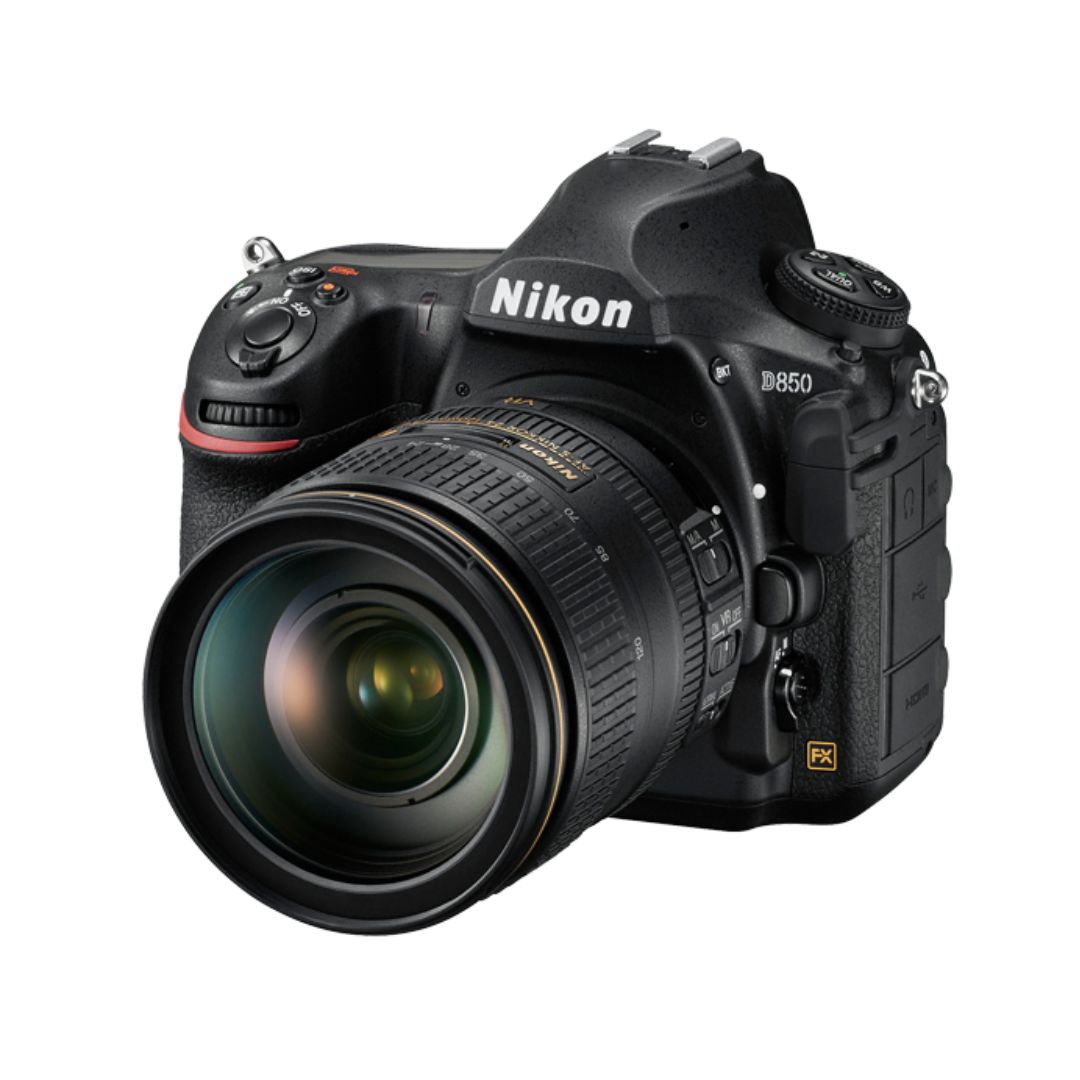
Top Features of Nikon D850 That Make It Ideal for Portfolio Shoots
Sony Alpha a7 IV: The Ultimate Camera for Photography
Explore the Sony Alpha a7 IV in this complete 2025 review. Learn how its pro-level features, real-world performance, and hybrid flexibility make it the ultimate camera for photography across genres like portraits, weddings, travel, and commercial work. Table of Contents Section 1: Introduction – Why the Sony Alpha a7 IV Stands Out The Sony Alpha…
Nikon Z5 Review: Is It Worth It?
In 2025, photographers—whether hobbyists, content creators, or professionals—seek equipment that blends value, performance, and future-readiness. Enter the Nikon Z5, a full-frame mirrorless camera marketed as a gateway to high-end imaging without a flagship price tag. But how well does it hold up under real-world demands like studio shoots, weddings, landscape adventures, and lifestyle photography? In…
Nikon Z9 : Game-Changer for Photography
Discover why the Nikon Z9 is considered a true game-changer for photography. This in-depth Nikon Z9 review explores key features, real-world performance, and how it excels in professional photo shoots in 2025. Table of Contents 1. Introduction The photography world witnessed a significant shift with the launch of the Nikon Z9, a flagship mirrorless camera…
Top Features of Nikon D850 That Make It Ideal for Portfolio Shoots
Discover why the Nikon D850 is the ultimate DSLR for portfolio shoots. Explore its top features—from resolution and dynamic range to autofocus precision and workflow speed—that help photographers create stunning, high-impact images for professional portfolios. Whether you’re a portrait artist, fashion photographer, or visual storyteller, a portfolio shoot demands technical excellence, creative flexibility, and uncompromised…
Candid Moments with Canon EOS R10: Lightweight & Reliable
In the evolving world of mirrorless photography, the Canon EOS R10 stands out as a lightweight yet powerful camera tailored for real-life storytelling. Whether you’re photographing street scenes, family gatherings, weddings, or spontaneous portraits, capturing genuine emotion requires a responsive and discreet tool. This article dives deep into how the Canon EOS R10 excels in…
Bold Portraits with Canon EOS R5: Is It the Best for Work?
Studio photography has always demanded precision, artistry, and impeccable gear. As the expectations for commercial portraits, fashion campaigns, and editorial work continue to rise, the tools we use must evolve. Enter the Canon EOS R5, a camera that has stirred the professional waters with its impressive technical specs and forward-thinking design. In this comprehensive Canon…