

Portrait photography is more than just pointing a camera at a subject and clicking a button. It’s an art form that requires skill, creativity, and attention to detail. Whether you’re photographing a professional model or capturing moments with friends and family, creating stunning portrait involves lighting, composition, expression, and camera settings.
This step-by-step guide will take you through everything you need to know to master portrait photography. From choosing the right gear to directing your subject and editing the final image, you’ll learn how to craft breathtaking portraits that tell a story.
Why Stunning Portraits Matter
A great portrait captures more than just appearance; it conveys personality, emotion, and mood. Whether for personal memories, professional headshots, or artistic projects, well-crafted portraits can leave a lasting impression.
The Power of Portrait Photography
- Creates Emotional Connection – A well-composed portrait draws the viewer into the subject’s world.
- Tells a Story – Expressions, lighting, and surroundings add depth and meaning to an image.
- Builds Confidence – A stunning portrait can boost self-esteem and create a positive self-image.
To achieve all this, let’s break down the essential steps for capturing stunning portraits.
Step 1: Choosing the Right Camera and Lens
The gear you use plays a huge role in the final image. While skill matters more than equipment, the right camera and lens can enhance image quality.
Best Cameras for Portrait Photography
DSLRs and mirrorless cameras offer manual controls and high-resolution image quality. Some great options include:
- Canon EOS R5 – High megapixel count and excellent autofocus
- Sony A7 IV – Fast focusing and great color science
- Nikon Z7 II – Superior dynamic range for natural skin tones
Choosing the Best Lens for Stunning Portrait
A lens affects depth of field, sharpness, and perspective. The best lenses for portrait photography include:
- 50mm f/1.8 (“Nifty Fifty”) – Natural perspective and creamy background blur
- 85mm f/1.4 – Ideal for flattering close-ups and beautiful bokeh
- 70-200mm f/2.8 – Great for compressing background and isolating the subject
Step 2: Understanding and Controlling Light
Light is one of the most important factors in portrait photography. It affects mood, depth, and clarity.
Types of Lighting for Portraits
- Natural Light – Soft and flattering, perfect for outdoor portraits
- Golden Hour – The warm, soft light just after sunrise and before sunset
- Artificial Light – Studio lights and speedlights offer controlled illumination
How to Use Lighting to Enhance Portraits
- Use a Reflector – A simple white or silver reflector bounces light for even skin tones
- Position the Light Source – Side lighting adds depth, front lighting softens shadows
- Experiment with Shadows – Play with contrast to create dramatic effects
Step 3: Mastering Camera Settings for Portrait
Knowing the right camera settings ensures sharp, well-exposed images.
Best Camera Settings for Stunning Portrait
- Aperture: Wide apertures (f/1.8 – f/2.8) blur the background, making the subject stand out
- Shutter Speed: 1/200s or faster to avoid motion blur
- ISO: Keep ISO low (100-400) to minimize noise
Using Manual Mode for More Control
Shooting in manual mode gives you full control over exposure. If you’re new to it, try aperture priority mode (A or Av) to focus on depth of field while letting the camera adjust the rest.
Step 4: Posing and Directing Your Subject
Great poses make portraits look natural and expressive.
How to Make Subjects Feel Comfortable
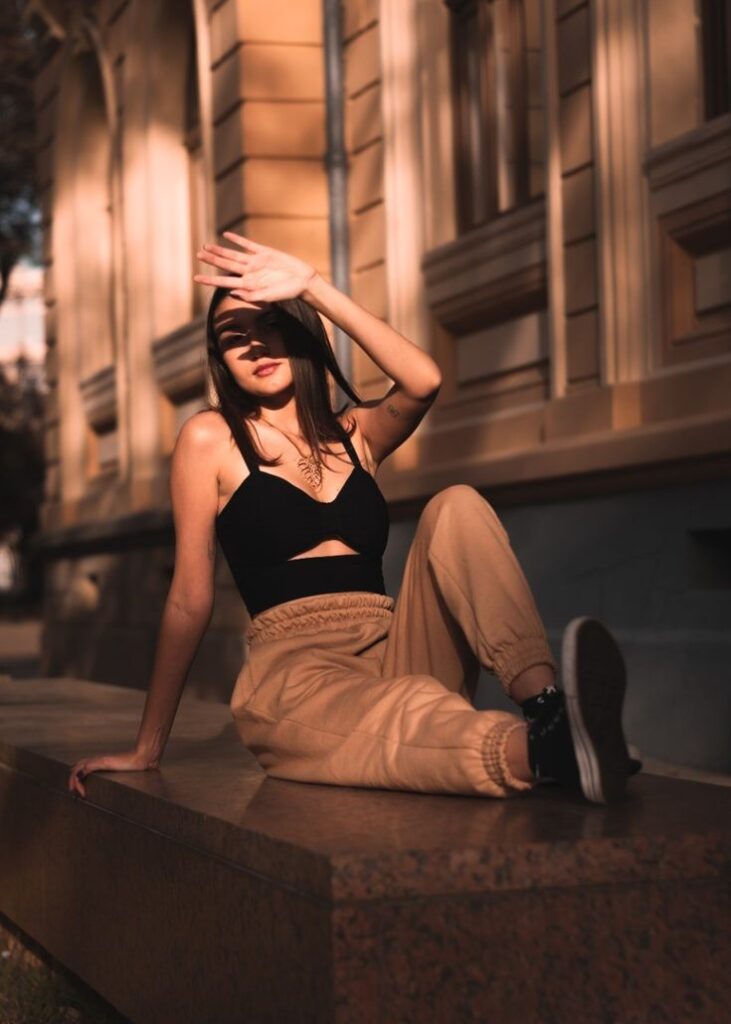
- Give Simple Directions – Use easy-to-follow cues like “Look slightly to the left”
- Keep Conversations Going – Engage your subject to capture genuine expressions
- Use Movement – Walking, turning, or looking away creates natural poses
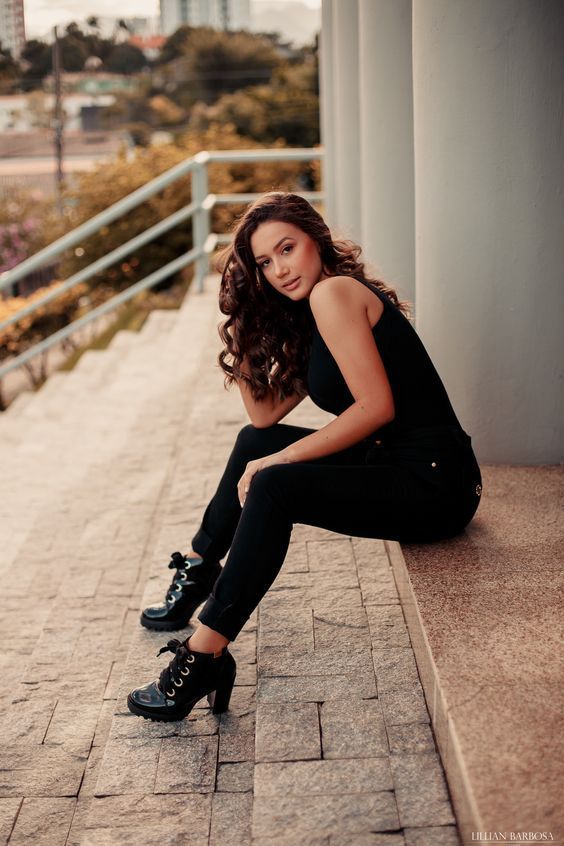
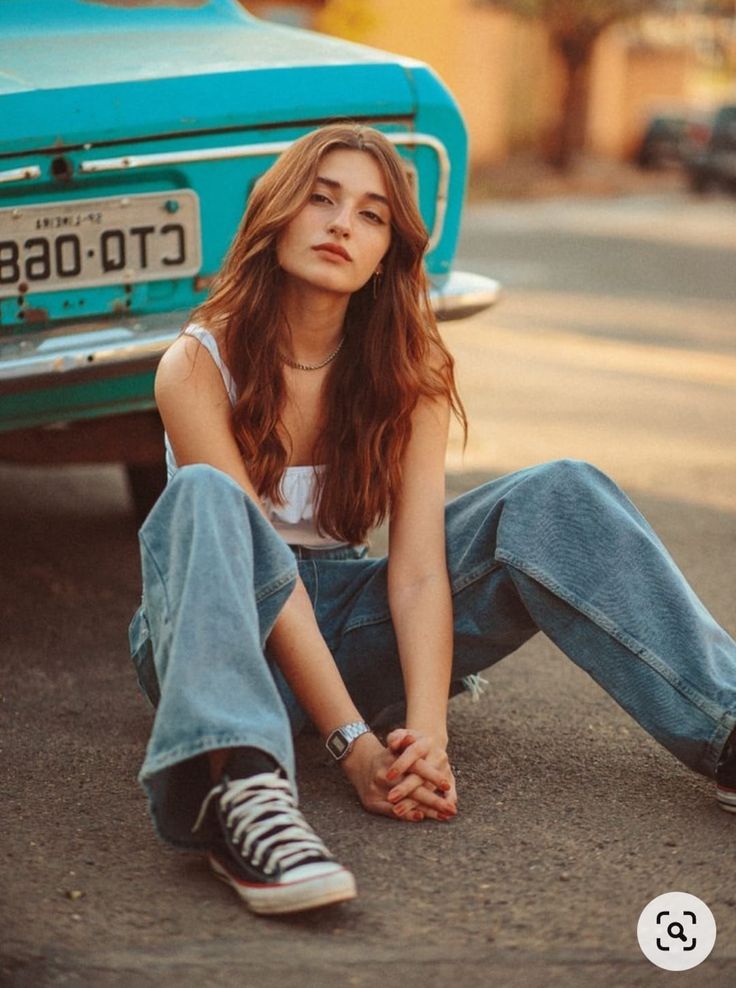
Best Poses for Stunning Portrait
- The Classic Headshot – Face slightly angled, soft smile or confident gaze
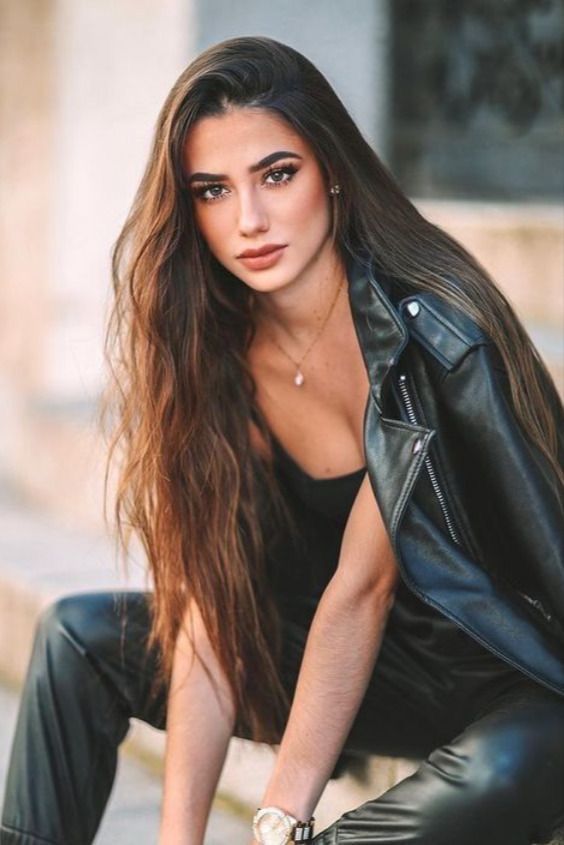
- Hands-in-Frame Pose – Hands in pockets, touching the face, or adjusting clothing
- Looking Away – Creates a candid, thoughtful effect
Step 5: Composing the Perfect Portrait
Composition brings balance and harmony to a portrait.
Top Composition Techniques for Portraits
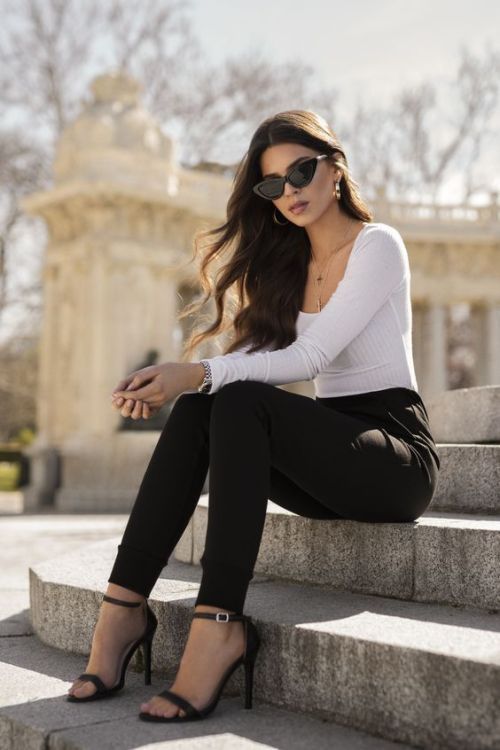
- Rule of Thirds – Place the subject off-center for a dynamic effect
- Leading Lines – Use background elements to draw attention to the subject
- Negative Space – A clean background makes the subject stand out
Background Selection
- Avoid Cluttered Backgrounds – A busy background distracts from the subject
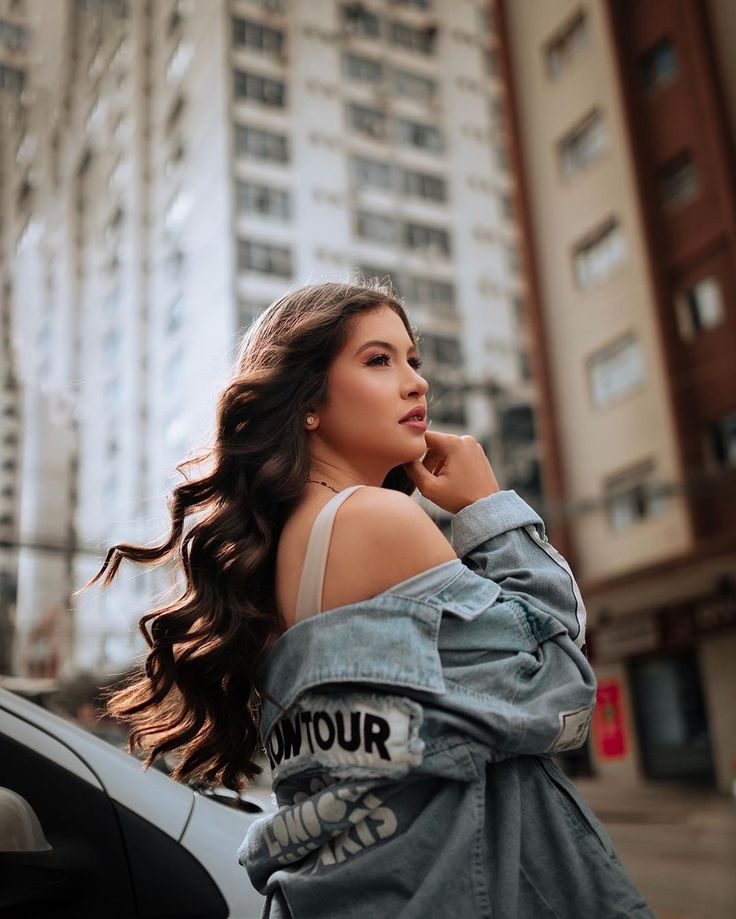
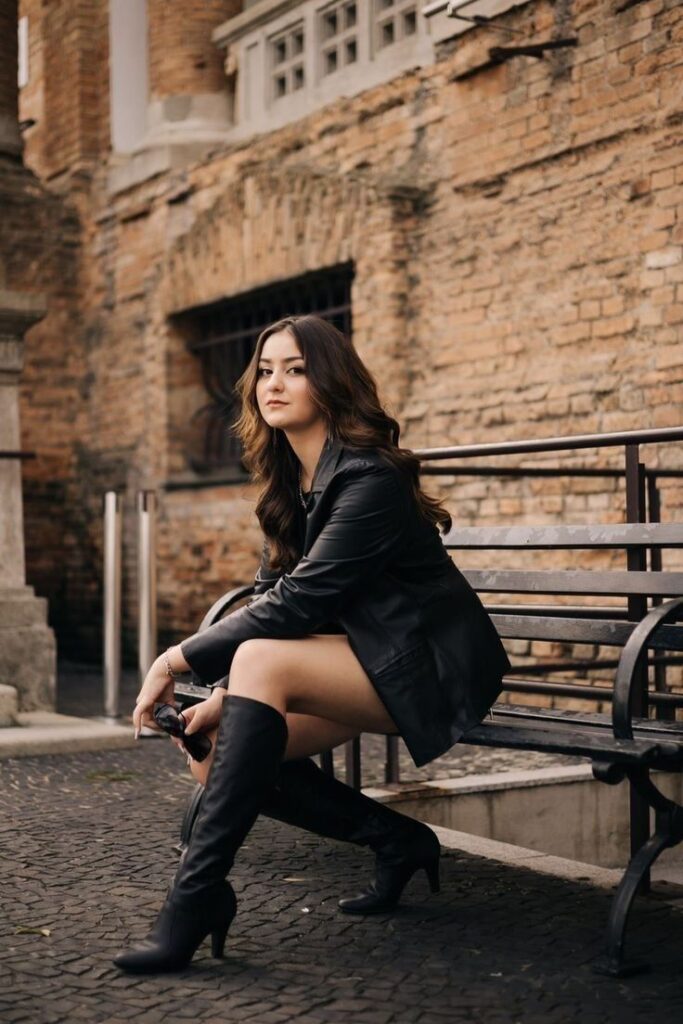
- Use Textures and Patterns – Brick walls, foliage, or urban settings add depth
- Blur the Background – A shallow depth of field makes the subject pop
Step 6: Editing for a Professional Finish
Post-processing enhances colors, sharpness, and overall impact.
Best Editing Software for Portraits
- Adobe Lightroom – Great for color correction and exposure adjustments
- Photoshop – Ideal for detailed skin retouching
- Capture One – Advanced color grading for professional portraits
Basic Portrait Editing Steps
- Adjust Exposure and Contrast – Ensure the subject is well-lit
- Smooth Skin Naturally – Reduce blemishes while keeping texture
- Enhance Eyes and Lips – Brighten eyes and subtly enhance lips for a polished look
Step 7: Capturing Emotion and Storytelling
The best portraits go beyond appearance; they evoke emotions.
How to Capture Emotion in Portraits
- Encourage Real Expressions – Make your subject laugh or reflect for authentic moments
- Use Meaningful Settings – A location with personal significance enhances storytelling
- Pay Attention to Micro-Expressions – Small details like eye twinkles or smirks add depth
Black and White Portraits for Stronger Emotion
Monochrome photography removes distractions and focuses on expressions and contrasts.
Step 8: Experimenting with Creative Portrait Photography
Unique Ideas for Stunning Portrait
- Silhouette Portraits – Backlight your subject for a striking silhouette
- Double Exposure – Blend two images for an artistic effect
- Props and Accessories – Hats, scarves, and flowers add personality
Trying Different Perspectives
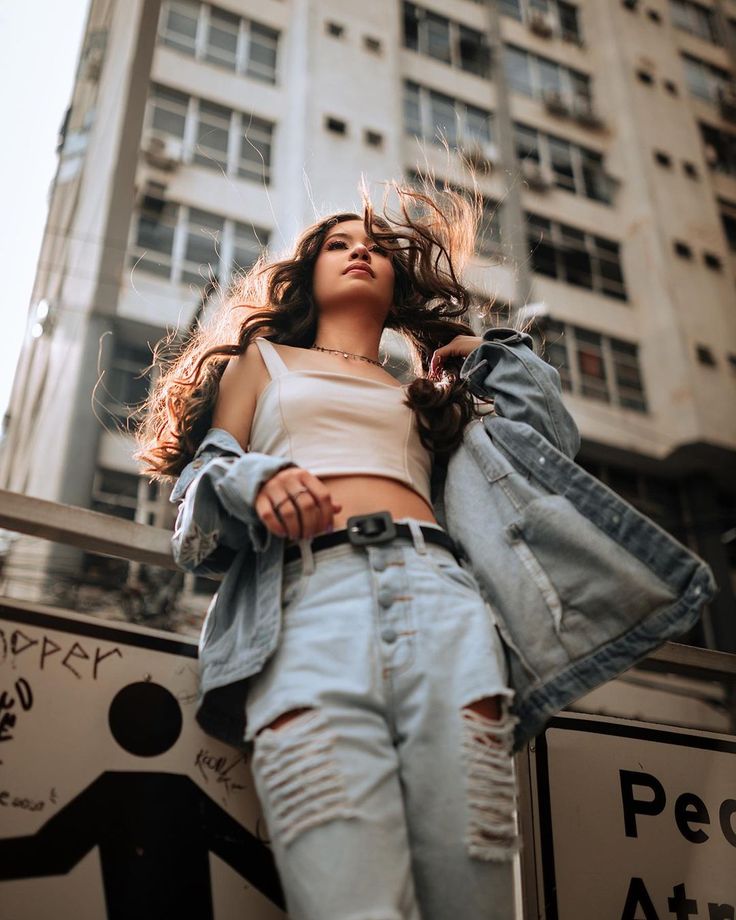
- High-Angle Portraits – Makes the subject look smaller and delicate
- Low-Angle Portraits – Adds power and presence to the subject
- Close-Up Details – Focus on eyes, hands, or accessories for unique compositions
Conclusion
Mastering portrait photography takes time, but with practice and these step-by-step techniques, you can capture stunning portrait that leave a lasting impact. From choosing the right lens to directing subjects and editing with finesse, each step enhances the artistry of your portraits.
Start experimenting today and let your portraits tell beautiful, compelling stories!

Sony Alpha a7 IV: The Ultimate Camera for Photography
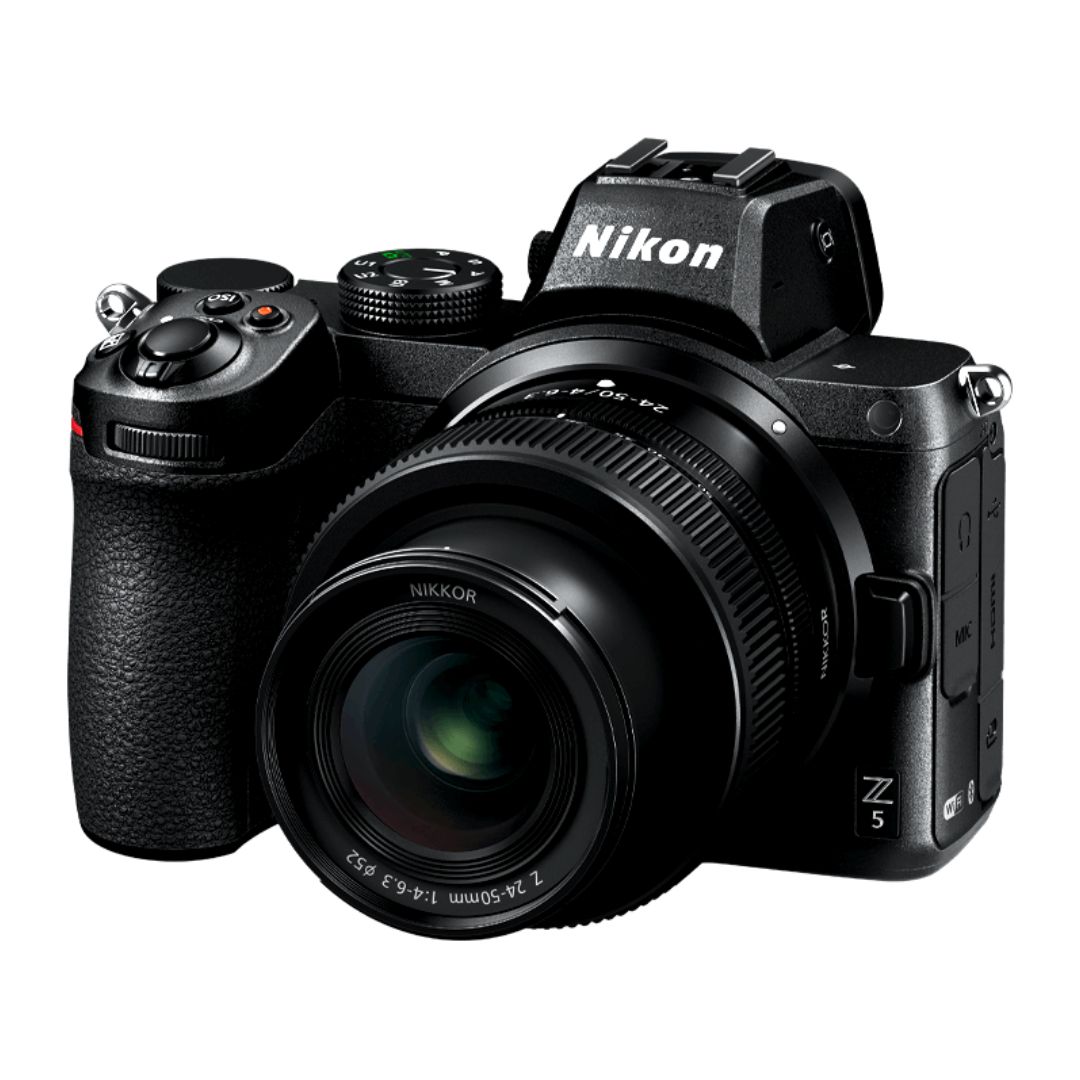
Nikon Z5 Review: Is It Worth It?
-
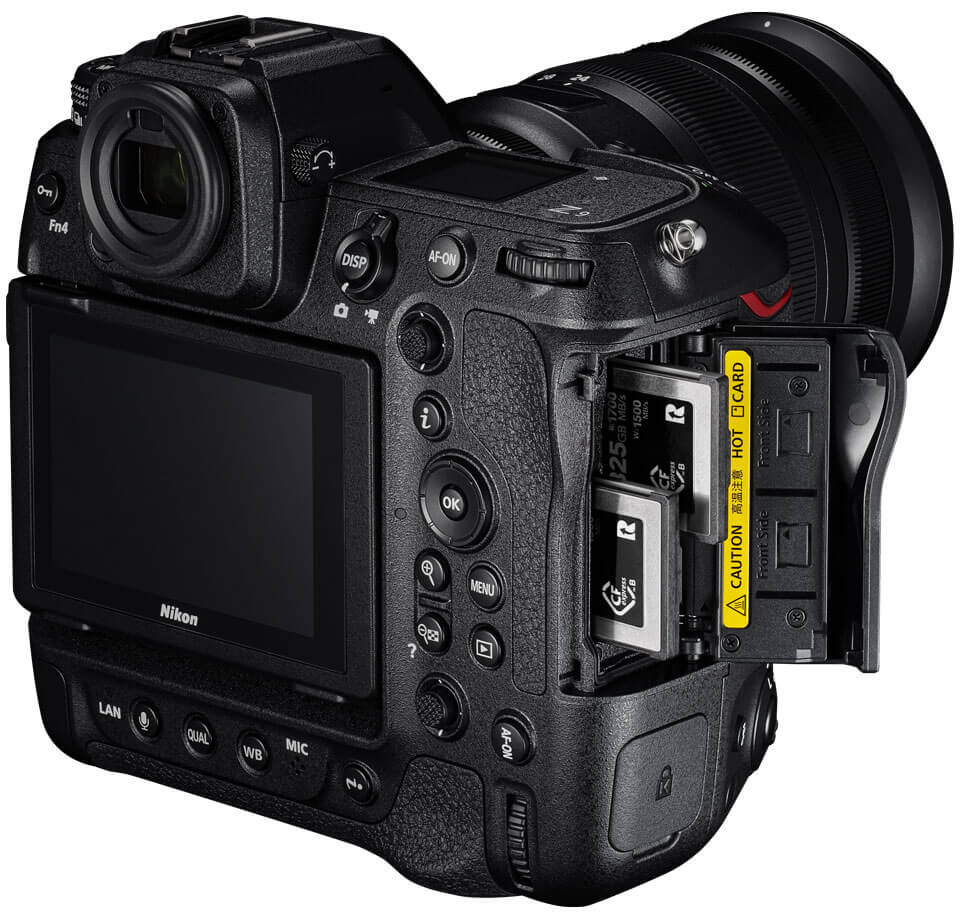
Nikon Z9 : Game-Changer for Photography
-
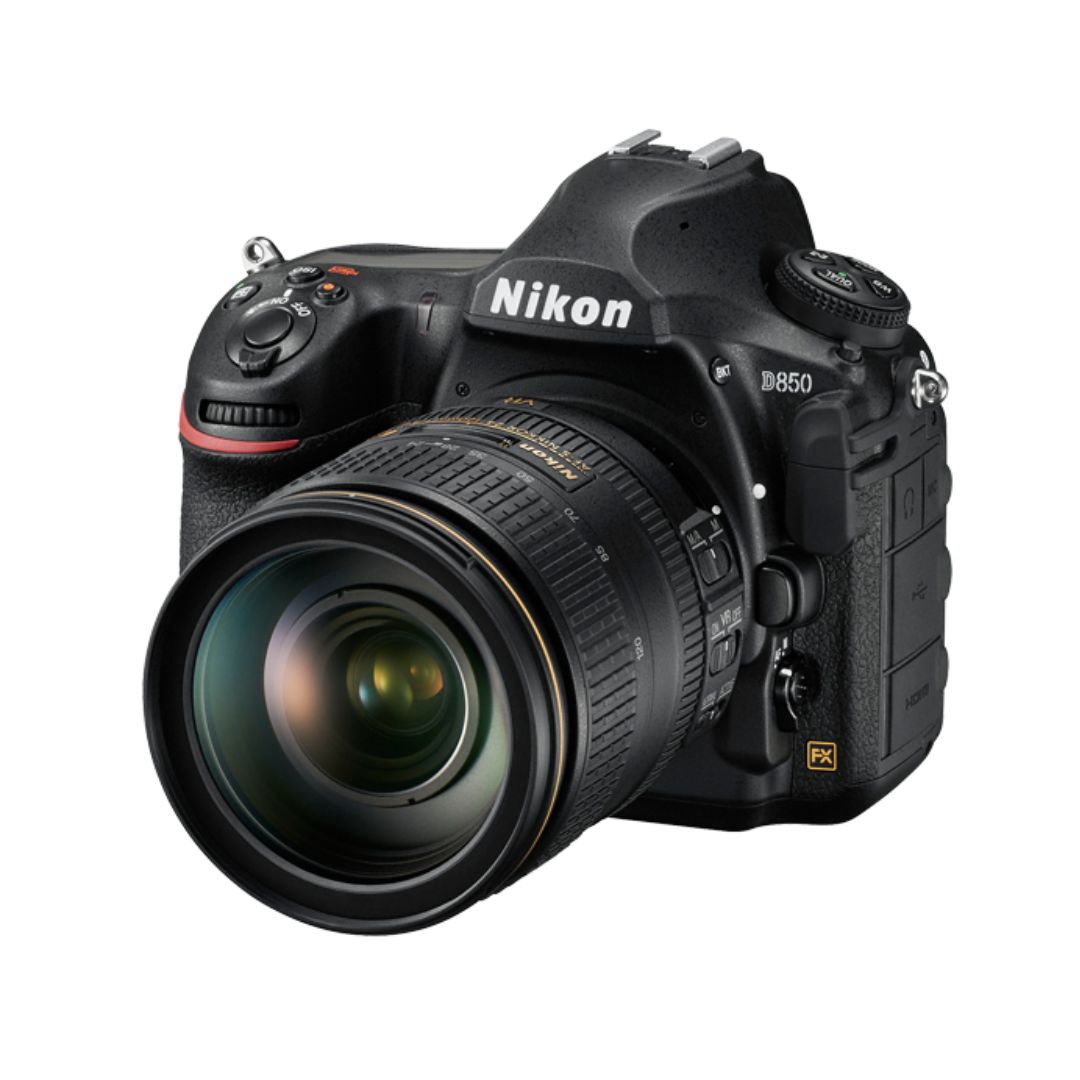
Top Features of Nikon D850 That Make It Ideal for Portfolio Shoots
Sony Alpha a7 IV: The Ultimate Camera for Photography
Explore the Sony Alpha a7 IV in this complete 2025 review. Learn how its pro-level features, real-world performance, and hybrid flexibility make it the ultimate camera for photography across genres like portraits, weddings, travel, and commercial work. Table of Contents Section 1: Introduction – Why the Sony Alpha a7 IV Stands Out The Sony Alpha…
Nikon Z5 Review: Is It Worth It?
In 2025, photographers—whether hobbyists, content creators, or professionals—seek equipment that blends value, performance, and future-readiness. Enter the Nikon Z5, a full-frame mirrorless camera marketed as a gateway to high-end imaging without a flagship price tag. But how well does it hold up under real-world demands like studio shoots, weddings, landscape adventures, and lifestyle photography? In…
Nikon Z9 : Game-Changer for Photography
Discover why the Nikon Z9 is considered a true game-changer for photography. This in-depth Nikon Z9 review explores key features, real-world performance, and how it excels in professional photo shoots in 2025. Table of Contents 1. Introduction The photography world witnessed a significant shift with the launch of the Nikon Z9, a flagship mirrorless camera…
Top Features of Nikon D850 That Make It Ideal for Portfolio Shoots
Discover why the Nikon D850 is the ultimate DSLR for portfolio shoots. Explore its top features—from resolution and dynamic range to autofocus precision and workflow speed—that help photographers create stunning, high-impact images for professional portfolios. Whether you’re a portrait artist, fashion photographer, or visual storyteller, a portfolio shoot demands technical excellence, creative flexibility, and uncompromised…
Candid Moments with Canon EOS R10: Lightweight & Reliable
In the evolving world of mirrorless photography, the Canon EOS R10 stands out as a lightweight yet powerful camera tailored for real-life storytelling. Whether you’re photographing street scenes, family gatherings, weddings, or spontaneous portraits, capturing genuine emotion requires a responsive and discreet tool. This article dives deep into how the Canon EOS R10 excels in…
Bold Portraits with Canon EOS R5: Is It the Best for Work?
Studio photography has always demanded precision, artistry, and impeccable gear. As the expectations for commercial portraits, fashion campaigns, and editorial work continue to rise, the tools we use must evolve. Enter the Canon EOS R5, a camera that has stirred the professional waters with its impressive technical specs and forward-thinking design. In this comprehensive Canon…