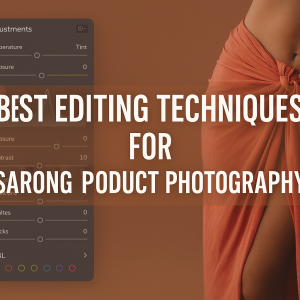
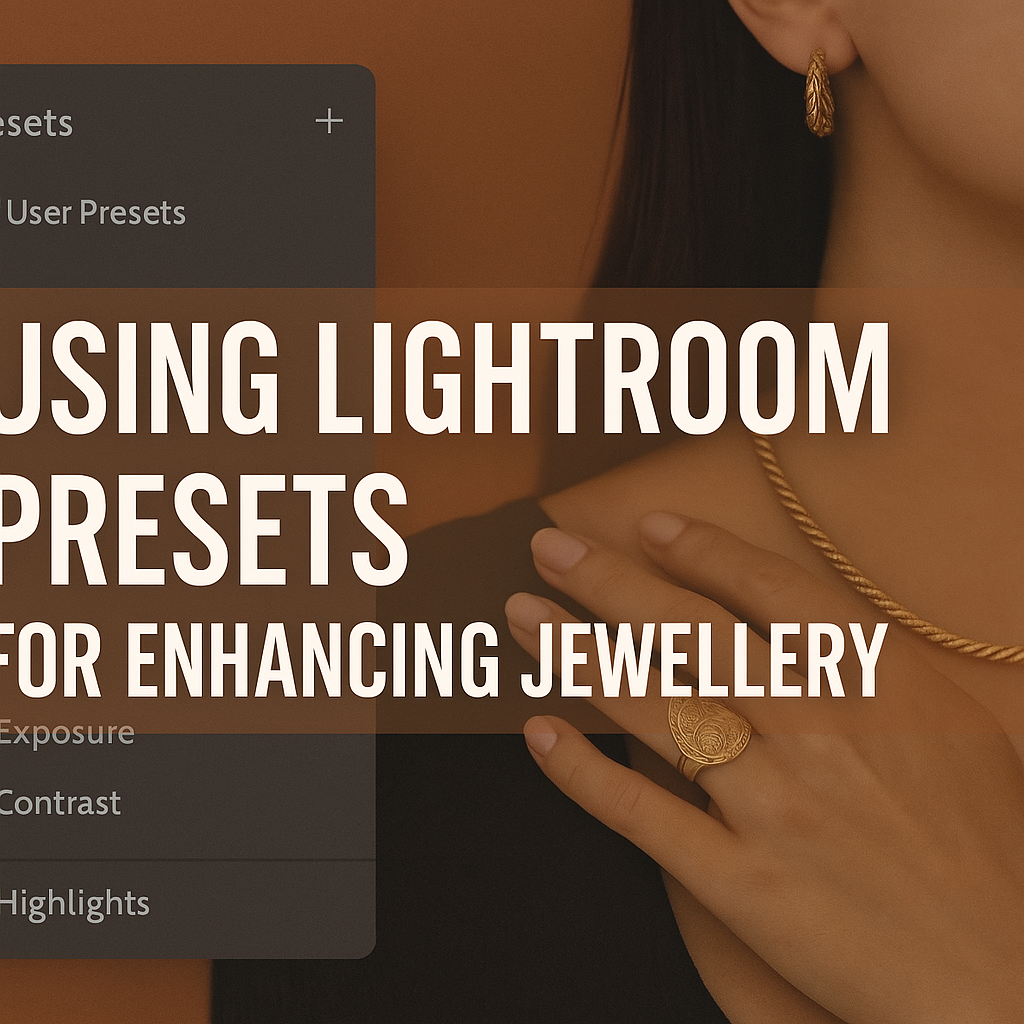
In the visually driven world of jewellery photography, the smallest detail can transform a scroll into a sale. The shimmering cut of a diamond, the textured surface of a handcrafted ring, or the glistening luster of pearls can only shine through if captured and edited with care. While professional lighting and camera settings are essential, your post-production workflow is where the magic happens — especially when utilizing the power of Lightroom Presets.
Presets serve as time-saving tools, offering consistent, high-quality edits across image sets. However, their real strength lies in how thoughtfully they are applied and adjusted to amplify the uniqueness of each jewellery piece. This in-depth guide reveals how to use Lightroom Presets to enhance every sparkle, shade, and shape in your product photography, helping your work stand out in a saturated digital marketplace.
1. Understanding Lightroom Presets: Going Beyond One-Click Edits
What Are Lightroom Presets?
At their core, Lightroom Presets are pre-saved configurations of multiple editing sliders — such as exposure, contrast, white balance, sharpening, and tone curve — applied in one click. These configurations serve as the baseline from which you can refine and build your final edit.
Presets aren’t a replacement for skill. They are productivity tools, offering structure and consistency to your creative process. Each preset acts like a recipe — giving you the base flavor, while allowing room for additional ingredients to taste.
Why Use Lightroom Presets for Jewellery Photography?
- Visual Consistency: Ensures all products, regardless of shoot date or model, maintain a unified style across platforms.
- Faster Editing Workflow: Speeds up repetitive tasks for large product batches.
- Creative Identity: Defines the visual tone of your brand — minimal, warm, moody, vibrant, or editorial.
Categories of Presets:
- Global Presets: Adjust the entire image at once.
- Local Adjustment Presets: Focused tools like brushes and gradients for targeted edits.
- AI-Enhanced Adaptive Presets: Smart presets that auto-detect subjects or backgrounds.
2. Prepping Your Lightroom Workspace for Jewellery Editing
Editing efficiency starts with a well-organized workspace. Here’s how to set up:
- Import RAW Files: Always shoot in RAW for maximum data, dynamic range, and detail.
- Custom Workspace Layout: Prioritize panels like Basic, Detail, HSL/Color, and Calibration.
- Dual-Screen Setup (if possible): One screen for close-up editing, another for overall composition.
- Use Collections: Organize by product type, collection name, client, or shoot date.
A clean, intuitive workspace reduces time wasted searching through panels and allows you to focus on creative refinement.
3. Key Features of High-Impact Jewellery Presets
Essential Elements to Look for:
- Precision Contrast: Effective contrast must separate metal from gemstone without washing out highlights.
- Controlled Clarity and Texture: Enhances detail on small etchings and filigree but must be gentle enough to avoid harshness.
- Accurate White Balance: Critical for ensuring that white metals remain clean and gems retain their true hue.
- Targeted Sharpening: Focus sharpening on gem facets, while preserving smooth backgrounds.
- Color Accuracy: Utilize HSL sliders to independently adjust hue, saturation, and luminance for specific gemstones.
- Highlight Protection: Use tone curves and highlight recovery to retain detail in highly reflective areas.
Pro Tip: Combine Clarity and Dehaze cautiously. While they enhance detail, overuse can introduce grain and color distortion.
4. Applying Presets with Intention and Finesse
Step-by-Step Workflow:
- Apply Global Preset: Begin with a base preset that fits the shoot’s lighting condition (e.g., natural light, studio strobe, window light).
- Refine White Balance: Manually adjust temperature and tint to correct any unwanted color shifts.
- Fine-Tune Exposure: Use the Histogram to ensure full tonal range without clipping highlights or shadows.
- Zoom In: Always inspect the jewellery at 100% zoom when applying sharpening or clarity.
- Local Adjustments:
- Brush Tool: Apply targeted clarity or exposure boosts to gemstone centers.
- Radial Filters: Add subtle vignettes or direct light glows on focal points.
- Gradient Filters: Balance background distractions, especially on lifestyle shots.
Editing jewellery is about finesse — push every tool gently to maintain realism.
5. Building Custom Presets for Jewellery Types and Lighting Conditions
Creating your own Lightroom Presets ensures complete control and a unique style. Here’s how:
Custom Preset Recipe Example:
- Start with a neutral RAW image.
- Adjust White Balance manually.
- Increase Texture (10–20) and Clarity (5–15).
- Add Contrast in the Tone Curve rather than Basic Panel.
- Use HSL to emphasize gemstone colors (e.g., enhance green for emeralds).
- Apply Sharpening with Masking to avoid noise.
- Include Lens Corrections and Profile Calibration.
Save and categorize your preset by:
- Metal type (Silver, Gold, Platinum)
- Gemstone (Ruby, Diamond, Pearl)
- Lighting condition (Backlight, Side-light, Natural)
- Intent (High contrast, Editorial look, Soft focus)
6. Tailoring Presets to Specific Jewellery Categories
Diamonds:
- Prioritize brilliance and reflections.
- Cool tone curves work well with clean white backdrops.
Gold:
- Add warm tones without oversaturation.
- Preserve shadows to emphasize shape.
Silver:
- Avoid blue cast — use neutral tones.
- Increase clarity and edge sharpness moderately.
Colored Gemstones:
- Use HSL sliders to isolate and enhance gemstone hue.
- Don’t oversaturate — prioritize luminance for glow.
Pearls:
- Keep whites soft and highlights gentle.
- Decrease texture to maintain smoothness.
Each type requires its own approach to maintain visual integrity and accurate representation.
7. Retouching While Preserving Inclusivity
Inclusive photography celebrates diversity, and your editing must reflect that ethos:
- Don’t Desaturate Skin Tones: Ensure presets don’t unintentionally lighten or mute melanin-rich skin.
- Preview Across Skin Tones: Test your presets on a diverse range of models.
- Use Masks: Edit jewellery independently without affecting skin textures.
- Avoid Eurocentric Bias: Let warm undertones and rich skin textures remain visible and celebrated.
Inclusive visuals build connection and foster trust in your brand.
8. Troubleshooting Common Editing Challenges
- Dull Gemstones?
- Use local adjustments to add sharpness and exposure.
- Try selective clarity in the gemstone’s center.
- Overexposed Reflections?
- Lower highlights.
- Use Dehaze with low intensity.
- Distracting Background?
- Use radial filters or background blur.
- Reduce saturation on backgrounds while keeping jewellery vibrant.
- Noise in Macro Shots?
- Apply luminance noise reduction.
- Use high ISO only when necessary and supported by lighting.
9. Streamlined Workflow for High-Volume Jewellery Shoots
Editing large catalogues doesn’t mean sacrificing quality:
- Use Sync Settings: Apply base edits to similar image groups.
- Create Workflow Presets: Include export settings, watermarking, and output sharpening.
- Batch Rename and Export: Ensure organized delivery for clients and platforms.
- Use Smart Collections to track stages of editing.
Consistency and speed can coexist — with the right structure.
10. Export Settings: Optimizing for Web, Print, and Social
Web:
- Format: JPEG
- Width: 2000–3000px
- Color Profile: sRGB
- Compression: 75–85%
Print:
- Format: TIFF or PSD
- Color Space: AdobeRGB or CMYK
- Resolution: 300 DPI
Social:
- Format: JPEG
- Aspect Ratios: 1:1, 4:5, or 16:9
- Enhance shadows and contrast for mobile brightness
11. Curating a Library of Efficient Presets
As your photography evolves, your preset library should too:
- Create Subfolders: Organized by jewellery type, lighting, and occasion.
- Add Before/After Previews: Helps clients or teammates understand value.
- Version Control: Update presets based on trends and feedback.
- Backup Regularly: Protect your library from accidental loss.
12. Embracing AI and Smart Presets for Jewellery Editing
Lightroom’s AI-powered Adaptive Presets can:
- Detect subjects (jewellery, models)
- Separate background and apply selective blurs
- Enhance edges without manual masking
These tools improve productivity and accuracy, especially on tight deadlines.
13. Ethical Considerations in Jewellery Photo Editing
Honesty in editing protects both your brand and the buyer:
- Avoid Altering Product Dimensions
- Do Not Fake Brilliance
- Disclose Visual Enhancements
- Save Unedited Originals for Transparency
Ethical editing builds trust and avoids legal conflicts.
14. Learning from Industry Leaders
Study the workflows of:
- Tiffany & Co. (Classic luxury lighting, balanced contrast)
- Mejuri (Minimalist editing, model diversity)
- David Yurman (High-end contrast and sparkle)
Analyze editorial shots for inspiration — but always tailor it to your brand language.
15. Final Notes: Let Your Craft Shine
Every jewellery photo tells a story — of craftsmanship, elegance, and personal style. Lightroom Presets, when used intentionally, enhance these narratives. They simplify workflows, elevate brand aesthetics, and ensure your images resonate with detail-loving audiences.
Let presets guide your creativity, not replace it. With care, consistency, and inclusivity, your jewellery photography can shine brighter than ever.
FAQs: Lightroom Presets in Jewellery Photography
1. Can I use one preset for all my jewellery types?
It’s best to create or choose presets tailored to metal type and lighting conditions. Gold, silver, and gemstone pieces reflect light differently and require unique adjustments.
2. Are Lightroom Mobile Presets as powerful as desktop versions?
While they offer similar base functionality, some advanced features like masking and AI enhancements are better supported in Lightroom Classic on desktop.
3. Should I buy or build my own presets?
Start by learning how to build your own. This gives you complete control and teaches you the nuances of your brand’s aesthetic. Then consider purchasing or downloading presets to expand your toolkit.
4. What export settings are best for Instagram?
Use 4:5 aspect ratio, sRGB profile, and moderate sharpening. Always preview on a mobile screen before final posting.
5. How can I ensure my presets don’t whitewash models?
Test across diverse skin tones and use adjustment masks when editing jewellery and background separately. Keep your tone curves neutral and your ethics inclusive.
📅 Book Your Photography in Jaipur Today
Whether you’re celebrating a personal milestone, growing your brand, or just want timeless memories, trust The Candid Shoot for professional photography in Jaipur that exceeds expectations.
📞 Call | 📱 WhatsApp | 📩 Inquiry Form
-
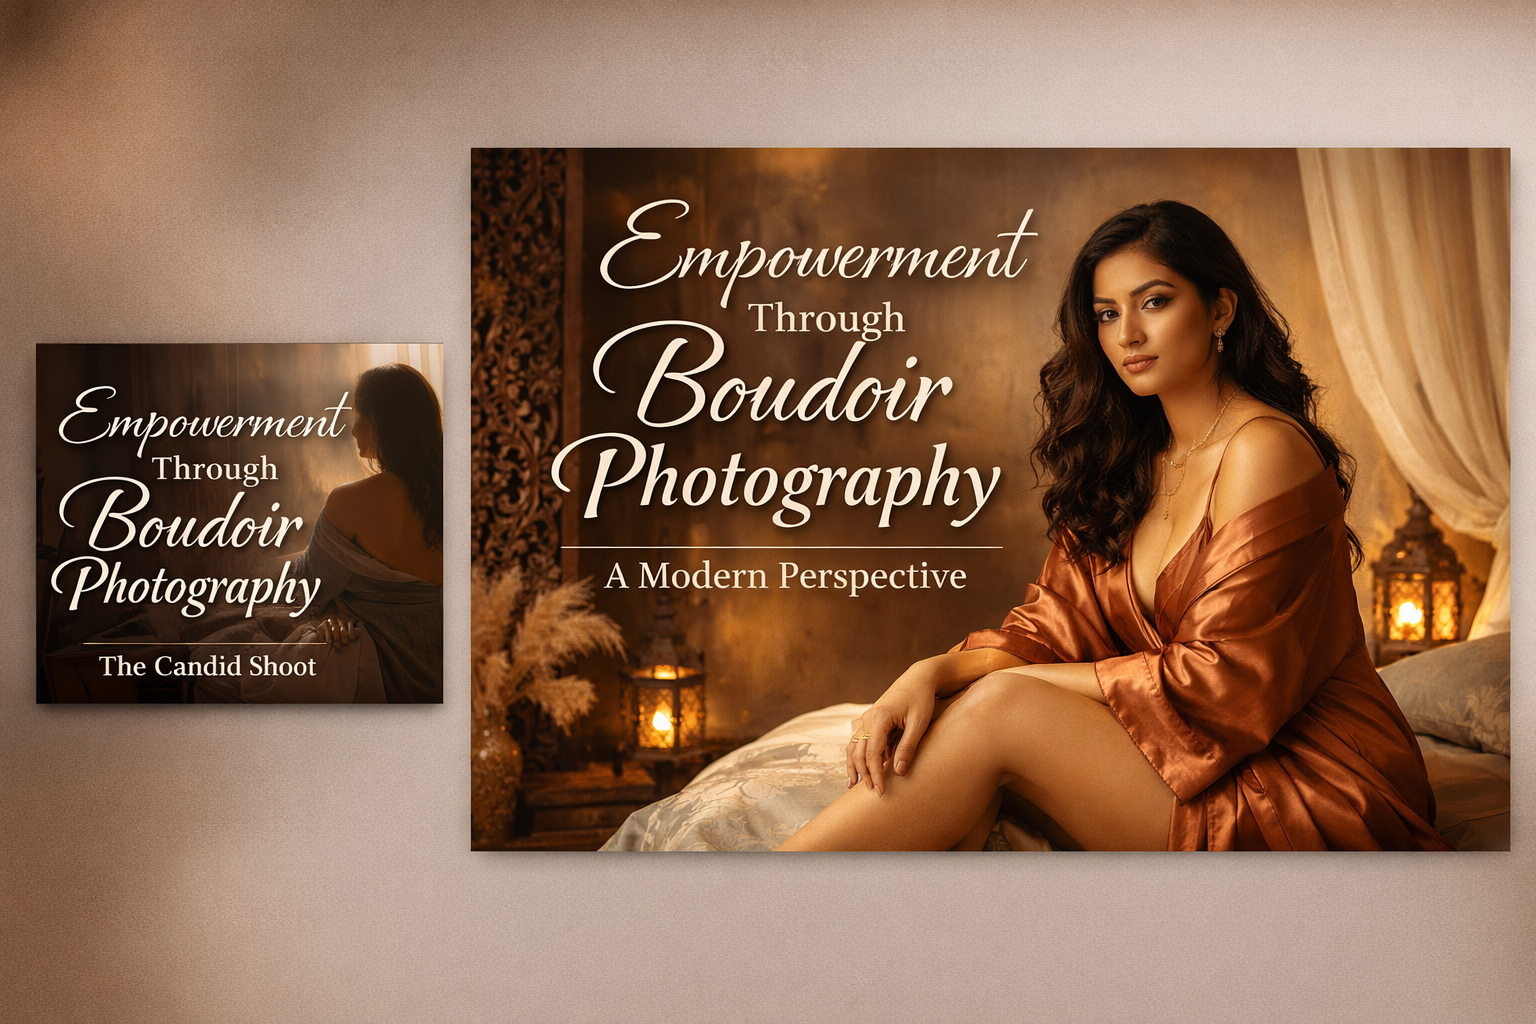
Empowerment Through Boudoir Photography: The Candid Shoot
-

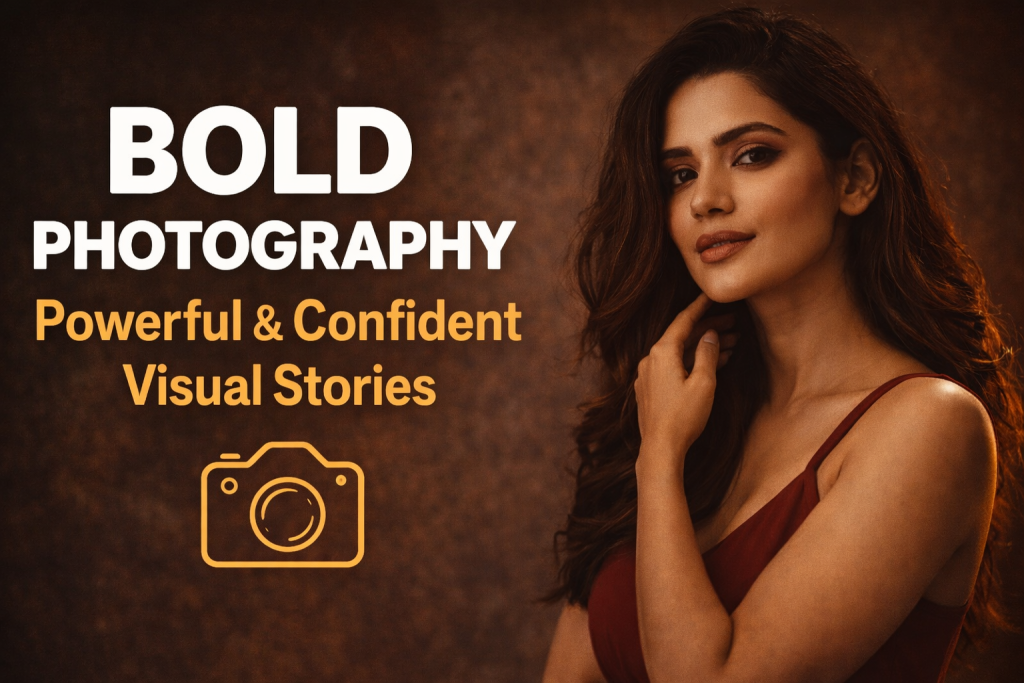
Bold Photography: Creating Powerful & Confident Visual Stories
-
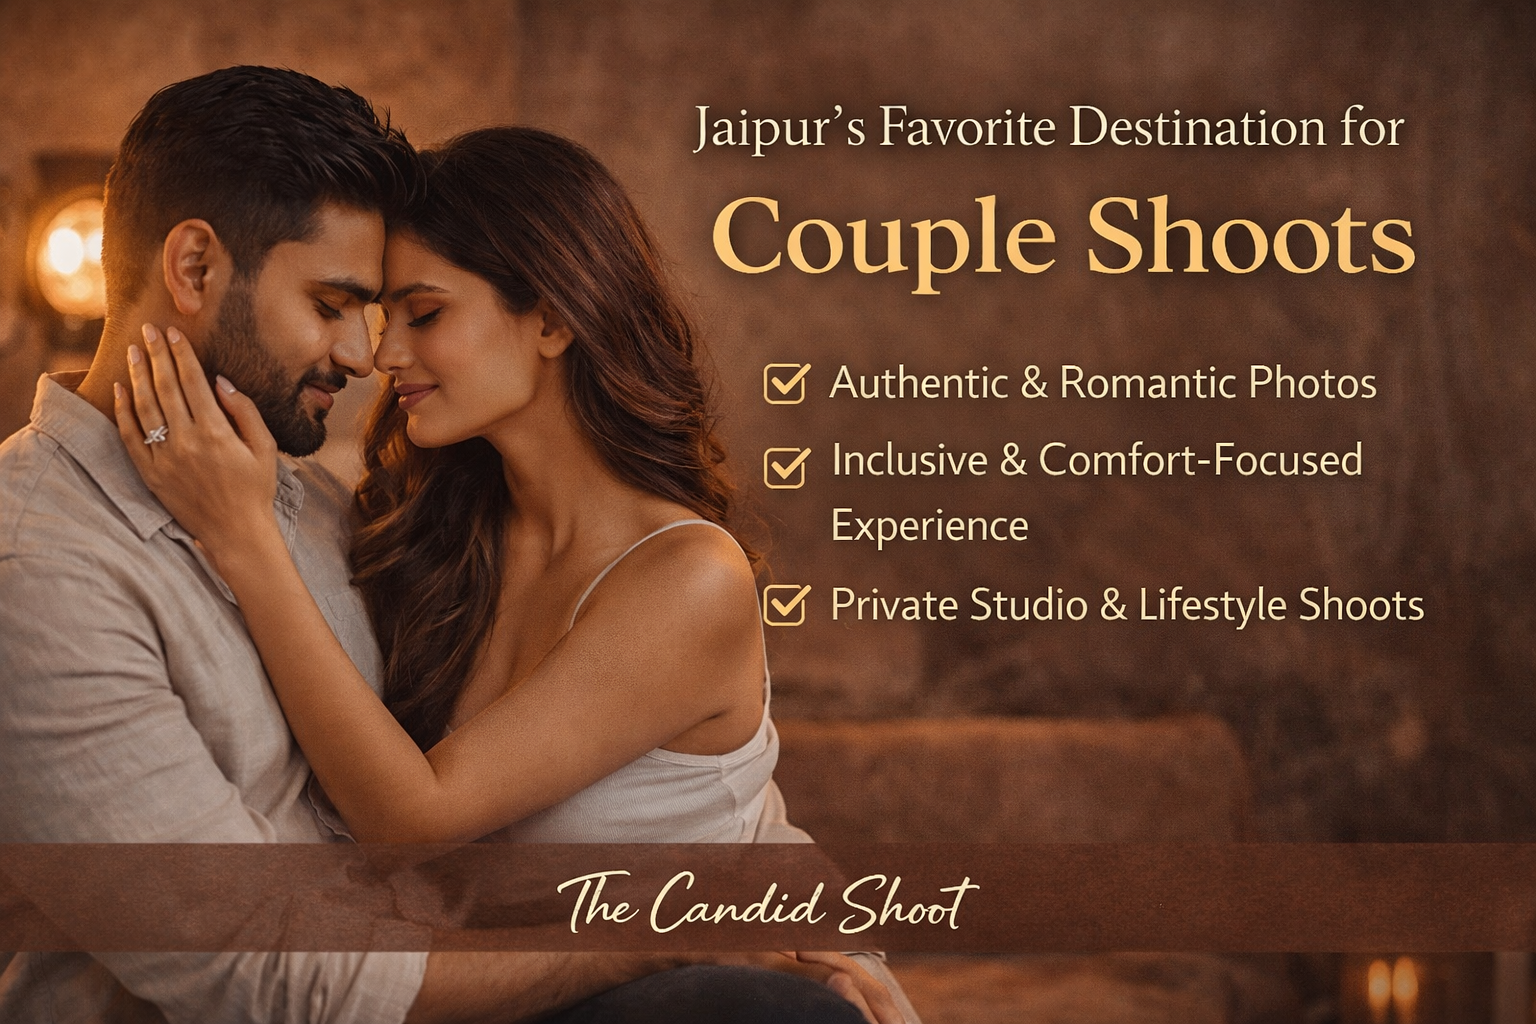
Jaipur’s Favorite Destination for Couple Shoots | The Candid Shoot
-
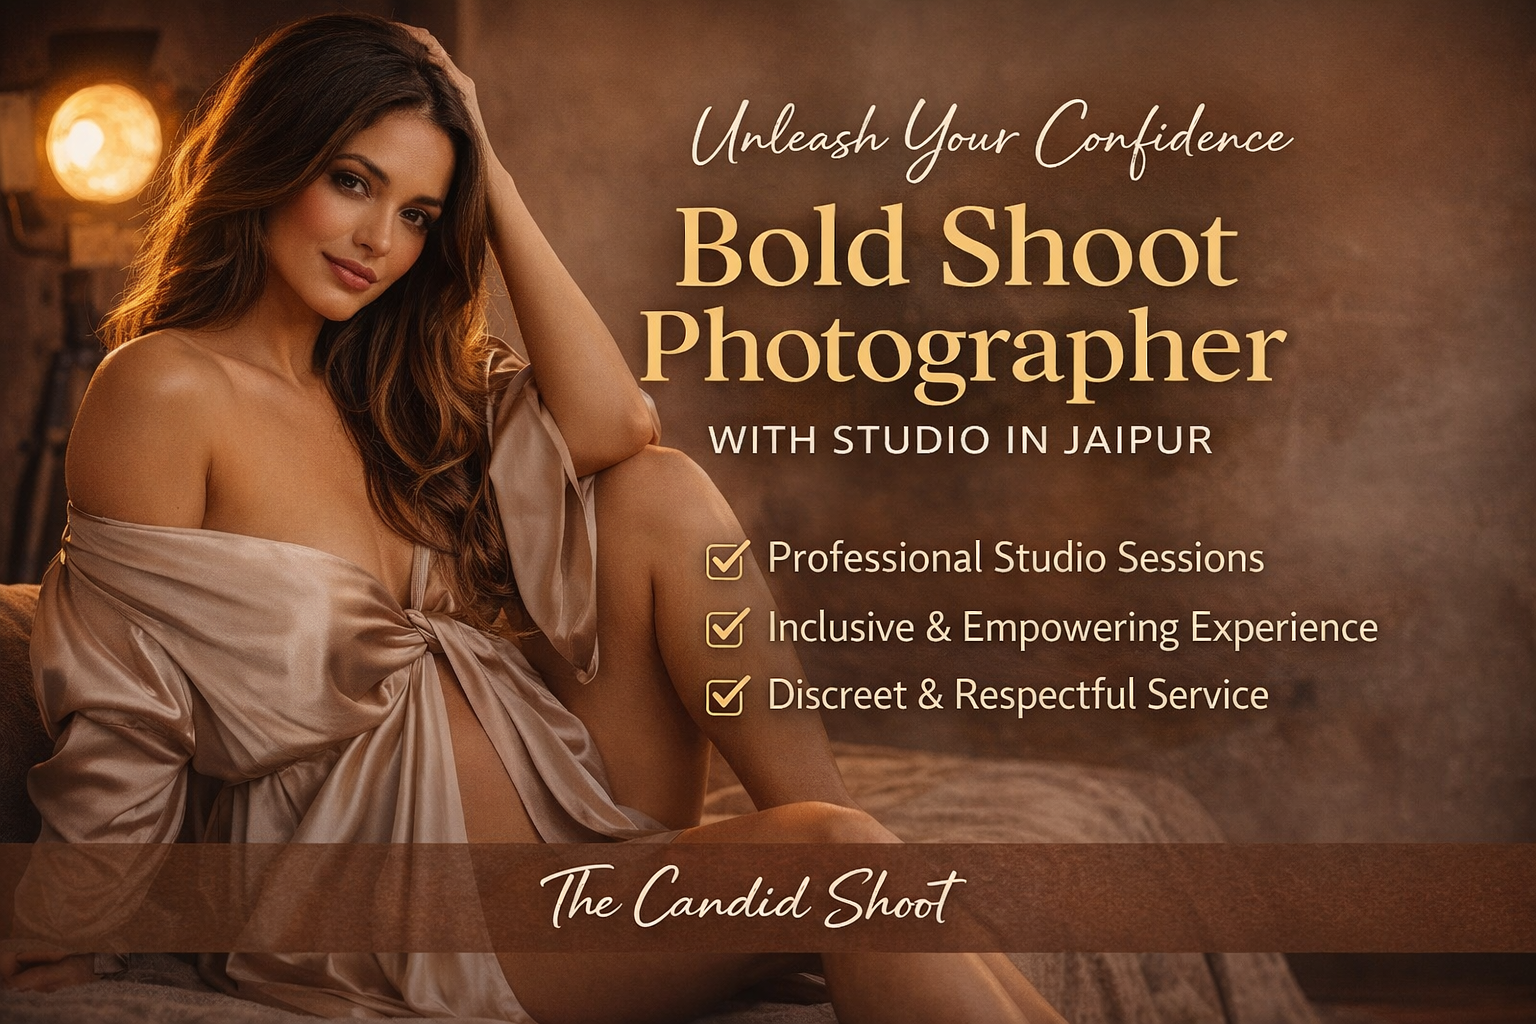
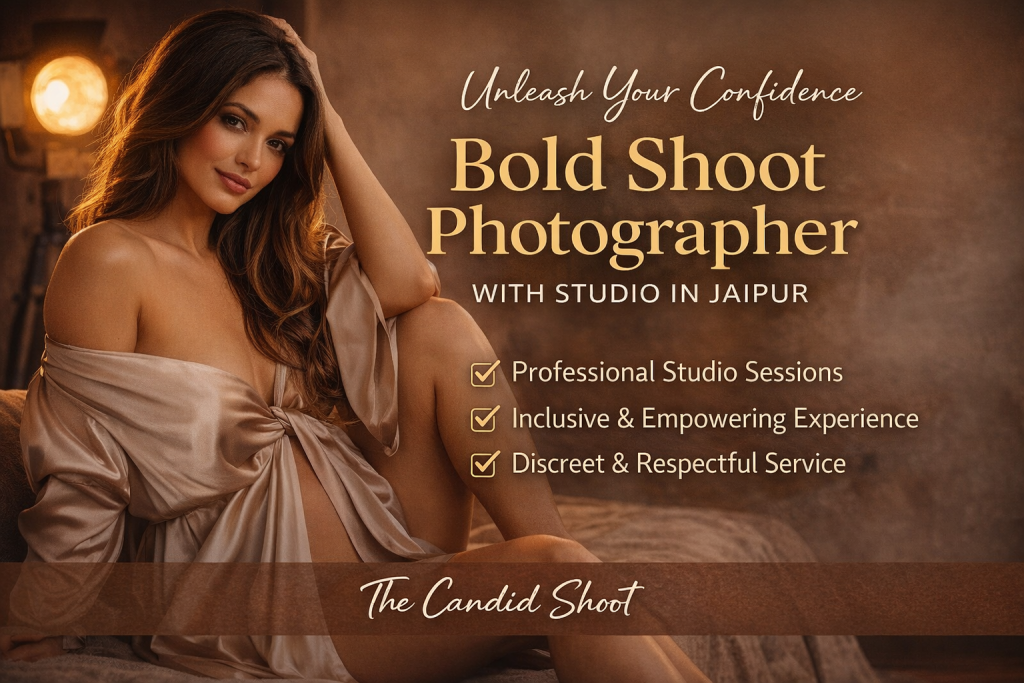
Bold Shoot Photographer with Studio in Jaipur | The Candid Shoot
-
Empowerment Through Boudoir Photography: The Candid Shoot
Boudoir Photography as Empowerment Boudoir photography has evolved far beyond traditional notions of intimacy or sensuality. Modern boudoir photography is about empowerment, confidence, and self-expression, not merely performing for the camera. At its heart, boudoir photography is a visual dialogue between the subject and themselves, mediated by a professional photographer. It provides a private, safe
-
Jaipur’s Favorite Destination for Couple Shoots | The Candid Shoot
Why Couple Shoots Matter More Than Ever Couple shoots have evolved far beyond posed photographs and forced smiles. Today, couples look for experiences that feel natural, meaningful, and reflective of who they are together. A couple shoot is no longer about perfection. It is about presence, connection, and shared emotion. At The Candid Shoot, we
-
Bold Shoot Photographer with Studio in Jaipur | The Candid Shoot
The phrase “bold shoot photographer” often triggers assumptions—many of them incomplete, outdated, or shaped by stereotypes. In reality, bold photography has evolved far beyond shock value or surface-level aesthetics. Today, bold shoots represent self-expression, body confidence, emotional honesty, and artistic courage. At The Candid Shoot, bold photography is not about exposure—it is about expression. It
-
Styling Tips for Maternity Shoots: Looking Timeless, and Confident
Styling as the Silent Storyteller in Maternity Shoots Maternity shoots are not simply about documenting pregnancy. They are about honoring a season of transformation—physical, emotional, relational, and often spiritual. Styling plays a foundational role in how that transformation appears, feels, and endures through photographs. When people look back at maternity photographs years later, they rarely
-
Mobile Photography Hacks: Candid Moments with Your Phone
Discover high-impact mobile photography hacks to capture genuine, gorgeous candid moments with your phone. Learn practical tips, composition secrets, and pro techniques to turn everyday scenes into stunning visual stories. Introduction: The New Age of Mobile Photography Photography has evolved beyond heavy cameras, technical jargon, and expensive equipment. Today, the power to capture extraordinary moments