Portrait photography captures the essence of a person, their personality, and their story through the lens. One of the most critical elements of a stunning portrait is the pose. The right pose enhances facial features, highlights emotions, and creates a visually compelling image. In this comprehensive guide, we’ll explore the top 10 poses for stunning portrait photography, along with expert insights to help you master the art of posing.
Poses for Stunning Portrait Photography
1. The Classic Headshot Pose
Why It Works
A headshot is a staple in portrait photography. It emphasizes facial features and expressions while maintaining a professional look.
How to Achieve It
- Ask your subject to sit or stand straight while keeping their shoulders slightly turned.
- Maintain eye contact with the camera for a powerful and engaging shot.
- Ensure soft, even lighting to highlight the facial structure.
Pro Tips
- Use a shallow depth of field to blur the background and focus on the face.
- Encourage natural expressions for authenticity.
2. The Over-the-Shoulder Look
Why It Works
This pose adds a sense of mystery and elegance, making the subject appear confident and stylish.
How to Achieve It
- Position your subject at a slight angle, facing away from the camera.
- Ask them to turn their head over their shoulder and make soft eye contact with the lens.
- Use a side light to create depth and dimension.
Pro Tips
- Ensure a relaxed posture to avoid stiffness.
- Use a long focal length lens to maintain flattering proportions.
3. The Hands-in-Pocket Pose
Why It Works
This casual yet confident pose is great for full-body and three-quarter-length portraits.
How to Achieve It
- Ask your subject to place one or both hands in their pockets.
- Keep shoulders relaxed and posture natural.
- Have them shift their weight slightly for a more dynamic look.
Pro Tips
- Avoid hiding too much of the hands; thumbs out create a more engaging pose.
- Encourage a relaxed stance to avoid stiffness.
4. The Seated Pose
Why It Works
Seated poses help create a more relaxed and intimate feel, making them ideal for storytelling portraits.
How to Achieve It
- Choose a comfortable chair, bench, or floor setting.
- Have the subject lean slightly forward to engage the viewer.
- Experiment with hand placements (chin rest, knee rest, crossed arms) for variety.
Pro Tips
- Ensure good posture to avoid a slouched look.
- Use a wide aperture for a soft, blurred background.
5. The Crossed-Arms Pose
Why It Works
This pose conveys strength, confidence, and authority, making it popular for corporate and branding portraits.
How to Achieve It
- Ask the subject to stand straight with arms crossed over their chest.
- Keep the facial expression approachable rather than too serious.
- Ensure shoulders are relaxed to prevent tension.
Pro Tips
- Experiment with slight tilts in the body for a more engaging pose.
- Use soft lighting to maintain a natural look.
6. The Leaning Pose
Why It Works
Leaning against a wall, railing, or object adds depth and a casual vibe to portraits.
How to Achieve It
- Have the subject lean against a surface at a slight angle.
- Keep one foot crossed over the other for a relaxed stance.
- Use different camera angles for variety.
Pro Tips
- Play with depth by keeping the background slightly blurred.
- Adjust body language to fit the mood of the portrait.
7. The Action Shot Pose
Why It Works
Capturing movement adds energy and authenticity to portrait photography.
How to Achieve It
- Encourage your subject to walk, spin, or interact naturally.
- Use a fast shutter speed to freeze motion.
- Capture candid expressions for a lively feel.
Pro Tips
- Experiment with different angles to add variety.
- Incorporate props like flowing fabric for dramatic effects.
8. The Profile Pose
Why It Works
A profile portrait highlights the subject’s unique facial structure and creates an artistic composition.
How to Achieve It
- Position the subject at a 90-degree angle from the camera.
- Ensure soft lighting to accentuate facial contours.
- Encourage a natural gaze away from the camera for a pensive look.
Pro Tips
- Use a black-and-white filter for an artistic feel.
- Play with shadows to add depth.
9. The Close-Up Pose
Why It Works
A close-up captures the most intricate facial details and emotions.
How to Achieve It
- Focus on the subject’s eyes for a powerful impact.
- Use a macro or portrait lens for sharp details.
- Keep the background minimal for emphasis.
Pro Tips
- Use soft, diffused lighting to prevent harsh shadows.
- Encourage authentic expressions for a compelling shot.
10. The Laying Down Pose
Why It Works
This unconventional pose creates a dreamy, relaxed look, perfect for editorial and fine-art portraits.
How to Achieve It
- Have the subject lay on the ground with their head slightly elevated.
- Capture the shot from above for a creative perspective.
- Use a soft surface for comfort and a natural look.
Pro Tips
- Experiment with hand placement for different moods.
- Play with natural elements like grass or fabric for texture.
Conclusion
Mastering poses for stunning portrait photography requires patience, practice, and an understanding of your subject’s comfort level. The right pose, combined with perfect lighting and composition, transforms an ordinary portrait into an extraordinary masterpiece. Keep experimenting, adapt to your subject’s personality, and always aim for authenticity in your shots.
Empowerment Through Boudoir Photography: The Candid Shoot
-

Jaipur’s Favorite Destination for Couple Shoots | The Candid Shoot
-
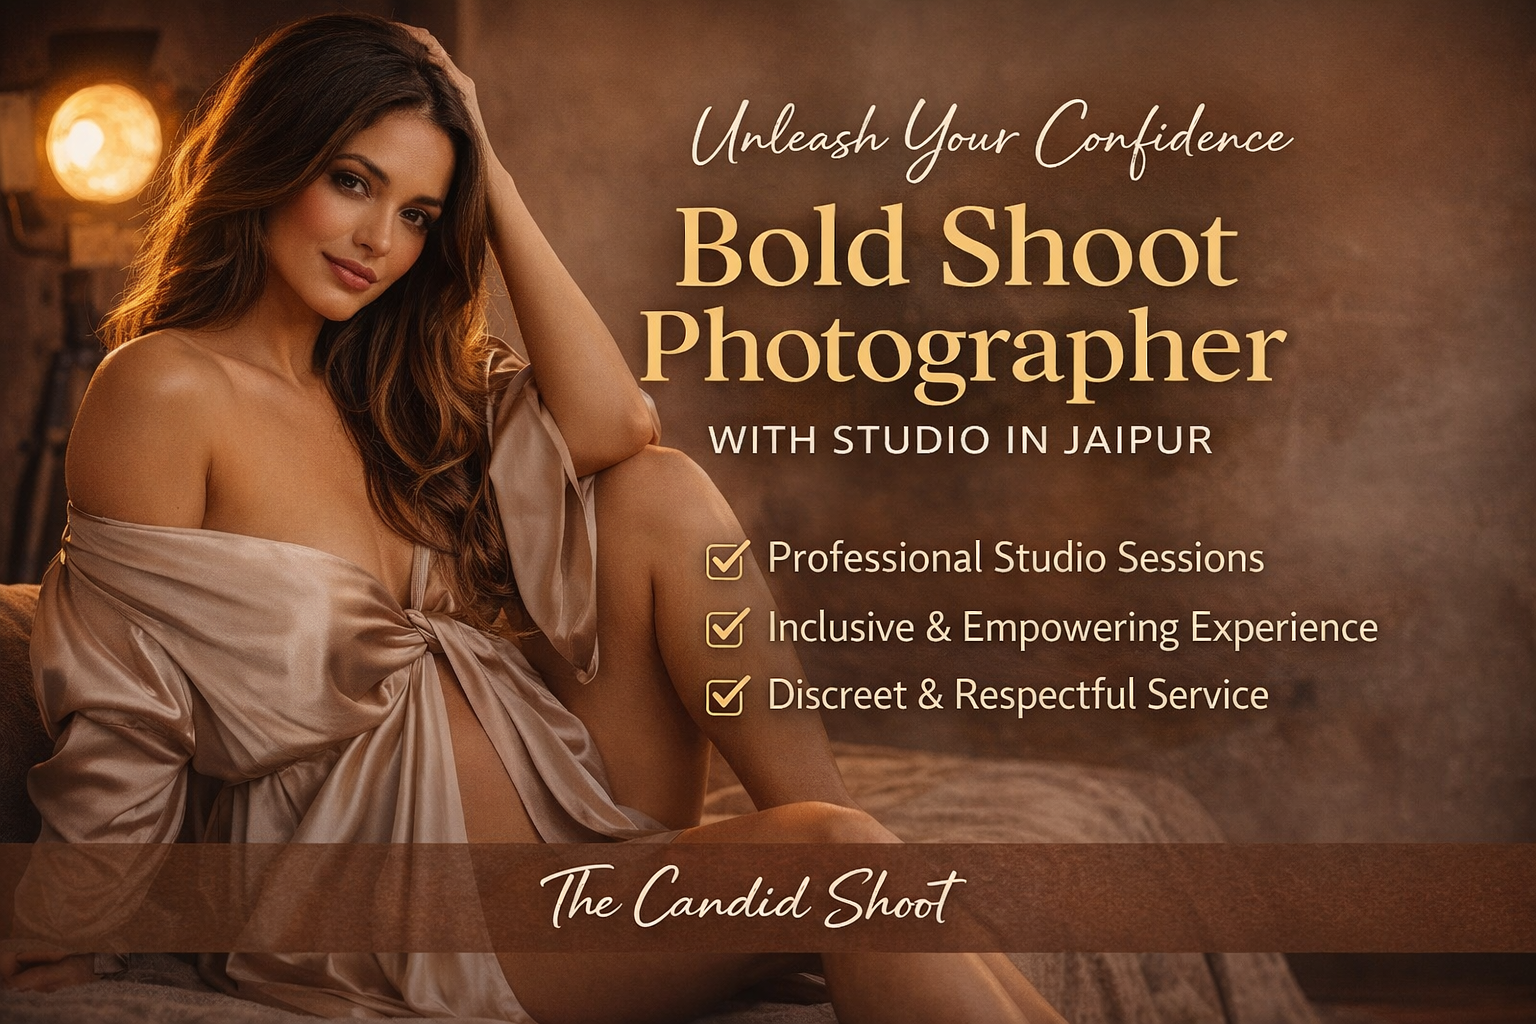
Bold Shoot Photographer with Studio in Jaipur | The Candid Shoot
Empowerment Through Boudoir Photography: The Candid Shoot
Boudoir Photography as Empowerment Boudoir photography has evolved far beyond traditional notions of intimacy or sensuality. Modern boudoir photography is about empowerment, confidence, and self-expression, not merely performing for the camera. At its heart, boudoir photography is a visual dialogue between the subject and themselves, mediated by a professional photographer. It provides a private, safe
Jaipur’s Favorite Destination for Couple Shoots | The Candid Shoot
Why Couple Shoots Matter More Than Ever Couple shoots have evolved far beyond posed photographs and forced smiles. Today, couples look for experiences that feel natural, meaningful, and reflective of who they are together. A couple shoot is no longer about perfection. It is about presence, connection, and shared emotion. At The Candid Shoot, we
Bold Shoot Photographer with Studio in Jaipur | The Candid Shoot
The phrase “bold shoot photographer” often triggers assumptions—many of them incomplete, outdated, or shaped by stereotypes. In reality, bold photography has evolved far beyond shock value or surface-level aesthetics. Today, bold shoots represent self-expression, body confidence, emotional honesty, and artistic courage. At The Candid Shoot, bold photography is not about exposure—it is about expression. It
Styling Tips for Maternity Shoots: Looking Timeless, and Confident
Styling as the Silent Storyteller in Maternity Shoots Maternity shoots are not simply about documenting pregnancy. They are about honoring a season of transformation—physical, emotional, relational, and often spiritual. Styling plays a foundational role in how that transformation appears, feels, and endures through photographs. When people look back at maternity photographs years later, they rarely
Mobile Photography Hacks: Candid Moments with Your Phone
Discover high-impact mobile photography hacks to capture genuine, gorgeous candid moments with your phone. Learn practical tips, composition secrets, and pro techniques to turn everyday scenes into stunning visual stories. Introduction: The New Age of Mobile Photography Photography has evolved beyond heavy cameras, technical jargon, and expensive equipment. Today, the power to capture extraordinary moments
