Intimate photography captures deep emotions, sensuality, and authenticity. Achieving stunning results requires not only the right environment and direction but also precise camera settings. Whether you’re a professional or just starting, understanding how to fine-tune your camera can elevate your intimate photography to a whole new level. In this guide, we’ll cover the best camera settings for stunning intimate photography, helping you create visually captivating and emotionally engaging images.
1. Choosing the Right Camera and Lens
While a high-end DSLR or mirrorless camera is ideal, the lens you choose plays a more crucial role in intimate photography.
- Prime Lenses: A 50mm f/1.4 or 85mm f/1.8 lens provides sharpness and beautiful background blur (bokeh).
- Wide Aperture: A wider aperture (f/1.2–f/2.8) allows more light in, softening the background and enhancing the subject.
- Macro Lens for Detail Shots: A 100mm macro lens helps capture close-up details like hands, eyes, or textures.
2. Aperture: The Key to Soft and Dreamy Images
Aperture controls how much light enters your camera and affects depth of field.
- Wide Aperture (f/1.2 – f/2.8): This creates a shallow depth of field, making the subject stand out beautifully.
- Narrower Aperture (f/4 – f/5.6): Ideal for keeping more of the subject in focus without losing intimacy.
Pro Tip: If you’re photographing couples, using f/2.8–f/4 ensures both subjects remain in focus while maintaining a dreamy background.
3. Shutter Speed: Balancing Movement and Stillness
Shutter speed determines how motion is captured. In intimate photography, subtle movements like hair flicks or soft caresses add emotion to the shot.
- 1/125s – 1/250s: Perfect for hand-held shots without motion blur.
- 1/60s – 1/100s: Works for softer, more natural movements (use a tripod to avoid blur).
- 1/500s or higher: Captures sharp movement for dynamic poses.
Pro Tip: A slower shutter speed can enhance natural light effects, especially when working with soft window lighting.
4. ISO: Managing Light Without Losing Detail
ISO determines how sensitive your camera is to light. In intimate photography, lighting is often soft and moody, requiring adjustments to ISO.
- ISO 100–400: Best for well-lit indoor environments with natural light.
- ISO 800–1600: Works for dimly lit setups while keeping noise under control.
- ISO 3200 and above: Only use if necessary, as it can introduce grain that affects image quality.
Pro Tip: If noise appears at higher ISO levels, use noise reduction tools in post-processing for a clean and polished look.
5. White Balance: Enhancing Mood and Warmth
White balance (WB) controls the color tone of your images. Intimate photography thrives on warm, natural tones.
- Daylight (5500K): Ideal for shooting in natural light.
- Tungsten (3200K): Adds a warm glow, perfect for candlelit scenes.
- Custom WB: Adjust based on your environment for the most authentic tones.
Pro Tip: Shooting in RAW allows you to fine-tune white balance in post-processing without losing image quality.
6. Focus Mode: Keeping the Subject Sharp
Autofocus settings are essential for capturing sharp images in intimate photography.
- Single-Point Autofocus (AF-S or One-Shot AF): Best for still portraits.
- Continuous Autofocus (AF-C or AI Servo): Ideal for capturing subtle movements.
- Manual Focus: Use for creative control, especially in soft-focus shots.
Pro Tip: Eye detection autofocus ensures sharpness in emotional close-up shots.
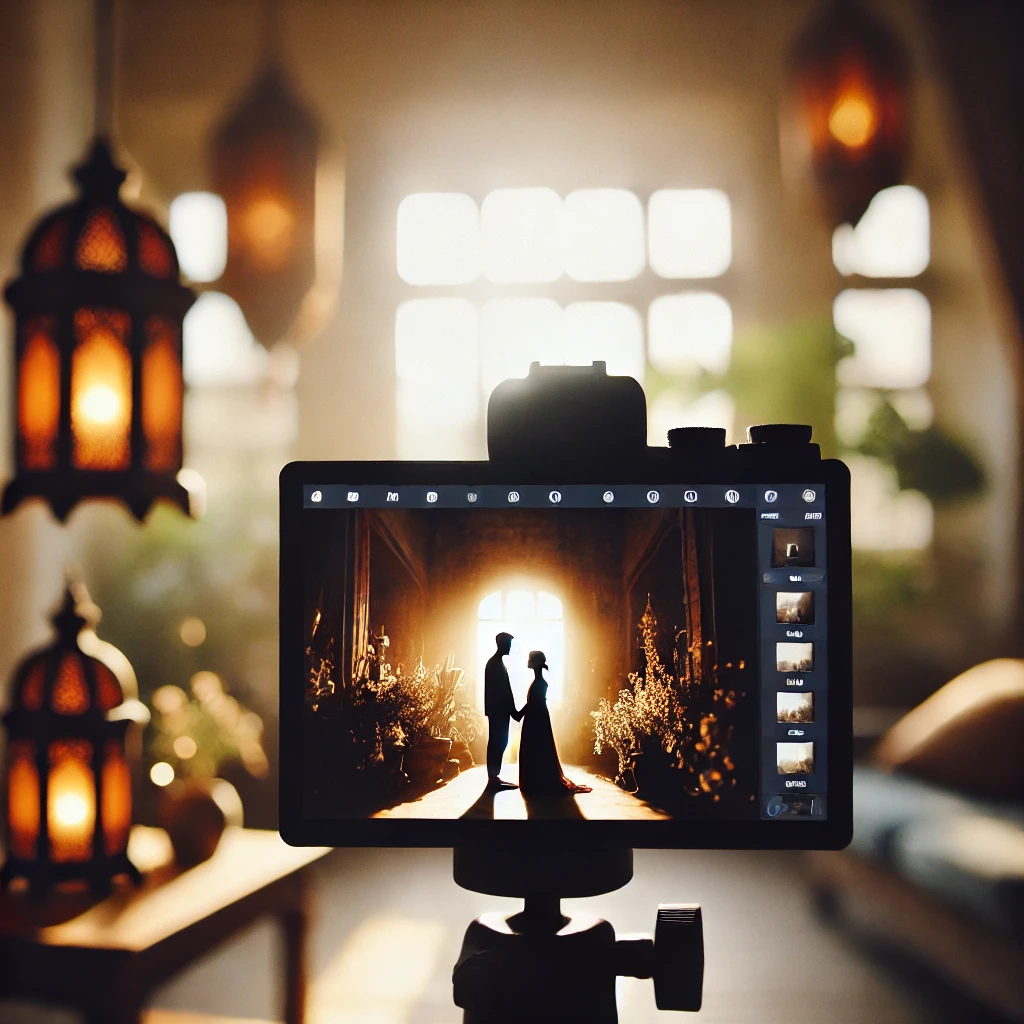
7. Lighting Considerations for Stunning Intimate Photography
Lighting is key to creating depth and emotion.
- Natural Light: Best for soft and organic images (use window light or golden hour).
- Softbox or Diffused Light: Helps control shadows while maintaining softness.
- Candlelight or Fairy Lights: Adds a cozy and sensual feel.
Pro Tip: Avoid harsh flash; instead, use a reflector to bounce light and add warmth.
8. Composition & Framing for Emotional Impact
The way you frame your shots affects storytelling and depth.
- Rule of Thirds: Positions the subject off-center for a balanced composition.
- Negative Space: Creates a minimal, intimate feel.
- Close-up Cropping: Emphasizes emotions and textures.
Pro Tip: Experiment with angles—shooting from above can create vulnerability, while eye-level shots evoke connection.
Conclusion
Mastering camera settings for stunning intimate photography involves balancing light, focus, and composition. By fine-tuning your aperture, shutter speed, ISO, and white balance, you can create images that are both visually striking and emotionally compelling. Keep experimenting, adjust settings based on your environment, and most importantly—capture the raw beauty of intimacy in a respectful and artistic way.

Mobile Photography Hacks: Candid Moments with Your Phone

Professional Model & Portfolio Photoshoots: Show Your Best Work
-
Street Photography Tips, Effects & Poses – Complete Guide
-

Leica Q2 for Photography: Why It’s Loved by Photographers
Mobile Photography Hacks: Candid Moments with Your Phone
Discover high-impact mobile photography hacks to capture genuine, gorgeous candid moments with your phone. Learn practical tips, composition secrets, and pro techniques to turn everyday scenes into stunning visual stories. Introduction: The New Age of Mobile Photography Photography has evolved beyond heavy cameras, technical jargon, and expensive equipment. Today, the power to capture extraordinary moments
Professional Model & Portfolio Photoshoots: Show Your Best Work
” Discover how to plan, style, and execute stunning portfolio photoshoots that showcase your skills, personality, and versatility. This comprehensive guide covers professional tips, posing ideas, gear suggestions, and industry insights for models and photographers.” Introduction – Why Portfolio Photoshoots Are the Cornerstone of a Photographer’s Career A well-crafted portfolio photoshoot is more than a
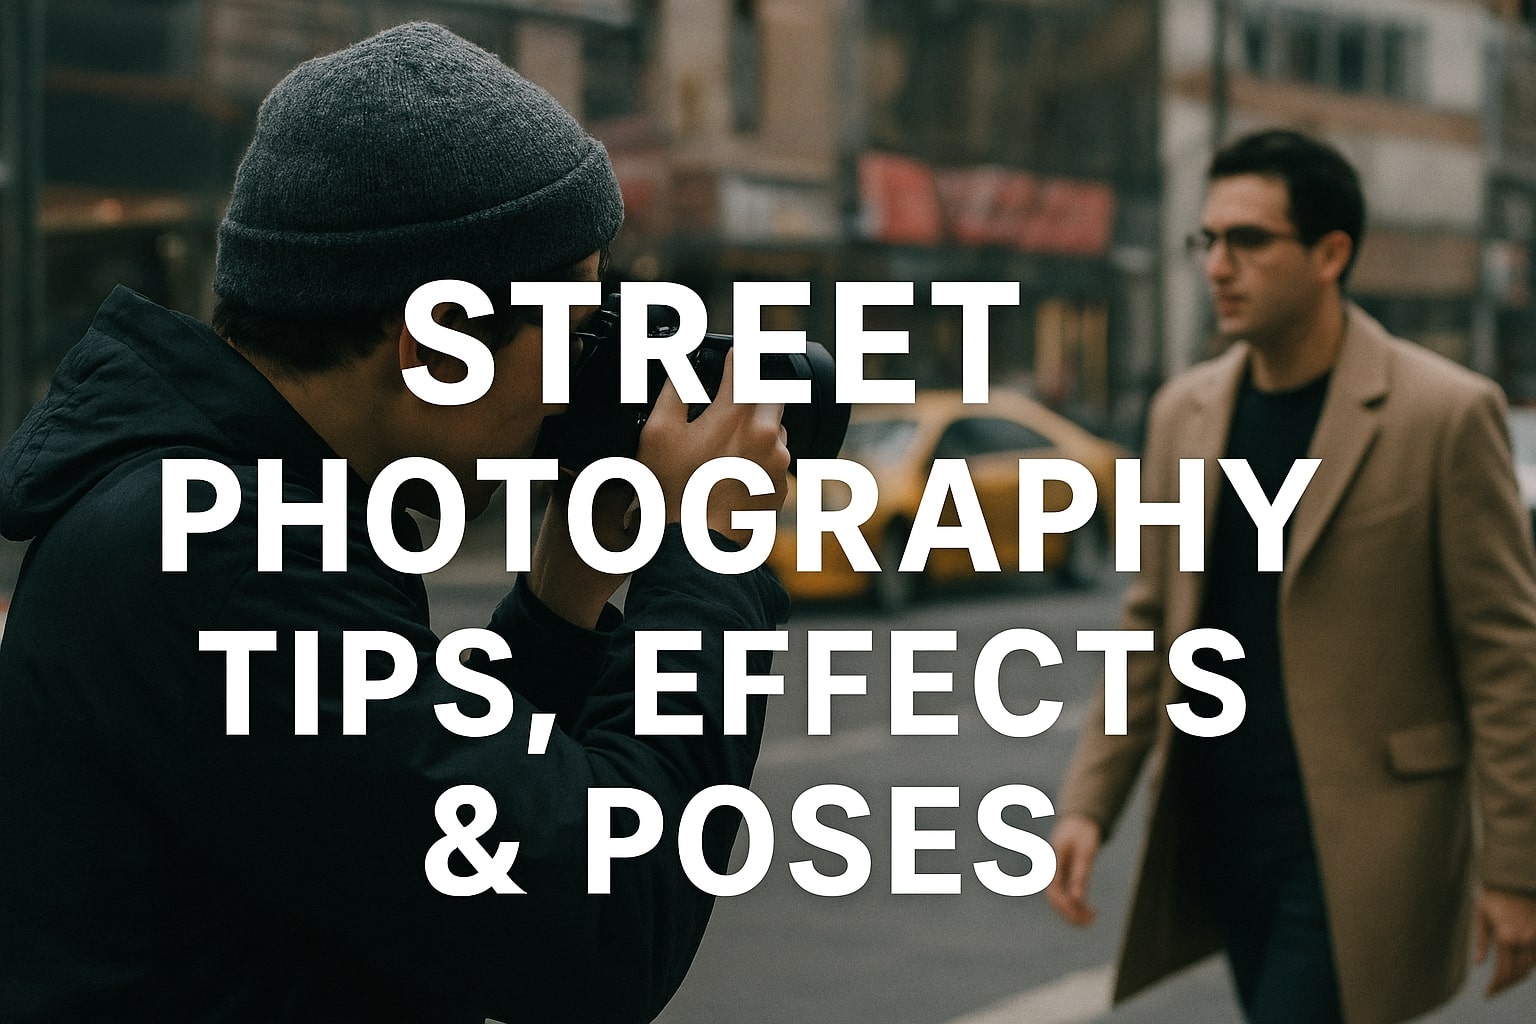
Street Photography Tips, Effects & Poses – Complete Guide
Discover the ultimate guide to Street Photography with expert tips, creative effects, and dynamic poses. Learn how to capture authentic urban moments, master composition, and tell powerful visual stories through your lens. Article Outline 1. Introduction to Street Photography Street Photography is more than just taking pictures of people in public spaces — it’s about
Leica Q2 for Photography: Why It’s Loved by Photographers
Introduction: The Cult Status of the Leica Q2 The Leica Q2 is not just a camera—it’s a statement. Combining the heritage of German precision engineering with modern digital excellence, it holds a special place in the hearts of professional and passionate photographers alike. With its full-frame sensor, prime Summilux lens, and minimalist design, the Q2
Top Cameras Under ₹1 Lakh for Freelance Photography
Freelance photography is no longer a niche—it’s a booming creative profession that demands not only vision and hustle but also the right gear. Your camera isn’t just a tool; it’s your storytelling partner. If you’re a freelance photographer aiming to balance performance, versatility, and budget, investing in a cameras under ₹1 lakh can offer the
Top Features of Nikon D850 That Make It Ideal for Photoshoots
Explore the top features of the Nikon D850 that make it a powerhouse for photoshoots. From exceptional resolution to dynamic range, this detailed Nikon D850 guide is built for professional and aspiring photographers. 1. Introduction When Nikon launched the D850, it quickly earned a reputation as a flagship DSLR that redefined what photographers could expect