In the world of e-commerce and commercial photography, capturing high-quality product images is crucial. Whether you are an aspiring product photographer or a business owner looking to enhance your brand’s visual appeal, understanding the best camera settings for product shoots can significantly impact the quality of your images.
This comprehensive guide will walk you through the ideal camera settings for product photography, ensuring that your images look professional, detailed, and visually appealing.
1. Camera Selection for Product Photography
Choosing the right camera is the first step toward high-quality product images. While DSLRs and mirrorless cameras dominate the market, some advanced smartphones and compact cameras can also deliver impressive results.
- Recommended Cameras:
- Canon EOS 5D Mark IV
- Nikon D850
- Sony A7R IV
- Fujifilm X-T4
- Sensor Size:
- A full-frame sensor captures more detail and performs better in low light.
- An APS-C sensor is more budget-friendly but still offers high-quality results.
2. Best Lens for Product Photography
Selecting the right lens is crucial for sharp and distortion-free images.
- Prime Lenses vs. Zoom Lenses
- Prime lenses (e.g., 50mm, 85mm, or 100mm) provide sharp images with minimal distortion.
- Zoom lenses (e.g., 24-70mm) offer flexibility but may introduce slight distortion at wider focal lengths.
- Macro Lenses for Small Products
- If you’re photographing jewelry, watches, or small items, use a macro lens like the Canon EF 100mm f/2.8L or Nikon 105mm f/2.8G.
3. Ideal Camera Settings for Product Photography
Using manual settings allows for greater control over exposure, sharpness, and depth of field. Here are the essential settings:
Aperture (f-stop)
- Use f/8 to f/11 for most product shots to ensure everything is in focus.
- For shallow depth of field, such as artistic shots, use f/2.8 to f/5.6.
Shutter Speed
- Use 1/125s to 1/200s for most product shots.
- If using a tripod, slower shutter speeds (e.g., 1/60s) are acceptable.
ISO Settings
- Keep ISO as low as possible (ISO 100-200) to avoid noise.
White Balance
- Use custom white balance for accurate colors.
- If shooting under daylight, use 5500K.
- If using artificial lights, adjust according to the lighting source.
Focus Mode
- Use manual focus for precise control, especially for close-up product shots.
- Use single-point autofocus (AF-S) for consistency.
4. Lighting Setup for Product Photography
Lighting is one of the most crucial aspects of product photography. Use either natural light or artificial lighting for the best results.
- Natural Light:
- Best for soft, diffused images.
- Shoot near a large window with a diffuser to avoid harsh shadows.
- Artificial Light:
- Use softboxes or continuous LED lights.
- Position lights at 45-degree angles for even illumination.
- Avoid Harsh Shadows
- Use a reflector or white foam board to fill in shadows.
- Adjust the distance between the light source and the product.
5. Background and Composition
The background plays a significant role in product photography.
- Plain Backgrounds
- Use white, gray, or black for a clean and distraction-free look.
- A seamless paper roll or acrylic sheet can create professional results.
- Creative Backgrounds
- Wooden, marble, or fabric textures add a stylish touch.
- Use backgrounds that complement the product without overpowering it.
- Composition Tips
- Follow the rule of thirds for balanced compositions.
- Keep space around the product for cropping flexibility.
6. Post-Processing for Product Photography
Even with perfect camera settings, post-processing enhances image quality.
- Editing Software:
- Use Adobe Lightroom and Photoshop for professional retouching.
- Essential Adjustments:
- Brightness and Contrast: Adjust to enhance details.
- Sharpness: Increase slightly for crisp edges.
- Color Correction: Ensure colors match the real product.
- Background Cleanup: Remove dust or unwanted spots.
7. Common Mistakes to Avoid in Product Photography
- Using the Wrong Aperture: Too wide (f/1.8) may cause parts of the product to be out of focus.
- Harsh Shadows: Use diffusers or reflectors to balance the light.
- Incorrect White Balance: Always set the white balance manually for accurate colors.
- Ignoring Image Consistency: Maintain the same settings for all product images to create a uniform look.
Conclusion
Mastering the best camera settings for product shoots is essential for capturing high-quality, professional images. By selecting the right camera, lens, and manual settings, coupled with proper lighting and post-processing, you can elevate your product photography to the next level.
Invest in the right gear, experiment with different settings, and practice to perfect your skills. Whether you’re shooting for an e-commerce website, social media, or marketing materials, these settings will ensure your product images stand out.
Mobile Photography Hacks: Candid Moments with Your Phone
Professional Model & Portfolio Photoshoots: Show Your Best Work
-
Street Photography Tips, Effects & Poses – Complete Guide
-
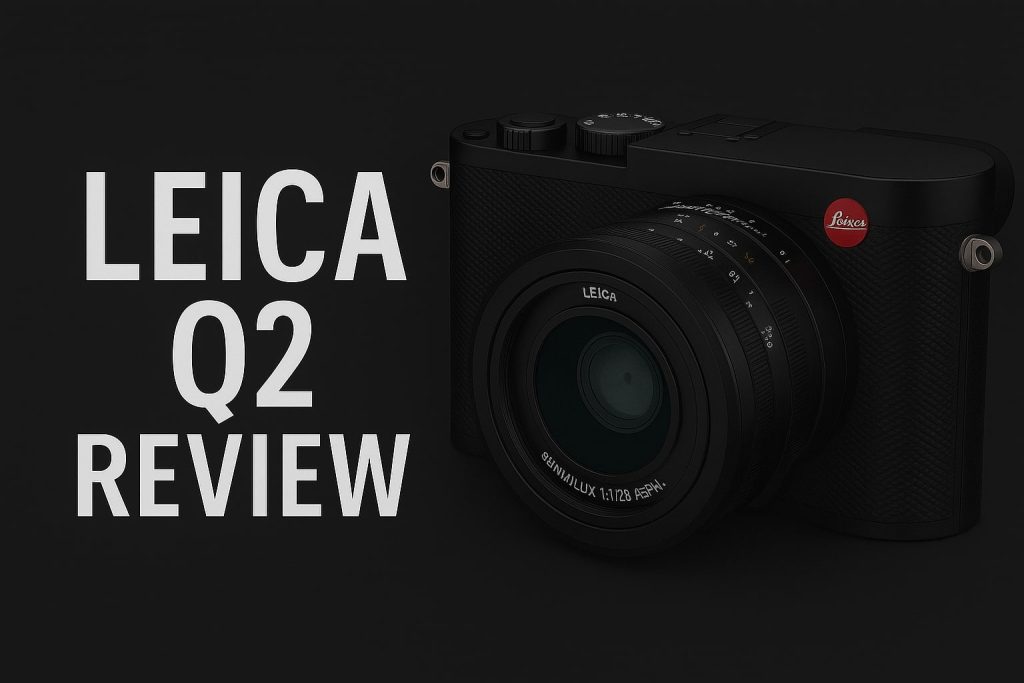
Leica Q2 for Photography: Why It’s Loved by Photographers
Mobile Photography Hacks: Candid Moments with Your Phone
Discover high-impact mobile photography hacks to capture genuine, gorgeous candid moments with your phone. Learn practical tips, composition secrets, and pro techniques to turn everyday scenes into stunning visual stories. Introduction: The New Age of Mobile Photography Photography has evolved beyond heavy cameras, technical jargon, and expensive equipment. Today, the power to capture extraordinary moments
Professional Model & Portfolio Photoshoots: Show Your Best Work
” Discover how to plan, style, and execute stunning portfolio photoshoots that showcase your skills, personality, and versatility. This comprehensive guide covers professional tips, posing ideas, gear suggestions, and industry insights for models and photographers.” Introduction – Why Portfolio Photoshoots Are the Cornerstone of a Photographer’s Career A well-crafted portfolio photoshoot is more than a
Street Photography Tips, Effects & Poses – Complete Guide
Discover the ultimate guide to Street Photography with expert tips, creative effects, and dynamic poses. Learn how to capture authentic urban moments, master composition, and tell powerful visual stories through your lens. Article Outline 1. Introduction to Street Photography Street Photography is more than just taking pictures of people in public spaces — it’s about
Leica Q2 for Photography: Why It’s Loved by Photographers
Introduction: The Cult Status of the Leica Q2 The Leica Q2 is not just a camera—it’s a statement. Combining the heritage of German precision engineering with modern digital excellence, it holds a special place in the hearts of professional and passionate photographers alike. With its full-frame sensor, prime Summilux lens, and minimalist design, the Q2
Top Cameras Under ₹1 Lakh for Freelance Photography
Freelance photography is no longer a niche—it’s a booming creative profession that demands not only vision and hustle but also the right gear. Your camera isn’t just a tool; it’s your storytelling partner. If you’re a freelance photographer aiming to balance performance, versatility, and budget, investing in a cameras under ₹1 lakh can offer the
Top Features of Nikon D850 That Make It Ideal for Photoshoots
Explore the top features of the Nikon D850 that make it a powerhouse for photoshoots. From exceptional resolution to dynamic range, this detailed Nikon D850 guide is built for professional and aspiring photographers. 1. Introduction When Nikon launched the D850, it quickly earned a reputation as a flagship DSLR that redefined what photographers could expect


