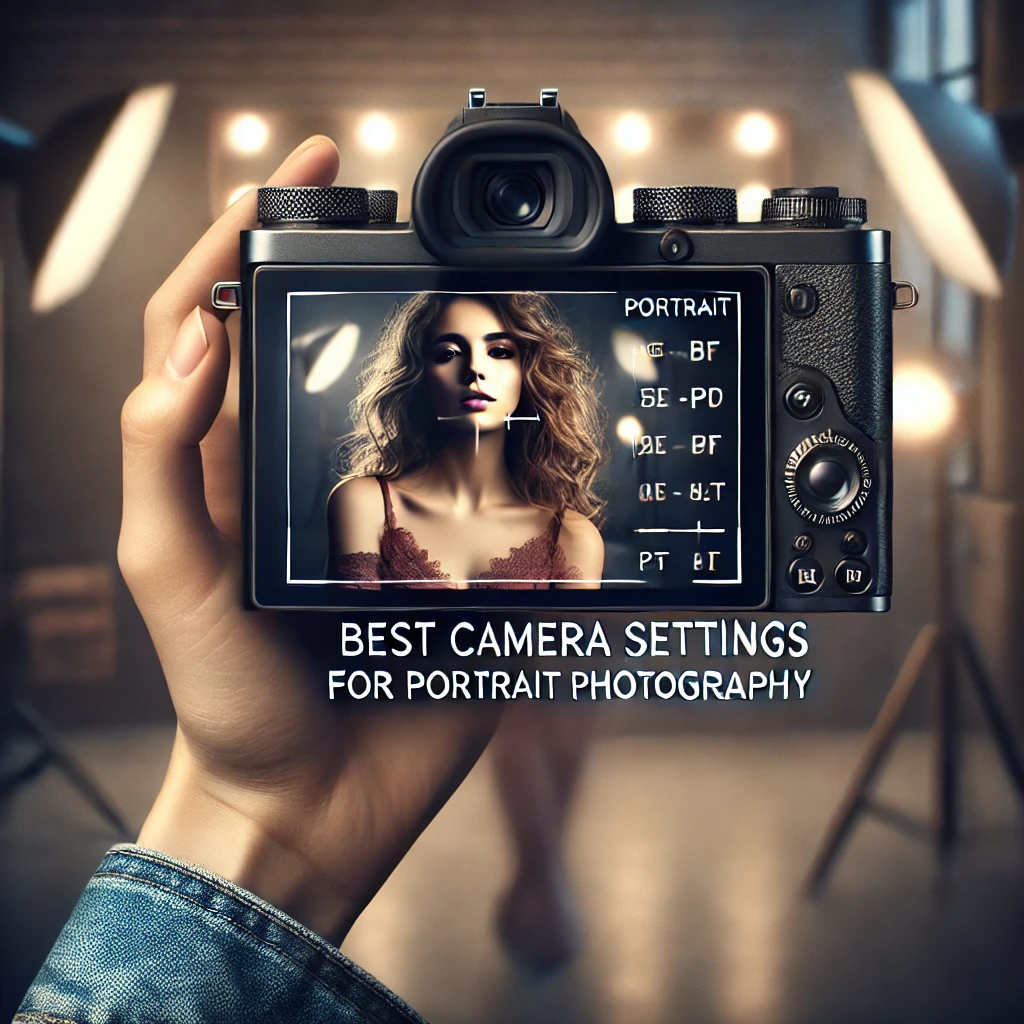
Introduction: Why Camera Settings Matter in Portrait Photography
Portrait photography is more than just pointing a camera at a subject—it’s an art that combines technical expertise and creative vision. Whether you’re shooting outdoor portraits, studio headshots, or environmental portraits, using the right camera settings can make or break your images.
This guide will help you master the best camera settings for different types of portrait photography, including:
✅ Aperture, Shutter Speed, and ISO (The Exposure Triangle)
✅ Focus Modes for Tack-Sharp Portraits
✅ White Balance Settings for Natural Skin Tones
✅ Lighting Considerations: Natural vs. Studio Light
✅ Advanced Techniques for Stunning Portraits
✅ Post-Processing Tips for a Professional Look
Let’s dive deep into the best settings for achieving stunning, high-quality portraits.
1. The Exposure Triangle: The Foundation of Perfect Portraits
The Exposure Triangle consists of aperture, shutter speed, and ISO—three key elements that determine brightness, depth, and clarity in your portraits.
Mastering these settings will help you capture sharp, well-exposed images with beautiful background blur (bokeh).
1.1 Aperture (f-stop): Controlling Depth of Field & Background Blur
Aperture controls how much light enters the camera and affects depth of field (background blur).
🔹 Best Aperture Settings for Portraits:
✔ f/1.2 – f/2.8 → Ideal for single-subject portraits, creating a dreamy background blur.
✔ f/4 – f/5.6 → Great for couples or small groups where you want more sharpness.
✔ f/8 – f/11 → Best for large groups to ensure all subjects are in focus.
🔹 How to Achieve Perfect Bokeh:
✔ Use a wide aperture (low f-number) like f/1.8 – f/2.2.
✔ Increase the distance between subject and background.
✔ Use a longer focal length (85mm, 135mm, or 200mm) for compression.
💡 Pro Tip: A 50mm f/1.8 lens (aka Nifty Fifty) is one of the most budget-friendly ways to get beautiful bokeh in portrait photography.
1.2 Shutter Speed: Freezing Motion & Avoiding Blur
Shutter speed determines how long your camera’s sensor is exposed to light. A faster shutter speed helps prevent motion blur, while a slower shutter speed allows for creative motion effects.
🔹 Best Shutter Speed Settings for Portraits:
✔ 1/160s – 1/250s → Ideal for studio or still portraits.
✔ 1/400s – 1/800s → Best for outdoor portraits where the subject may move.
✔ 1/1000s+ → For action shots (e.g., children running, dancing, or sports portraits).
💡 Pro Tip: When using a telephoto lens (e.g., 85mm or 135mm), follow the 1/focal length rule:
✔ If using an 85mm lens, shoot at 1/100s or faster.
✔ If using a 200mm lens, shoot at 1/250s or faster.
1.3 ISO: Balancing Light Sensitivity & Image Quality
ISO determines the camera’s sensitivity to light. A higher ISO brightens an image but also increases noise (grain), which can reduce image quality.
🔹 Best ISO Settings for Portraits:
✔ ISO 100 – 400 → Best for bright daylight conditions.
✔ ISO 400 – 800 → Works well for overcast or indoor settings.
✔ ISO 800 – 1600 → Needed for low-light conditions (but watch for noise).
✔ ISO 3200+ → Only use when necessary (night photography).
💡 Pro Tip: Always aim for the lowest ISO possible to avoid noise, and use a tripod for stability in low-light conditions.
2. Focusing Modes: Ensuring Perfectly Sharp Portraits
The focus mode you choose significantly affects the sharpness of your portraits.
2.1 Autofocus vs. Manual Focus
🔹 Best Autofocus Modes for Portraits:
✔ Single-Point AF: Selects a specific focus point (best for eyes).
✔ Eye-Detection AF: Automatically locks focus on the subject’s eyes.
✔ Continuous AF (AF-C / AI Servo): Best for moving subjects.
🔹 When to Use Manual Focus:
✔ In low-light conditions where autofocus struggles.
✔ For macro portraits (close-ups with precise focus).
💡 Pro Tip: Always focus on the subject’s eyes—sharp eyes create captivating portraits.
3. White Balance: Achieving Natural Skin Tones
White balance ensures accurate color tones by adjusting for different light sources.
🔹 Best White Balance Presets for Portraits:
✔ Daylight (5500K): Perfect for outdoor portraits in sunlight.
✔ Cloudy (6000K): Adds warmth to skin tones.
✔ Shade (7000K): Corrects blue/cool tones in shaded areas.
✔ Tungsten (3200K): Adjusts indoor lighting with yellow/orange tints.
💡 Pro Tip: Shoot in RAW format to easily adjust white balance in post-processing.
4. Advanced Techniques for Creative Portraits
4.1 Using Natural Light vs. Studio Light
✔ Golden Hour (Sunrise & Sunset): Soft, warm light (Best for portraits).
✔ Backlighting: Creates dreamy rim light behind the subject.
✔ Softbox & Reflectors: Even out harsh shadows in studio portraits.
4.2 Creative Effects for Unique Portraits
✔ Bokeh Effect: Wide aperture (f/1.8) & long focal length (85mm+).
✔ Lens Flare: Backlight the subject to create artistic highlights.
✔ Silhouettes: Shoot against a bright background for dramatic contrast.
💡 Pro Tip: Use a reflector to bounce natural light onto the subject’s face for a softer, glowing look.
Conclusion: Mastering the Best Camera Settings for Portraits
✔ Aperture: f/1.8 – f/2.8 for single portraits, f/4 – f/5.6 for groups.
✔ Shutter Speed: 1/200s – 1/500s for sharp results.
✔ ISO: Keep it as low as possible for clean, noise-free images.
✔ White Balance: Adjust for natural skin tones.
✔ Focus Mode: Use Eye-AF for professional sharpness.
By practicing these settings and understanding how they work together, you’ll be able to capture professional-quality portraits in any situation.
What’s Next?
Would you like a step-by-step guide on post-processing portraits? Let me know, and I can create a detailed Lightroom & Photoshop tutorial! 😊
-
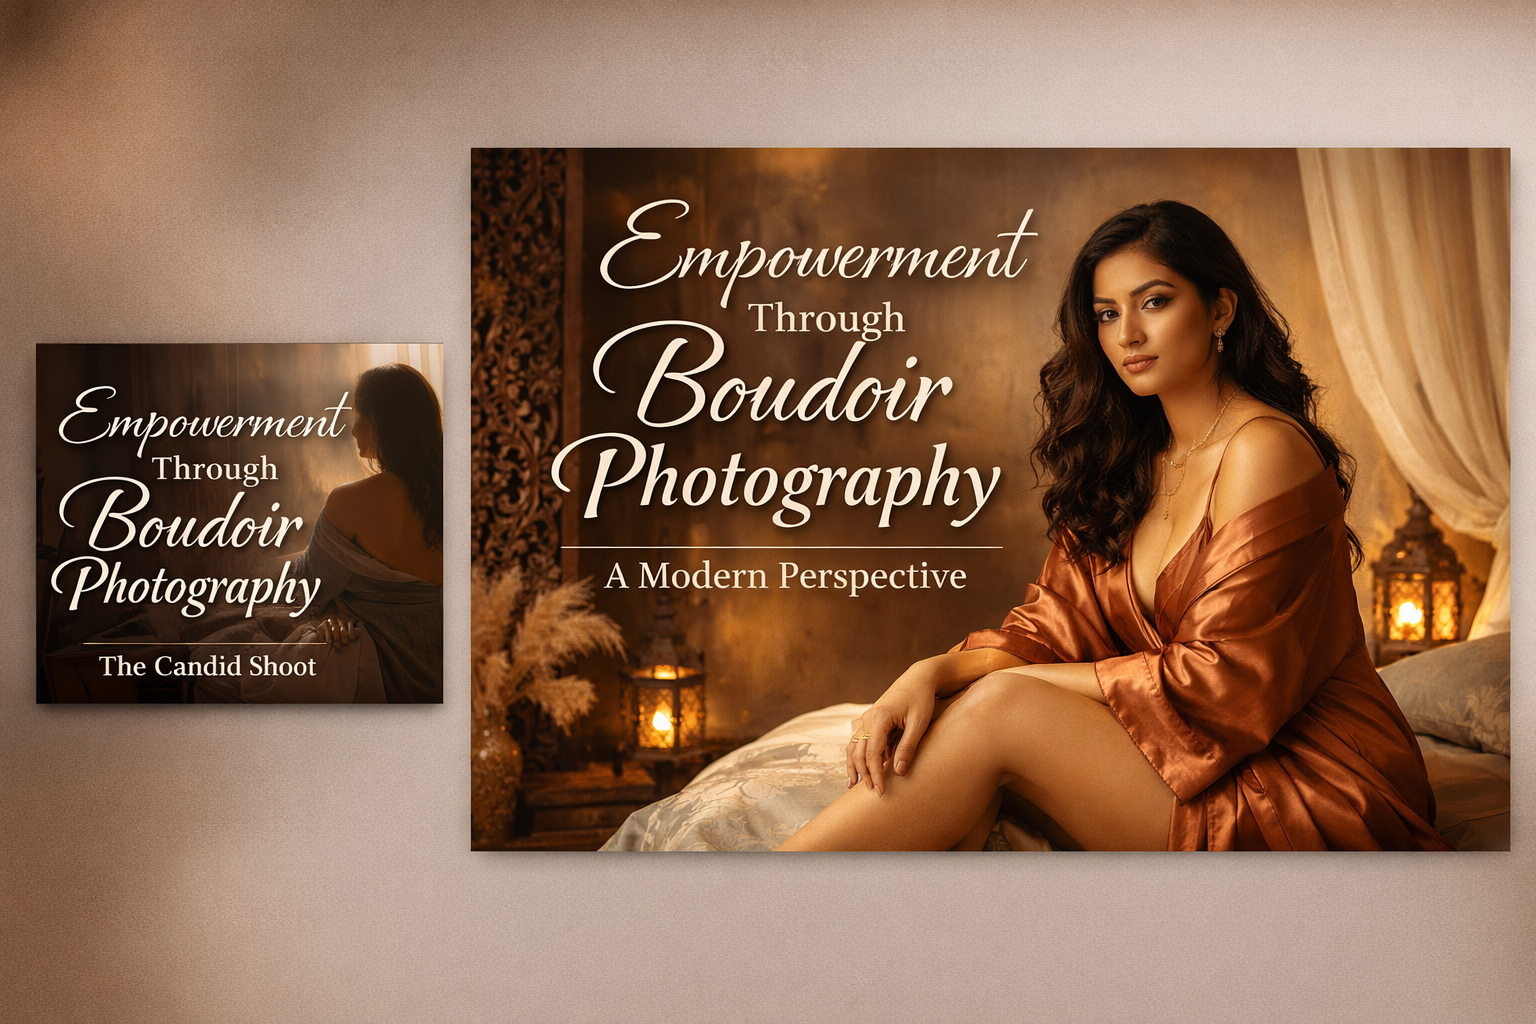
Empowerment Through Boudoir Photography: The Candid Shoot
-

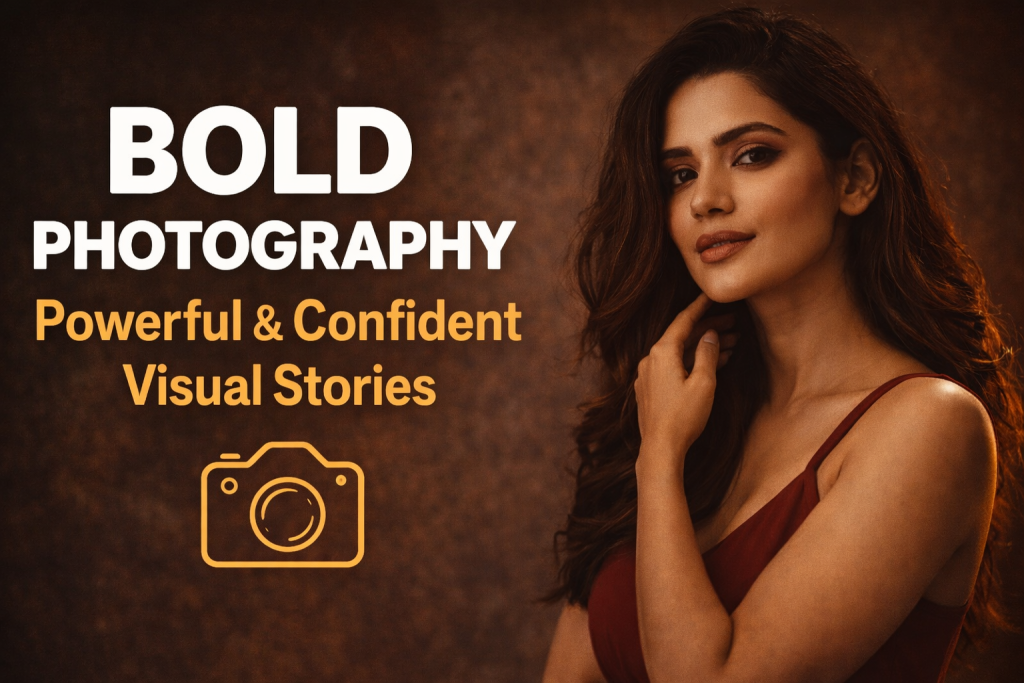
Bold Photography: Creating Powerful & Confident Visual Stories
-

Jaipur’s Favorite Destination for Couple Shoots | The Candid Shoot
-
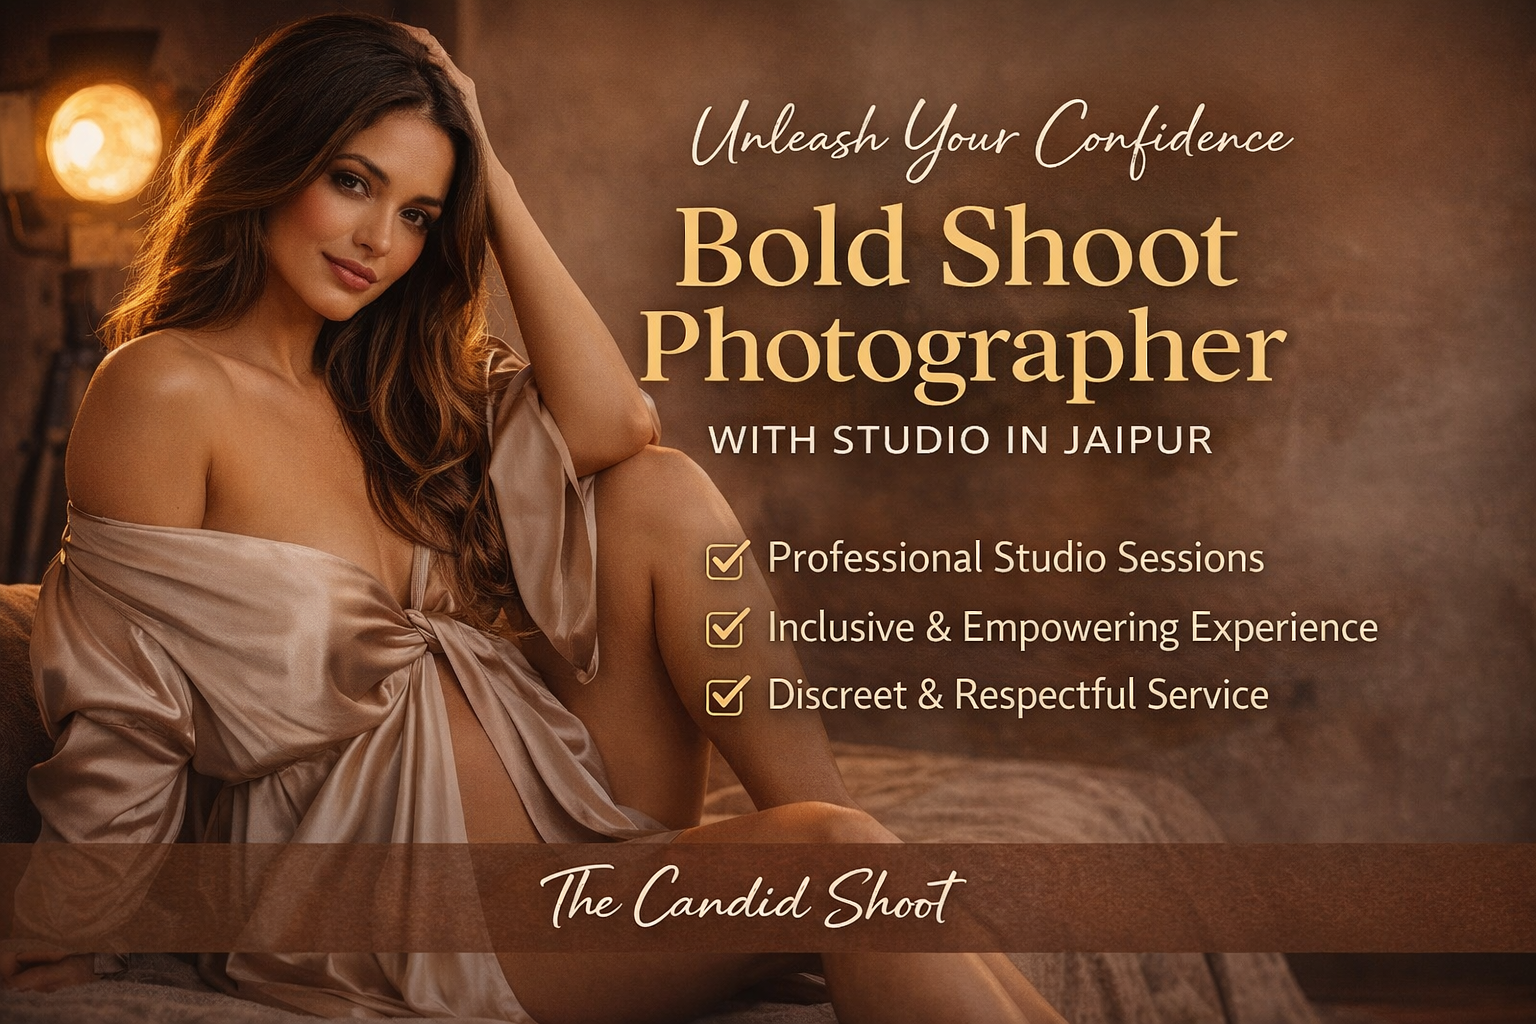
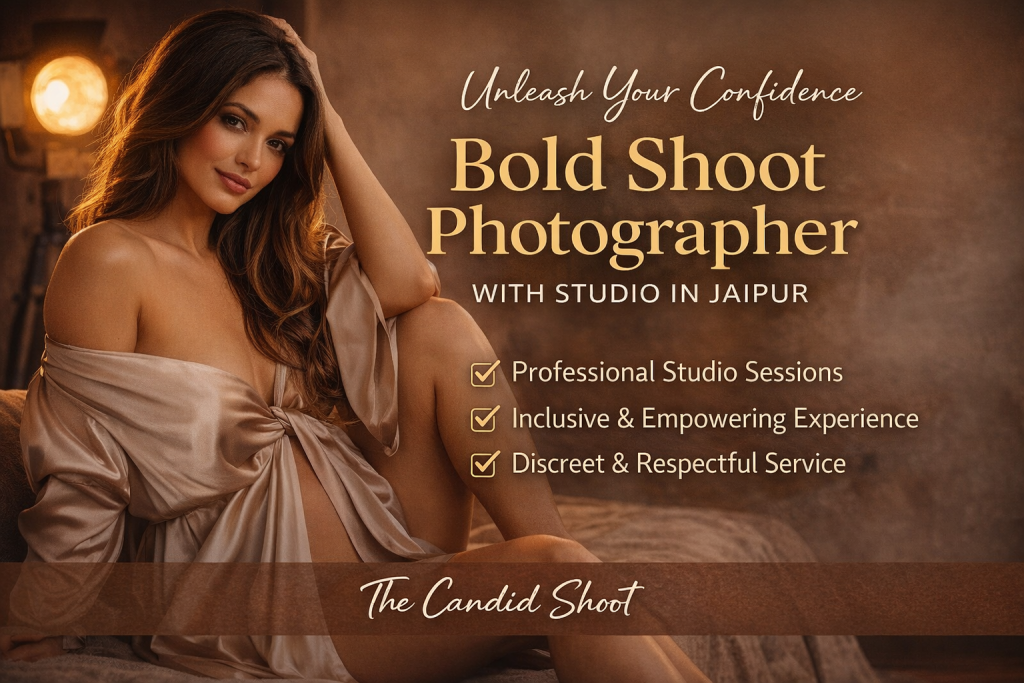
Bold Shoot Photographer with Studio in Jaipur | The Candid Shoot
-
Empowerment Through Boudoir Photography: The Candid Shoot
Boudoir Photography as Empowerment Boudoir photography has evolved far beyond traditional notions of intimacy or sensuality. Modern boudoir photography is about empowerment, confidence, and self-expression, not merely performing for the camera. At its heart, boudoir photography is a visual dialogue between the subject and themselves, mediated by a professional photographer. It provides a private, safe
-
Jaipur’s Favorite Destination for Couple Shoots | The Candid Shoot
Why Couple Shoots Matter More Than Ever Couple shoots have evolved far beyond posed photographs and forced smiles. Today, couples look for experiences that feel natural, meaningful, and reflective of who they are together. A couple shoot is no longer about perfection. It is about presence, connection, and shared emotion. At The Candid Shoot, we
-
Bold Shoot Photographer with Studio in Jaipur | The Candid Shoot
The phrase “bold shoot photographer” often triggers assumptions—many of them incomplete, outdated, or shaped by stereotypes. In reality, bold photography has evolved far beyond shock value or surface-level aesthetics. Today, bold shoots represent self-expression, body confidence, emotional honesty, and artistic courage. At The Candid Shoot, bold photography is not about exposure—it is about expression. It
-
Styling Tips for Maternity Shoots: Looking Timeless, and Confident
Styling as the Silent Storyteller in Maternity Shoots Maternity shoots are not simply about documenting pregnancy. They are about honoring a season of transformation—physical, emotional, relational, and often spiritual. Styling plays a foundational role in how that transformation appears, feels, and endures through photographs. When people look back at maternity photographs years later, they rarely
-
Mobile Photography Hacks: Candid Moments with Your Phone
Discover high-impact mobile photography hacks to capture genuine, gorgeous candid moments with your phone. Learn practical tips, composition secrets, and pro techniques to turn everyday scenes into stunning visual stories. Introduction: The New Age of Mobile Photography Photography has evolved beyond heavy cameras, technical jargon, and expensive equipment. Today, the power to capture extraordinary moments