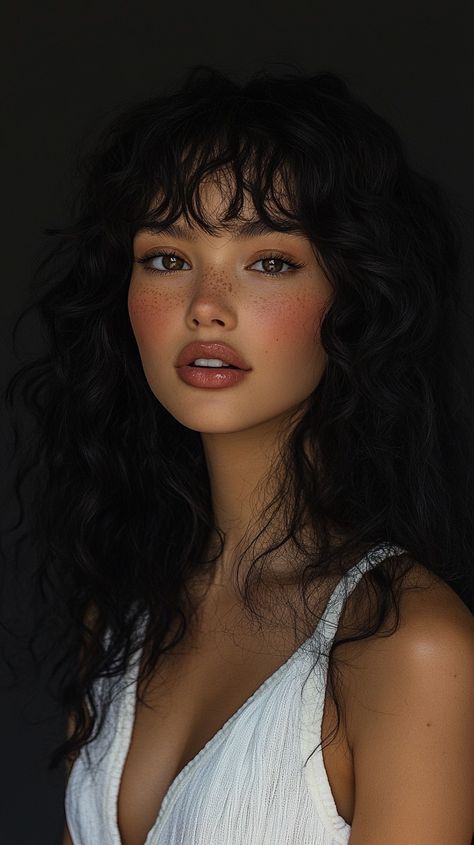
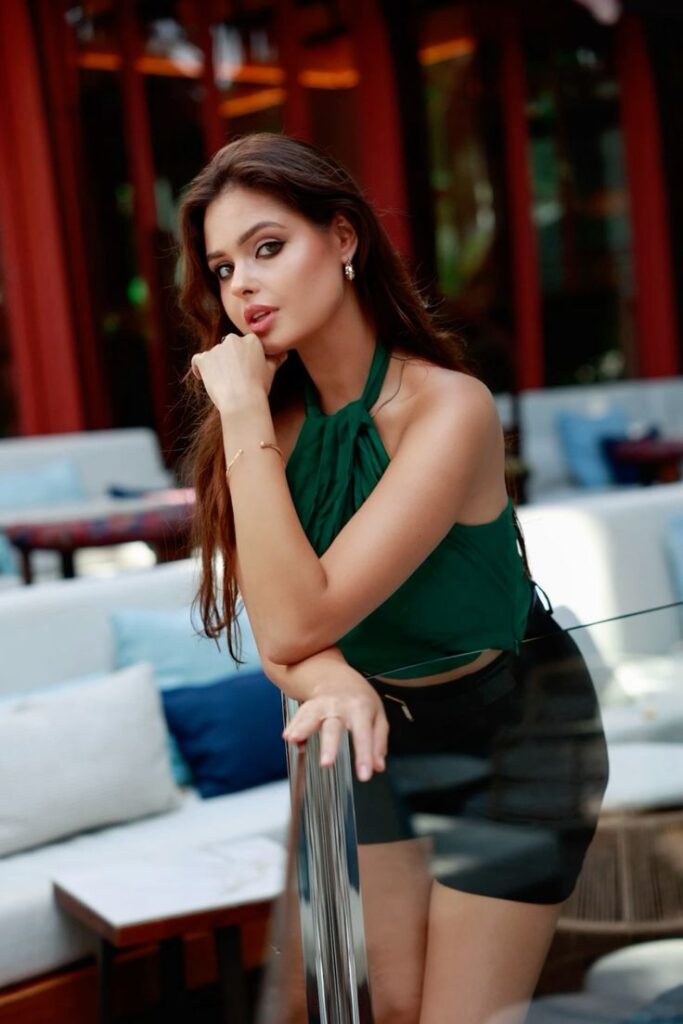
Portrait photography is more than simply pointing a camera at a person. It’s about creating a connection, telling a story, and capturing emotions. For beginners, the world of portrait photography may seem overwhelming, but with guidance and practice, anyone can create stunning and meaningful portraits.
This comprehensive guide will walk you through everything you need to know to start your journey in portrait photography. From understanding the basics to mastering creative techniques, this blog covers it all in detail, helping you transform your snapshots into impactful works of art.
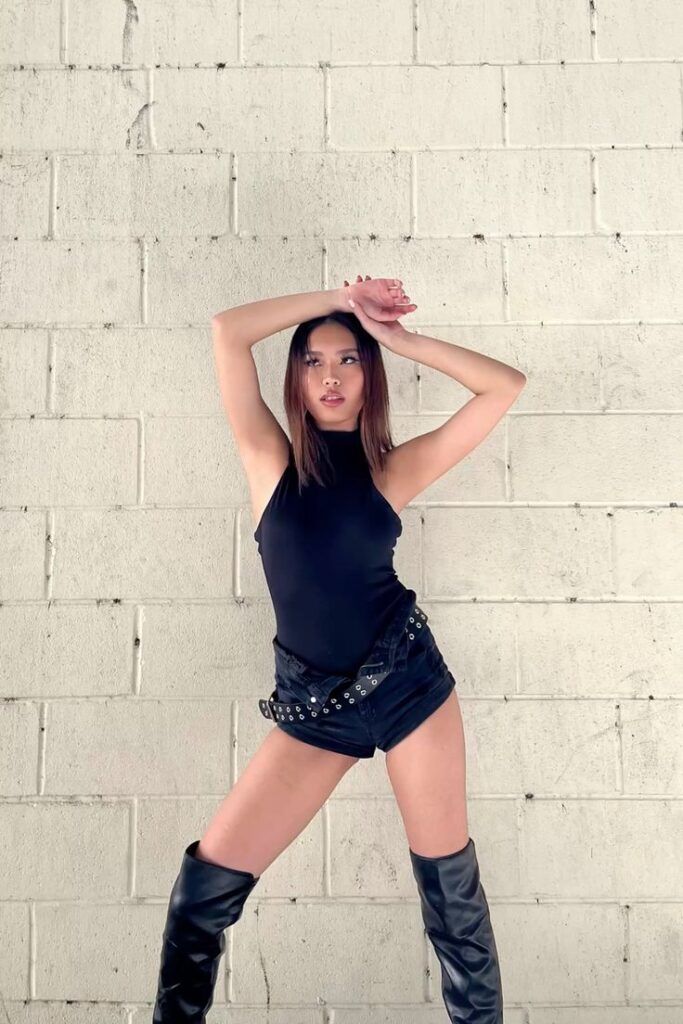
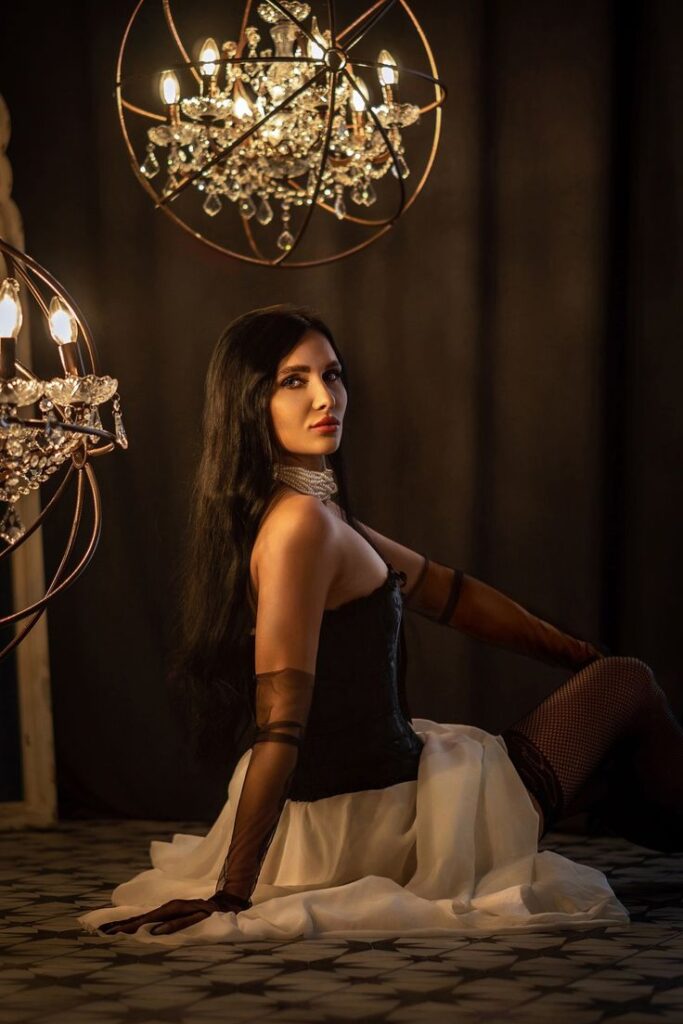
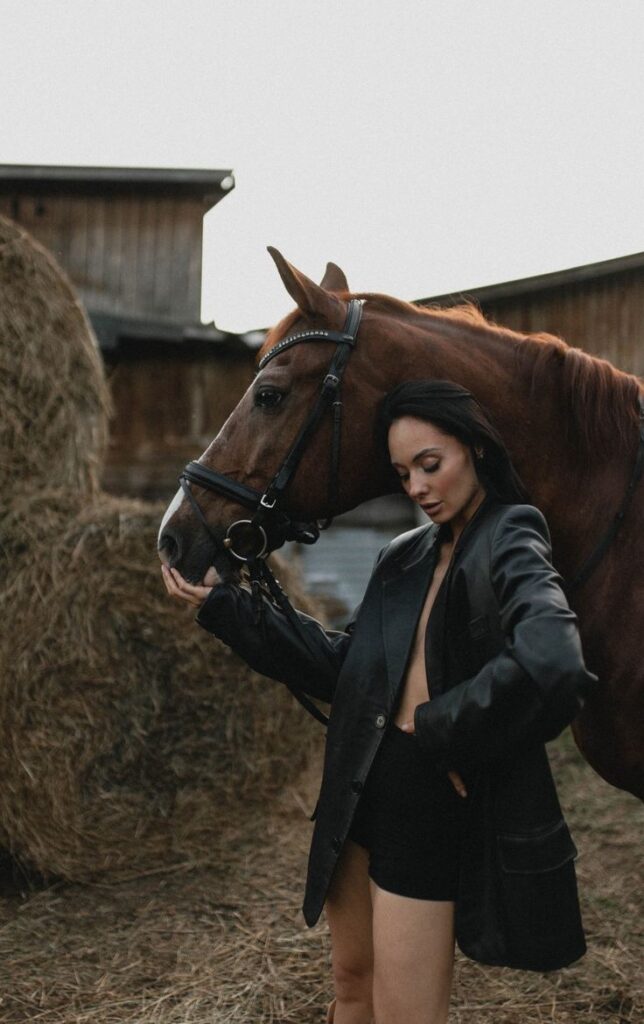
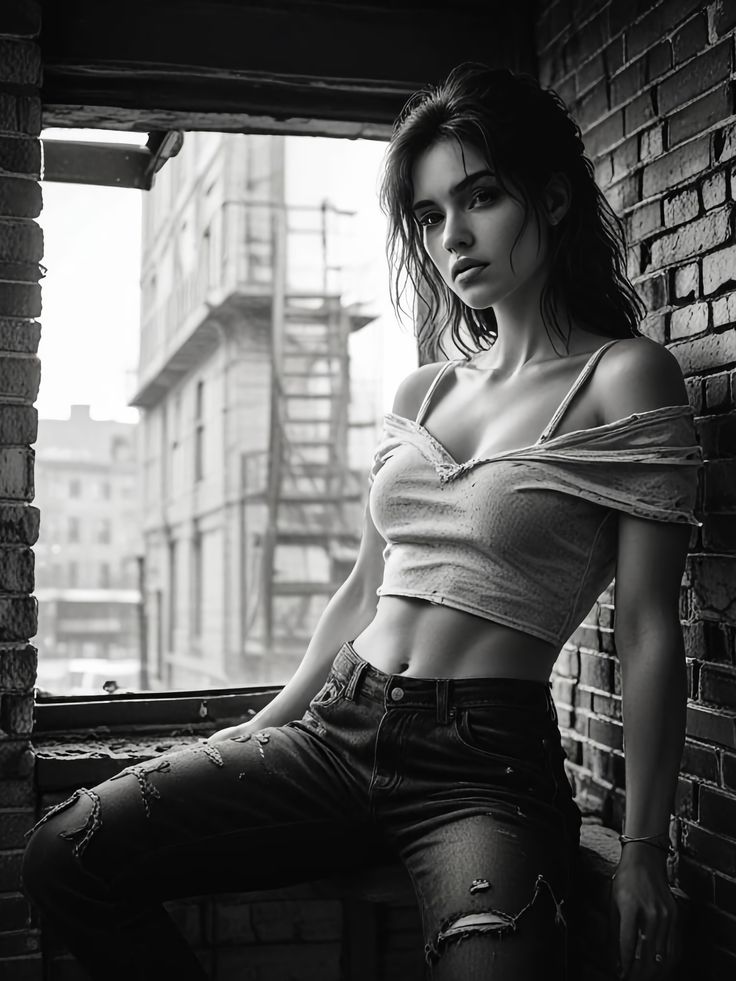
1. What Is Portrait Photography?
Portrait photography is the art of capturing the personality, essence, and emotions of an individual or group through a photograph. Unlike other genres, portrait photography focuses on the subject as the primary element, using lighting, composition, and expressions to convey their story.
1.1 The Purpose of Portrait Photography
Portraits serve various purposes, including personal keepsakes, professional branding, artistic expression, and even storytelling. A well-captured portrait connects the subject with the viewer, creating an emotional impact.
1.2 Types of Portrait Photography
Portrait photography encompasses various sub-genres, each with its unique style and approach:
- Traditional Portraits: Focus on formal poses and classic compositions.
- Candid Portraits: Capture natural expressions and unposed moments.
- Environmental Portraits: Highlight the subject in their natural environment, like a chef in their kitchen or an artist in their studio.
- Creative Portraits: Experiment with lighting, props, and post-processing to achieve artistic results.
2. Equipment You Need to Get Started
Investing in the right equipment helps elevate your portrait photography. While you can start with a smartphone, having dedicated tools makes a significant difference in quality.
2.1 Choosing the Right Camera
A DSLR or mirrorless camera is ideal for portrait photography due to its manual settings and superior image quality. Look for cameras with:
- A large sensor for better depth of field.
- High-resolution capabilities for detailed portraits.
- Interchangeable lenses for versatility.
2.2 Lenses for Portrait Photography
Portrait photography thrives on lenses that offer excellent background separation and flattering perspectives. Popular options include:
- Prime Lenses: A 50mm f/1.8 or an 85mm f/1.4 lens provides stunning depth of field and sharpness.
- Zoom Lenses: A 24-70mm f/2.8 lens offers versatility for different framing styles.
2.3 Lighting Equipment
Natural light is a beginner-friendly option, but artificial lighting allows for more control. Consider:
- Reflectors: To bounce natural light onto the subject’s face.
- Softboxes: For diffused and even lighting.
- Ring Lights: To achieve flattering, shadow-free portraits.
3. Mastering Camera Settings for Portraits
Understanding and controlling your camera settings is essential for capturing professional-quality portraits.
3.1 Aperture: Achieving Depth and Focus
A wide aperture (e.g., f/1.8 or f/2.8) creates a shallow depth of field, blurring the background while keeping the subject in focus. This technique, known as bokeh, emphasizes the subject and adds a pleasing aesthetic to the image.
3.2 Shutter Speed: Freezing Motion
For still portraits, use a shutter speed of at least 1/125 to avoid motion blur. For dynamic shots, adjust accordingly to capture the desired effect.
3.3 ISO: Balancing Light and Noise
Keep the ISO as low as possible to minimize grain in your images. Increase ISO only in low-light situations where you can’t use additional lighting.
4. Lighting: The Key to Stunning Portraits
Lighting shapes your portrait and influences the mood and tone of your image. Learning to manipulate light is crucial for beginners.
4.1 Natural Light
Natural light is versatile and accessible. Use the following tips:
- Golden Hour: Shoot during sunrise or sunset for warm, flattering light.
- Overcast Days: Soft clouds diffuse light, eliminating harsh shadows.
- Window Light: Indoor portraits near windows create soft, directional light.
4.2 Artificial Light
Artificial light offers more control over your images. Experiment with:
- Studio Lights: Softboxes and umbrellas provide even lighting for professional results.
- Off-Camera Flash: Create dramatic effects by controlling the angle and intensity of light.
4.3 Lighting Techniques
- Rembrandt Lighting: A triangle of light on one cheek for depth and mood.
- Butterfly Lighting: Light directly above the subject for a glamorous look.
- Split Lighting: Light on one side of the face for a dramatic effect.
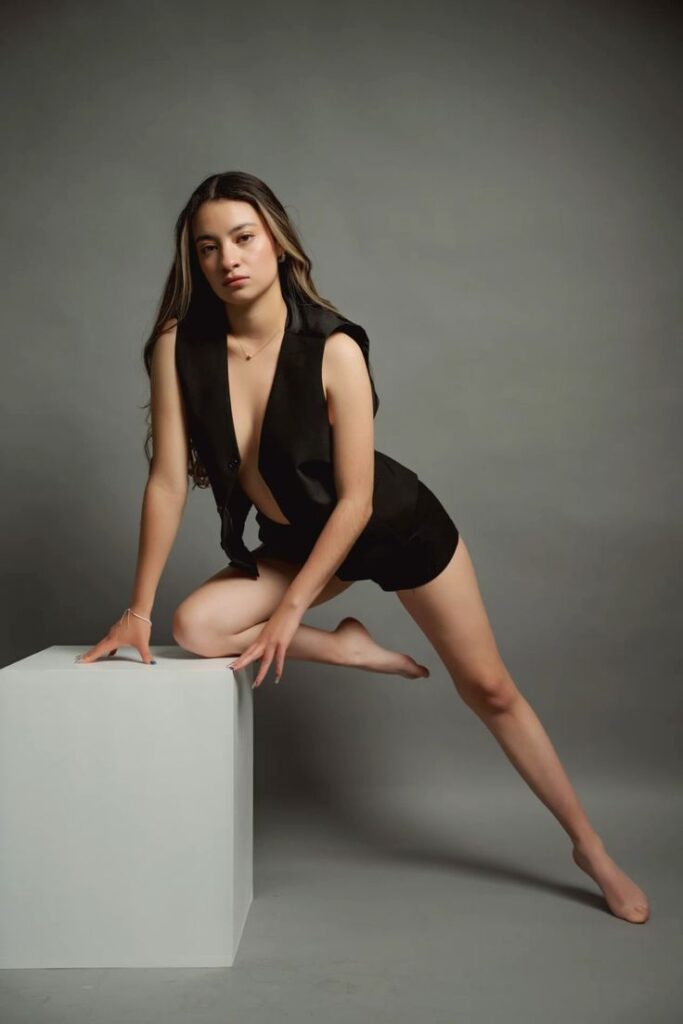
5. Composition: Framing Your Subject
Composition is the foundation of an impactful portrait. Thoughtful framing enhances your subject and guides the viewer’s eye.
5.1 Rule of Thirds
Divide your frame into a 3×3 grid and place the subject along the lines or at the intersections for balanced and visually pleasing compositions.
5.2 Leading Lines
Use lines in the background or foreground to draw attention to your subject. This technique adds depth and dynamism to your portraits.
5.3 Negative Space
Incorporate negative space to emphasize the subject and create a sense of simplicity or solitude.
5.4 Cropping and Angles
Experiment with different angles and cropping techniques to create unique perspectives:
- Eye-level shots for natural compositions.
- Low angles for empowerment and dominance.
- High angles for vulnerability and softness.
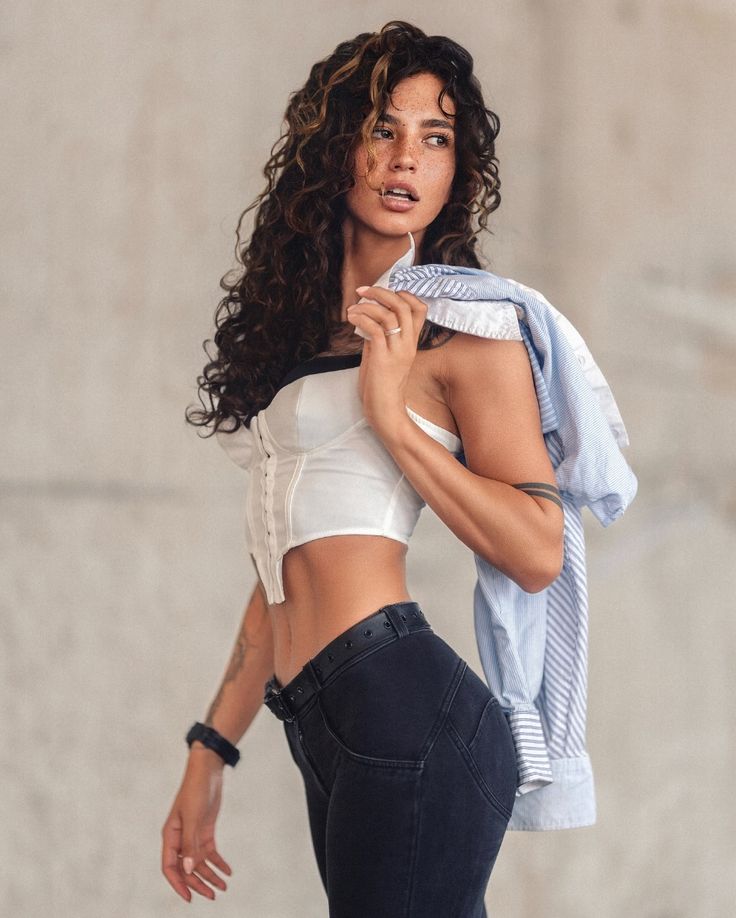
6. Capturing Expressions and Emotions
Portrait photography is about more than technical precision—it’s about connecting with your subject to capture authentic emotions.
6.1 Building Trust
Make your subject feel comfortable by engaging in conversation and showing genuine interest in their story.
6.2 Encouraging Natural Expressions
Avoid over-directing your subject. Instead, create scenarios or ask questions that evoke genuine emotions and expressions.
6.3 Capturing the Eyes
The eyes are the most expressive feature in a portrait. Focus on them to convey emotion and establish a connection with the viewer.
7. Post-Processing: Polishing Your Portraits
Editing enhances the mood and impact of your portraits. Use editing tools to refine your images without overdoing it.
7.1 Retouching Basics
- Remove blemishes while preserving natural skin texture.
- Smooth skin subtly to avoid a plastic-like effect.
- Enhance the eyes and lips for added emphasis.
7.2 Adjusting Colors and Tones
- Use color grading to match the mood of the portrait.
- Adjust highlights, shadows, and contrast to add depth and dimension.
7.3 Consistency in Style
Develop a consistent editing style to create a cohesive portfolio that reflects your artistic vision.
8. Tips for Inclusive Portrait Photography
Inclusive photography celebrates diversity and creates a welcoming environment for all subjects.
8.1 Embracing Diversity
Feature individuals from various backgrounds, ages, and identities to create a portfolio that reflects a wide range of stories.
8.2 Respecting Boundaries
Ask for consent before using specific poses, props, or settings that might make your subject uncomfortable.
8.3 Adapting to Needs
Be flexible and accommodating to the needs of your subjects, such as adjusting lighting or poses to highlight their best features.
Conclusion: Start Your Portrait Photography Journey Today
Portrait photography is a rewarding journey that allows you to connect with people and tell their stories. By understanding the fundamentals, experimenting with techniques, and embracing your creativity, you can transform ordinary portraits into extraordinary works of art.
Remember, every portrait is an opportunity to learn, grow, and create something meaningful. So, grab your camera, start practicing, and let your passion for portrait photography shine.
-
Vivo X300 Pro Photography Kit: Next-Gen Mobile Imaging
-

Empowerment Through Boudoir Photography: The Candid Shoot
-

Bold Photography: Creating Powerful & Confident Visual Stories
-

Jaipur’s Favorite Destination for Couple Shoots | The Candid Shoot
-
Vivo X300 Pro Photography Kit: Next-Gen Mobile Imaging
Discover the complete vivo X300 Pro photography kit guide with in-depth camera analysis, real-world case studies, portrait techniques, cinematic workflows, and pro-level tips. Learn how vivo X300 Pro transforms mobile photography for creators, influencers, and studio professionals. The vivo X300 Pro — Redefining Mobile Imaging for Creators Why the vivo X300 Pro Deserves a Dedicated
-
Empowerment Through Boudoir Photography: The Candid Shoot
Boudoir Photography as Empowerment Boudoir photography has evolved far beyond traditional notions of intimacy or sensuality. Modern boudoir photography is about empowerment, confidence, and self-expression, not merely performing for the camera. At its heart, boudoir photography is a visual dialogue between the subject and themselves, mediated by a professional photographer. It provides a private, safe
-
Jaipur’s Favorite Destination for Couple Shoots | The Candid Shoot
Why Couple Shoots Matter More Than Ever Couple shoots have evolved far beyond posed photographs and forced smiles. Today, couples look for experiences that feel natural, meaningful, and reflective of who they are together. A couple shoot is no longer about perfection. It is about presence, connection, and shared emotion. At The Candid Shoot, we
-
Bold Shoot Photographer with Studio in Jaipur | The Candid Shoot
The phrase “bold shoot photographer” often triggers assumptions—many of them incomplete, outdated, or shaped by stereotypes. In reality, bold photography has evolved far beyond shock value or surface-level aesthetics. Today, bold shoots represent self-expression, body confidence, emotional honesty, and artistic courage. At The Candid Shoot, bold photography is not about exposure—it is about expression. It
-
Styling Tips for Maternity Shoots: Looking Timeless, and Confident
Styling as the Silent Storyteller in Maternity Shoots Maternity shoots are not simply about documenting pregnancy. They are about honoring a season of transformation—physical, emotional, relational, and often spiritual. Styling plays a foundational role in how that transformation appears, feels, and endures through photographs. When people look back at maternity photographs years later, they rarely


