Sensual and intimate boudoir photography is all about capturing sensuality, confidence, and intimacy in a tasteful and artistic manner. Lighting plays a crucial role in setting the mood, highlighting the subject’s best features, and evoking emotions. Whether you are a seasoned boudoir photographer or just starting, mastering lighting techniques can transform your images from ordinary to extraordinary.
1. Understanding the Importance of Lighting in Boudoir Photography
Lighting is the backbone of boudoir photography, influencing the depth, texture, and emotion in every shot. Proper lighting ensures that your subject feels comfortable and confident while achieving the desired sensual and intimate feel.
Why Lighting Matters
- Defines the mood of the photoshoot
- Highlights the subject’s best features
- Enhances the natural skin tone
- Adds depth and drama to the images
- Creates a balance between light and shadows
2. Types of Lighting for Boudoir Photography
Different lighting techniques can be used to achieve various moods and aesthetics. Below are some of the best lighting styles for sensual and intimate boudoir photography.
a) Natural Light
Natural light is one of the most flattering lighting options for boudoir photography. It creates soft, diffused shadows that enhance the subject’s skin and features.
How to Use Natural Light:
- Position the subject near a window with sheer curtains for soft, diffused light.
- Shoot during golden hour (early morning or late afternoon) for a warm and romantic glow.
- Use reflectors to bounce light and eliminate harsh shadows.
b) Softbox and Continuous Light
Softbox and continuous lights allow full control over lighting, ensuring a consistent and flattering effect.
How to Use Softbox Lighting:
- Place a large softbox at a 45-degree angle to create soft, even light.
- Use a diffuser to eliminate harsh shadows.
- Adjust the light intensity to match the desired mood.
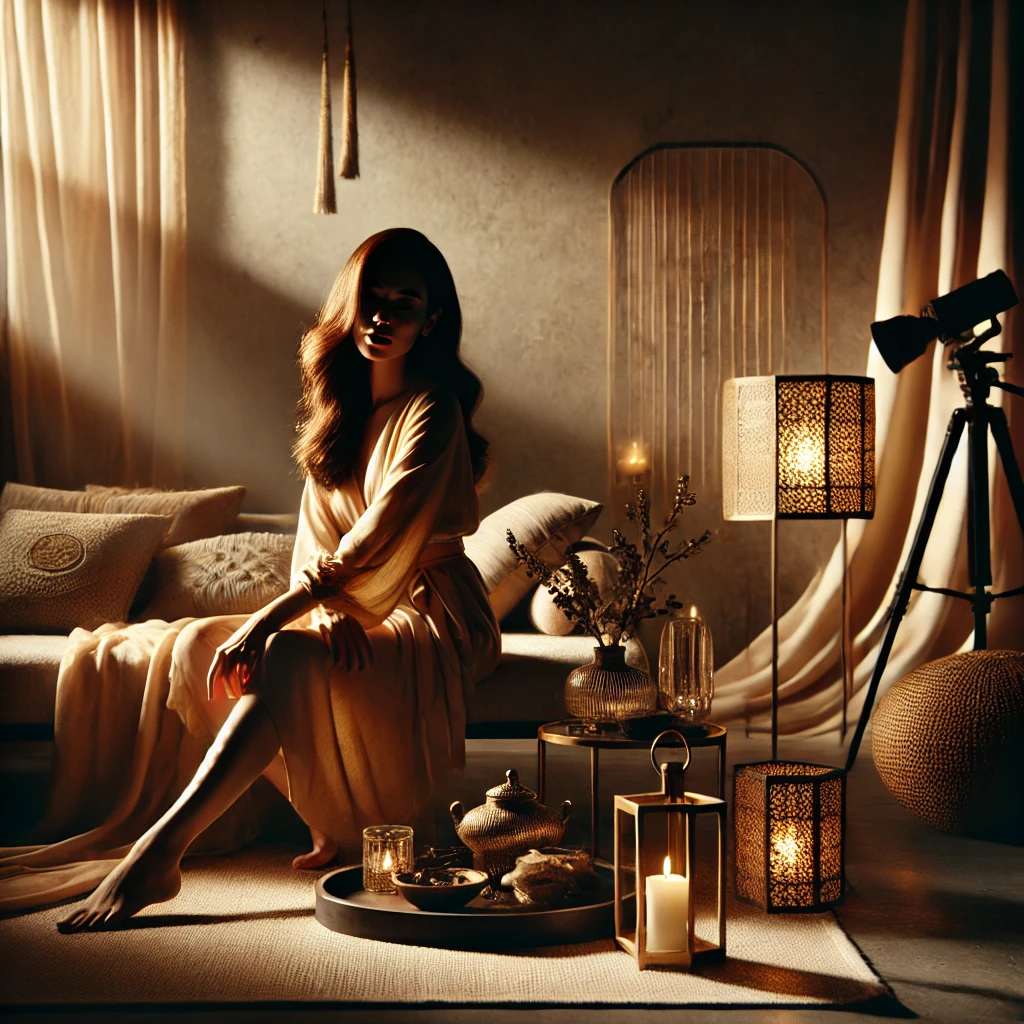
c) Candlelight and Fairy Lights
Using candlelight or fairy lights can add a romantic and dreamy effect to boudoir photography.
How to Use Ambient Lighting:
- Place candles around the subject for a soft, flickering glow.
- Use fairy lights to add warmth and create an intimate background.
- Adjust camera settings to capture the warm tones without overexposing the subject.
3. Creating Shadows and Highlights for a Sensual Effect
Shadows and highlights play a vital role in emphasizing curves and enhancing the subject’s sensuality.
Techniques to Create Shadows:
- Use a single light source to cast dramatic shadows.
- Experiment with side lighting for an artistic effect.
- Position the subject near a window with blinds to create a pattern of light and shadow.
4. Posing with Light to Enhance Intimacy
Boudoir photography is not just about lighting; posing plays an equally important role in conveying confidence and sensuality.
Tips for Posing with Light:
- Encourage natural and relaxed poses that complement the lighting.
- Use backlighting for a silhouette effect.
- Position the subject at different angles to see how light falls on their body.
5. Camera Settings for Boudoir Photography Lighting
Understanding your camera settings can help you capture the perfect boudoir shot.
Ideal Camera Settings:
- Aperture: Use a wide aperture (f/1.8 – f/2.8) for a soft, dreamy effect.
- Shutter Speed: Keep it fast enough to avoid motion blur but slow enough to capture ambient light.
- ISO: Adjust ISO based on lighting conditions; keep it low in bright settings and higher in low-light conditions.
6. Editing and Enhancing Boudoir Lighting
Post-processing plays a crucial role in refining the lighting and mood of boudoir photos.
Editing Tips:
- Adjust exposure and contrast to enhance highlights and shadows.
- Use soft skin retouching techniques without over-editing.
- Add a subtle vignette for a more intimate feel.
7. Conclusion: Mastering Lighting for Sensual and Intimate Boudoir Photography
The key to successful boudoir photography lies in mastering lighting techniques that enhance intimacy, confidence, and sensuality. By experimenting with natural light, softbox setups, and creative shadows, photographers can create visually stunning and emotionally evocative images.
Whether you are working in a studio or a home setting, understanding how light interacts with the subject will elevate your boudoir photography and make each shot a masterpiece.
Empowerment Through Boudoir Photography: The Candid Shoot

Bold Photography: Creating Powerful & Confident Visual Stories
-
Jaipur’s Favorite Destination for Couple Shoots | The Candid Shoot
-
Bold Shoot Photographer with Studio in Jaipur | The Candid Shoot
Empowerment Through Boudoir Photography: The Candid Shoot
Boudoir Photography as Empowerment Boudoir photography has evolved far beyond traditional notions of intimacy or sensuality. Modern boudoir photography is about empowerment, confidence, and self-expression, not merely performing for the camera. At its heart, boudoir photography is a visual dialogue between the subject and themselves, mediated by a professional photographer. It provides a private, safe
Jaipur’s Favorite Destination for Couple Shoots | The Candid Shoot
Why Couple Shoots Matter More Than Ever Couple shoots have evolved far beyond posed photographs and forced smiles. Today, couples look for experiences that feel natural, meaningful, and reflective of who they are together. A couple shoot is no longer about perfection. It is about presence, connection, and shared emotion. At The Candid Shoot, we
Bold Shoot Photographer with Studio in Jaipur | The Candid Shoot
The phrase “bold shoot photographer” often triggers assumptions—many of them incomplete, outdated, or shaped by stereotypes. In reality, bold photography has evolved far beyond shock value or surface-level aesthetics. Today, bold shoots represent self-expression, body confidence, emotional honesty, and artistic courage. At The Candid Shoot, bold photography is not about exposure—it is about expression. It
Styling Tips for Maternity Shoots: Looking Timeless, and Confident
Styling as the Silent Storyteller in Maternity Shoots Maternity shoots are not simply about documenting pregnancy. They are about honoring a season of transformation—physical, emotional, relational, and often spiritual. Styling plays a foundational role in how that transformation appears, feels, and endures through photographs. When people look back at maternity photographs years later, they rarely
Mobile Photography Hacks: Candid Moments with Your Phone
Discover high-impact mobile photography hacks to capture genuine, gorgeous candid moments with your phone. Learn practical tips, composition secrets, and pro techniques to turn everyday scenes into stunning visual stories. Introduction: The New Age of Mobile Photography Photography has evolved beyond heavy cameras, technical jargon, and expensive equipment. Today, the power to capture extraordinary moments