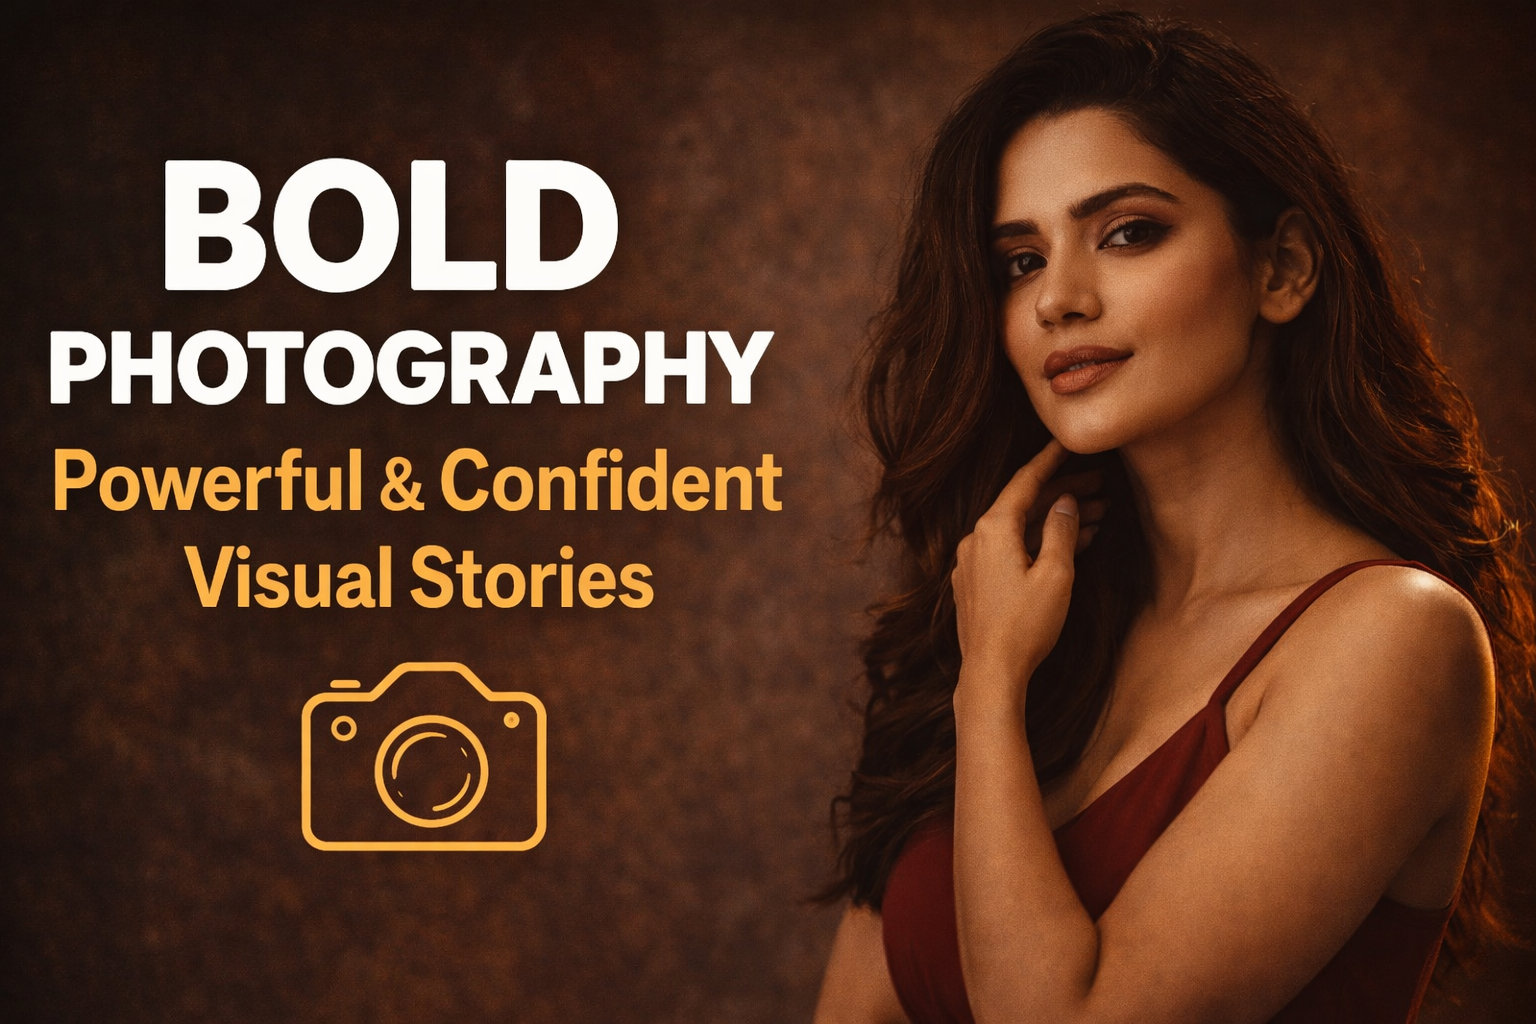
Lighting plays a crucial role in photography, especially when capturing bold and sensual portraits. The right lighting techniques can enhance depth, create mood, and highlight the subject’s confidence. This guide will explore various lighting techniques that help photographers achieve stunning, high-impact images.
Understanding the Role of Lighting in Sensual Photography
Lighting dictates the mood and tone of an image. In bold and sensual photography, shadows and highlights define contours, textures, and expressions. Whether shooting in a studio or natural light, understanding how to manipulate light sources allows for maximum artistic expression.
Key Lighting Elements
- Intensity: Determines the brightness and contrast.
- Direction: Affects how shadows form on the subject.
- Quality: Defines whether the light is soft or harsh.
- Color Temperature: Influences warmth and coolness in an image.
Essential Lighting Equipment for Bold Photography
Investing in quality lighting equipment helps photographers achieve professional results.
Must-Have Tools:
- Softboxes: Diffuses light to create a smooth effect on skin.
- Beauty Dish: Enhances facial contours with controlled contrast.
- Ring Lights: Provides uniform lighting, perfect for close-up portraits.
- Reflectors: Helps balance shadows and fill in light.
- Colored Gels: Adds creative effects and mood variations.
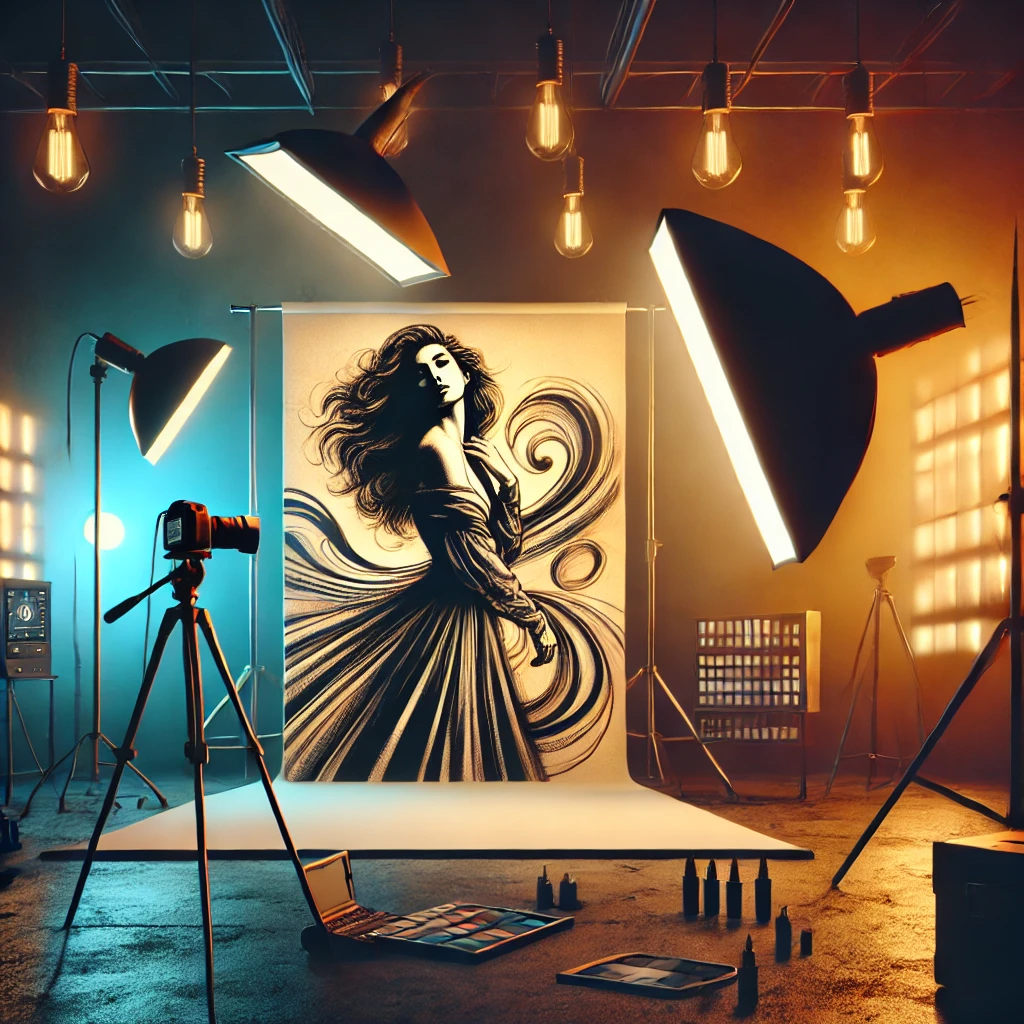
Studio Lighting Techniques for Bold & Sensual Photography
1. Rembrandt Lighting
This technique creates a dramatic effect with a small triangle of light under one eye, adding depth and sensuality.
How to Achieve It:
- Position the key light 45 degrees to the side.
- Ensure the opposite side of the face has partial shadows.
- Use a reflector for balanced contrast.
2. Split Lighting
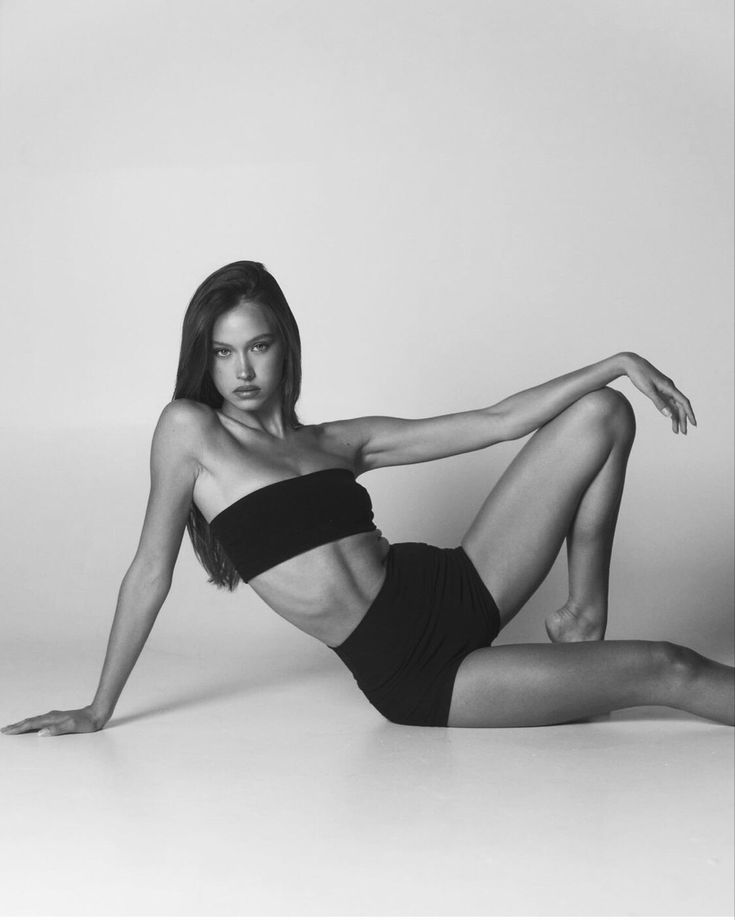
Split lighting enhances the subject’s features by illuminating half of the face while leaving the other half in shadows.
Best for:
- Adding mystery and intrigue.
- Creating high-fashion editorial looks.
3. Butterfly Lighting
Named for the butterfly-shaped shadow under the nose, this technique is flattering for most face shapes.
Steps to Achieve It:
- Place the light source directly above and in front of the subject.
- Use a beauty dish or softbox for even diffusion.
- Adjust angles to prevent harsh shadows under the eyes.
4. Low-Key Lighting
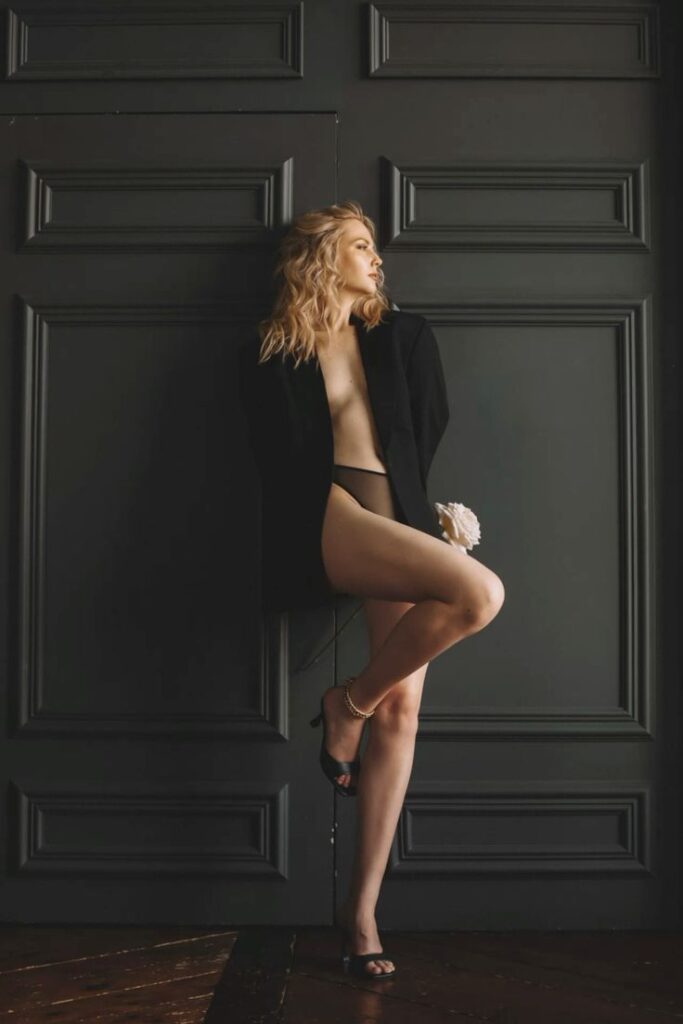
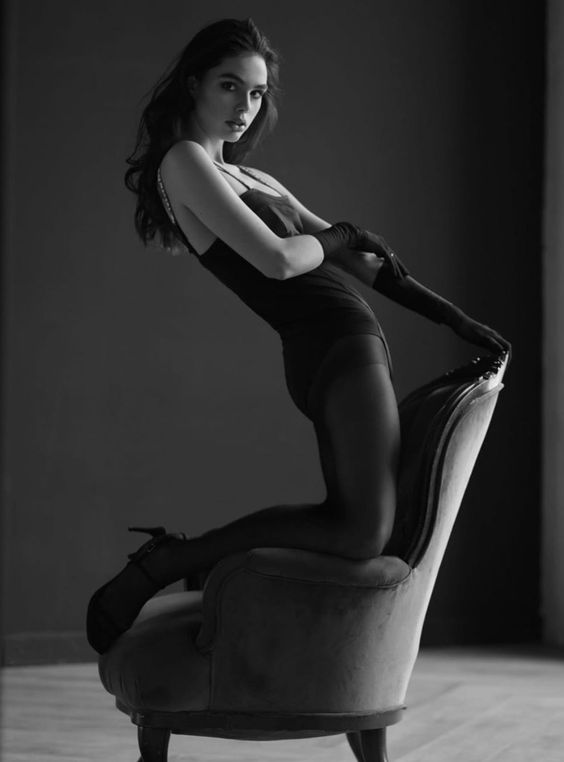
Low-key lighting enhances drama with deep shadows and highlights, making it perfect for sensual photography.
Setup:
- Use a single light source at a low angle.
- Keep the background dark to emphasize contrast.
- Adjust shadows for artistic depth.
Natural Light Techniques for Outdoor Sensual Photography
1. Golden Hour Glow
Shooting during golden hour (early morning or late afternoon) creates soft, warm lighting that flatters skin tones.
Tips:
- Position the subject with the sun behind them for a halo effect.
- Use a reflector to bounce light onto the face.
2. Window Light Softness
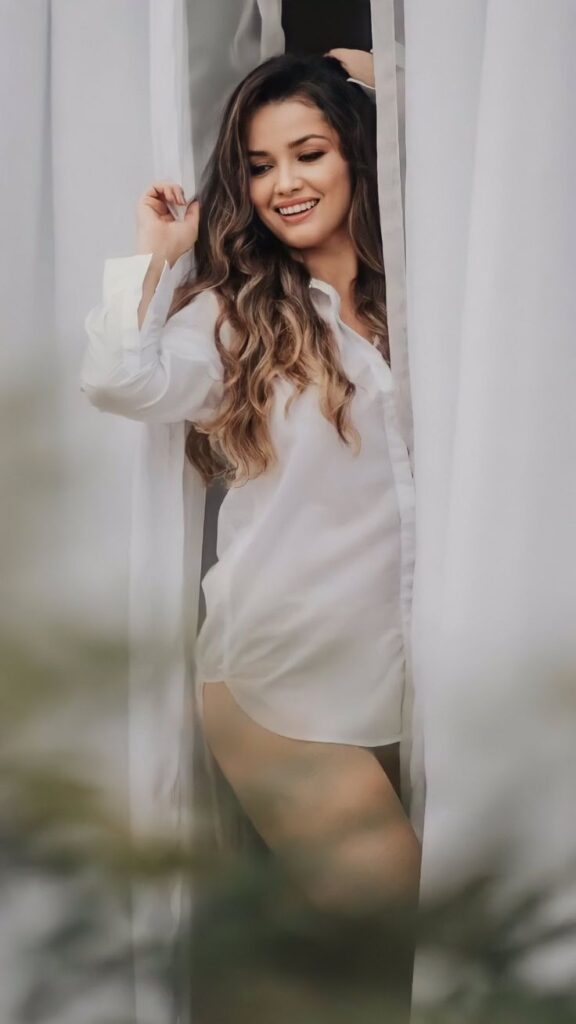
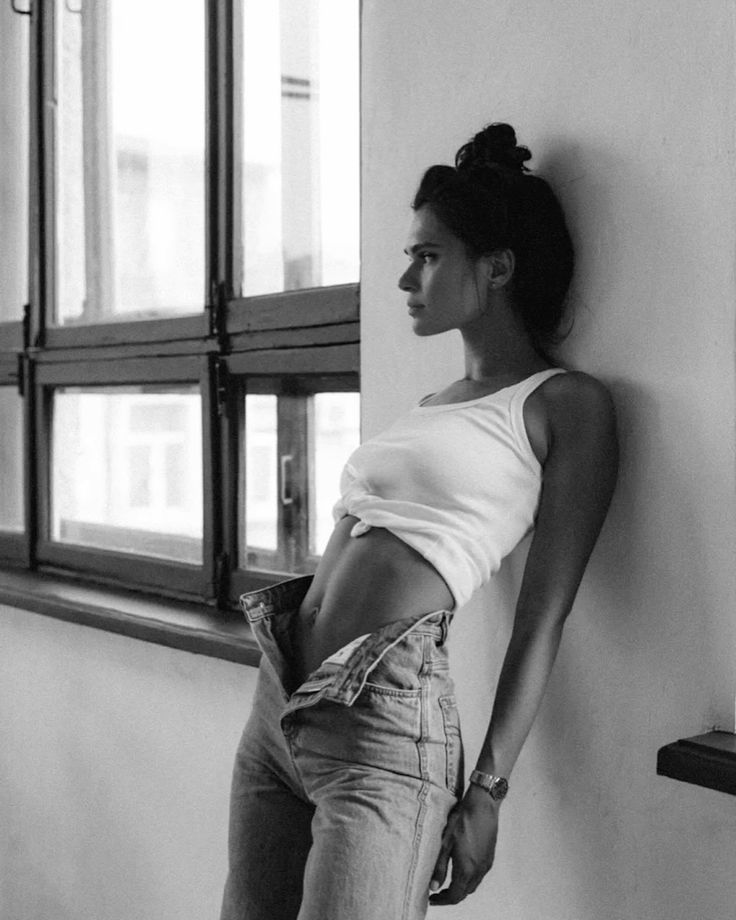
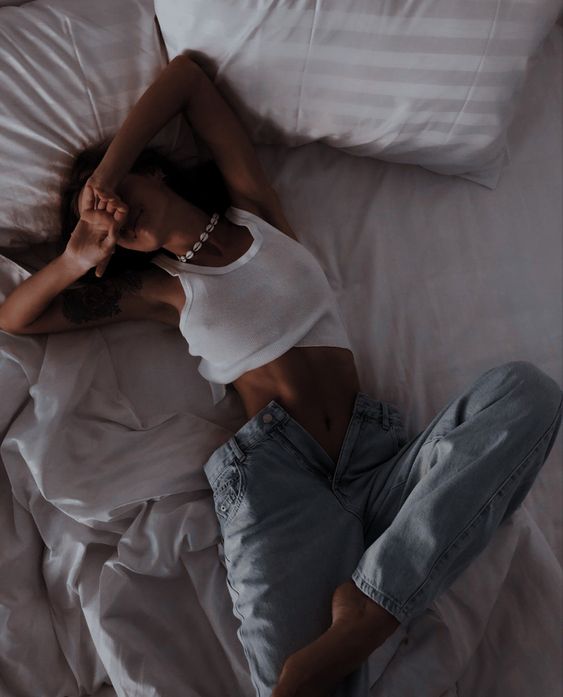
Window light creates a gentle, diffused effect that enhances natural beauty.
How to Use:
- Position the subject near a large window.
- Use sheer curtains to soften direct sunlight.
- Experiment with side and backlighting for depth.
3. Shadow Play for Artistic Effect
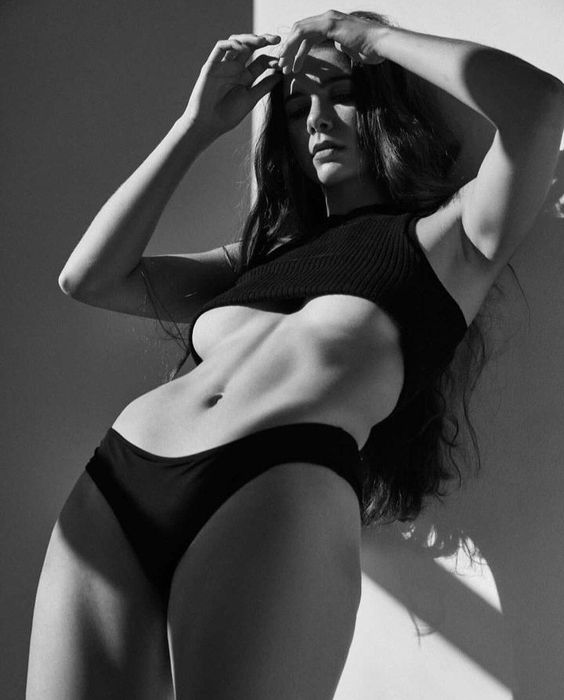
Utilizing shadows adds an element of mystery and allure.
Ways to Achieve:
- Shoot under tree leaves or blinds for patterned shadows.
- Use hand gestures to play with light.
Advanced Lighting Techniques for Creative Expression
1. Cinematic Lighting
Cinematic lighting adds a storytelling element to bold and sensual photography.
Key Elements:
- Use color gels to enhance mood.
- Experiment with rim lighting for subject separation.
- Incorporate a fog machine for dramatic effects.
2. Backlighting for Silhouettes
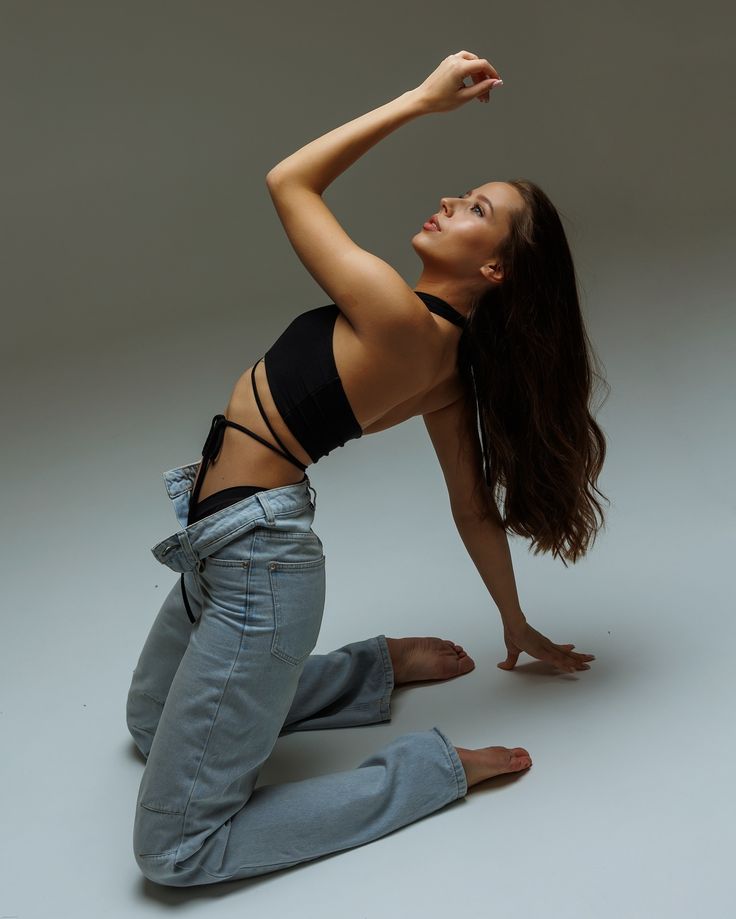
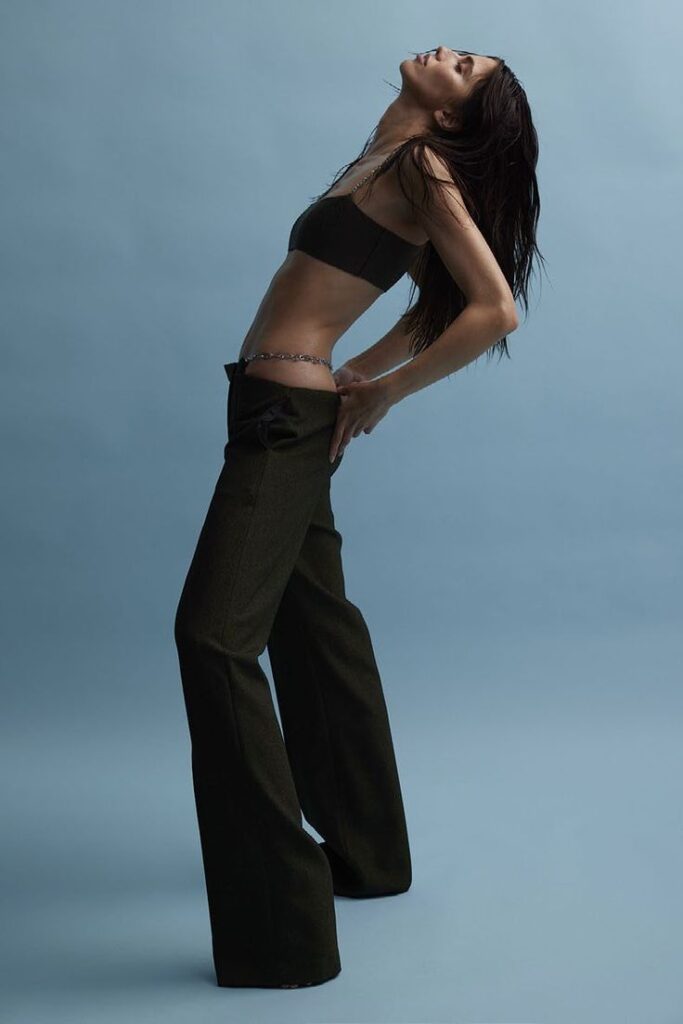
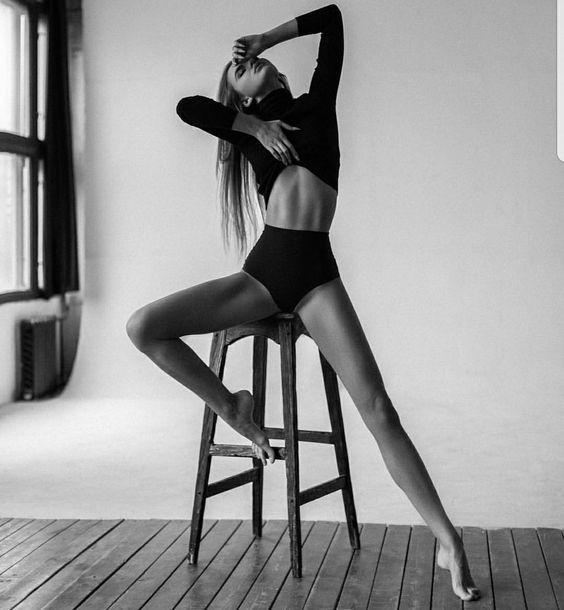
Backlighting creates striking silhouettes, emphasizing body shape and movement.
Steps:
- Position the subject in front of a bright light source.
- Reduce the exposure for a strong silhouette effect.
- Experiment with posing to highlight curves.
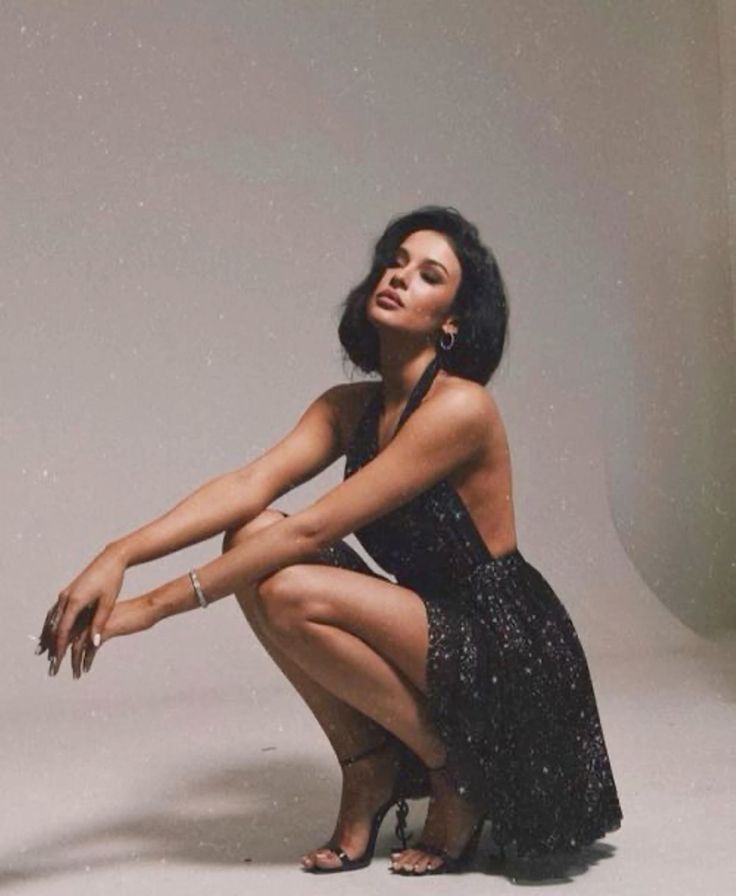
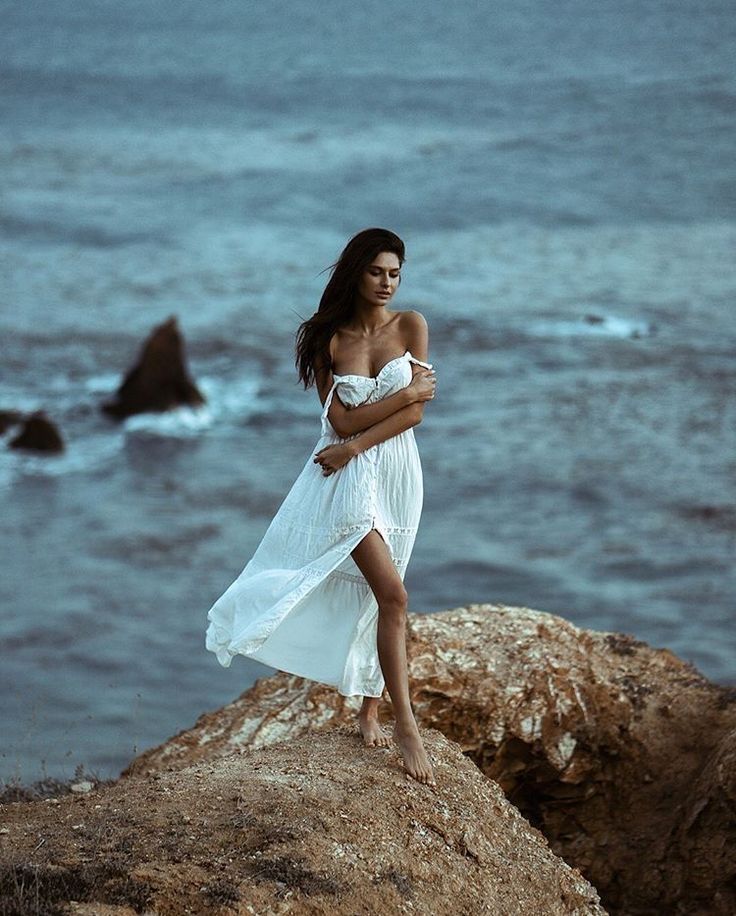

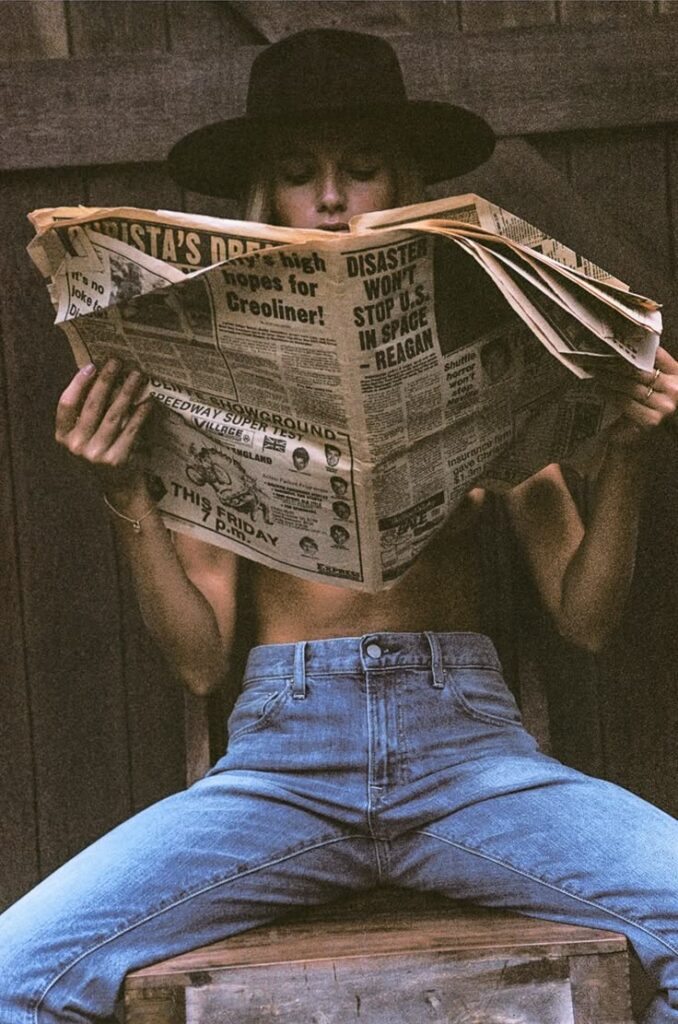
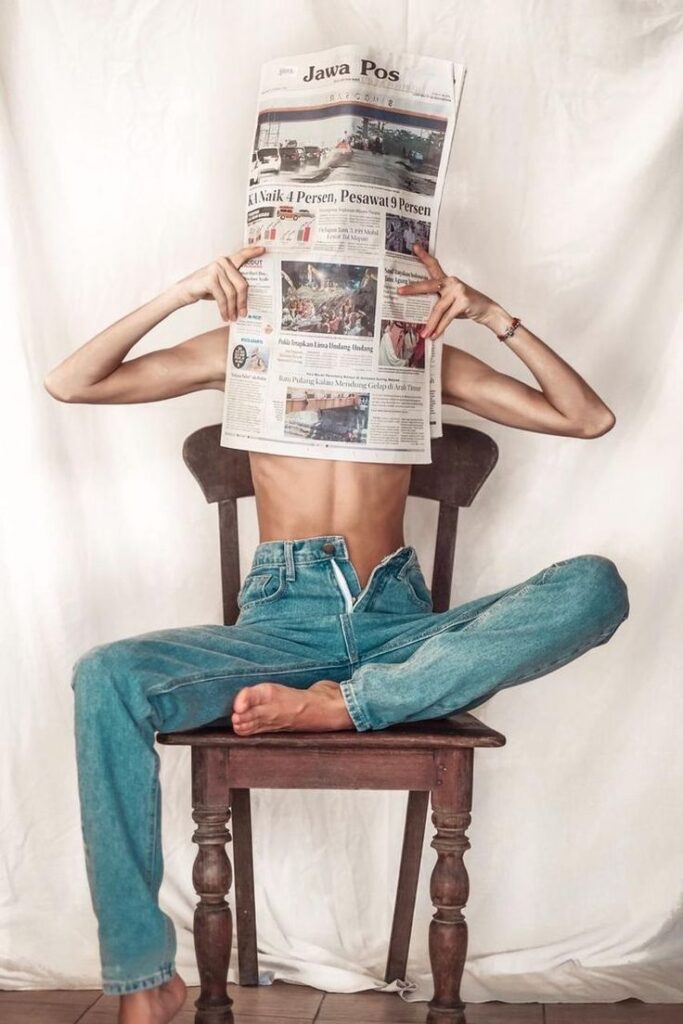


3. High-Speed Sync Flash for Motion Capture
Using high-speed sync flash freezes motion, allowing for dynamic poses.
Best for:
- Capturing movement in sensual dance or fashion photography.
- Creating striking contrasts between highlights and shadows.
Post-Processing Tips for Enhancing Lighting Effects
Editing plays a crucial role in refining lighting effects and enhancing mood.
Essential Edits:
- Adjust Contrast: Enhances depth and dimension.
- Skin Retouching: Softens imperfections while maintaining texture.
- Dodge & Burn: Adds highlight and shadow refinements.
- Color Grading: Adjusts warmth or coolness to match the artistic vision.
Common Mistakes to Avoid in Bold Photography Lighting
1. Overexposure
Too much light can wash out details, reducing sensuality and depth.
Fix:
- Reduce light intensity or adjust camera settings.
- Use diffusers for soft light.
2. Flat Lighting
Flat lighting lacks contrast, making images appear dull.
Fix:
- Use shadows strategically to enhance mood.
- Add directional lighting for dynamic depth.
3. Ignoring Background Lighting
The background plays a vital role in complementing the subject.
Fix:
- Use accent lights to separate the subject.
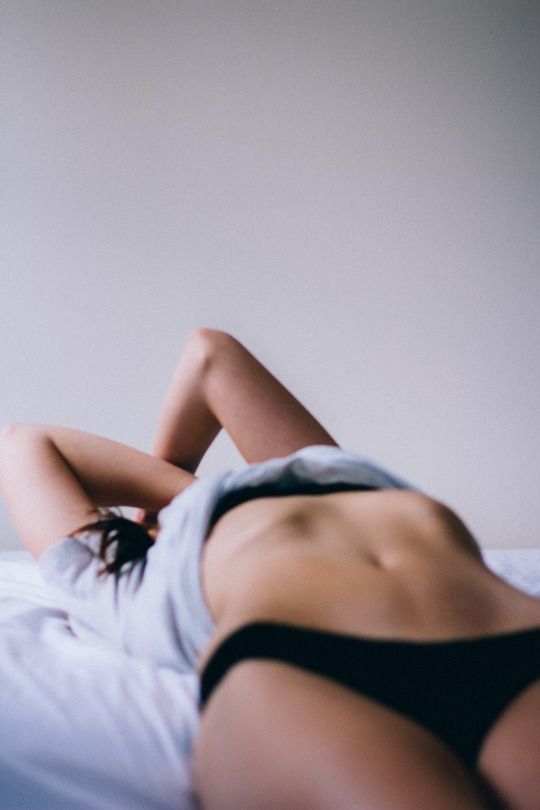
- Incorporate bokeh effects for artistic depth.
Conclusion
Mastering lighting techniques for bold and sensual photography takes practice, creativity, and an understanding of how light interacts with the subject. Whether using studio lighting, natural light, or advanced creative techniques, the right approach elevates imagery, ensuring striking and confident portraits. Experiment with these methods and refine your style to create compelling, visually stunning photographs.
-
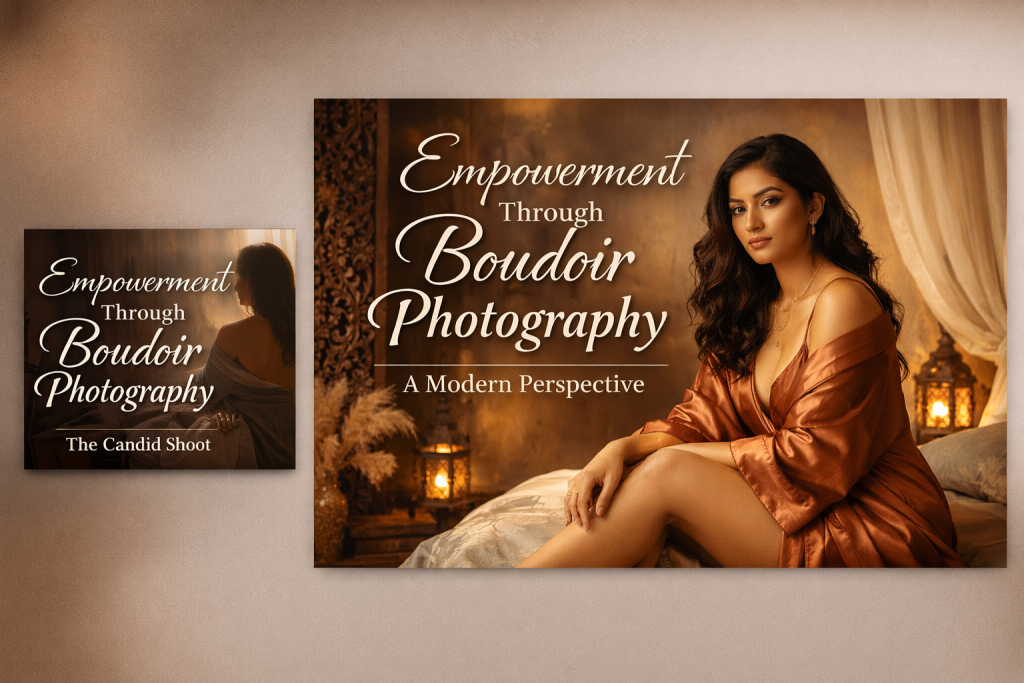
Empowerment Through Boudoir Photography: The Candid Shoot
-
Jaipur’s Favorite Destination for Couple Shoots | The Candid Shoot
-
Bold Shoot Photographer with Studio in Jaipur | The Candid Shoot
-
Empowerment Through Boudoir Photography: The Candid Shoot
Boudoir Photography as Empowerment Boudoir photography has evolved far beyond traditional notions of intimacy or sensuality. Modern boudoir photography is about empowerment, confidence, and self-expression, not merely performing for the camera. At its heart, boudoir photography is a visual dialogue between the subject and themselves, mediated by a professional photographer. It provides a private, safe
-
Jaipur’s Favorite Destination for Couple Shoots | The Candid Shoot
Why Couple Shoots Matter More Than Ever Couple shoots have evolved far beyond posed photographs and forced smiles. Today, couples look for experiences that feel natural, meaningful, and reflective of who they are together. A couple shoot is no longer about perfection. It is about presence, connection, and shared emotion. At The Candid Shoot, we
-
Bold Shoot Photographer with Studio in Jaipur | The Candid Shoot
The phrase “bold shoot photographer” often triggers assumptions—many of them incomplete, outdated, or shaped by stereotypes. In reality, bold photography has evolved far beyond shock value or surface-level aesthetics. Today, bold shoots represent self-expression, body confidence, emotional honesty, and artistic courage. At The Candid Shoot, bold photography is not about exposure—it is about expression. It
-
Styling Tips for Maternity Shoots: Looking Timeless, and Confident
Styling as the Silent Storyteller in Maternity Shoots Maternity shoots are not simply about documenting pregnancy. They are about honoring a season of transformation—physical, emotional, relational, and often spiritual. Styling plays a foundational role in how that transformation appears, feels, and endures through photographs. When people look back at maternity photographs years later, they rarely
-
Mobile Photography Hacks: Candid Moments with Your Phone
Discover high-impact mobile photography hacks to capture genuine, gorgeous candid moments with your phone. Learn practical tips, composition secrets, and pro techniques to turn everyday scenes into stunning visual stories. Introduction: The New Age of Mobile Photography Photography has evolved beyond heavy cameras, technical jargon, and expensive equipment. Today, the power to capture extraordinary moments
