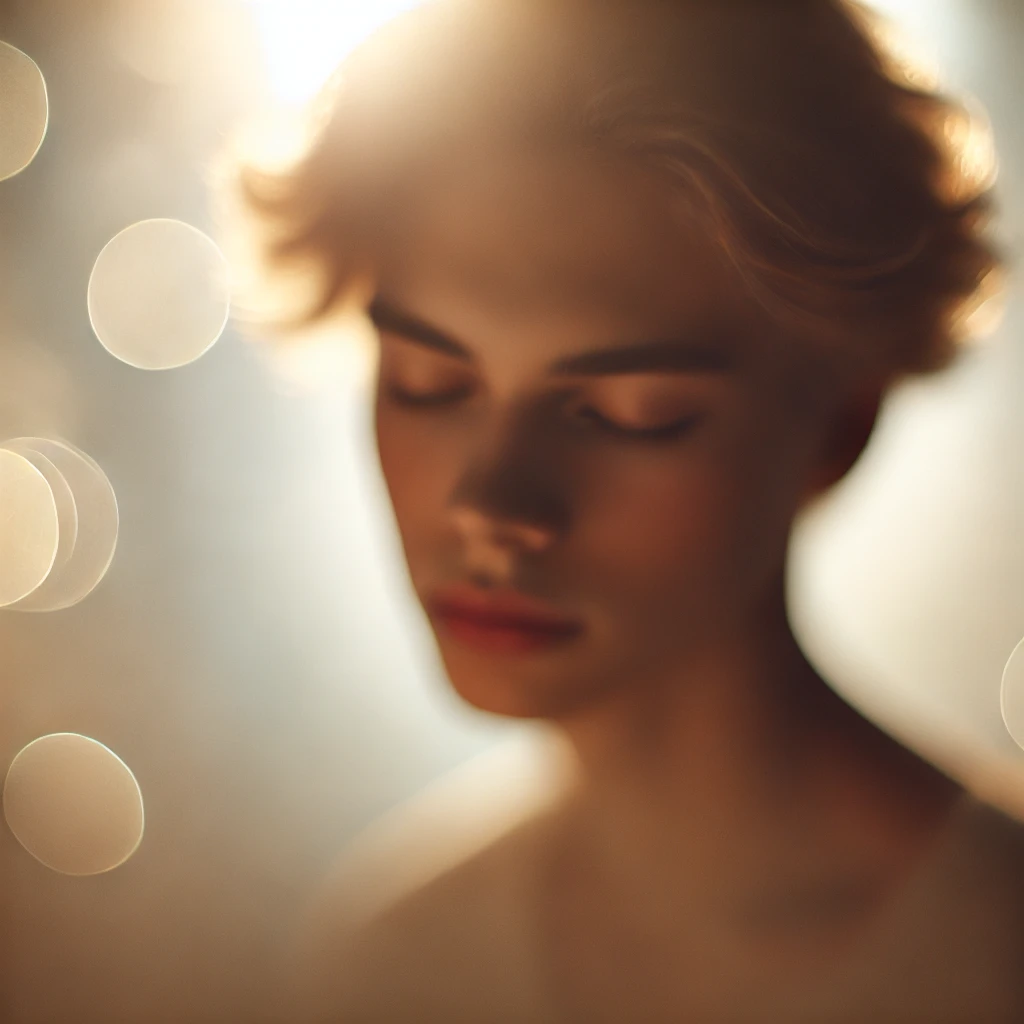
Soft-focus portraits have a timeless, ethereal quality that enhances mood and emotion. This style is often used in fine art, wedding, and lifestyle photography to create a dreamy and romantic feel. By using natural light effectively and adjusting your camera settings, you can capture stunning soft-focus portraits without relying on excessive post-processing.
In this guide, we’ll explore the techniques and tools needed to achieve soft-focus portraits that feel warm, elegant, and artistic.
Why Choose Soft-Focus Portraits?
Soft-focus photography is more than just blurring an image—it’s about creating a visual mood that enhances the subject’s features while maintaining a gentle, dreamy aesthetic.
Benefits of Soft-Focus Portraits
- Romantic & Dreamy Look: Adds an artistic, ethereal feel.
- Flattering Effect: Softens imperfections and enhances skin tones.
- Timeless Appeal: Works well for classic and contemporary portraits.
- Natural & Organic Feel: Uses available light for a warm, authentic atmosphere.
Best Natural Light Conditions for Soft-Focus Portraits
Lighting plays a crucial role in achieving the right softness without losing detail.
Ideal Lighting Scenarios
- Golden Hour: Soft, diffused sunlight just after sunrise or before sunset.
- Overcast Days: Natural softbox effect with even lighting.
- Window Light: Indoor portraits with soft shadows and highlights.
- Backlighting: Creates a halo effect, perfect for dreamy images.
Avoid Harsh Light
- Direct Midday Sun: Produces hard shadows and high contrast.
- Overexposed Highlights: Can wash out details in the subject’s face.
Camera Settings for Soft-Focus Portraits
Your camera settings should enhance softness without making the image look overly blurred.
Recommended Settings
- Aperture: Use a wide aperture (f/1.4 – f/2.8) for a shallow depth of field.
- ISO: Keep ISO low (100-400) to reduce noise.
- Shutter Speed: Adjust according to lighting, but keep it fast enough to avoid motion blur.
- Manual Focus: Slightly adjust focus to achieve a natural softness.
- White Balance: Set to warm tones for a gentle, golden glow.
Techniques for Achieving Soft-Focus Portraits
Mastering the right techniques will help create an intentional, dreamy effect.
Key Techniques
- Use a Soft-Focus Lens: Specialty lenses like the Canon Dream Lens or vintage manual lenses can create a built-in soft effect.
- Shoot Through Objects: Use sheer fabrics, plants, or even translucent materials to diffuse light.
- Create Lens Flare: Position the subject with the sun behind them for a natural glow.
- Use a Diffuser: Soften harsh light by filtering it through a translucent surface.
- Apply a Gentle Blur: Use post-processing tools to add a slight Gaussian blur for a subtle softness.
Posing Tips for Soft-Focus Portraits
Your subject’s expression and movement can enhance the dreamy effect.
Best Posing Techniques
- Gentle Movements: Flowing hair, slow twirls, or soft gazes create elegance.
- Relaxed Expressions: Encourage natural and emotive expressions.
- Soft Hand Placement: Avoid stiff poses by keeping hands gently placed on the face or body.
- Use Fabrics: Flowy dresses, scarves, or veils add movement and texture.
Post-Processing for Soft-Focus Portraits
Even with the perfect shot, a little post-processing can refine the effect.
Editing Tips
- Reduce Clarity: Lower clarity in Lightroom or Photoshop for a subtle glow.
- Add a Soft Glow: Apply a radial filter or Orton effect for added softness.
- Adjust Highlights & Shadows: Balance exposure for a warm, even tone.
- Enhance Skin Softness: Use frequency separation to maintain detail while softening skin texture.
- Create a Vintage Look: Apply warm color grading for a nostalgic touch.
Conclusion
Soft-focus portrait blend light, technique, and artistic vision to create dreamy, ethereal images. By using natural light, adjusting your camera settings, and refining your post-processing, you can achieve stunning portraits that stand out.
Start experimenting today and add a magical touch to your photography portfolio!
-
Vivo X300 Pro Photography Kit: Next-Gen Mobile Imaging
-

Empowerment Through Boudoir Photography: The Candid Shoot
-

Bold Photography: Creating Powerful & Confident Visual Stories
-

Jaipur’s Favorite Destination for Couple Shoots | The Candid Shoot
-
Vivo X300 Pro Photography Kit: Next-Gen Mobile Imaging
Discover the complete vivo X300 Pro photography kit guide with in-depth camera analysis, real-world case studies, portrait techniques, cinematic workflows, and pro-level tips. Learn how vivo X300 Pro transforms mobile photography for creators, influencers, and studio professionals. The vivo X300 Pro — Redefining Mobile Imaging for Creators Why the vivo X300 Pro Deserves a Dedicated
-
Empowerment Through Boudoir Photography: The Candid Shoot
Boudoir Photography as Empowerment Boudoir photography has evolved far beyond traditional notions of intimacy or sensuality. Modern boudoir photography is about empowerment, confidence, and self-expression, not merely performing for the camera. At its heart, boudoir photography is a visual dialogue between the subject and themselves, mediated by a professional photographer. It provides a private, safe
-
Jaipur’s Favorite Destination for Couple Shoots | The Candid Shoot
Why Couple Shoots Matter More Than Ever Couple shoots have evolved far beyond posed photographs and forced smiles. Today, couples look for experiences that feel natural, meaningful, and reflective of who they are together. A couple shoot is no longer about perfection. It is about presence, connection, and shared emotion. At The Candid Shoot, we
-
Bold Shoot Photographer with Studio in Jaipur | The Candid Shoot
The phrase “bold shoot photographer” often triggers assumptions—many of them incomplete, outdated, or shaped by stereotypes. In reality, bold photography has evolved far beyond shock value or surface-level aesthetics. Today, bold shoots represent self-expression, body confidence, emotional honesty, and artistic courage. At The Candid Shoot, bold photography is not about exposure—it is about expression. It
-
Styling Tips for Maternity Shoots: Looking Timeless, and Confident
Styling as the Silent Storyteller in Maternity Shoots Maternity shoots are not simply about documenting pregnancy. They are about honoring a season of transformation—physical, emotional, relational, and often spiritual. Styling plays a foundational role in how that transformation appears, feels, and endures through photographs. When people look back at maternity photographs years later, they rarely


