Cinematic portraits capture emotion, depth, and storytelling elements through dramatic lighting, composition, and color. Using natural light effectively can elevate your portraits to a professional level. Whether you’re shooting in golden hour or using window light, understanding how to manipulate light and shadows will help you create stunning cinematic portraits.
Understanding Cinematic Portraits
Cinematic portraits are characterized by their dramatic lighting, film-like color tones, and storytelling composition. Unlike traditional portrait photography, which often prioritizes clarity and even lighting, cinematic portraits embrace shadows, highlights, and depth to evoke emotion.
Key Elements of Cinematic Portraits:
- Dramatic Lighting – Using natural light creatively to add contrast and depth.
- Storytelling Composition – Arranging elements in the frame to enhance narrative impact.
- Color Grading – Adjusting hues and tones to mimic film aesthetics.
- Depth of Field – Blurring backgrounds to keep focus on the subject.
Best Natural Light Sources for Cinematic Portraits
1. Golden Hour
The golden hour occurs shortly after sunrise and before sunset, producing soft, warm, and directional light.
- Benefits: Warm tones, soft shadows, flattering light.
- Best Practices: Position the subject slightly against the light for a halo effect.
2. Blue Hour
The blue hour happens right before sunrise and after sunset, casting a cool, moody tone.
- Benefits: Deep, atmospheric colors.
- Best Practices: Adjust white balance to retain the cinematic look.
3. Window Light
Indoor natural light is perfect for controlled cinematic portraits.
- Benefits: Diffused, soft light for natural shadows.
- Best Practices: Use curtains or reflectors to shape the light.
4. Overcast Days
Cloudy skies act as a giant softbox, reducing harsh shadows.
- Benefits: Even lighting without strong contrasts.
- Best Practices: Enhance mood by adding contrast in post-production.
Camera Settings for Cinematic Portraits
1. Aperture
- Use wide apertures (f/1.2 – f/2.8) for shallow depth of field and beautiful background blur.
2. Shutter Speed
- Keep shutter speed above 1/200s to avoid motion blur.
3. ISO
- Use the lowest ISO possible (ISO 100-400) to maintain image quality.
4. White Balance
- Adjust for natural skin tones; use warm tones for golden hour and cool tones for blue hour.
Composition Techniques for Cinematic Portraits
1. Rule of Thirds
Place the subject off-center to create a balanced, engaging composition.
2. Leading Lines
Use natural lines (roads, shadows, railings) to guide the viewer’s eye to the subject.
3. Negative Space
Leaving empty space around the subject adds mood and drama.
4. Foreground Elements
Blurring foreground objects adds depth and a cinematic touch.
How to Work with Natural Light
1. Backlighting
Positioning the light source behind the subject creates a dreamy glow.
- Best Used: During golden hour.
- Tips: Use a reflector to bounce light onto the subject’s face.
2. Side Lighting
Adding depth by lighting only one side of the subject’s face.
- Best Used: Window light, open shade.
- Tips: Adjust exposure to maintain detail in shadows.
3. Rim Lighting
A thin highlight outlining the subject’s shape.
- Best Used: Against a dark background.
- Tips: Slightly underexpose to enhance the effect.
Color Grading for Cinematic Portraits
1. Warm and Moody
Ideal for golden hour shots, using amber and brown hues.
2. Cool and Dramatic
Best for blue hour and overcast conditions, incorporating blue and teal tones.
3. Film Emulation
Replicating classic film stocks like Kodak Portra for a nostalgic feel.
Essential Post-Processing Techniques
1. Contrast and Shadows
Enhancing depth by adjusting the contrast slider in Lightroom or Photoshop.
2. Selective Color Editing
Fine-tune skin tones while maintaining the cinematic look.
3. Vignette and Grain
Adding a slight vignette and grain for a film-like effect.
Tips for Capturing Emotion in Cinematic Portraits
1. Directing the Subject
- Use storytelling prompts instead of static poses.
- Encourage natural movement.
2. Capturing Candid Moments
- Shoot between posed moments to get natural expressions.
3. Using Props and Environment
- Incorporate elements that add to the subject’s story.
Conclusion
Mastering cinematic portraits with natural light requires a combination of understanding light, composition, and post-processing techniques. By experimenting with different lighting conditions, compositions, and camera settings, you can create breathtaking cinematic portraits that evoke emotion and tell compelling stories.
Are you ready to capture cinematic portraits like a pro? Let us know your favorite techniques or share your shots with us!
-
Empowerment Through Boudoir Photography: The Candid Shoot
-

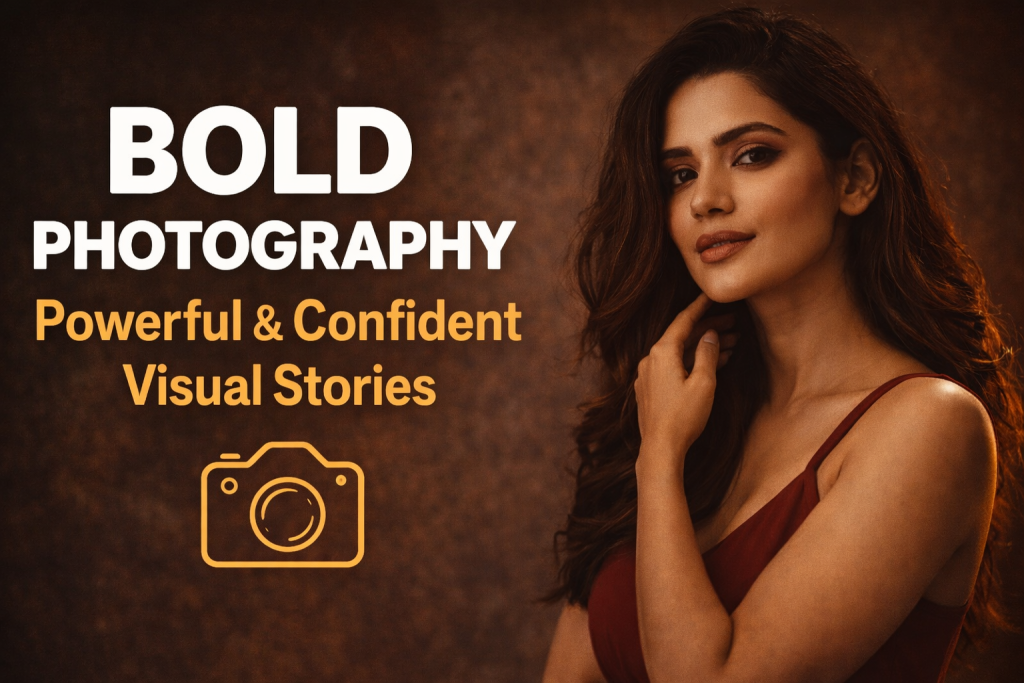
Bold Photography: Creating Powerful & Confident Visual Stories
-
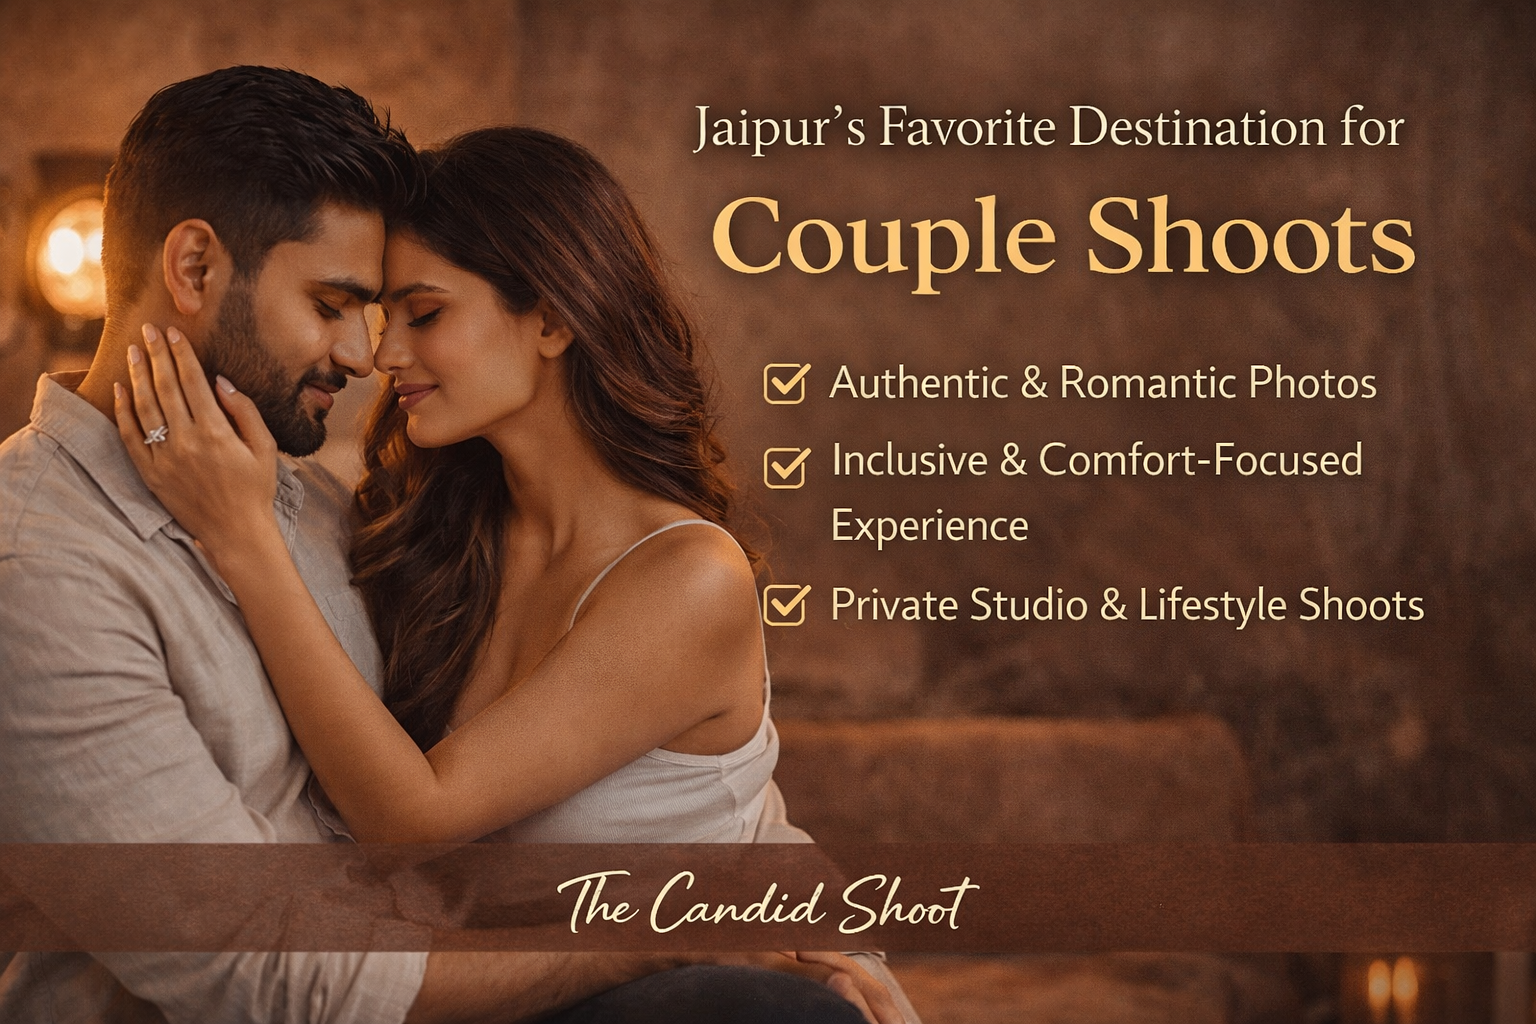
Jaipur’s Favorite Destination for Couple Shoots | The Candid Shoot
-
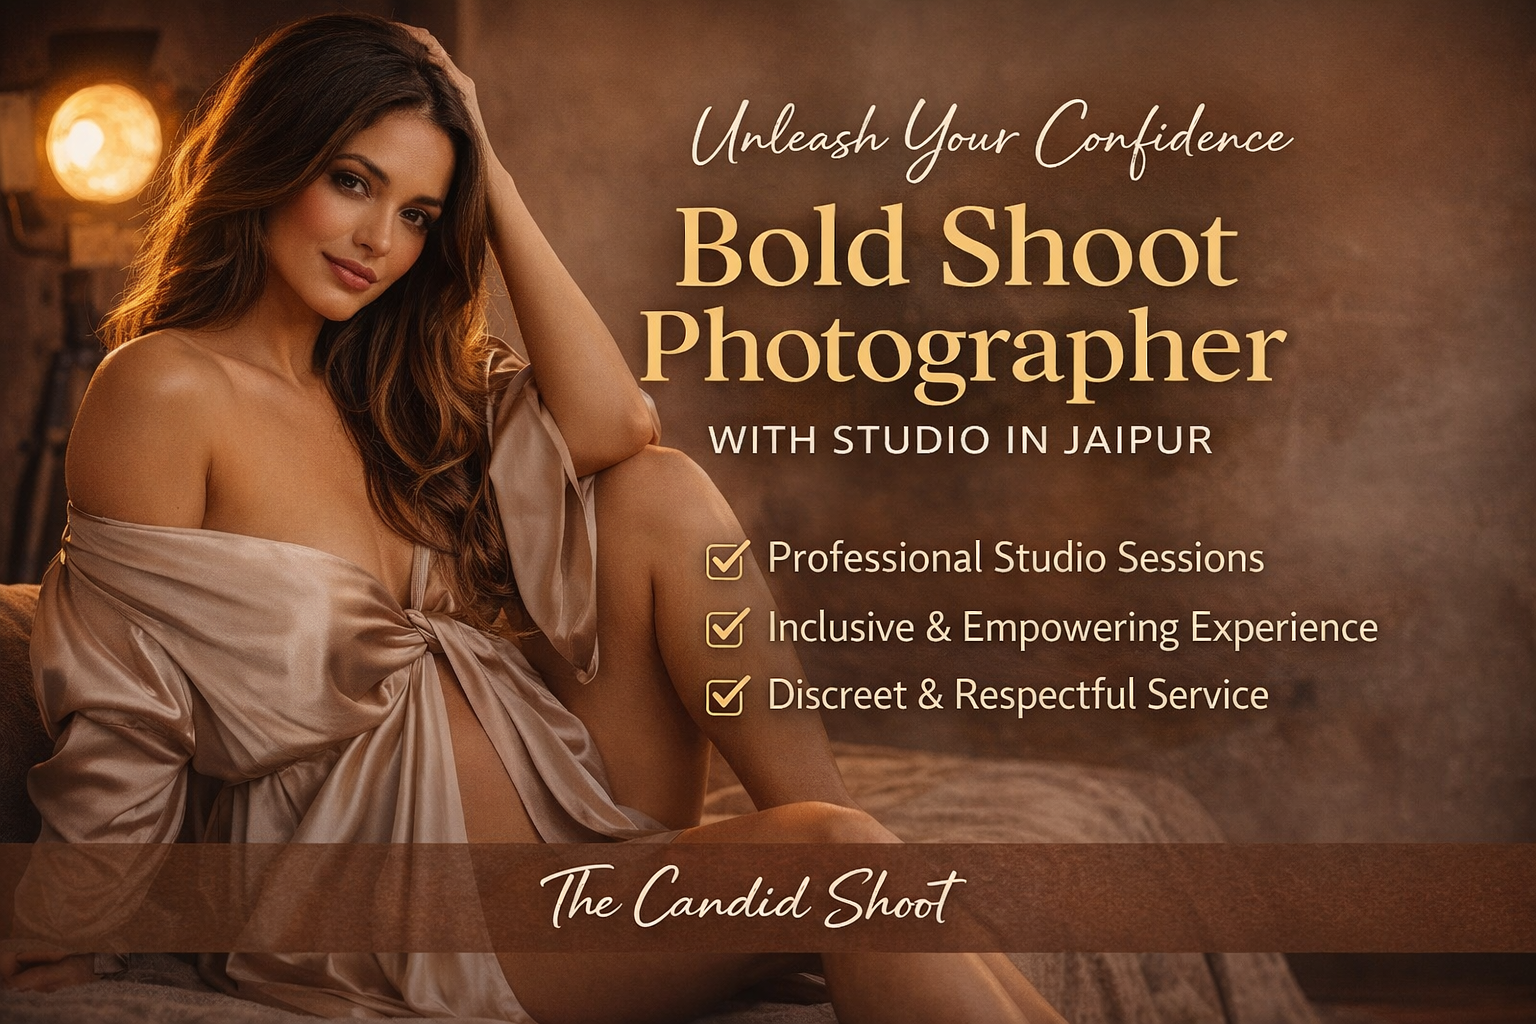
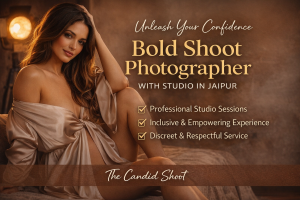
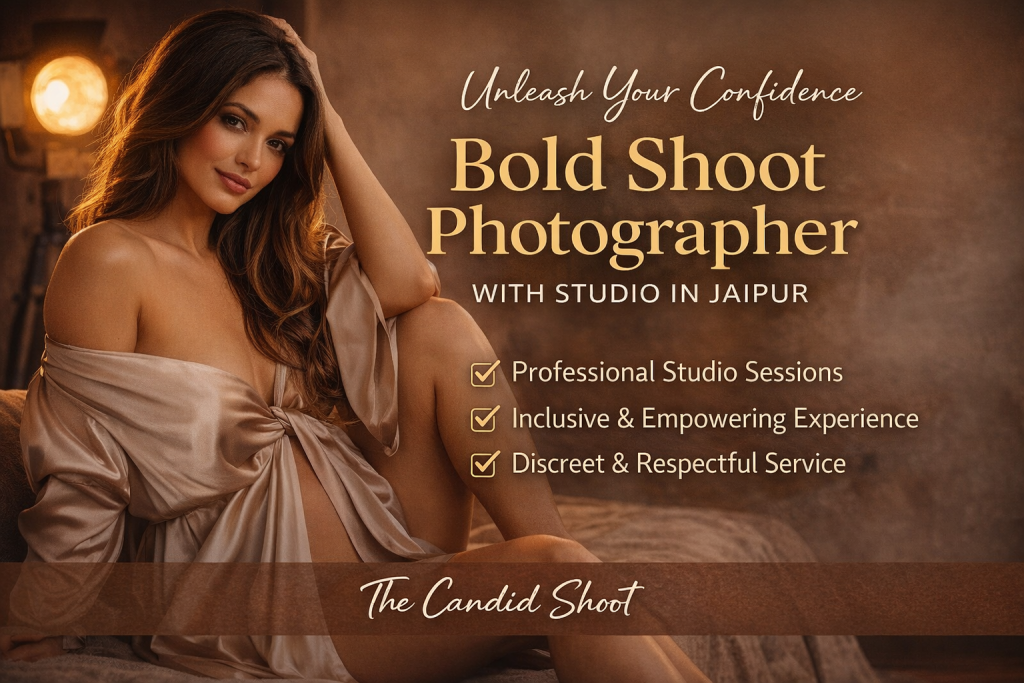
Bold Shoot Photographer with Studio in Jaipur | The Candid Shoot
-
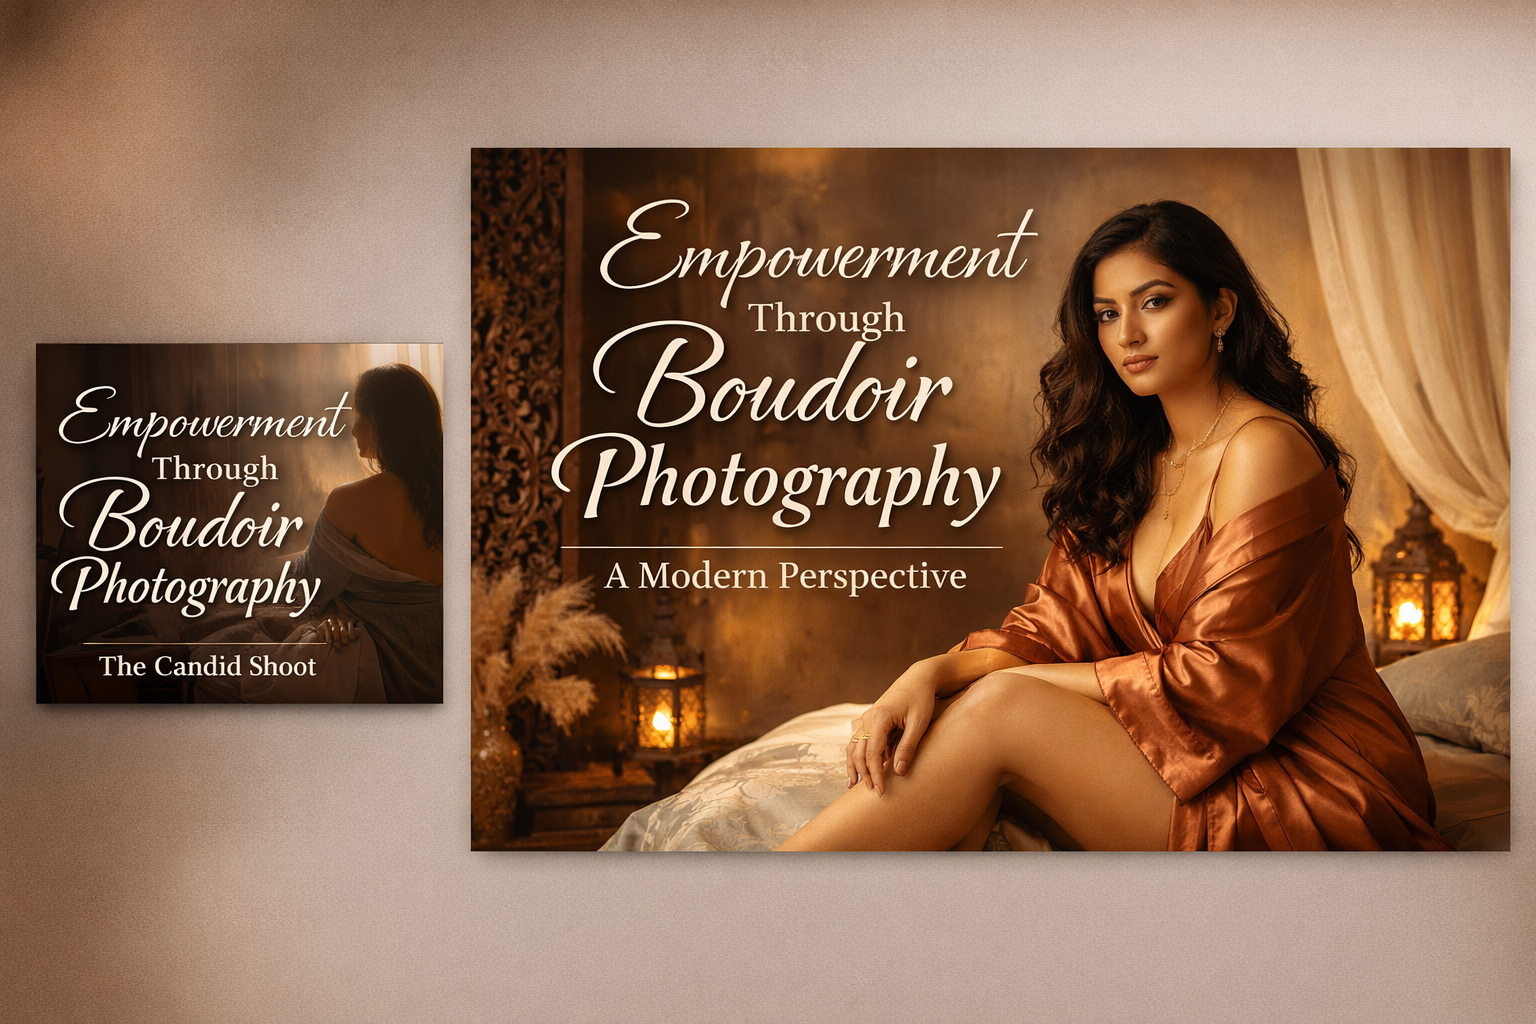
Empowerment Through Boudoir Photography: The Candid Shoot
Boudoir Photography as Empowerment Boudoir photography has evolved far beyond traditional notions of intimacy or sensuality. Modern boudoir photography is about empowerment, confidence, and self-expression, not merely performing for the camera. At its heart, boudoir photography is a visual dialogue between the subject and themselves, mediated by a professional photographer. It provides a private, safe
-
Jaipur’s Favorite Destination for Couple Shoots | The Candid Shoot
Why Couple Shoots Matter More Than Ever Couple shoots have evolved far beyond posed photographs and forced smiles. Today, couples look for experiences that feel natural, meaningful, and reflective of who they are together. A couple shoot is no longer about perfection. It is about presence, connection, and shared emotion. At The Candid Shoot, we
-
Bold Shoot Photographer with Studio in Jaipur | The Candid Shoot
The phrase “bold shoot photographer” often triggers assumptions—many of them incomplete, outdated, or shaped by stereotypes. In reality, bold photography has evolved far beyond shock value or surface-level aesthetics. Today, bold shoots represent self-expression, body confidence, emotional honesty, and artistic courage. At The Candid Shoot, bold photography is not about exposure—it is about expression. It
-
Styling Tips for Maternity Shoots: Looking Timeless, and Confident
Styling as the Silent Storyteller in Maternity Shoots Maternity shoots are not simply about documenting pregnancy. They are about honoring a season of transformation—physical, emotional, relational, and often spiritual. Styling plays a foundational role in how that transformation appears, feels, and endures through photographs. When people look back at maternity photographs years later, they rarely
-
Mobile Photography Hacks: Candid Moments with Your Phone
Discover high-impact mobile photography hacks to capture genuine, gorgeous candid moments with your phone. Learn practical tips, composition secrets, and pro techniques to turn everyday scenes into stunning visual stories. Introduction: The New Age of Mobile Photography Photography has evolved beyond heavy cameras, technical jargon, and expensive equipment. Today, the power to capture extraordinary moments