High-quality photograph clothing plays a vital role in e-commerce success. Clear, well-lit, and visually appealing product images help potential buyers make informed decisions, reducing return rates and increasing conversions. In this guide, we’ll cover everything from essential equipment and camera settings to lighting techniques and editing tips to ensure your apparel photography stands out.
1. Essential Equipment for Clothing Photography
Investing in the right gear can significantly improve your results. Here’s what you need:
1.1 Camera
- A DSLR or mirrorless camera with manual settings for greater control.
- Recommended models: Canon EOS 5D Mark IV, Sony A7 III, or Nikon D750.
1.2 Lenses
- A 50mm or 85mm prime lens for sharp images with minimal distortion.
- A 24-70mm zoom lens for versatility in framing different shots.
1.3 Tripod
- Keeps the camera stable, preventing blur and ensuring consistency across shots.
- Use a sturdy, adjustable tripod with a ball head for flexibility.
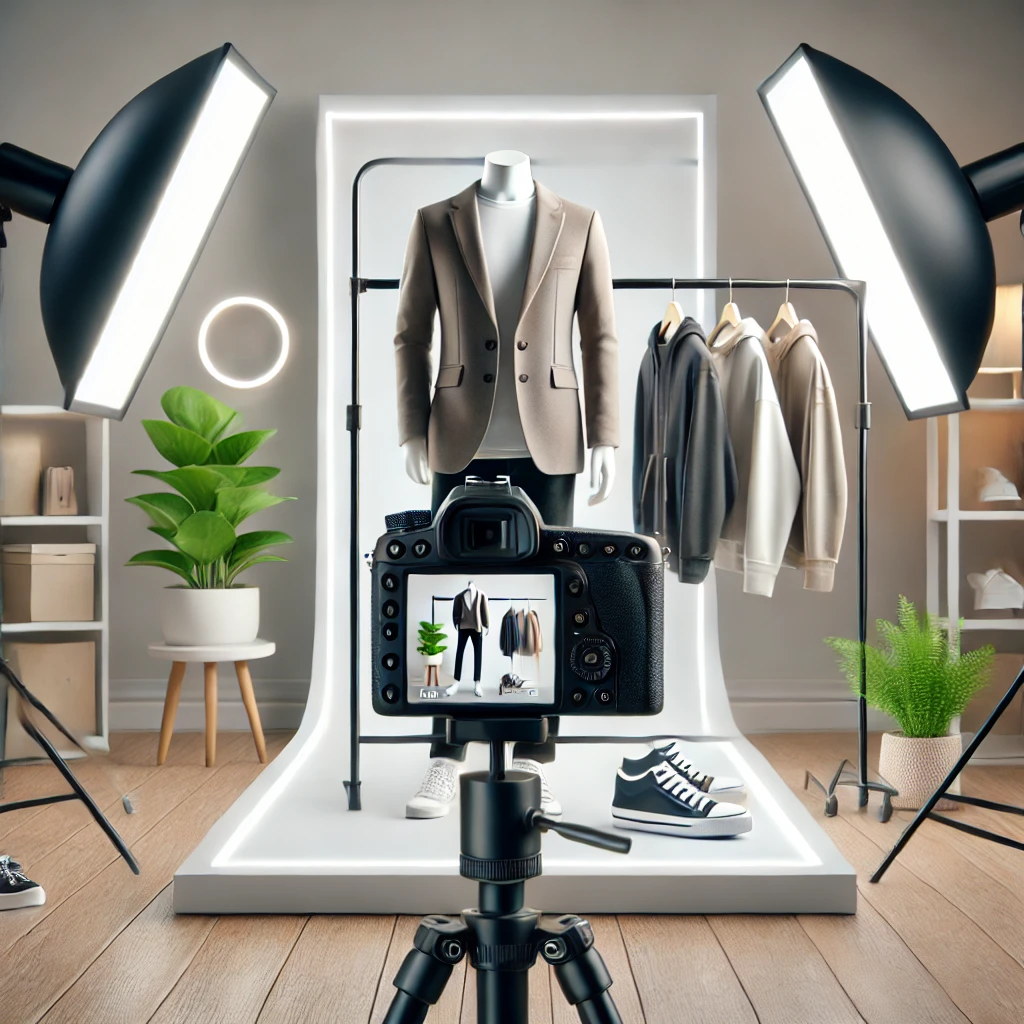
1.4 Lighting Equipment
- Softbox or umbrella lights to create soft, even lighting.
- A ring light for flat-lay clothing photography.
- Natural light can be effective, but controlled lighting is preferred for consistency.
1.5 Background & Backdrops
- Neutral backdrops like white, gray, or pastel shades keep the focus on the clothing.
- Textured backgrounds can add depth but should be used sparingly.
1.6 Mannequins, Hangers, or Models
- Mannequins give a structured look to garments.
- Models help customers visualize fit and style.
- Hangers work well for casual product shots.
2. Preparing Clothing for the Shoot
Proper preparation ensures professional-looking images:
- Steam or iron garments to remove wrinkles.
- Remove lint and stray threads using a lint roller.
- Shape garments properly using clips, pins, or stuffing for a polished look.
- Coordinate colors and styles for a visually appealing catalog.
3. Setting Up the Perfect Lighting
Lighting is crucial for capturing true-to-life colors and textures.
3.1 Natural Light Setup
- Position the clothing near a large window for soft, diffused light.
- Use a white reflector or foam board to reduce shadows.
3.2 Studio Lighting Setup
- Use two softboxes at a 45-degree angle to eliminate harsh shadows.
- Place a fill light behind the garment to create depth.
- Adjust intensity to maintain consistent lighting across products.
4. Choosing the Right Camera Settings
Using manual settings gives you control over exposure and sharpness.
- ISO: Keep it between 100-200 to reduce noise.
- Aperture: Set between f/8 to f/11 for sharpness and depth.
- Shutter Speed: At least 1/125s to prevent motion blur.
- White Balance: Adjust based on light source to maintain accurate colors.
- Focus Mode: Use single-point autofocus for precision.
5. Composition & Framing Tips
Proper composition makes clothing images more attractive and professional.
- Fill the frame with the garment to highlight details.
- Use negative space strategically to create a clean, uncluttered look.
- Shoot from multiple angles – front, back, close-ups, and lifestyle shots.
- Maintain a consistent height and angle for uniformity across product images.
6. Types of Clothing Photography Styles
Different styles suit various e-commerce needs:
6.1 Flat Lay Photography
- Best for T-shirts, jeans, and casual wear.
- Arrange items neatly on a plain background.
6.2 Mannequin Photography (Ghost Mannequin Effect)
- Gives a 3D effect without a model.
- Remove the mannequin in post-processing for a floating look.
6.3 Model Photography
- Best for high-fashion apparel.
- Helps customers visualize fit and movement.
6.4 Hanging Photography
- Simple and effective for lightweight clothing.
- Works well for minimalist product displays.
7. Editing & Post-Processing
Polishing images in post-production ensures consistency and professionalism.
7.1 Essential Edits in Photoshop or Lightroom
- Color Correction: Adjust brightness, contrast, and saturation.
- Background Removal: Use the pen tool or background eraser.
- Retouching: Remove wrinkles and imperfections.
- Resizing & Cropping: Maintain uniformity across all product images.
8. Uploading Images & Optimizing for SEO
Proper image optimization boosts search visibility and loading speed.
- Use descriptive file names (e.g., “black-leather-jacket-men.jpg”).
- Compress images without losing quality using tools like TinyPNG.
- Add ALT text describing the product for better accessibility and SEO.
- Ensure consistency in image size and aspect ratio across all products.
9. Common Mistakes to Avoid
Avoid these pitfalls for professional-looking clothing photos:
- Uneven lighting causing shadows or overexposure.
- Poor garment presentation (wrinkles, creases, or misshaped clothing).
- Over-editing that makes garments look unnatural.
- Ignoring mobile optimization, leading to poor image display on small screens.
Conclusion
Mastering clothing photography for an online store takes practice and attention to detail. With the right equipment, lighting, composition, and editing techniques, you can create visually compelling images that enhance your brand’s credibility and attract more customers. Whether using natural light, mannequins, or models, consistency and professionalism will set your store apart from competitors.
Ready to elevate your e-commerce photography? Start implementing these tips today for a stunning photograph clothing catalog!
-
Vivo X300 Pro Photography Kit: Next-Gen Mobile Imaging
-

Empowerment Through Boudoir Photography: The Candid Shoot
-

Bold Photography: Creating Powerful & Confident Visual Stories
-

Jaipur’s Favorite Destination for Couple Shoots | The Candid Shoot
-
Vivo X300 Pro Photography Kit: Next-Gen Mobile Imaging
Discover the complete vivo X300 Pro photography kit guide with in-depth camera analysis, real-world case studies, portrait techniques, cinematic workflows, and pro-level tips. Learn how vivo X300 Pro transforms mobile photography for creators, influencers, and studio professionals. The vivo X300 Pro — Redefining Mobile Imaging for Creators Why the vivo X300 Pro Deserves a Dedicated
-
Empowerment Through Boudoir Photography: The Candid Shoot
Boudoir Photography as Empowerment Boudoir photography has evolved far beyond traditional notions of intimacy or sensuality. Modern boudoir photography is about empowerment, confidence, and self-expression, not merely performing for the camera. At its heart, boudoir photography is a visual dialogue between the subject and themselves, mediated by a professional photographer. It provides a private, safe
-
Jaipur’s Favorite Destination for Couple Shoots | The Candid Shoot
Why Couple Shoots Matter More Than Ever Couple shoots have evolved far beyond posed photographs and forced smiles. Today, couples look for experiences that feel natural, meaningful, and reflective of who they are together. A couple shoot is no longer about perfection. It is about presence, connection, and shared emotion. At The Candid Shoot, we
-
Bold Shoot Photographer with Studio in Jaipur | The Candid Shoot
The phrase “bold shoot photographer” often triggers assumptions—many of them incomplete, outdated, or shaped by stereotypes. In reality, bold photography has evolved far beyond shock value or surface-level aesthetics. Today, bold shoots represent self-expression, body confidence, emotional honesty, and artistic courage. At The Candid Shoot, bold photography is not about exposure—it is about expression. It
-
Styling Tips for Maternity Shoots: Looking Timeless, and Confident
Styling as the Silent Storyteller in Maternity Shoots Maternity shoots are not simply about documenting pregnancy. They are about honoring a season of transformation—physical, emotional, relational, and often spiritual. Styling plays a foundational role in how that transformation appears, feels, and endures through photographs. When people look back at maternity photographs years later, they rarely


