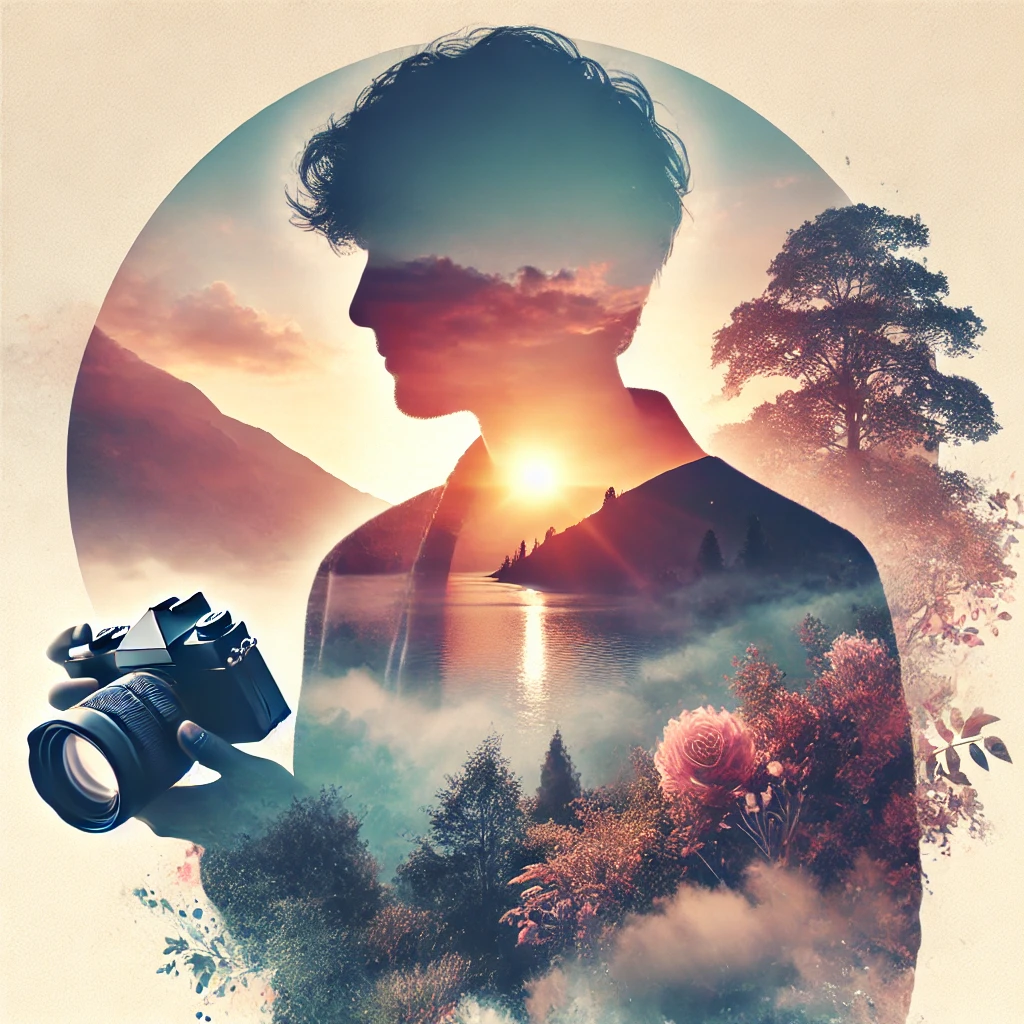
Double exposure photography is a technique that blends two different images into a single composition. It creates ethereal, surreal, and artistic effects, making it a favorite among creative photographers. This article will guide you through the process of capturing and editing double exposure images, whether you use a digital camera or smartphone.
What is Double Exposure Photography?
Double exposure is the combination of two images into one frame. Traditionally, it was achieved using film cameras by exposing the same frame twice. In digital photography, this effect can be created using in-camera settings or editing software like Photoshop.
Benefits of Double Exposure Photography:
- Adds creativity and artistic expression to images.
- Creates storytelling opportunities.
- Blends nature, portraits, and textures for striking effects.
- Enhances post-processing skills.
Essential Equipment for Double Exposure Photography
To achieve the best results, you need:
- A DSLR or Mirrorless Camera with multiple exposure mode.
- A tripod for stability.
- Editing software such as Adobe Photoshop.
- A smartphone app (Snapseed, Blend Editor) for mobile double exposure effects.
Step-by-Step Guide to Capturing Double Exposure Photos
1. Choosing Your Subject
Select two images that complement each other. Common combinations include:
- A portrait and a texture (e.g., human face blended with clouds).
- A cityscape and a silhouette.
- Nature elements, such as trees merging with landscapes.
2. Using In-Camera Double Exposure Mode
Many cameras have built-in multiple exposure settings. Follow these steps:
- Navigate to Multiple Exposure Mode in your camera settings.
- Select Additive or Average blending mode.
- Take the first shot, ensuring good contrast and composition.
- Overlay the second image by aligning it carefully.
3. Editing Double Exposure Images in Photoshop
If your camera does not support in-camera multiple exposure, Photoshop can help:
- Open two images in separate layers.
- Change the blend mode of the top layer to Screen or Multiply.
- Adjust opacity and layer masks for refined blending.
- Use the Brush Tool to selectively remove unwanted areas.
4. Experimenting with Mobile Apps
For smartphone users, apps like Snapseed, PicsArt, and Blend Editor allow easy double exposure effects:
- Import two images.
- Use the Blending Tool to merge them.
- Adjust brightness, contrast, and opacity.
Creative Ideas for Double Exposure Photography
- Silhouette Blending: Take a dark silhouette against a bright background and merge it with landscapes.
- Textured Portraits: Overlay a face with natural textures like leaves or water.
- City and Nature Fusion: Combine urban structures with organic elements for contrast.
- Abstract Compositions: Use patterns and light leaks to create unique visuals.
Tips for Perfecting Double Exposure Photography
- Ensure the first image has a distinct subject with a well-lit background.
- Use high contrast images for better blending.
- Experiment with different blend modes to achieve unique effects.
- Always refine images in post-processing for a polished look.
Conclusion
Double exposure photography is a creative way to experiment with composition and storytelling. With practice and the right techniques, you can produce stunning images that captivate viewers. Whether using a DSLR, smartphone, or editing software, the possibilities are endless.
-
Vivo X300 Pro Photography Kit: Next-Gen Mobile Imaging
-

Empowerment Through Boudoir Photography: The Candid Shoot
-

Bold Photography: Creating Powerful & Confident Visual Stories
-

Jaipur’s Favorite Destination for Couple Shoots | The Candid Shoot
-
Vivo X300 Pro Photography Kit: Next-Gen Mobile Imaging
Discover the complete vivo X300 Pro photography kit guide with in-depth camera analysis, real-world case studies, portrait techniques, cinematic workflows, and pro-level tips. Learn how vivo X300 Pro transforms mobile photography for creators, influencers, and studio professionals. The vivo X300 Pro — Redefining Mobile Imaging for Creators Why the vivo X300 Pro Deserves a Dedicated
-
Empowerment Through Boudoir Photography: The Candid Shoot
Boudoir Photography as Empowerment Boudoir photography has evolved far beyond traditional notions of intimacy or sensuality. Modern boudoir photography is about empowerment, confidence, and self-expression, not merely performing for the camera. At its heart, boudoir photography is a visual dialogue between the subject and themselves, mediated by a professional photographer. It provides a private, safe
-
Jaipur’s Favorite Destination for Couple Shoots | The Candid Shoot
Why Couple Shoots Matter More Than Ever Couple shoots have evolved far beyond posed photographs and forced smiles. Today, couples look for experiences that feel natural, meaningful, and reflective of who they are together. A couple shoot is no longer about perfection. It is about presence, connection, and shared emotion. At The Candid Shoot, we
-
Bold Shoot Photographer with Studio in Jaipur | The Candid Shoot
The phrase “bold shoot photographer” often triggers assumptions—many of them incomplete, outdated, or shaped by stereotypes. In reality, bold photography has evolved far beyond shock value or surface-level aesthetics. Today, bold shoots represent self-expression, body confidence, emotional honesty, and artistic courage. At The Candid Shoot, bold photography is not about exposure—it is about expression. It
-
Styling Tips for Maternity Shoots: Looking Timeless, and Confident
Styling as the Silent Storyteller in Maternity Shoots Maternity shoots are not simply about documenting pregnancy. They are about honoring a season of transformation—physical, emotional, relational, and often spiritual. Styling plays a foundational role in how that transformation appears, feels, and endures through photographs. When people look back at maternity photographs years later, they rarely


