In sarong product photography, shadows play a crucial role in defining the fabric’s texture, shape, and visual appeal. Soft, well-controlled shadows can enhance the depth and realism of the sarong, while harsh or misplaced shadows can distract the viewer and reduce image quality. Mastering shadows in sarong product shoots requires an understanding of lighting techniques, shadow diffusion methods, and post-processing tricks. In this guide, we’ll cover:
- The impact of shadows in product photography
- Techniques for creating soft and natural shadows
- Equipment recommendations for the best results
- Common mistakes and how to fix them
- Post-processing techniques for shadow refinement
- Expert tips for achieving flawless sarong product shots
By the end of this article, you’ll have a comprehensive understanding of how to control shadows effectively in sarong product photography to create high-end, professional images.
1. The Importance of Shadows in Sarong Product Photography
What Are Shadows in Product Photography?
A shadow is the absence of light that forms when an object obstructs a light source. In product photography, shadows help create:
- Depth and dimension – Prevents flat, lifeless images.
- Realism – Mimics natural light conditions for an authentic look.
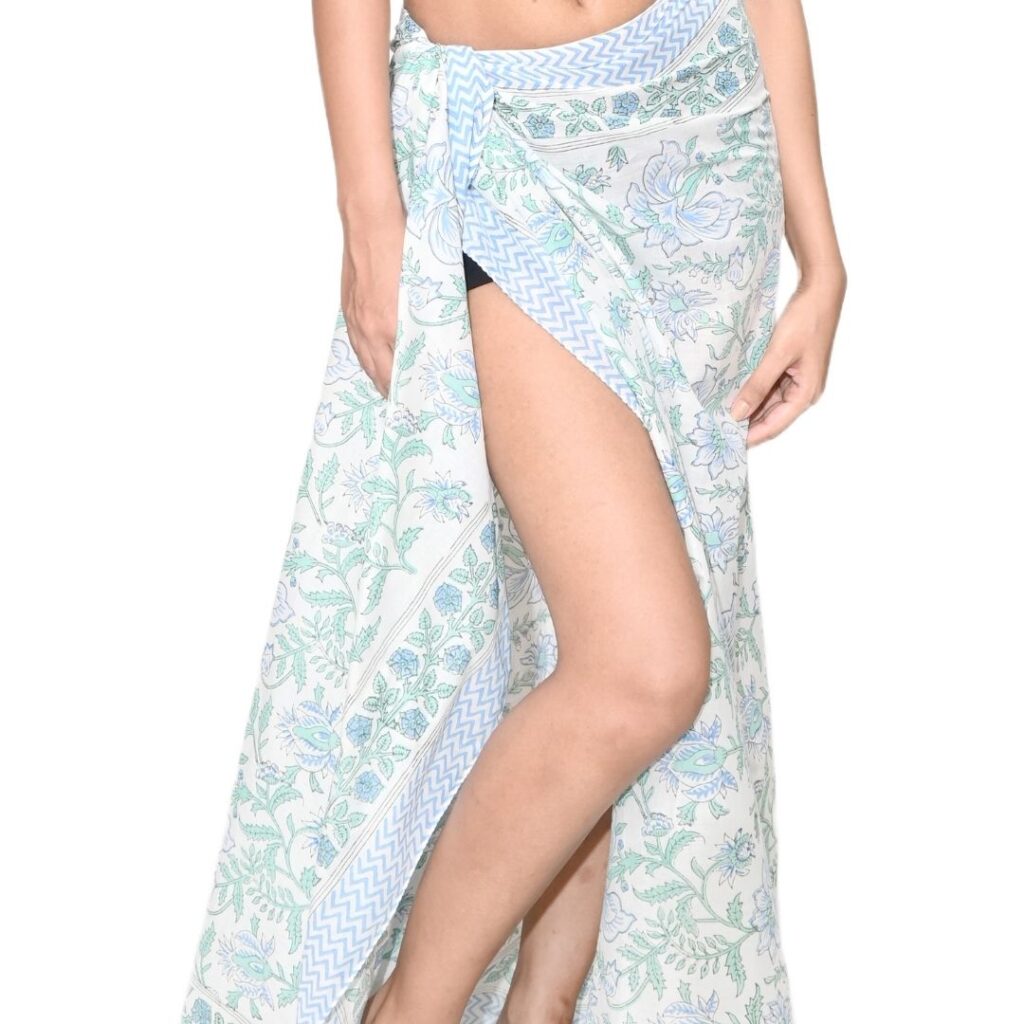
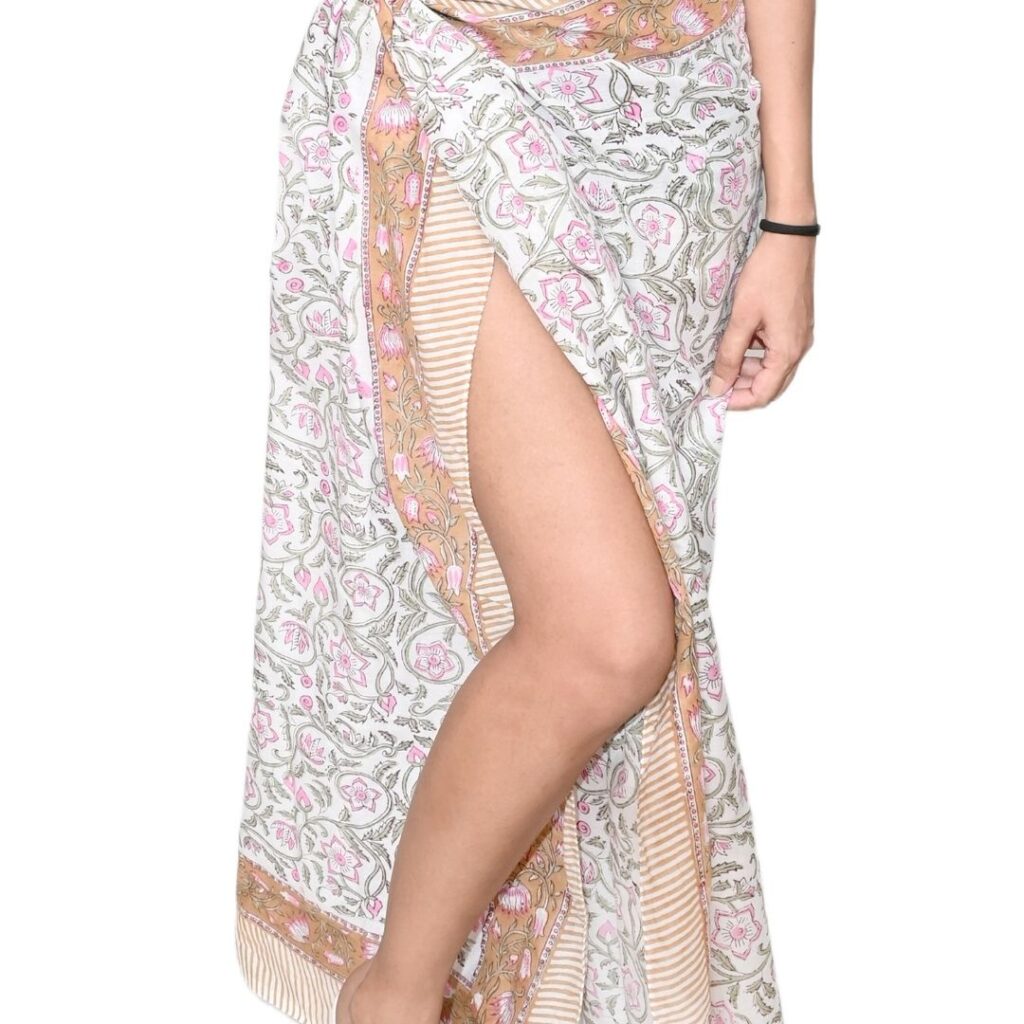
- Texture definition – Highlights the flow, folds, and softness of the sarong fabric.
- Contrast balance – Adds visual interest and balance to the composition.
Types of Shadows in Product Photography
There are three main types of shadows used in sarong product photography:
1. Hard Shadows
- Created by small, direct light sources such as bare bulbs or direct sunlight.
- Results in sharp, high-contrast edges.
- Not ideal for fabric photography as they emphasize harsh lines.
2. Soft Shadows
- Produced by large or diffused light sources like softboxes, umbrella reflectors, or cloudy daylight.
- Creates smooth transitions from light to dark.
- Ideal for highlighting the softness and texture of sarongs.
3. Drop Shadows
- Occur when an object is placed against a surface and the shadow falls naturally behind it.
- Common in e-commerce photography to create a grounded look.
2. How to Create Soft Shadows in Sarong Product Shoots
A. Use Large and Diffused Light Sources
Larger light sources create softer shadows. The bigger the light source, the more evenly it wraps around the sarong, reducing harsh contrast.
Recommended Light Sources:
- Softboxes (24-inch to 48-inch) – Distributes light evenly for smooth shadows.
- Umbrella Reflectors – Bounces light for a wide, diffused effect.
- LED Panel Lights with Diffusers – Adjustable brightness with built-in diffusion.
- Natural Window Light with Sheer Curtains – Softens strong daylight naturally.
B. Increase the Distance Between the Light and the Product
Moving the light source further away helps spread the light and soften shadows. If the light is too close, it creates sharper, more defined shadows.
C. Adjust the Light Angle for Shadow Control
- A 45-degree angle from the front creates natural, well-balanced shadows.
- A side light setup enhances depth and highlights fabric textures.
- Overhead lighting can create unpleasant downward shadows – avoid direct top-down setups.
D. Use Reflectors to Fill in Shadows
Reflectors bounce light back into the shadowed areas, reducing harshness.
Recommended Reflectors:
- White Foam Board – Provides a neutral, soft fill light.
- Silver Reflectors – Increases brightness without altering color tones.
- Gold Reflectors – Adds warmth to the shadows for a richer look.
E. Utilize Light-Diffusing Modifiers
Diffusion softens the harshness of light and prevents strong shadow lines.
Best Diffusers for Soft Shadows:
- Sheer white curtains (for natural light)
- Silk diffusion panels (for studio lights)
- Translucent umbrellas (for flash photography)


3. Ideal Lighting Setups for Sarong Product Shoots
Setup 1: One-Light Softbox & Reflector
- Position a softbox at a 45-degree angle to the sarong.
- Place a reflector on the opposite side to fill in shadows.
- Adjust the distance of the softbox for desired shadow softness.
Setup 2: Window Light & Sheer Curtain Diffusion
- Place the sarong near a large window with diffused daylight.
- Use white curtains or tracing paper to soften direct sunlight.
- Add a white foam board on the darker side for light balance.
Setup 3: Overhead Softbox with Side Reflectors
- Hang a large softbox above to create soft top shadows.
- Use reflectors on both sides to reduce excessive darkness.
- Works well for flat-lay sarong photography.
4. Post-Processing Tips for Shadow Refinement
Even with perfect lighting, post-processing is essential for shadow control.
A. Adjust Shadows in Lightroom
- Use the Shadows slider to lift dark areas.
- Reduce highlights to prevent overexposure.
B. Use Dodge & Burn in Photoshop
- Dodge Tool: Lightens dark shadows selectively.
- Burn Tool: Deepens shadows where needed for depth.
C. Apply Gradient Filters for Even Lighting
- Soft gradient adjustments help even out lighting imbalances.
D. Remove Distracting Shadows
- Use the Clone Stamp Tool to fix unwanted shadows.
5. Common Mistakes & How to Avoid Them
Mistake 1: Harsh Shadows on the Fabric
✔ Solution: Use a softbox or diffusion panel to soften the light.
Mistake 2: Uneven Light Distribution
✔ Solution: Position reflectors strategically to balance lighting.
Mistake 3: Shadows That Are Too Flat
✔ Solution: Adjust the light angle to create depth while keeping shadows soft.
Mistake 4: Over-Editing Shadows in Post-Production
✔ Solution: Use subtle adjustments to maintain natural lighting.
FAQs: Shadows in Sarong Product Shoots
1. What is the best way to soften shadows in sarong photography?
Use large diffused light sources such as softboxes, umbrellas, or natural window light with sheer curtains.
2. Can I use a ring light for soft shadows?
A ring light provides even lighting but doesn’t create soft, natural shadows. It’s better to use a softbox or umbrella light for shadow control.
3. Why do my sarong photos have uneven lighting?
This happens due to improper light positioning. Use reflectors to balance shadows and ensure even exposure.
4. How can I remove unwanted shadows in editing?
Use the Clone Stamp Tool in Photoshop to remove harsh shadows and blend areas naturally.
5. Should I shoot with natural light or artificial light for soft shadows?
Both work well, but natural light with diffusion is easier to control. Studio lights provide consistency and flexibility.
Conclusion
Mastering shadows in sarong product shoots is essential for professional, high-quality photography. Whether using natural light or studio setups, controlling shadow softness, light diffusion, and post-processing adjustments will elevate your images.
By experimenting with different lighting angles, reflectors, and editing techniques, you can create visually stunning sarong product photographs with perfect shadows.
Ready to take your sarong photography to the next level? Apply these techniques and transform your product images today! 🚀
Book Sarong Product Shoots in Jaipur now with The Candid Shoot and create timeless memories today!
-
Vivo X300 Pro Photography Kit: Next-Gen Mobile Imaging
-

Empowerment Through Boudoir Photography: The Candid Shoot
-

Bold Photography: Creating Powerful & Confident Visual Stories
-

Jaipur’s Favorite Destination for Couple Shoots | The Candid Shoot
-
Vivo X300 Pro Photography Kit: Next-Gen Mobile Imaging
Discover the complete vivo X300 Pro photography kit guide with in-depth camera analysis, real-world case studies, portrait techniques, cinematic workflows, and pro-level tips. Learn how vivo X300 Pro transforms mobile photography for creators, influencers, and studio professionals. The vivo X300 Pro — Redefining Mobile Imaging for Creators Why the vivo X300 Pro Deserves a Dedicated
-
Empowerment Through Boudoir Photography: The Candid Shoot
Boudoir Photography as Empowerment Boudoir photography has evolved far beyond traditional notions of intimacy or sensuality. Modern boudoir photography is about empowerment, confidence, and self-expression, not merely performing for the camera. At its heart, boudoir photography is a visual dialogue between the subject and themselves, mediated by a professional photographer. It provides a private, safe
-
Jaipur’s Favorite Destination for Couple Shoots | The Candid Shoot
Why Couple Shoots Matter More Than Ever Couple shoots have evolved far beyond posed photographs and forced smiles. Today, couples look for experiences that feel natural, meaningful, and reflective of who they are together. A couple shoot is no longer about perfection. It is about presence, connection, and shared emotion. At The Candid Shoot, we
-
Bold Shoot Photographer with Studio in Jaipur | The Candid Shoot
The phrase “bold shoot photographer” often triggers assumptions—many of them incomplete, outdated, or shaped by stereotypes. In reality, bold photography has evolved far beyond shock value or surface-level aesthetics. Today, bold shoots represent self-expression, body confidence, emotional honesty, and artistic courage. At The Candid Shoot, bold photography is not about exposure—it is about expression. It
-
Styling Tips for Maternity Shoots: Looking Timeless, and Confident
Styling as the Silent Storyteller in Maternity Shoots Maternity shoots are not simply about documenting pregnancy. They are about honoring a season of transformation—physical, emotional, relational, and often spiritual. Styling plays a foundational role in how that transformation appears, feels, and endures through photographs. When people look back at maternity photographs years later, they rarely