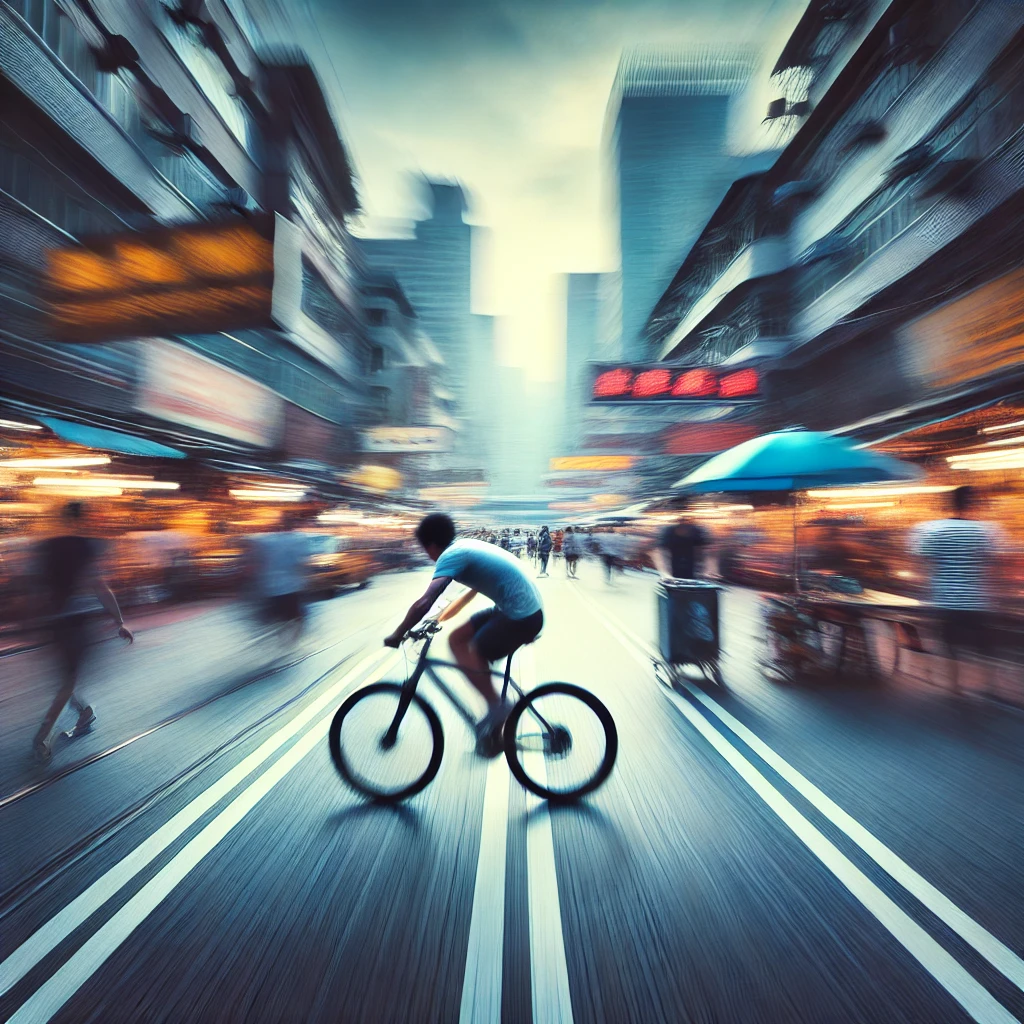
To capture motion in street and travel photography is an art that brings images to life. Instead of freezing every frame, using techniques to convey movement makes your photos more dynamic and engaging. From bustling city streets to flowing rivers, movement tells a story, adds emotion, and immerses viewers in the moment.
Whether you want to show the rush of a marketplace, the grace of a dancer, or the speed of a moving vehicle, mastering motion photography requires the right approach. This guide will help you understand techniques and settings to capture stunning motion shots.
1. Understanding Motion in Photography
Motion photography is about showing movement in a still image. Instead of a static shot, the goal is to convey energy and action. There are different ways to capture motion:
- Motion Blur: Softens moving elements while keeping some details sharp.
- Panning: Follows a subject to keep it in focus while blurring the background.
- Long Exposure: Captures light trails and flowing water by using slow shutter speeds.
- Freeze Motion: Uses fast shutter speeds to stop action mid-frame.
Choosing the right technique depends on your subject, setting, and creative intent.
2. Mastering Shutter Speed for Motion Photography
Shutter speed is the most crucial setting for capturing motion. Understanding how it affects movement can help you achieve the desired effect.
- Fast Shutter Speed (1/500s and above): Freezes action, ideal for street dancers, cyclists, and athletes.
- Slow Shutter Speed (1/30s and below): Creates motion blur, perfect for light trails and waterfalls.
- Medium Shutter Speed (1/60s – 1/250s): Captures slight motion, great for panning shots.
Best Practices:
- Use a tripod for slow shutter speeds to prevent unintended blur.
- Experiment with different speeds based on the subject’s movement.
- Use burst mode for fast-moving scenes to increase your chances of capturing the perfect shot.
3. Panning: Keeping Your Subject in Motion
Panning is a technique where you move the camera along with your subject’s movement. This keeps the subject sharp while blurring the background, creating a sense of speed.
How to Achieve a Perfect Panning Shot:
- Choose a moving subject, such as a cyclist or car.
- Set a shutter speed between 1/30s and 1/125s.
- Move the camera smoothly in sync with the subject.
- Keep the subject in the same spot within your frame.
- Use continuous autofocus (AF-C) to maintain sharpness.
Best Scenarios for Panning:
- Street performers in motion.
- Vehicles speeding down a city street.
- Joggers or bikers in action.
4. Using Motion Blur to Create a Sense of Movement
Motion blur can add an artistic touch to your images, emphasizing speed and energy.
Tips for Effective Motion Blur:
- Use a tripod for a stable background.
- Lower the shutter speed (around 1/10s – 1/50s).
- Capture moving crowds in markets or train stations.
- Experiment with different shutter speeds to control the amount of blur.
Ideal Subjects for Motion Blur:
- Flowing traffic at night (light trails).
- People walking through a crowded street.
- Waterfalls and rivers for a silky effect.
5. Long Exposure: Capturing Movement Over Time
Long exposure techniques allow you to capture motion over an extended period, creating stunning visual effects.
Steps for Long Exposure Photography:
- Use a tripod to prevent camera shake.
- Set the shutter speed to 1 second or longer.
- Lower the ISO to reduce noise.
- Use an ND filter in bright environments to control light exposure.
Best Situations for Long Exposure:
- Capturing star trails in night photography.
- Creating dreamy waves on a beach.
- Showing the movement of people in a public square.
6. Capturing Motion in Different Environments
Street Photography:
- Use panning to capture moving pedestrians.
- Try motion blur to highlight city hustle.
- Experiment with reflections in rain puddles for dynamic effects.
Travel Photography:
- Capture the rush of a busy marketplace.
- Use long exposure for waterfalls and rivers.
- Show cultural performances with intentional motion blur.
7. Composition and Framing for Motion Photography
Even with the right technique, composition is key to making your motion shots impactful.
Essential Composition Techniques:
- Rule of Thirds: Position the moving subject off-center for dynamic framing.
- Leading Lines: Use roads, rails, or pathways to guide the viewer’s eye.
- Foreground & Background Balance: Keep elements in harmony for storytelling.
- Frame Within a Frame: Use windows or doorways to add depth to the shot.
8. Post-Processing Motion Photography
After capturing your shots, refining them in post-processing enhances the final image.
Editing Techniques:
- Adjust brightness and contrast to highlight motion.
- Use radial blur in Photoshop for a panning effect.
- Enhance colors to make moving elements stand out.
- Crop strategically to maintain focus on the subject.
Conclusion
Capture motion in street and travel photography transforms static images into compelling visual stories. Whether you’re panning a moving subject, using long exposure to capture light trails, or experimenting with motion blur, mastering these techniques will elevate your photography skills.
Start practicing these methods and explore different environments to capture movement in creative ways. What’s your favorite way to capture motion? Share your experiences in the comments below!
-
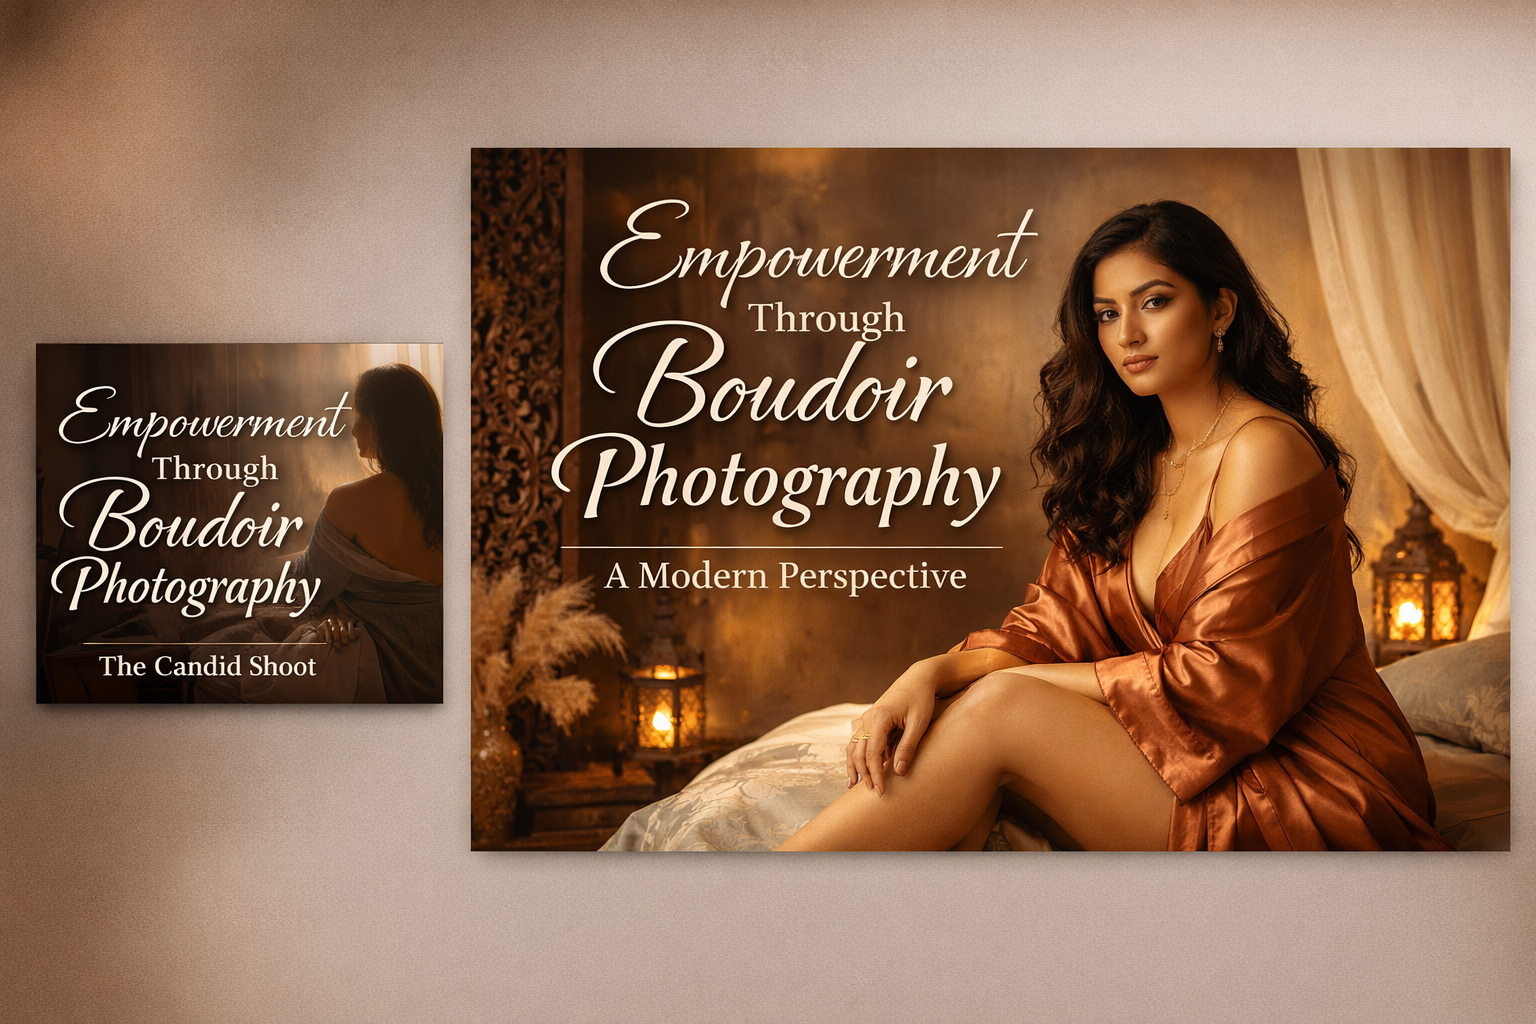
Empowerment Through Boudoir Photography: The Candid Shoot
-

Jaipur’s Favorite Destination for Couple Shoots | The Candid Shoot
-

Bold Shoot Photographer with Studio in Jaipur | The Candid Shoot
-
Empowerment Through Boudoir Photography: The Candid Shoot
Boudoir Photography as Empowerment Boudoir photography has evolved far beyond traditional notions of intimacy or sensuality. Modern boudoir photography is about empowerment, confidence, and self-expression, not merely performing for the camera. At its heart, boudoir photography is a visual dialogue between the subject and themselves, mediated by a professional photographer. It provides a private, safe
-
Jaipur’s Favorite Destination for Couple Shoots | The Candid Shoot
Why Couple Shoots Matter More Than Ever Couple shoots have evolved far beyond posed photographs and forced smiles. Today, couples look for experiences that feel natural, meaningful, and reflective of who they are together. A couple shoot is no longer about perfection. It is about presence, connection, and shared emotion. At The Candid Shoot, we
-
Bold Shoot Photographer with Studio in Jaipur | The Candid Shoot
The phrase “bold shoot photographer” often triggers assumptions—many of them incomplete, outdated, or shaped by stereotypes. In reality, bold photography has evolved far beyond shock value or surface-level aesthetics. Today, bold shoots represent self-expression, body confidence, emotional honesty, and artistic courage. At The Candid Shoot, bold photography is not about exposure—it is about expression. It
-
Styling Tips for Maternity Shoots: Looking Timeless, and Confident
Styling as the Silent Storyteller in Maternity Shoots Maternity shoots are not simply about documenting pregnancy. They are about honoring a season of transformation—physical, emotional, relational, and often spiritual. Styling plays a foundational role in how that transformation appears, feels, and endures through photographs. When people look back at maternity photographs years later, they rarely
-
Mobile Photography Hacks: Candid Moments with Your Phone
Discover high-impact mobile photography hacks to capture genuine, gorgeous candid moments with your phone. Learn practical tips, composition secrets, and pro techniques to turn everyday scenes into stunning visual stories. Introduction: The New Age of Mobile Photography Photography has evolved beyond heavy cameras, technical jargon, and expensive equipment. Today, the power to capture extraordinary moments
