Boudoir photography is a beautiful way to embrace self-confidence and sensuality. While professional shoots can be a fantastic experience, many people are now exploring DIY boudoir photography as a personal, intimate way to express themselves. With the right techniques, lighting, and poses, you can create stunning, high-end boudoir photos from the comfort of your own home. This guide will walk you through everything you need to know to master DIY boudoir photography.
1. Preparing for a DIY Boudoir Photoshoot
Before you start clicking the shutter, it’s essential to plan your session to ensure a smooth and empowering experience.
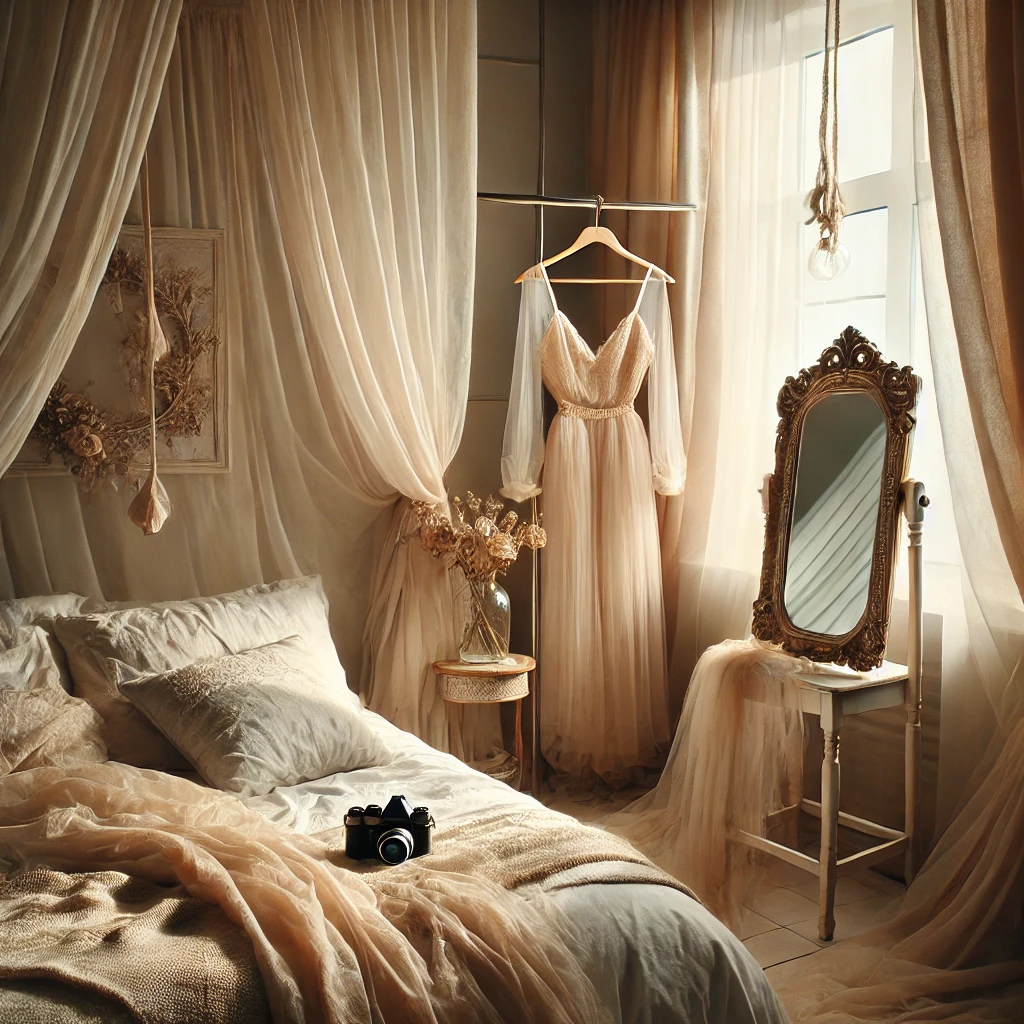
A. Choosing the Right Space
- Look for a well-lit area with soft, natural lighting—near a large window is ideal.
- Declutter the space to create a clean, elegant background that enhances the subject.
- Consider adding aesthetic elements like candles, fairy lights, or textured fabrics to create depth and warmth.
B. Setting the Mood
- Play soft, sensual music to help you feel relaxed and confident.
- Use scented candles or essential oils to create a soothing ambiance.
- Wear comfortable yet alluring outfits that make you feel your best.
C. Gathering Your Equipment
- A DSLR or mirrorless camera is ideal, but a smartphone with a high-quality camera can also work.
- A tripod and remote shutter release will help you achieve hands-free shots.
- A ring light or softbox can enhance the lighting if natural light is unavailable.
2. Mastering the Lighting
Lighting is the key to capturing stunning boudoir photos. Whether you use natural light or artificial sources, proper lighting techniques can enhance the sensual and intimate feel of your images.
A. Natural Light Techniques
- Position yourself near a window with sheer curtains to diffuse harsh light.
- Experiment with golden hour (early morning or late afternoon) for a soft, warm glow.
- Use shadows creatively to add a sense of mystery and depth.
B. Artificial Lighting Tips
- A ring light provides soft, even lighting that flatters the skin.
- Use a bedside lamp with a warm bulb to create a cozy, intimate mood.
- String fairy lights around the room for a dreamy, romantic effect.
3. Perfecting Boudoir Poses
Posing is crucial in boudoir photography, as it enhances the sensuality and emotion of the images. Here are some flattering and natural-looking poses to try.
A. Classic Boudoir Poses
- Lying on the Bed – Arch your back slightly and extend your legs for an elegant look.
- Sitting on the Edge of a Chair – Cross your legs and tilt your head for a sophisticated touch.
- Against a Wall – Lean back, run your hands through your hair, and let your natural expression shine.
B. Expressive Poses
- Looking Over the Shoulder – Creates a mysterious and alluring effect.
- Playing with Fabrics or Lingerie Straps – Adds a touch of flirtation and playfulness.
- Hands on the Body – Running fingers along the collarbone or resting a hand on the hip enhances sensuality.
4. Camera Settings for a Flawless Shot
Using the right camera settings will help you achieve professional-quality images at home.
A. Manual Camera Settings
- Aperture: Keep it between f/1.8 to f/4 for a soft, dreamy background.
- Shutter Speed: Use at least 1/125s to prevent blurring.
- ISO: Keep it low (100-400) to avoid noise, increasing only if the light is too dim.
B. Smartphone Photography Tips
- Use portrait mode for a blurred background effect.
- Tap the screen to adjust exposure and focus on your face or body.
- Experiment with black and white filters for a timeless boudoir look.
5. Editing Your Boudoir Photos
Post-processing enhances the overall quality of your boudoir images, giving them a polished and professional finish.
A. Editing Apps & Software
- Lightroom: Adjust exposure, contrast, and skin tones for a refined look.
- Snapseed: Great for mobile users to fine-tune brightness and color balance.
- Photoshop: Smooth skin imperfections and enhance lighting without over-editing.
B. Retouching Tips
- Enhance highlights and shadows to create a soft, moody effect.
- Keep skin smoothing natural—embrace texture and imperfections.
- Play with black and white edits for a more artistic and timeless feel.
6. Confidence is Key: Owning Your Boudoir Shoot
The most important element of a boudoir photoshoot is confidence. When you feel comfortable and empowered, it translates into the images.
A. Embrace Your Natural Beauty
- Don’t stress over imperfections—your uniqueness is what makes the photos special.
- Celebrate your body and expressions as they are.
B. Use Affirmations to Boost Confidence
- Remind yourself why you’re doing the shoot—whether for self-love, a partner, or just for fun.
- Say empowering statements like “I am beautiful, strong, and confident.”
C. Have Fun and Experiment
- Take your time and don’t rush the process.
- Try different poses, angles, and expressions until you find what works best for you.
Conclusion
DIY boudoir photography is a powerful way to explore self-expression and sensuality. With thoughtful planning, the right lighting, confident posing, and some post-processing magic, you can achieve breathtaking images that make you feel empowered and beautiful. The key to a successful shoot is embracing your natural beauty and making the experience fun and memorable.
-
Vivo X300 Pro Photography Kit: Next-Gen Mobile Imaging
-

Empowerment Through Boudoir Photography: The Candid Shoot
-

Bold Photography: Creating Powerful & Confident Visual Stories
-

Jaipur’s Favorite Destination for Couple Shoots | The Candid Shoot
-
Vivo X300 Pro Photography Kit: Next-Gen Mobile Imaging
Discover the complete vivo X300 Pro photography kit guide with in-depth camera analysis, real-world case studies, portrait techniques, cinematic workflows, and pro-level tips. Learn how vivo X300 Pro transforms mobile photography for creators, influencers, and studio professionals. The vivo X300 Pro — Redefining Mobile Imaging for Creators Why the vivo X300 Pro Deserves a Dedicated
-
Empowerment Through Boudoir Photography: The Candid Shoot
Boudoir Photography as Empowerment Boudoir photography has evolved far beyond traditional notions of intimacy or sensuality. Modern boudoir photography is about empowerment, confidence, and self-expression, not merely performing for the camera. At its heart, boudoir photography is a visual dialogue between the subject and themselves, mediated by a professional photographer. It provides a private, safe
-
Jaipur’s Favorite Destination for Couple Shoots | The Candid Shoot
Why Couple Shoots Matter More Than Ever Couple shoots have evolved far beyond posed photographs and forced smiles. Today, couples look for experiences that feel natural, meaningful, and reflective of who they are together. A couple shoot is no longer about perfection. It is about presence, connection, and shared emotion. At The Candid Shoot, we
-
Bold Shoot Photographer with Studio in Jaipur | The Candid Shoot
The phrase “bold shoot photographer” often triggers assumptions—many of them incomplete, outdated, or shaped by stereotypes. In reality, bold photography has evolved far beyond shock value or surface-level aesthetics. Today, bold shoots represent self-expression, body confidence, emotional honesty, and artistic courage. At The Candid Shoot, bold photography is not about exposure—it is about expression. It
-
Styling Tips for Maternity Shoots: Looking Timeless, and Confident
Styling as the Silent Storyteller in Maternity Shoots Maternity shoots are not simply about documenting pregnancy. They are about honoring a season of transformation—physical, emotional, relational, and often spiritual. Styling plays a foundational role in how that transformation appears, feels, and endures through photographs. When people look back at maternity photographs years later, they rarely


