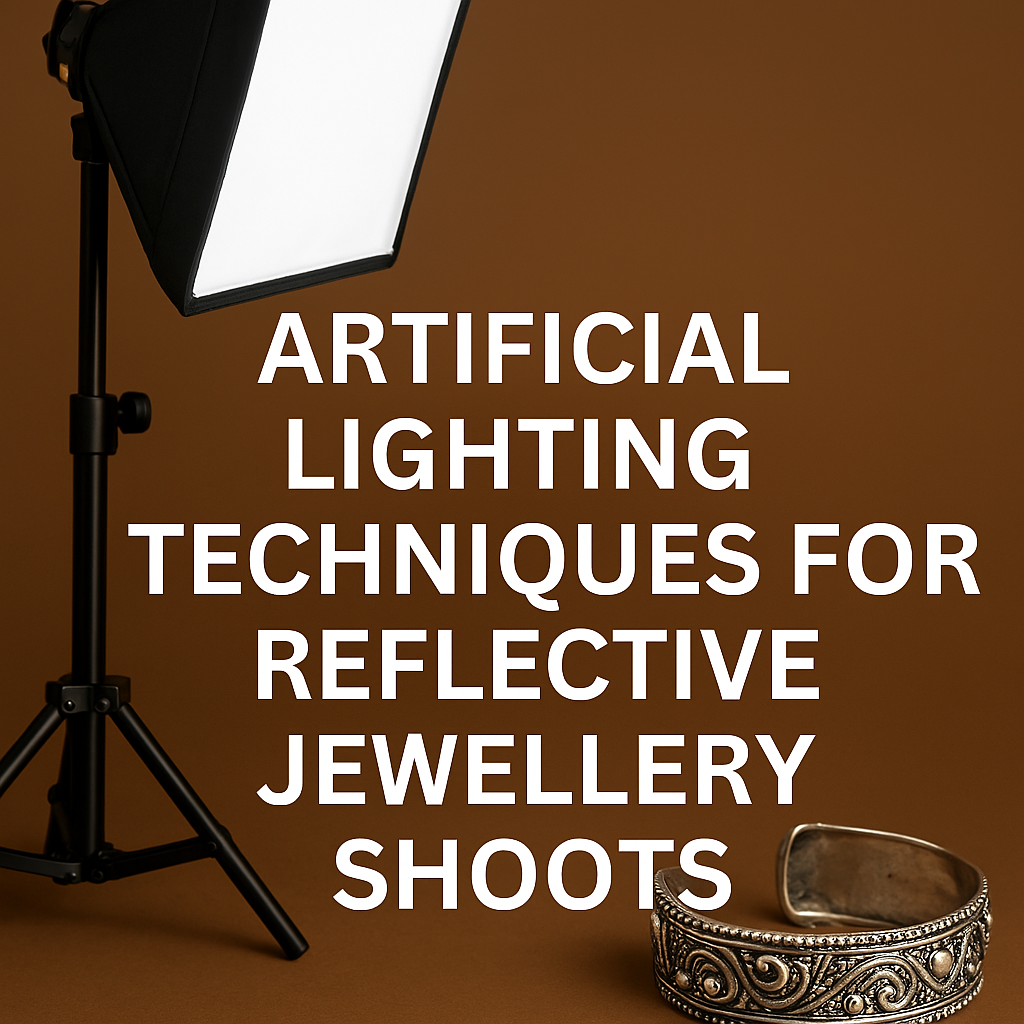
Jewellery photography is an art that requires precision, patience, and the right lighting techniques to highlight the beauty of each piece. Capturing reflective jewellery presents unique challenges, as metals, gemstones, and polished surfaces tend to bounce back light, creating unwanted glare or shadows. Mastering artificial lighting techniques for reflective jewellery shoots is essential to ensure that jewellery looks elegant, vibrant, and free from harsh reflections.
In this detailed guide, we will explore the best artificial lighting setups, modifiers, and techniques for achieving stunning results in reflective jewellery shoots. Whether you’re a professional jewellery photographer or a business looking to enhance your product images, this guide will help you create high-end visuals that captivate your audience.
Why Artificial Lighting is Crucial for Reflective Jewellery Shoots?
Artificial lighting allows complete control over illumination, ensuring consistent, high-quality images. Here’s why artificial lighting is preferred over natural light for reflective jewellery photography:
- Controlled Lighting Environment – Artificial lights eliminate inconsistencies caused by natural light, such as changing intensities and color temperatures.
- Minimized Reflections and Shadows – Using artificial lighting helps reduce unwanted reflections and ensures even illumination.
- Enhanced Color Accuracy – Well-balanced artificial lighting brings out the true colors of gemstones and metal finishes.
- Adaptability to Different Jewellery Types – From diamond rings to gold necklaces, artificial lighting can be customized to highlight various textures and details.
Essential Artificial Lighting Equipment for Reflective Jewellery Shoots
1. Continuous LED Lights
Continuous LED lights are an excellent choice for jewellery photography due to their consistent brightness and adjustable color temperatures. Key benefits include:
- Flicker-free lighting, which ensures sharp and clear images.
- Variable brightness settings for precise control.
- Less heat emission, preventing jewellery from overheating.
2. Strobe Lights and Flash Units
Strobe lights provide intense, quick bursts of light that help freeze motion and bring out intricate details. They work best when paired with diffusers to soften reflections.
- Ideal for high-speed photography.
- Helps in highlighting the brilliance of diamonds and gemstones.
- Requires synchronization with camera shutter speed for best results.
3. Softboxes and Diffusers
Softboxes and diffusers play a crucial role in jewellery photography by softening harsh light and minimizing reflections.
- A softbox spreads light evenly across the jewellery surface.
- Diffusers, such as white acrylic sheets or tracing paper, help eliminate hotspots and create a smooth, balanced effect.
4. Light Tents and Cubes
A light tent (also called a lightbox) is a must-have for jewellery photography. It creates a uniform, shadow-free environment, reducing unwanted reflections.
- Works well with both continuous and flash lighting setups.
- Provides a neutral backdrop to enhance jewellery clarity.
- Controls reflections, ensuring a seamless, professional finish.
5. Reflectors and White Cards
Reflectors and white cards help balance lighting and fill in shadows without adding extra light sources.
- Placing a white card in front of jewellery enhances clarity and reduces dark reflections.
- Reflectors bounce light back onto jewellery, making it look well-lit and dimensional.
Best Artificial Lighting Techniques for Reflective Jewellery Shoots
1. The Soft Light Approach
- Use large softboxes or diffused LED panels positioned at a 45-degree angle.
- Diffuse the light further with an additional layer of tracing paper.
- This technique ensures even lighting while reducing harsh reflections.
2. The Gradient Lighting Method
- Place a light source behind a diffusion panel and angle it downward.
- Position a black backdrop or foam board below to create a natural gradient effect.
- This enhances the depth and highlights the metallic shine of jewellery.
3. Double Diffusion Technique
- Use one diffuser close to the jewellery and another further away to soften shadows.
- This technique minimizes unwanted highlights and provides a smooth, balanced look.
4. The Ring Light Setup
- A ring light placed around the camera lens helps eliminate shadows.
- Works well for flat-lay jewellery shots where even illumination is needed.
5. The Rim Light Effect
- Position two lights on either side of the jewellery piece to create a glowing edge effect.
- This technique is great for making gemstones sparkle and stand out.
Common Mistakes to Avoid in Reflective Jewellery Shoots
- Using Harsh Direct Light – Avoid direct lighting as it creates strong reflections and overexposes details.
- Ignoring Background Selection – A cluttered or reflective background can distract from the jewellery.
- Neglecting Light Placement – Improper light positioning results in unwanted glare and shadows.
- Overlooking Post-Processing – Minor retouching is essential for refining jewellery images.
- Skipping Light Modifiers – Always use diffusers and reflectors to achieve professional-quality images.
Post-Processing Tips for Enhancing Reflective Jewellery Images
Even with perfect lighting, post-processing is necessary to refine images. Here’s how:
- Adjust Brightness & Contrast – Bring out gemstone details without overexposing highlights.
- Remove Unwanted Reflections – Use Photoshop’s clone and healing tools.
- Enhance Colors & Sharpness – Make diamonds and gemstones pop with clarity adjustments.
- Use Focus Stacking – Combine multiple images for maximum depth of field and sharpness.
Conclusion
Mastering artificial lighting techniques for reflective jewellery shoots requires careful attention to detail, the right equipment, and a strategic approach. By using soft light, diffusers, reflectors, and specialized lighting setups, you can minimize glare, control reflections, and create stunning, high-quality jewellery images that capture the brilliance of each piece.
Whether you’re a professional jewellery photographer or an e-commerce brand, implementing these techniques will elevate your product photography and enhance the visual appeal of your jewellery collections.
FAQ – Reflective Jewellery Shoots
1. What is the best light source for reflective jewellery photography?
Soft, diffused LED or strobe lights are the best options as they provide consistent illumination and minimize reflections.
2. How do I avoid harsh reflections on jewellery?
Use diffusers, softboxes, and light tents to soften the light and eliminate glare.
3. Can I use a ring light for jewellery photography?
Yes, a ring light can help with even lighting, especially for flat-lay jewellery shots, but should be combined with diffused lighting for the best results.
4. What camera settings work best for jewellery photography?
Use a low ISO (100-200), a small aperture (f/11-f/16) for depth of field, and a tripod to ensure sharpness.
5. Should I edit jewellery photos after shooting?
Yes, post-processing is essential to refine reflections, enhance colors, and improve overall image quality.
By following these techniques, you can master reflective jewellery shoots and create visually stunning jewellery photography that captivates your audience!
Book Reflective Jewellery Shoots in Jaipur now with The Candid Shoot and create timeless memories today!
-
Vivo X300 Pro Photography Kit: Next-Gen Mobile Imaging
-

Empowerment Through Boudoir Photography: The Candid Shoot
-

Bold Photography: Creating Powerful & Confident Visual Stories
-

Jaipur’s Favorite Destination for Couple Shoots | The Candid Shoot
-
Vivo X300 Pro Photography Kit: Next-Gen Mobile Imaging
Discover the complete vivo X300 Pro photography kit guide with in-depth camera analysis, real-world case studies, portrait techniques, cinematic workflows, and pro-level tips. Learn how vivo X300 Pro transforms mobile photography for creators, influencers, and studio professionals. The vivo X300 Pro — Redefining Mobile Imaging for Creators Why the vivo X300 Pro Deserves a Dedicated
-
Empowerment Through Boudoir Photography: The Candid Shoot
Boudoir Photography as Empowerment Boudoir photography has evolved far beyond traditional notions of intimacy or sensuality. Modern boudoir photography is about empowerment, confidence, and self-expression, not merely performing for the camera. At its heart, boudoir photography is a visual dialogue between the subject and themselves, mediated by a professional photographer. It provides a private, safe
-
Jaipur’s Favorite Destination for Couple Shoots | The Candid Shoot
Why Couple Shoots Matter More Than Ever Couple shoots have evolved far beyond posed photographs and forced smiles. Today, couples look for experiences that feel natural, meaningful, and reflective of who they are together. A couple shoot is no longer about perfection. It is about presence, connection, and shared emotion. At The Candid Shoot, we
-
Bold Shoot Photographer with Studio in Jaipur | The Candid Shoot
The phrase “bold shoot photographer” often triggers assumptions—many of them incomplete, outdated, or shaped by stereotypes. In reality, bold photography has evolved far beyond shock value or surface-level aesthetics. Today, bold shoots represent self-expression, body confidence, emotional honesty, and artistic courage. At The Candid Shoot, bold photography is not about exposure—it is about expression. It
-
Styling Tips for Maternity Shoots: Looking Timeless, and Confident
Styling as the Silent Storyteller in Maternity Shoots Maternity shoots are not simply about documenting pregnancy. They are about honoring a season of transformation—physical, emotional, relational, and often spiritual. Styling plays a foundational role in how that transformation appears, feels, and endures through photographs. When people look back at maternity photographs years later, they rarely