Portrait photography is an art that requires both creative vision and technical expertise. While composition and lighting play vital roles, understanding the right camera settings can take your portrait shots from ordinary to extraordinary. Whether you’re a beginner or an experienced photographer, mastering these ten essential camera settings will help you achieve professional-quality portraits with depth, clarity, and emotion.
1. Aperture (f-stop): Controlling Depth of Field
Why It Matters:
Aperture controls the amount of light entering the camera and affects depth of field (DoF), which determines how much of the image remains in focus.
Best Settings for Portraits:
- Use a wide aperture (low f-number) like f/1.8 – f/2.8 to create a beautiful background blur (bokeh) that isolates your subject.
- For group portraits, use a narrower aperture (f/4 – f/8) to keep everyone in focus.
2. Shutter Speed: Capturing Sharpness
Why It Matters:
Shutter speed determines how long your camera’s sensor is exposed to light. Too slow, and you’ll get motion blur; too fast, and your image may be underexposed.
Best Settings for Portraits:
- Use 1/200s or faster to freeze motion and avoid handshake blur.
- If using a longer lens (e.g., 85mm or 135mm), set the shutter speed at least equal to the focal length (e.g., 1/100s for a 100mm lens).
3. ISO: Managing Light Sensitivity
Why It Matters:
ISO controls the camera sensor’s sensitivity to light. Higher ISO can brighten images in low-light conditions but may introduce grain (noise).
Best Settings for Portraits:
- Keep ISO as low as possible (100–400) for the best image quality.
- Increase ISO (up to 800–1600) only in low-light situations where you need extra brightness.
4. White Balance: Achieving Natural Skin Tones
Why It Matters:
Incorrect white balance can make skin tones appear unnatural, too warm, or too cool.
Best Settings for Portraits:
- Use Daylight (5500K) or Cloudy (6000K) mode for natural skin tones.
- If shooting indoors, use Tungsten (3200K) or Fluorescent (4000K) for proper color correction.
- Consider using Custom White Balance by manually setting the Kelvin temperature.
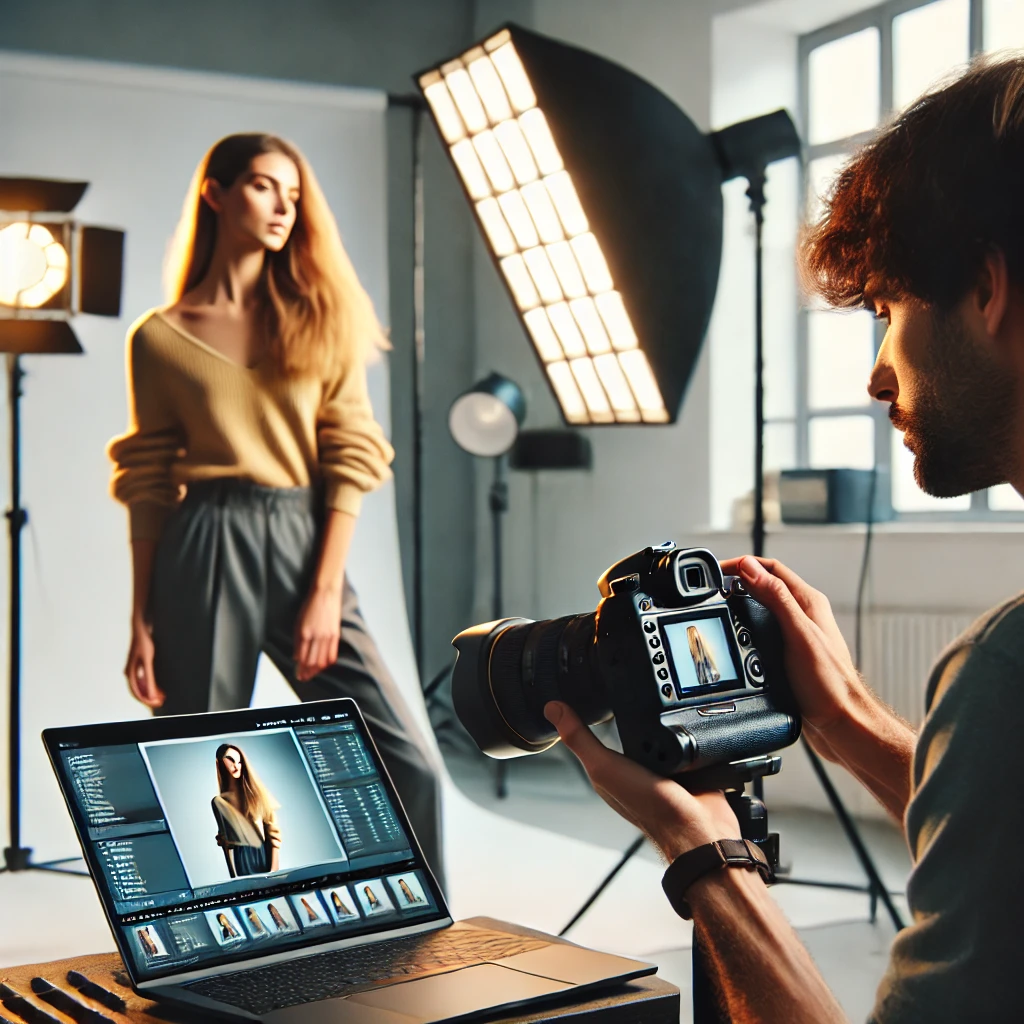
5. Focus Mode: Ensuring Sharp Eyes
Why It Matters:
Portraits often look best when the subject’s eyes are in sharp focus.
Best Settings for Portraits:
- Use Single-Point Autofocus (AF-S/One-Shot AF) for still subjects.
- Use Continuous Autofocus (AF-C/AI-Servo) for moving subjects.
- Enable Eye Autofocus (Eye-AF) if your camera supports it for precise eye sharpness.
6. Metering Mode: Controlling Exposure
Why It Matters:
Metering mode determines how your camera measures light to set proper exposure.
Best Settings for Portraits:
- Use Spot Metering to expose for the subject’s face.
- Use Evaluative/Matrix Metering if the lighting is even across the scene.
7. Picture Style/Creative Profiles: Enhancing the Look
Why It Matters:
Picture styles apply color, contrast, and sharpness settings directly to your images.
Best Settings for Portraits:
- Use Portrait Mode for softer skin tones and natural contrast.
- For RAW shooters, set it to Neutral or Standard and adjust in post-processing.
8. Lens Choice: Selecting the Right Focal Length
Why It Matters:
The lens you use greatly impacts composition, perspective, and background separation.
Best Lenses for Portraits:
- 50mm f/1.8 – Great for beginners, affordable, and natural perspective.
- 85mm f/1.4 or f/1.8 – Classic portrait lens with beautiful bokeh.
- 135mm f/2 – Creates a flattering compression effect for stunning portraits.
9. Flash Settings: Mastering Artificial Light
Why It Matters:
Flash can help balance exposure, eliminate shadows, and enhance details in low-light conditions.
Best Settings for Portraits:
- Use Fill Flash at low power (1/8 or 1/16) for natural-looking skin tones.
- Use Softboxes or Reflectors to diffuse harsh light.
- Adjust Flash Sync Speed to 1/200s – 1/250s for best results.
10. RAW vs. JPEG: Choosing the Best File Format
Why It Matters:
The file format affects your ability to edit and adjust images later.
Best Settings for Portraits:
- Shoot in RAW for maximum flexibility in post-processing.
- If you prefer minimal editing, use JPEG Fine but be mindful of compression loss.
Conclusion
Perfecting portrait photography requires mastering these essential camera settings. By adjusting aperture, shutter speed, ISO, white balance, and focus, you can capture sharp, well-lit, and expressive portraits. Experiment with different styles and settings to find what works best for your creative vision.
Are you ready to elevate your portrait photography skills? Apply these settings in your next shoot and watch your portraits come to life!
Empowerment Through Boudoir Photography: The Candid Shoot
-

Jaipur’s Favorite Destination for Couple Shoots | The Candid Shoot
-
Bold Shoot Photographer with Studio in Jaipur | The Candid Shoot
Empowerment Through Boudoir Photography: The Candid Shoot
Boudoir Photography as Empowerment Boudoir photography has evolved far beyond traditional notions of intimacy or sensuality. Modern boudoir photography is about empowerment, confidence, and self-expression, not merely performing for the camera. At its heart, boudoir photography is a visual dialogue between the subject and themselves, mediated by a professional photographer. It provides a private, safe
Jaipur’s Favorite Destination for Couple Shoots | The Candid Shoot
Why Couple Shoots Matter More Than Ever Couple shoots have evolved far beyond posed photographs and forced smiles. Today, couples look for experiences that feel natural, meaningful, and reflective of who they are together. A couple shoot is no longer about perfection. It is about presence, connection, and shared emotion. At The Candid Shoot, we
Bold Shoot Photographer with Studio in Jaipur | The Candid Shoot
The phrase “bold shoot photographer” often triggers assumptions—many of them incomplete, outdated, or shaped by stereotypes. In reality, bold photography has evolved far beyond shock value or surface-level aesthetics. Today, bold shoots represent self-expression, body confidence, emotional honesty, and artistic courage. At The Candid Shoot, bold photography is not about exposure—it is about expression. It
Styling Tips for Maternity Shoots: Looking Timeless, and Confident
Styling as the Silent Storyteller in Maternity Shoots Maternity shoots are not simply about documenting pregnancy. They are about honoring a season of transformation—physical, emotional, relational, and often spiritual. Styling plays a foundational role in how that transformation appears, feels, and endures through photographs. When people look back at maternity photographs years later, they rarely
Mobile Photography Hacks: Candid Moments with Your Phone
Discover high-impact mobile photography hacks to capture genuine, gorgeous candid moments with your phone. Learn practical tips, composition secrets, and pro techniques to turn everyday scenes into stunning visual stories. Introduction: The New Age of Mobile Photography Photography has evolved beyond heavy cameras, technical jargon, and expensive equipment. Today, the power to capture extraordinary moments
